Out of Control
Elsewhere, I was attempting to get working controls/movement system.
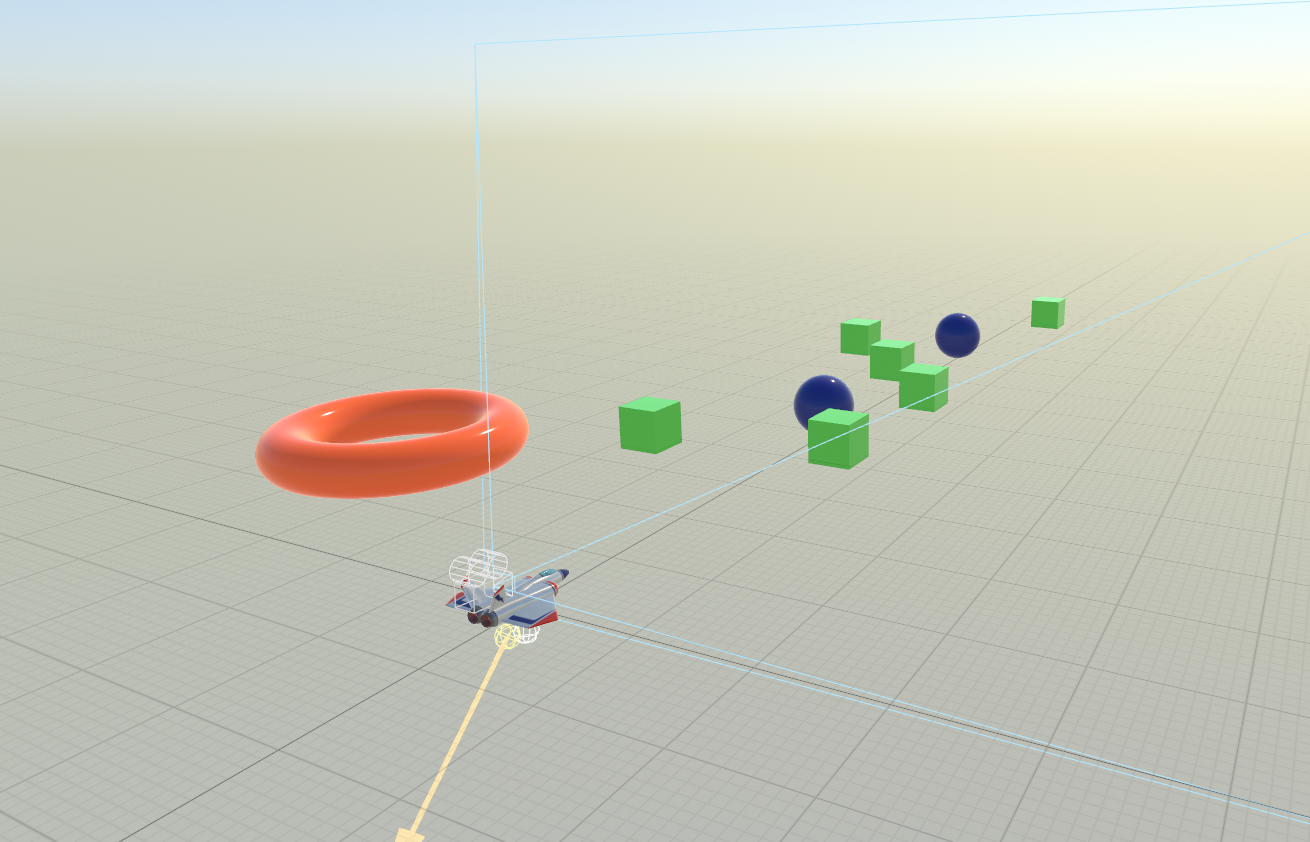
My plan, at the time:
The green cubes would be solid and you’d “bounce” off those, but you collect the blue spheres.
That seems like a reasonable and approachable goal.
I am unsure what the red torus will do, just sit there and look cool I suppose.
I'm always a big fan of setting reasonable and approachable goals.
Collision, detected
This was a great opportunity to learn more about the physics system that SceneKit gives you access to.
You can assign a “Physics Body” to a SceneKit node, and then it can be subject to various forces including gravity. There are three properties relevant to collisions/contact.
- Category Mask
- Collision Mask
- Contact Mask
The category mask represents what type of object it is. Since we’re dealing with bitwise operations, it means that each unique value has to be a power of 2.
| Entity | Decimal | Power of Two | Binary |
|---|---|---|---|
| Level Geometry | 1 | 2^0 | 0001 |
| Player / Ship | 2 | 2^1 | 0010 |
| Enemies | 4 | 2^2 | 0100 |
| “Power Ups” | 8 | 2^3 | 1000 |
So, for example my PlayerShip is setup this way:
| Mask | Value (Decimal) |
|---|---|
| Category | 0x0010 (2) |
| Collision | 0x0101 (5) |
| Contact | 0x1000 (8) |
So the physics system will have my physics body collide (resulting in the node stopping or bouncing when encountering the body it's colliding with), or generate a contact event indicating that I have run into a collectible power up.
Things like, to be inspired by Descent again:
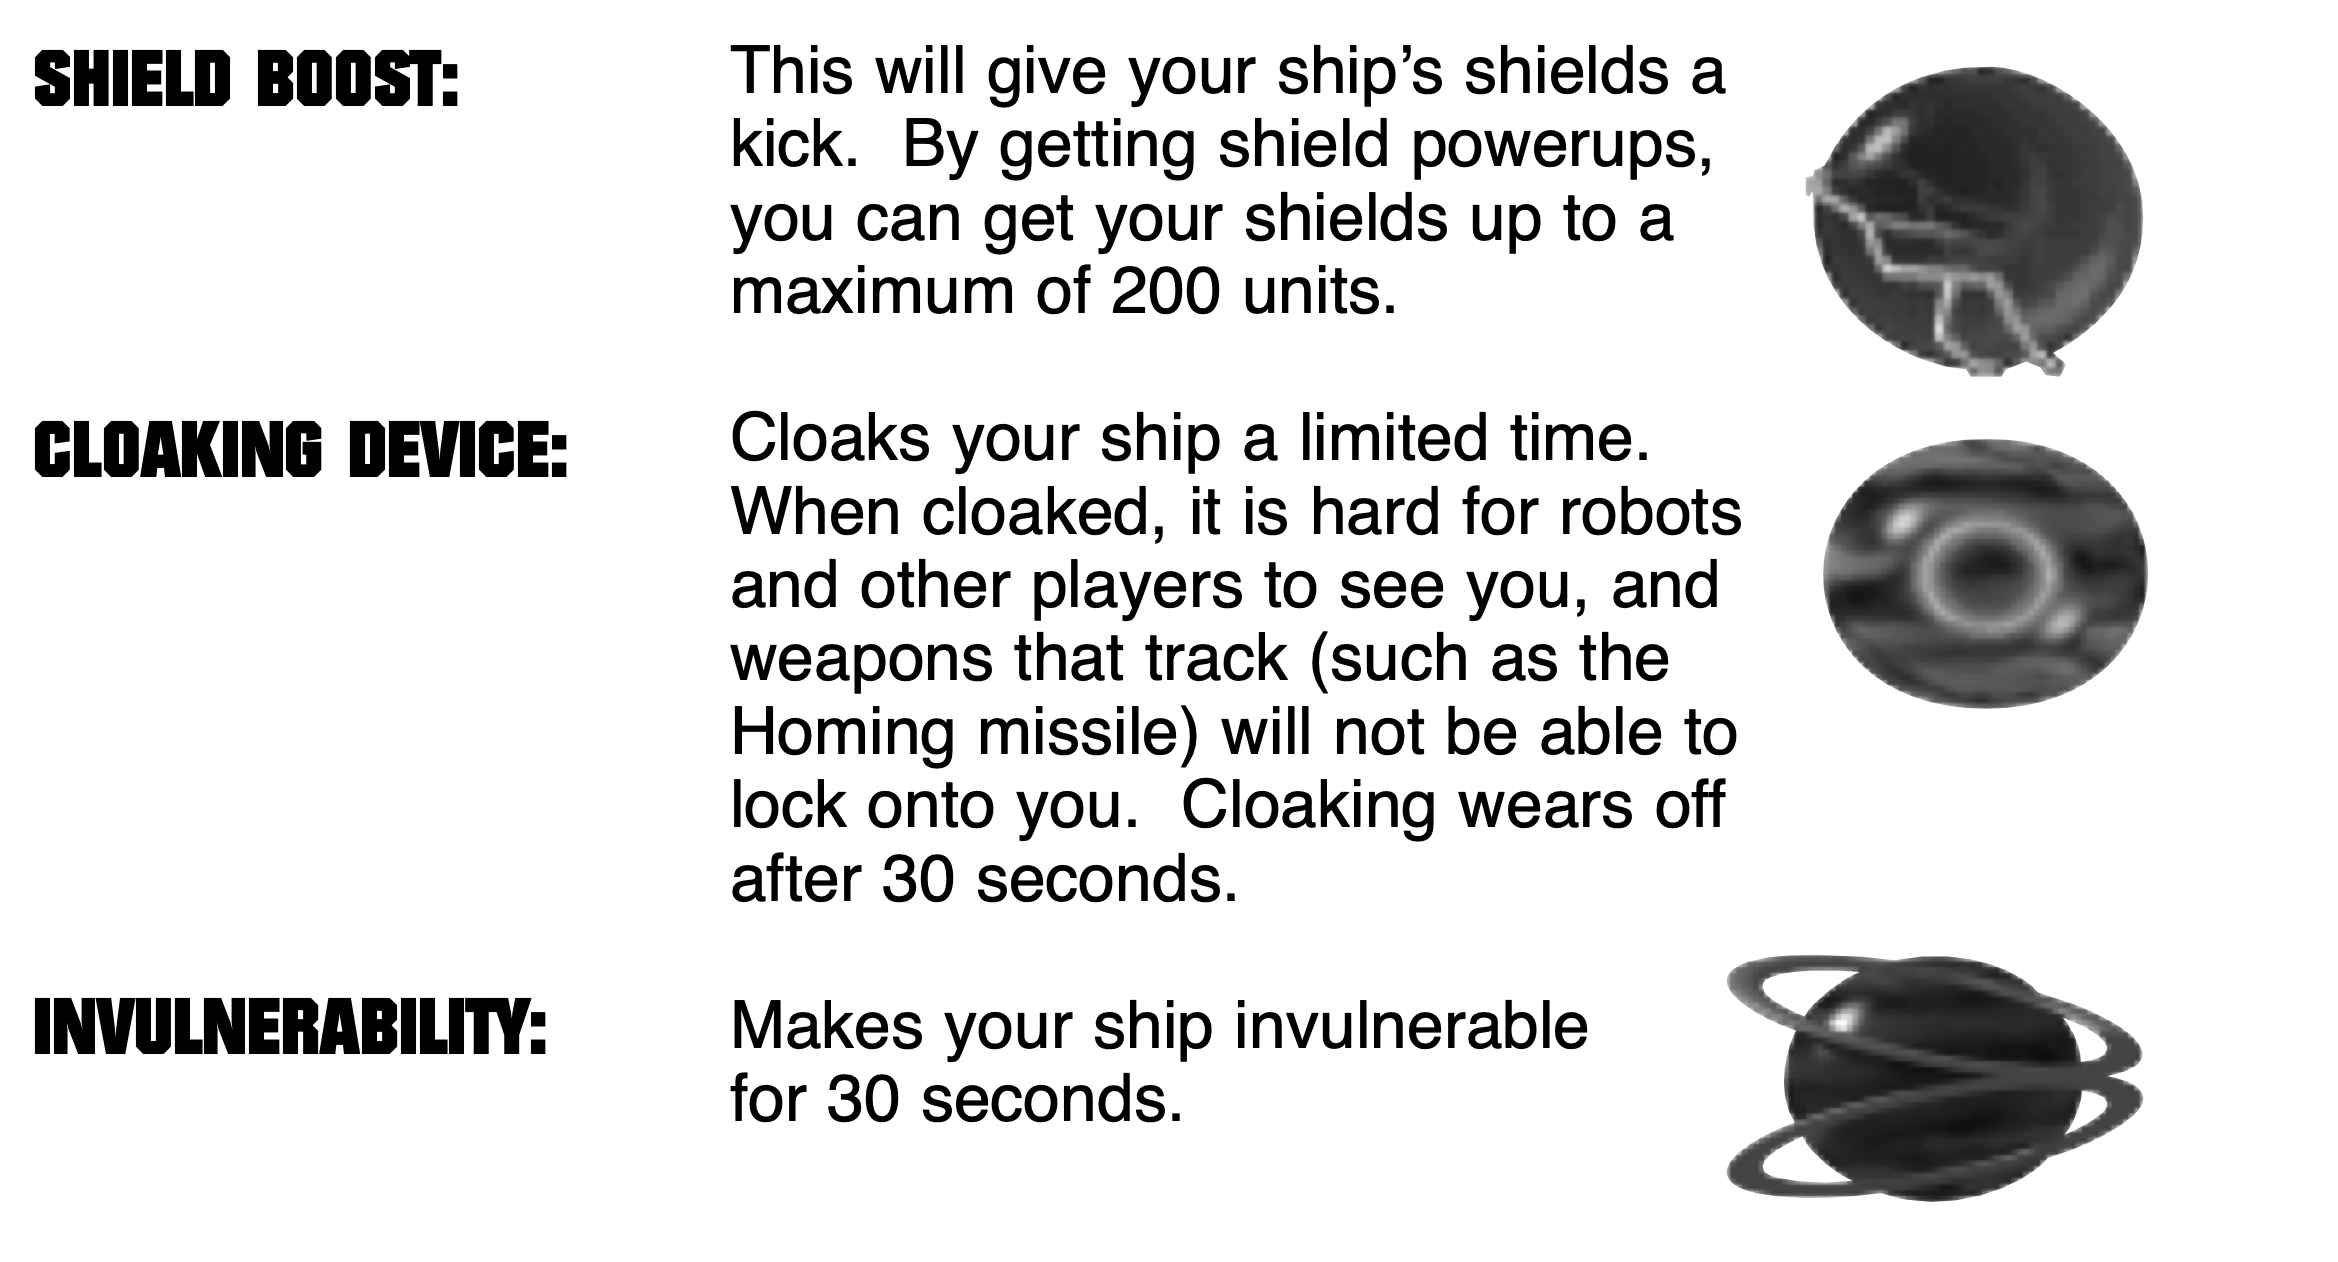
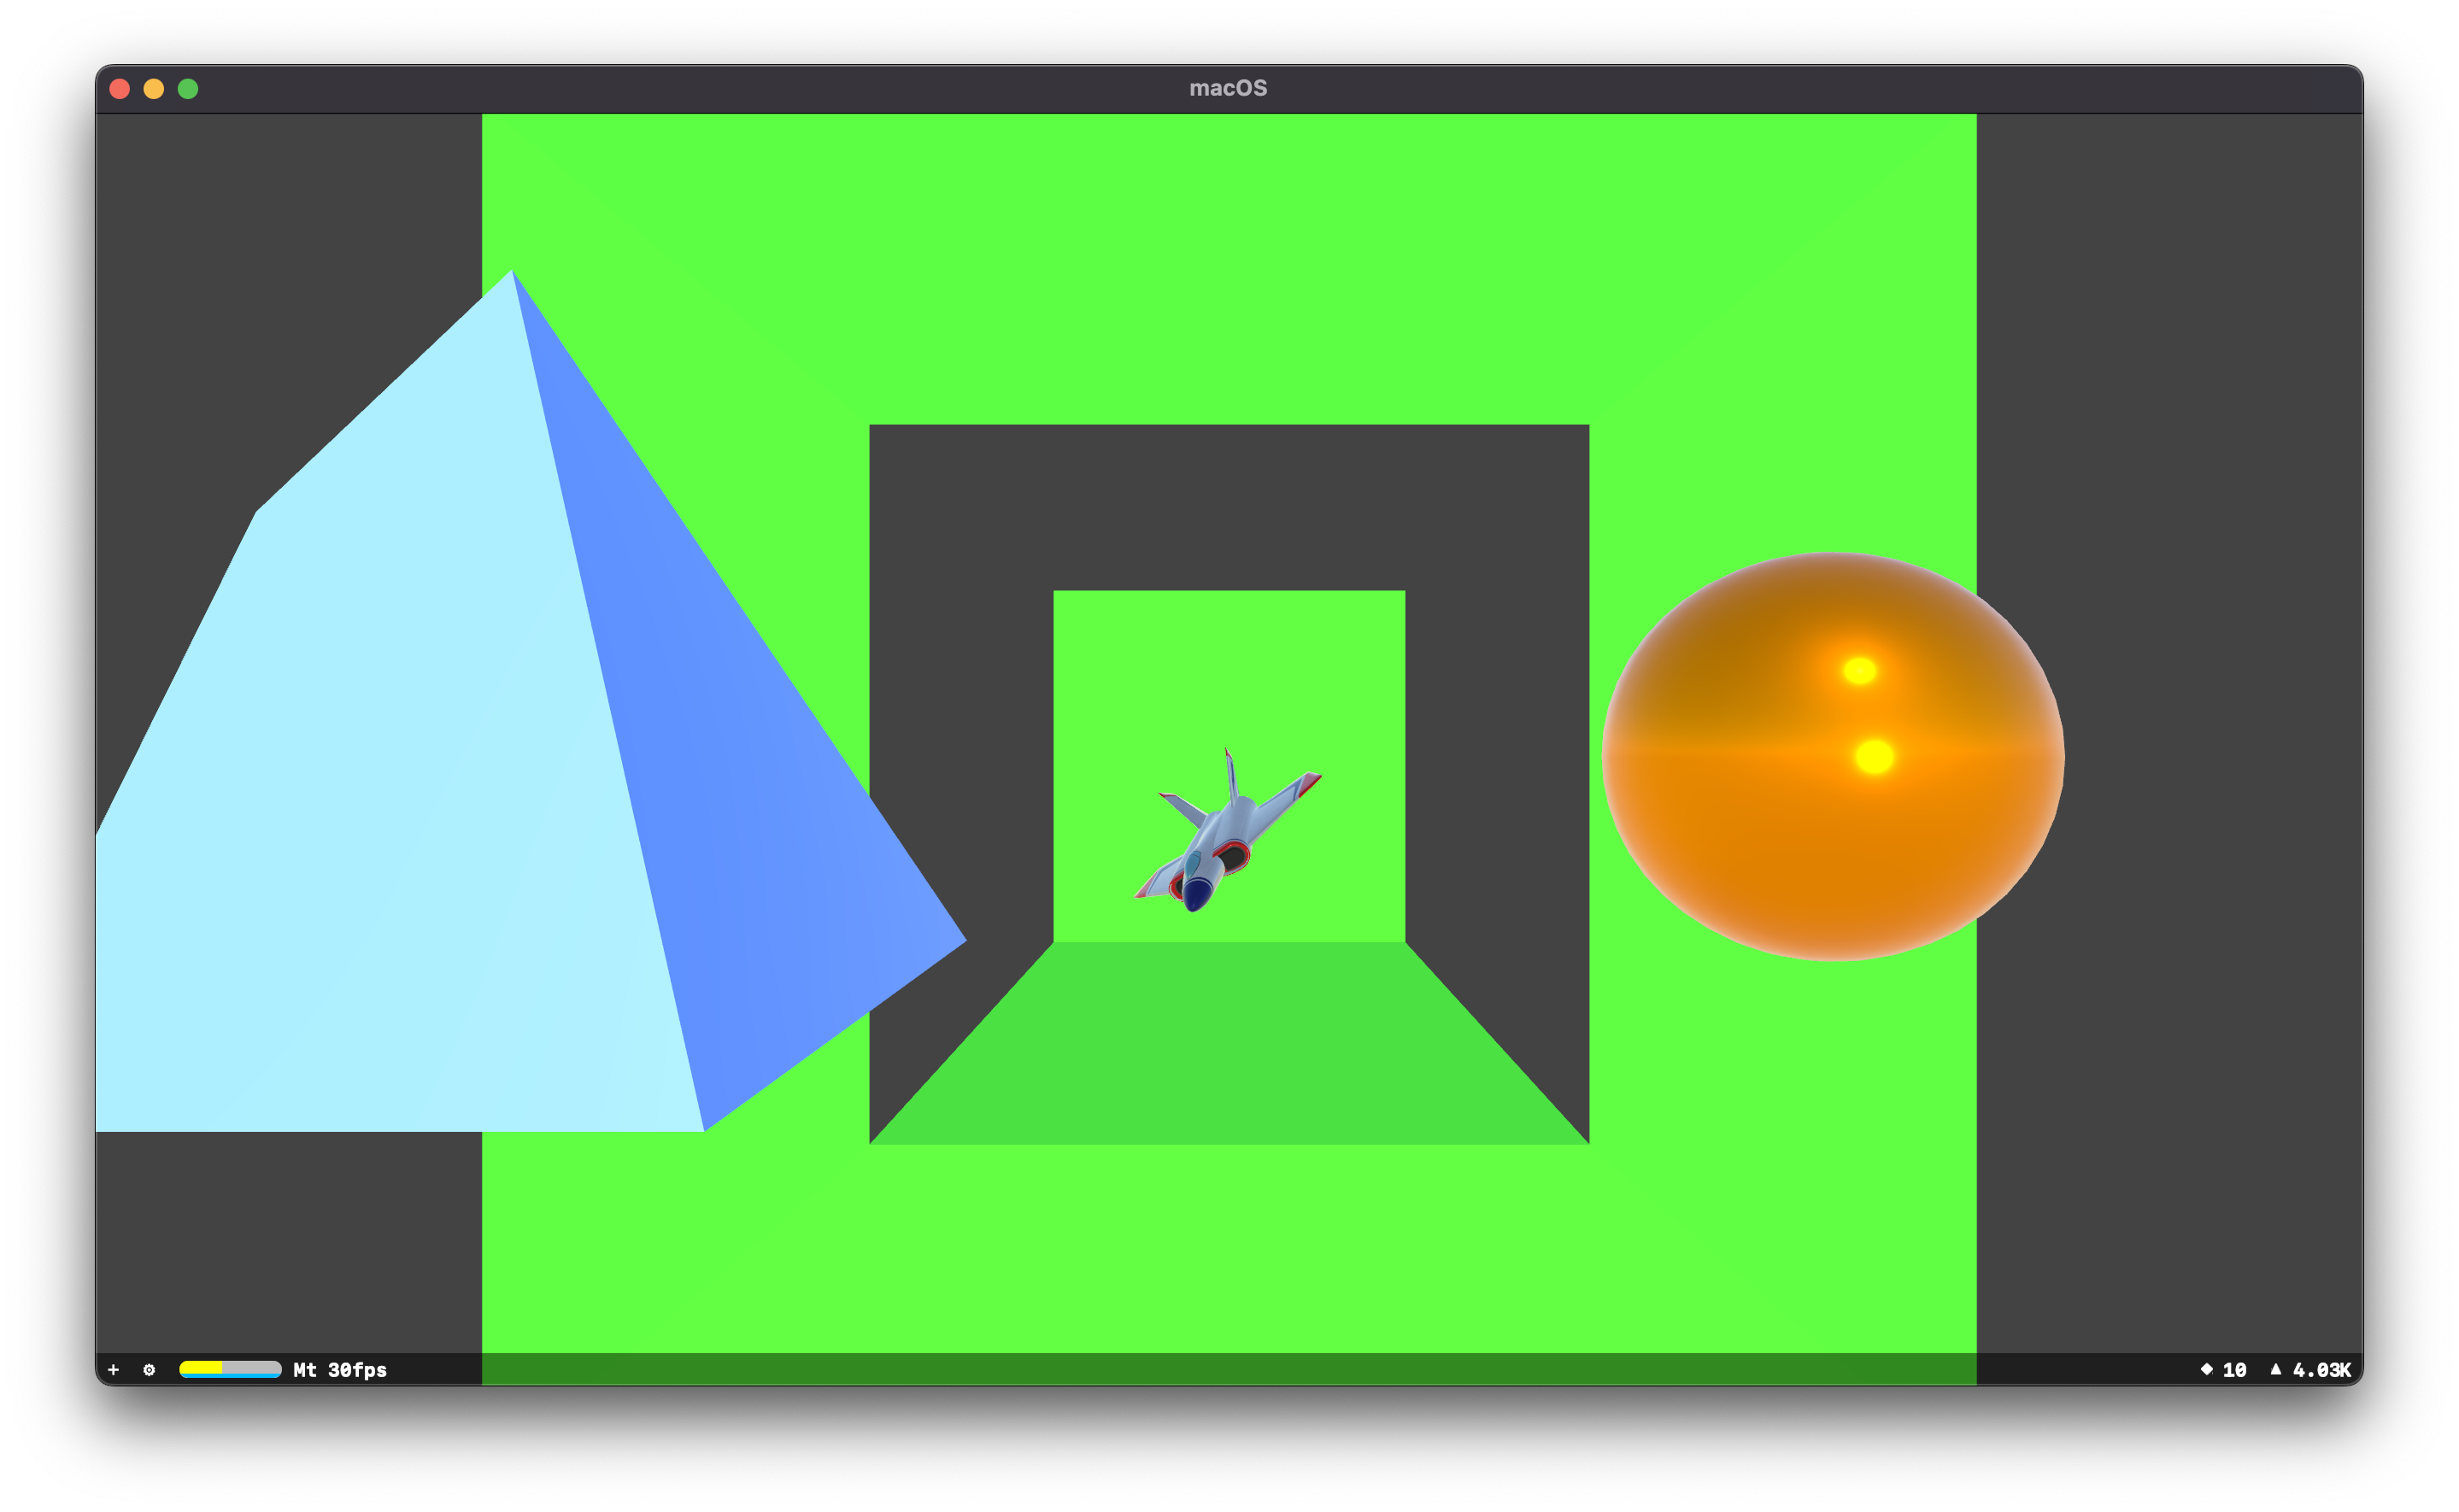
And so, with a couple of things in place, I was able to test things out:
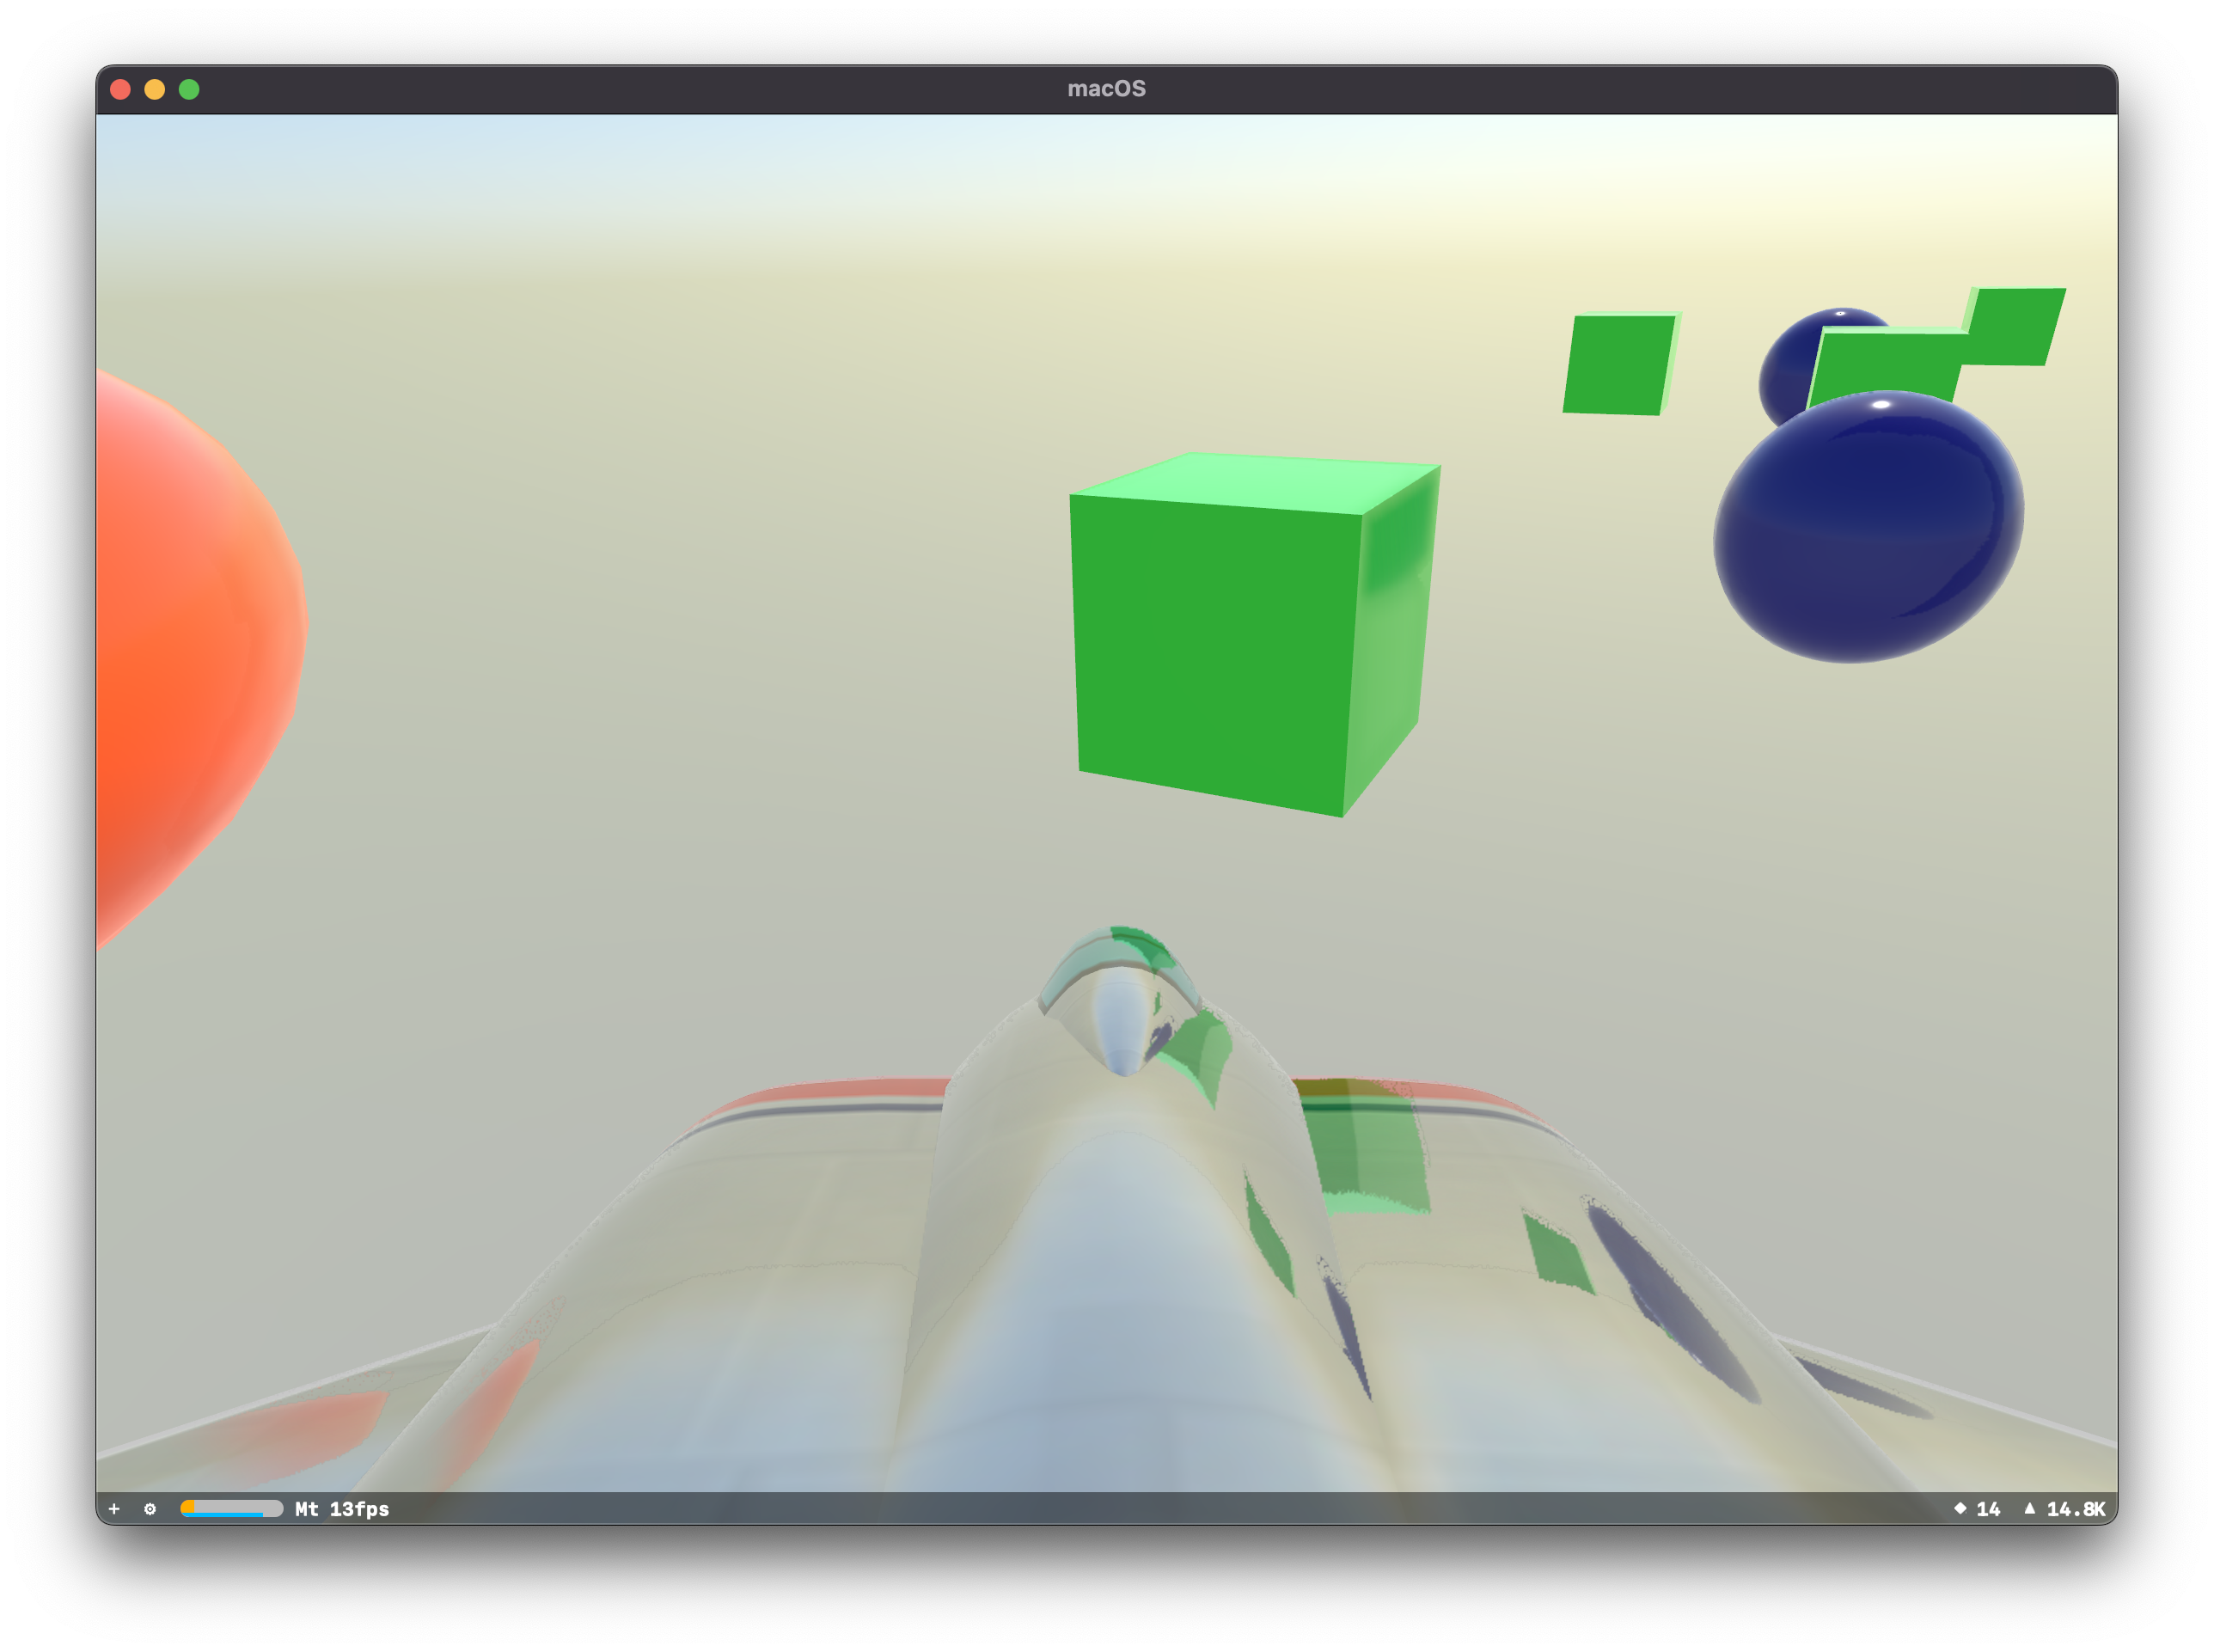
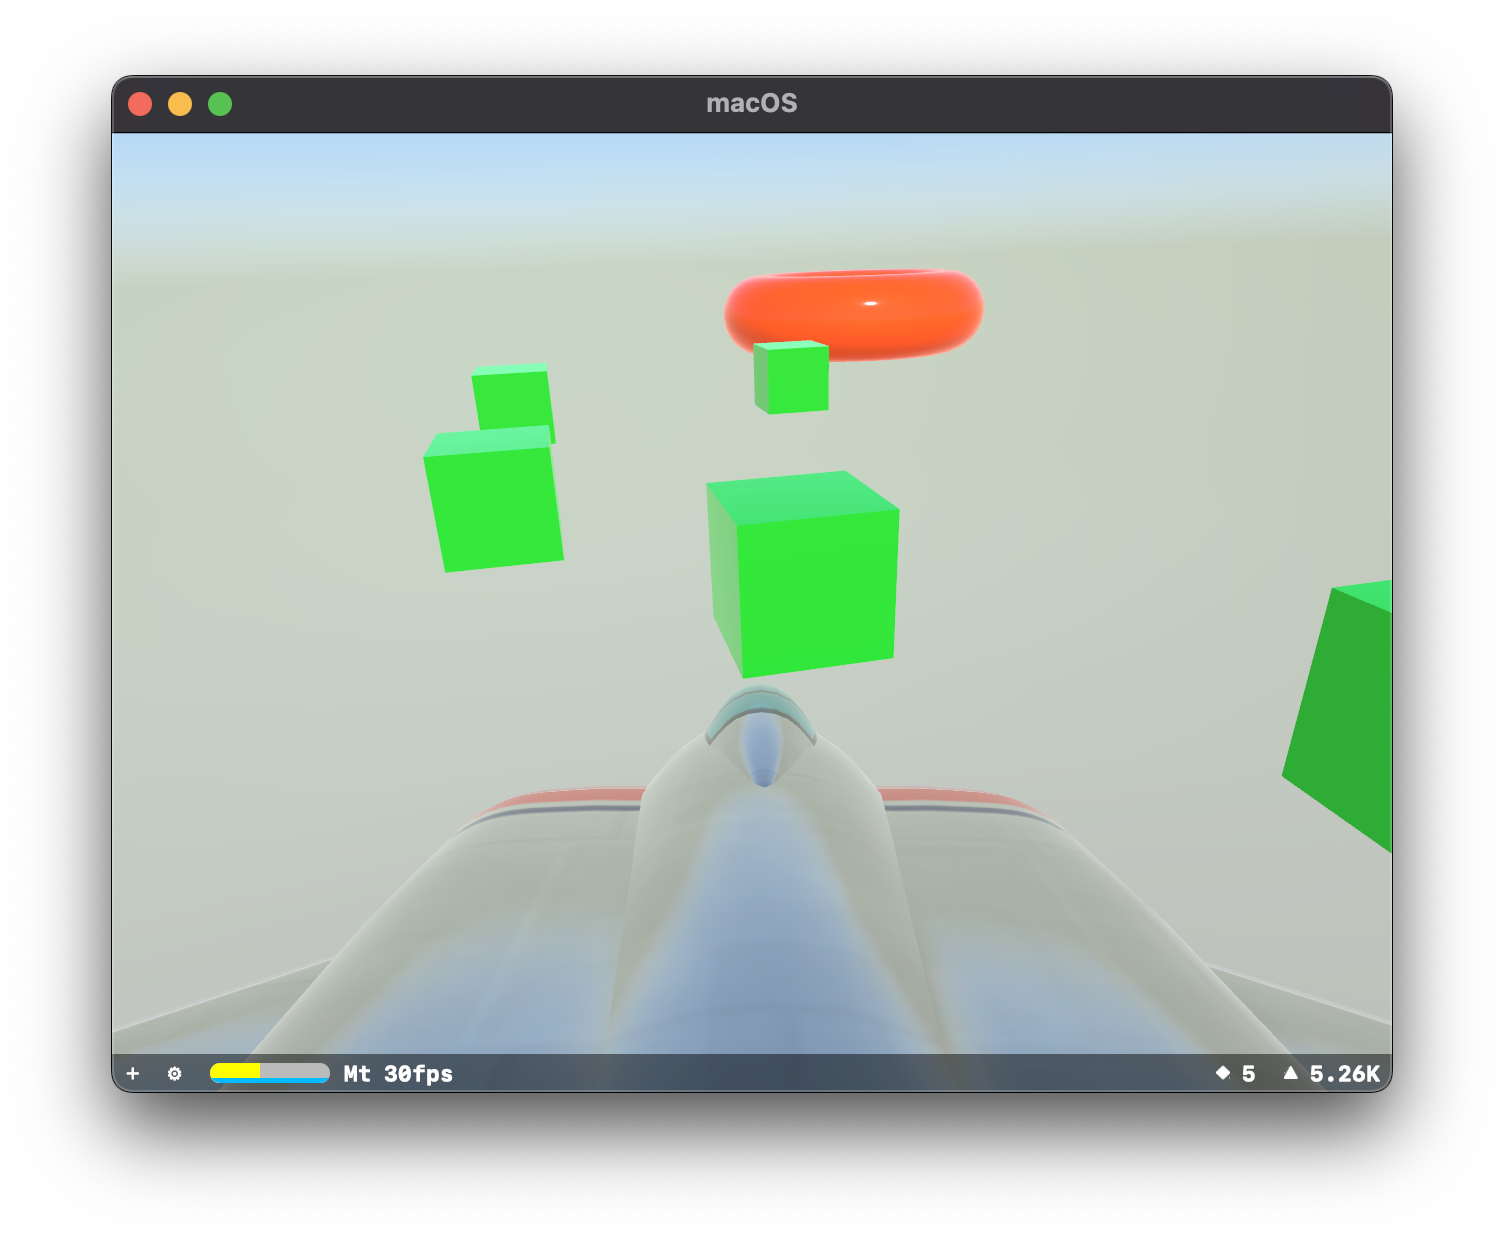
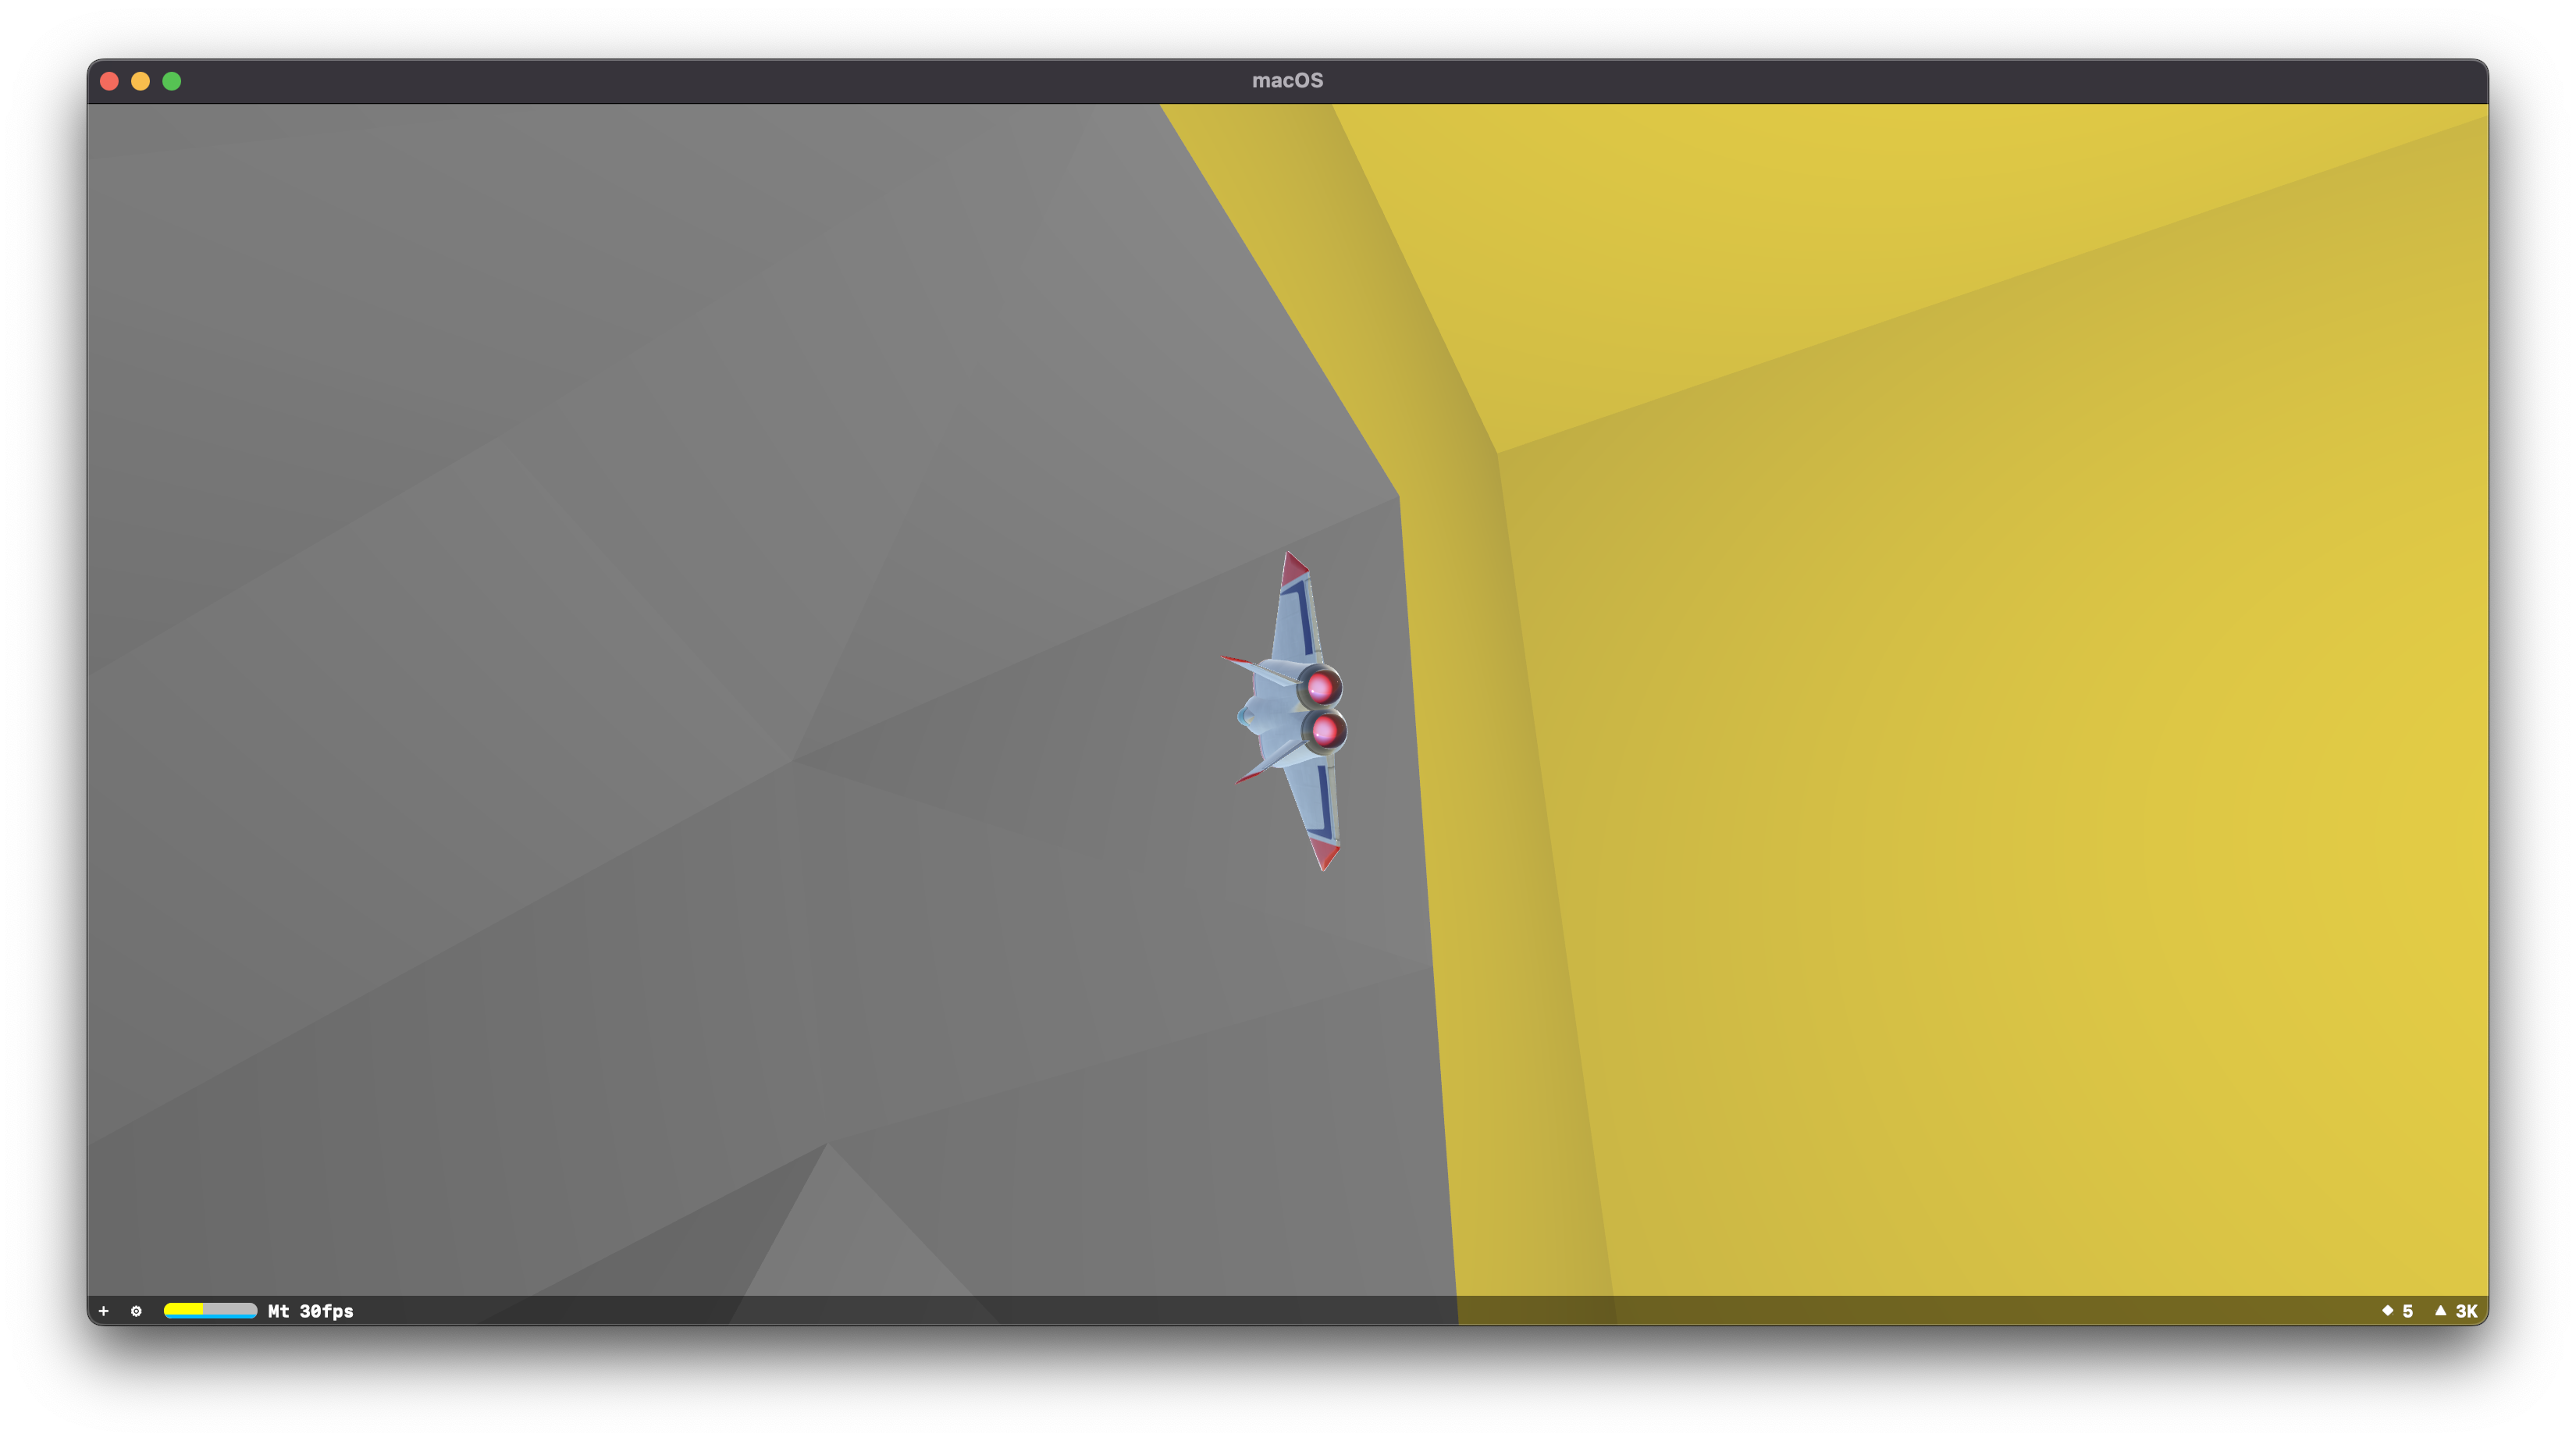
That's what the scene looks like after I have "collected" the blue spheres. The model bounces off of the green cubes.
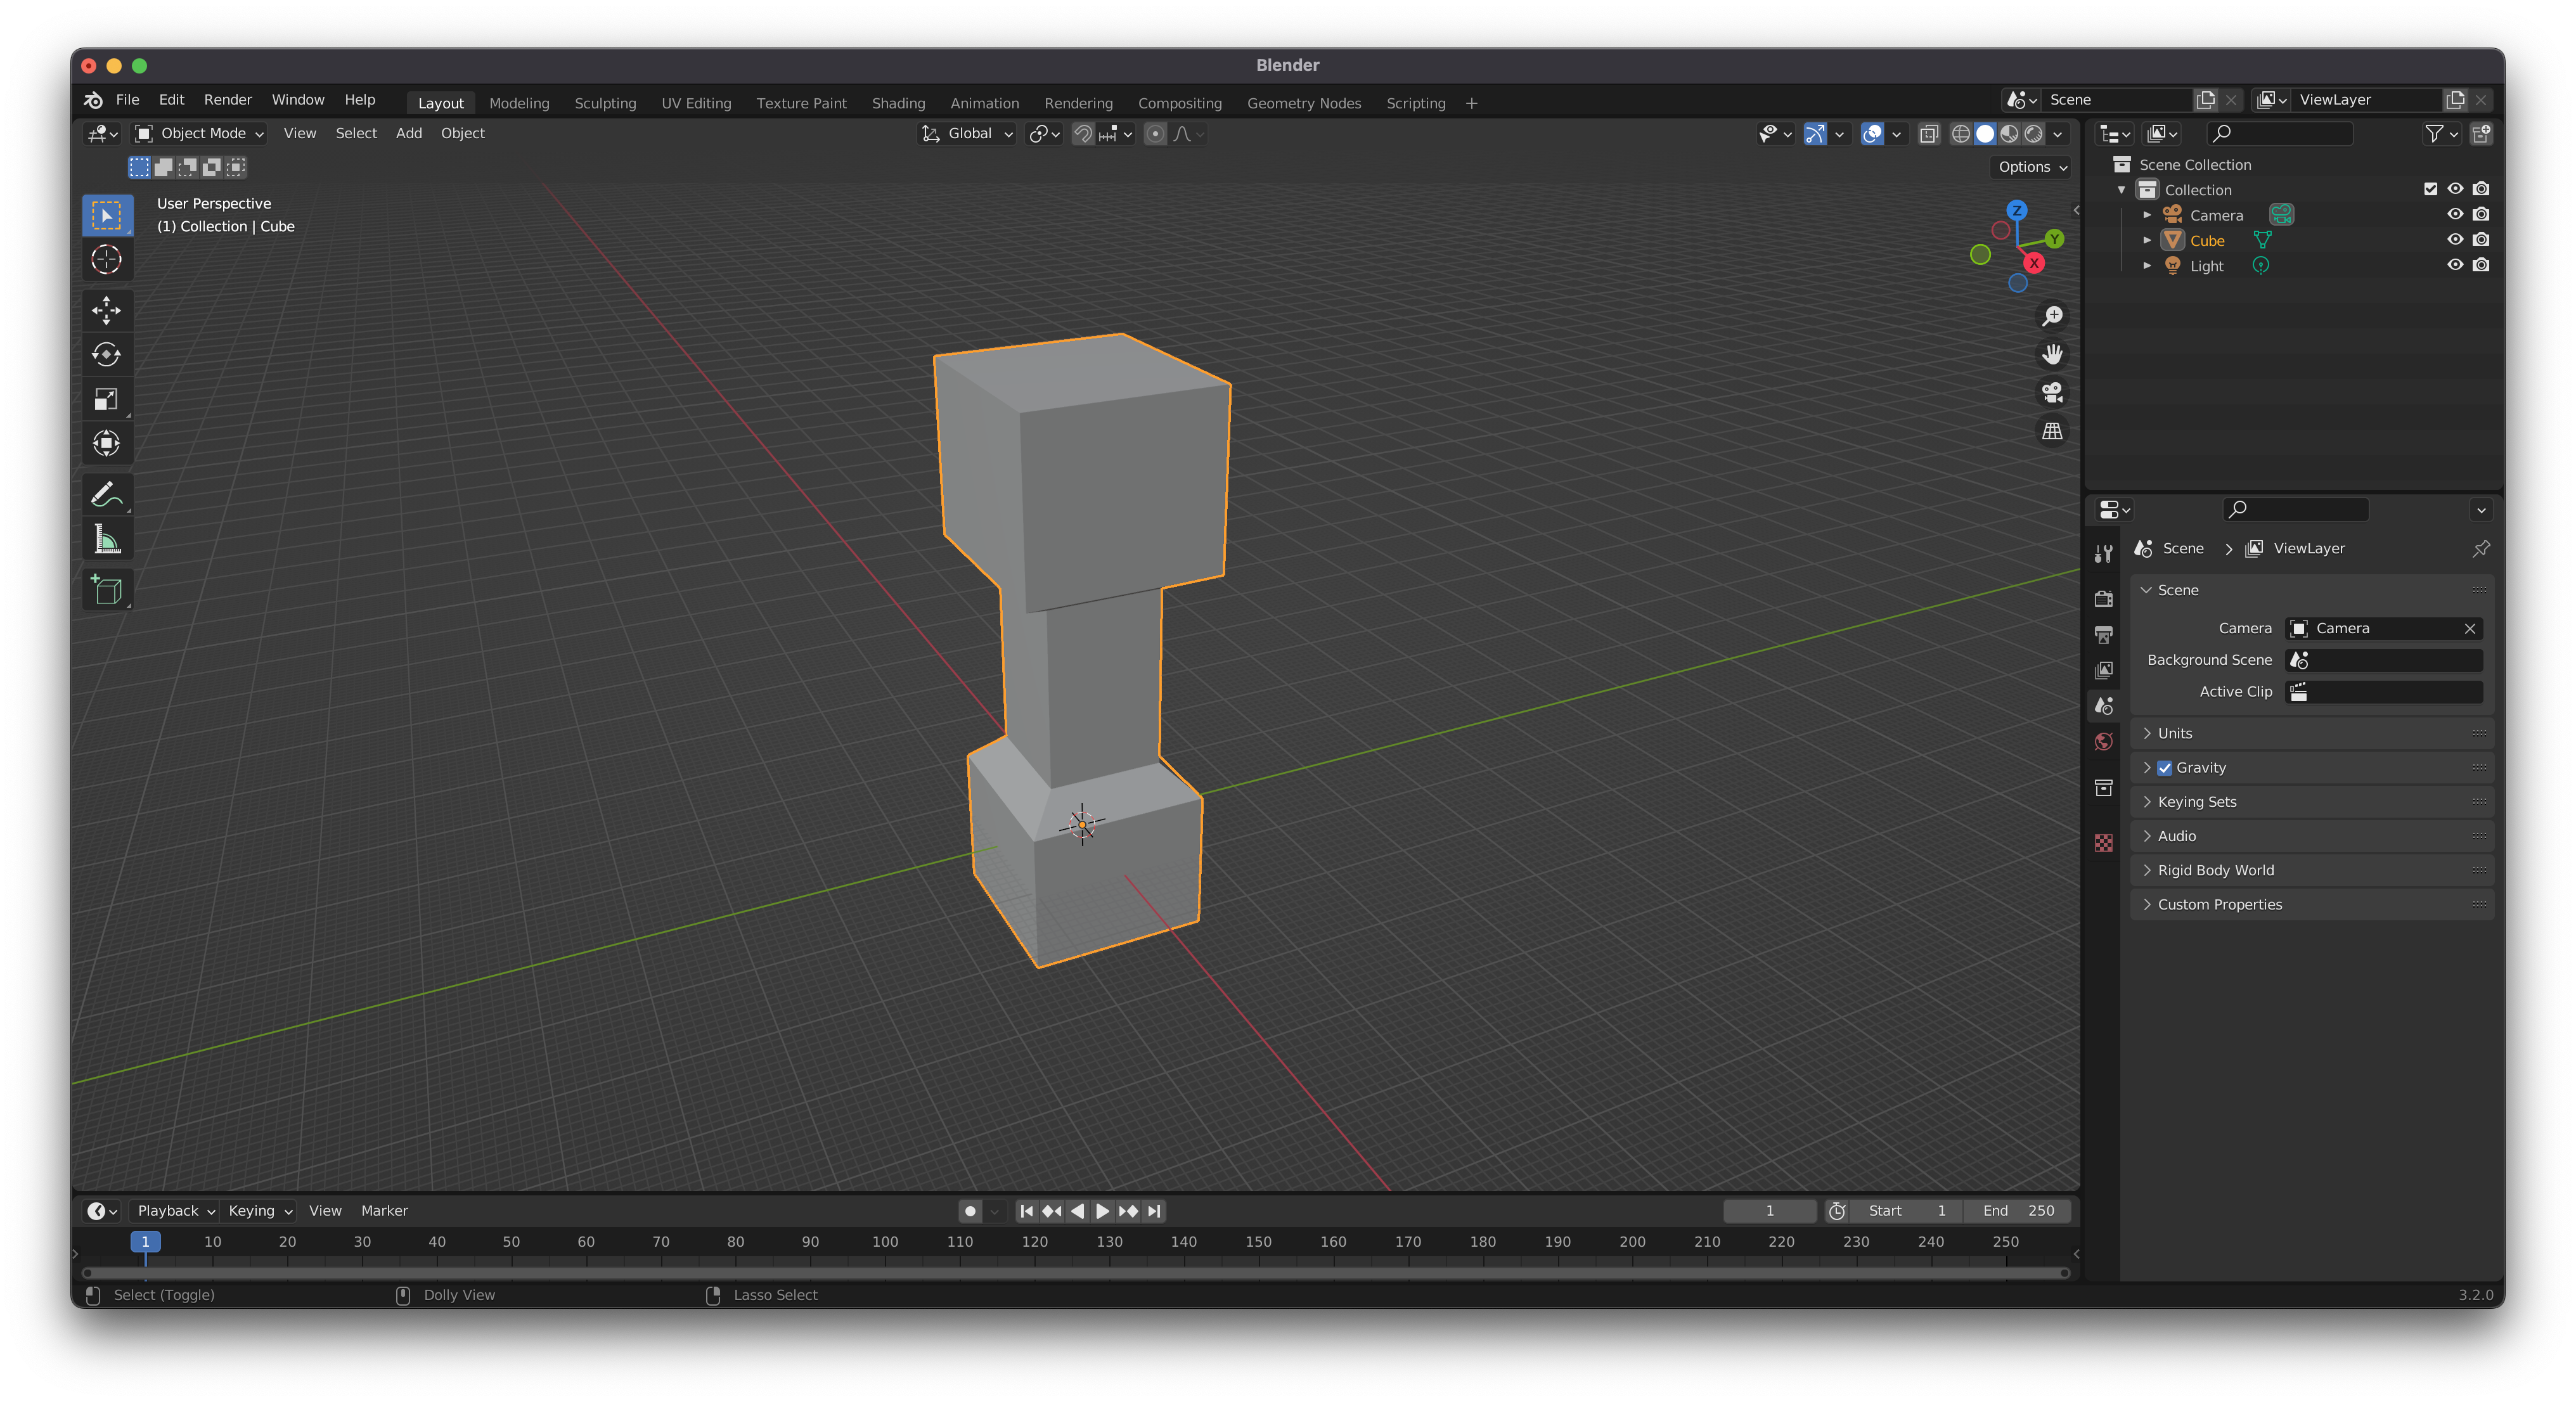
World Building
From my notes at the time:
I managed to create two adjoining spaces connected by a cylinder. Some parts are inside out because of... reasons. I’ve tried to apply a “Concrete” material to the cylinder, but it mostly just looks grey.
I think I could’ve textured these things, but that’s a complication I don’t want to deal with at the moment.
The inside out nature is due to the normals being in the wrong direction. A constant bane!
Why not just use a Quake map, I say?
In my attempts to make my life easier I found a way to import Quake 1 maps into Blender.
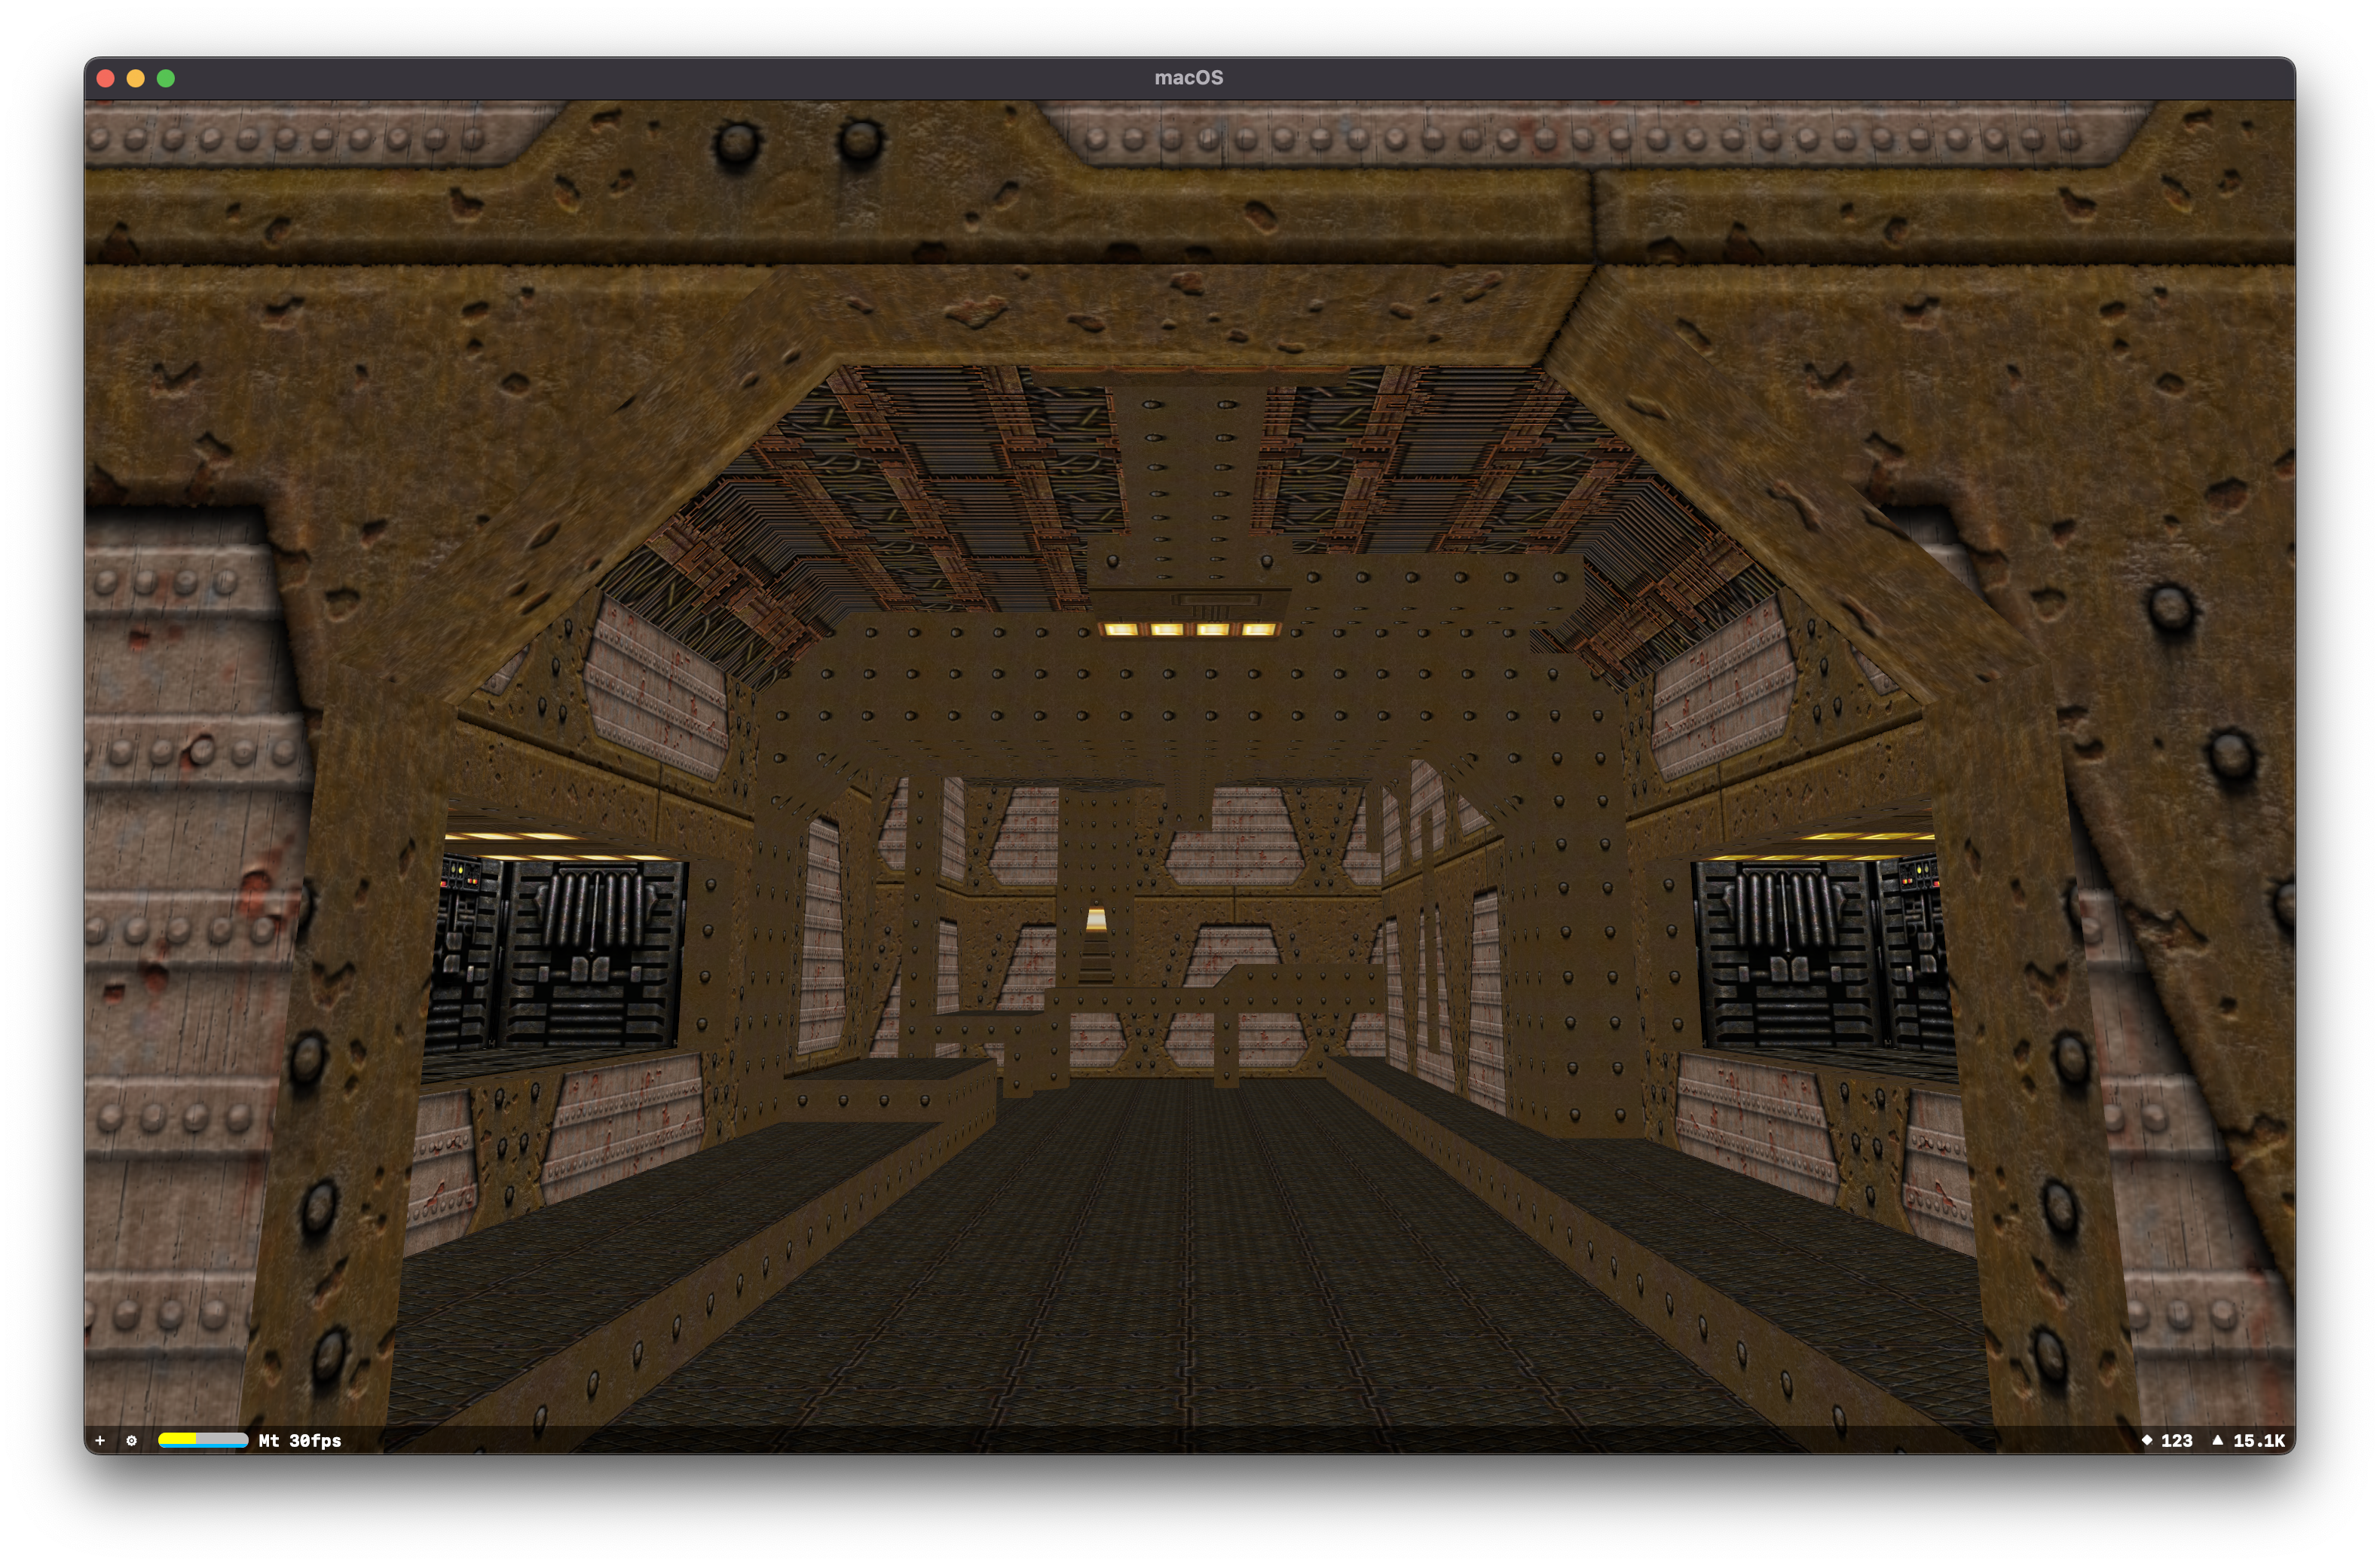
The Slipgate Complex is the first level of the Dimension of the Doomed. The level serves as a relatively gentle introduction to the gameplay of Quake (even on harder skill settings). It consists of two buildings with a small River) between them. The smaller building is where the player starts and it is relatively safer. The larger building is where most of the action takes place - it features several larger rooms, a large Slime) pool, and a series of platforms above it.
The textures are from a project to upscale the original Quake 1 textures. The lighting is also enabled, but it was neat to see.
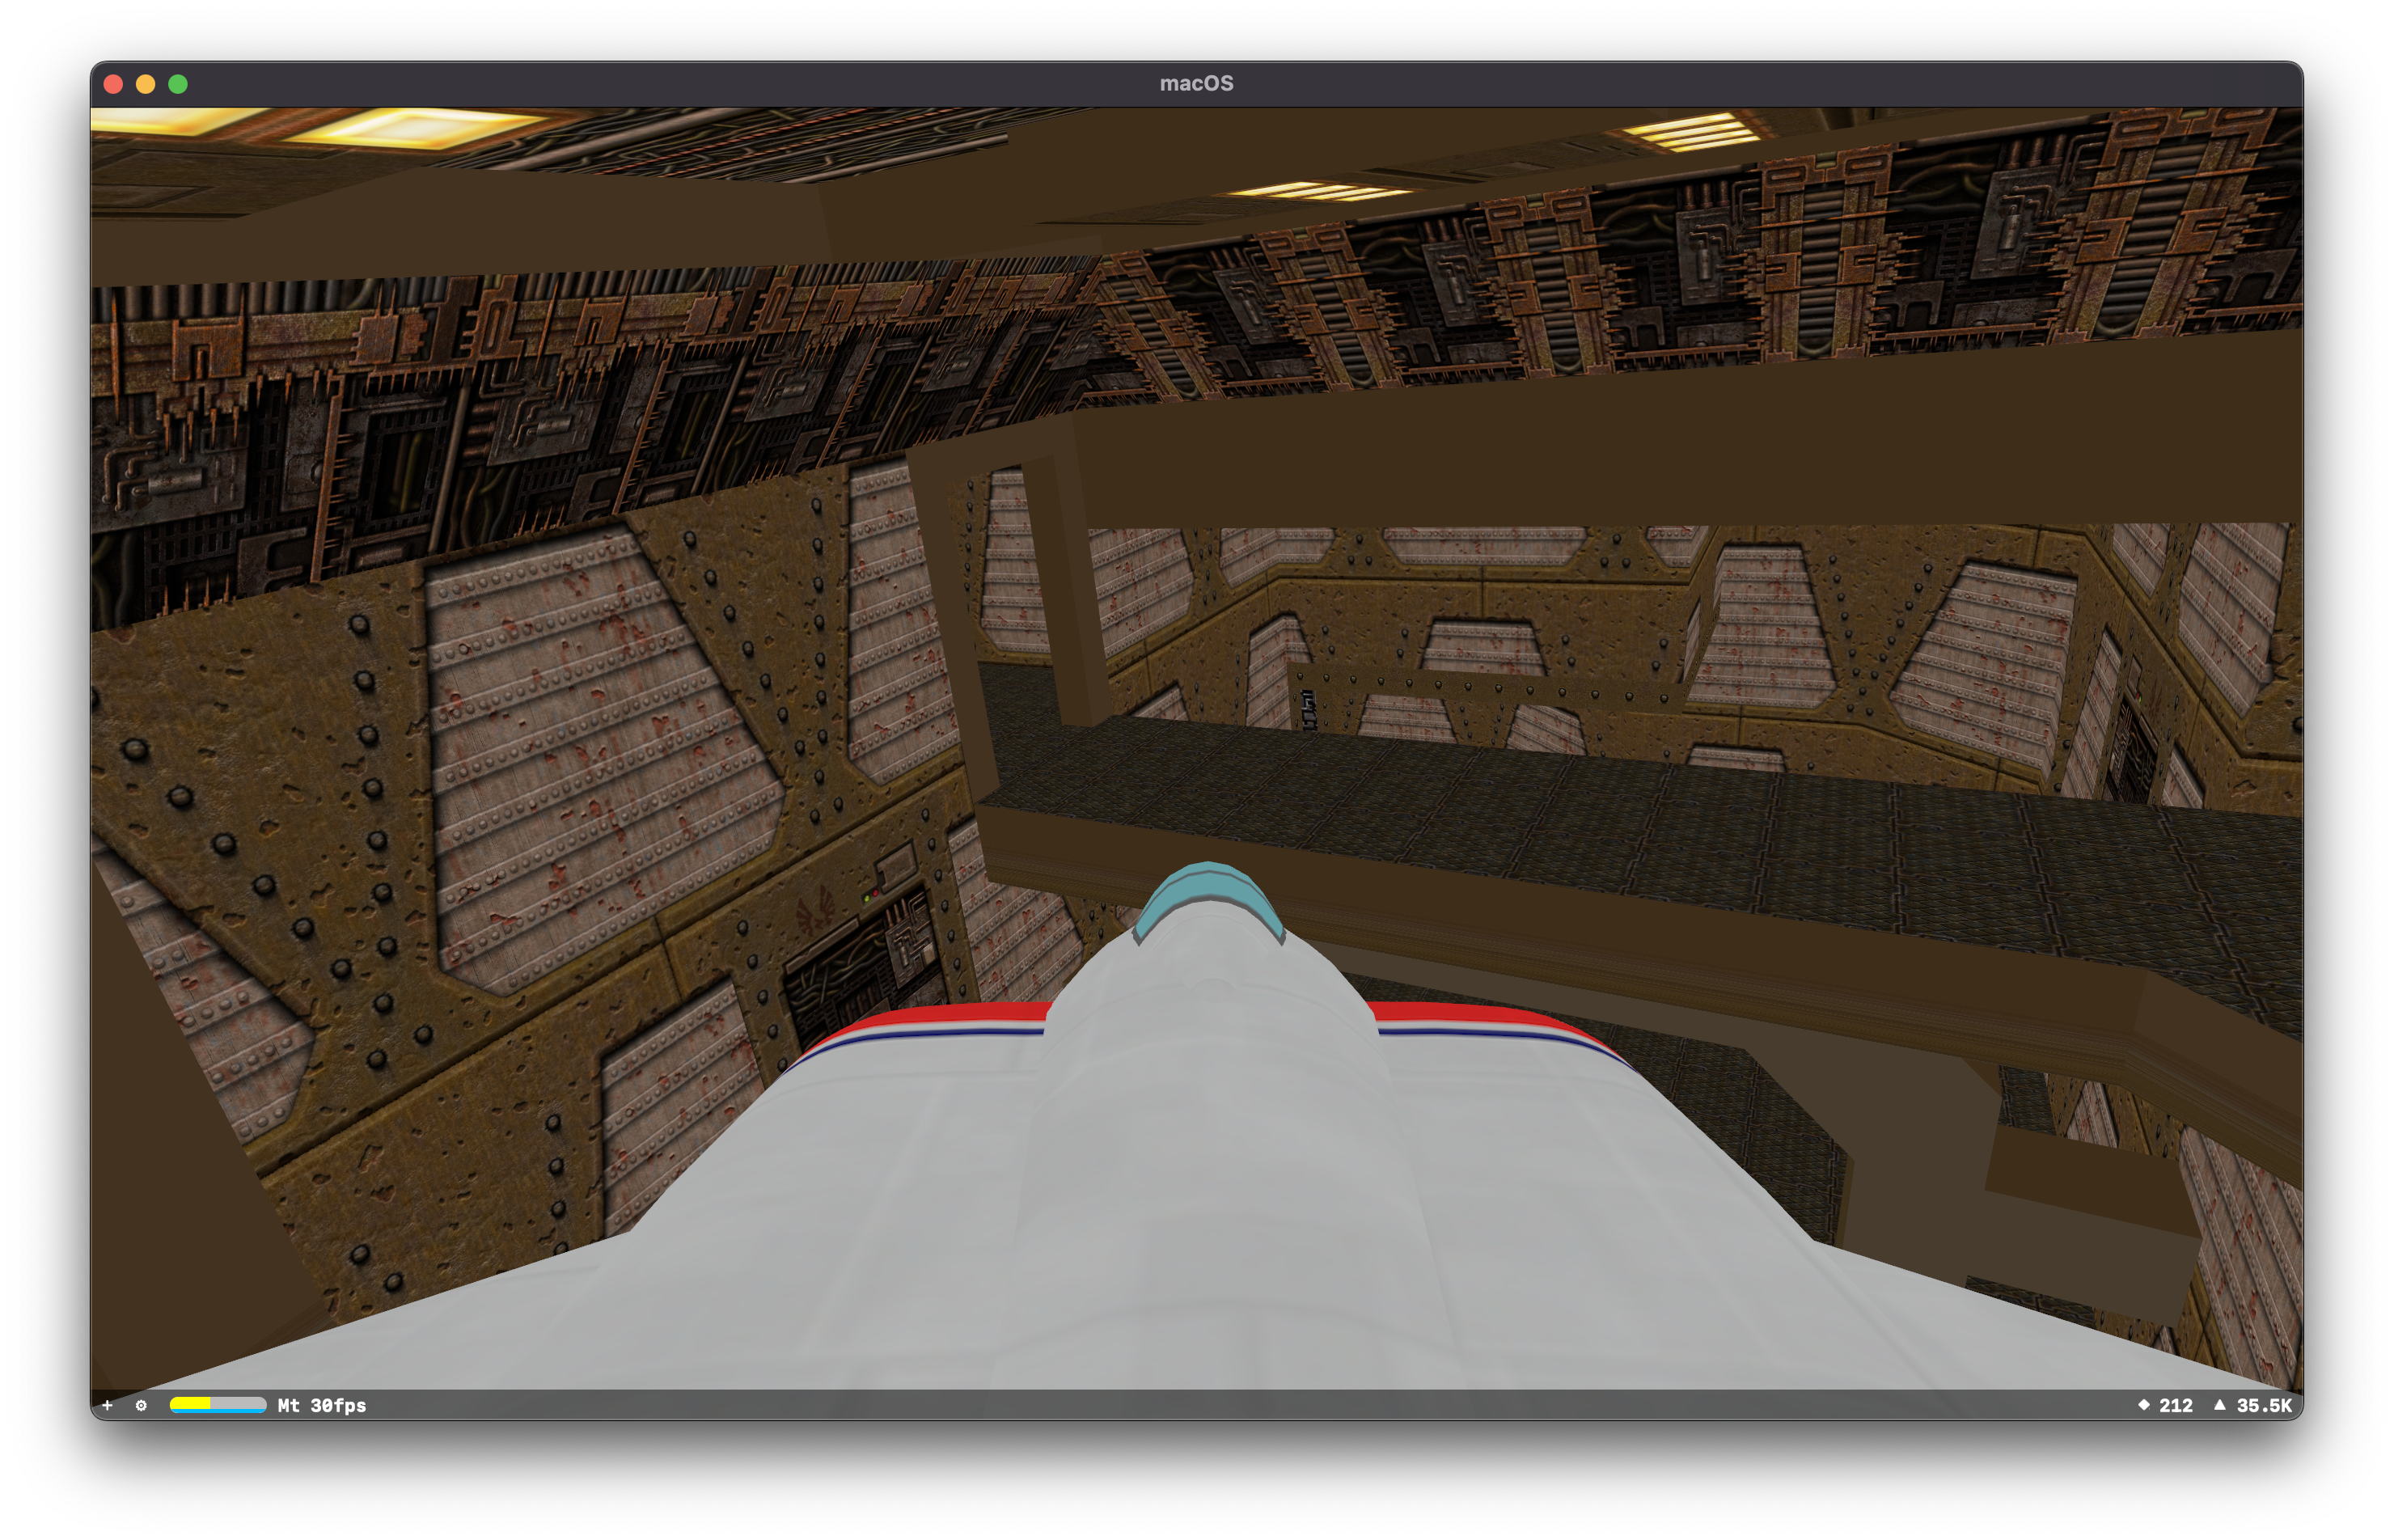
Eventually I added in the jet model that you get from the SceneKit starter project. I was able to fly through the level, which was pretty exciting.
Best laid plans, undone
The first thing I wanted to sort out was going to be some way of handling interactions between my "level geometry" and the player. There's a lot of ways to solve that set of problems, but I endeavoured to make SceneKit's problem so I didn't have to deal with it.

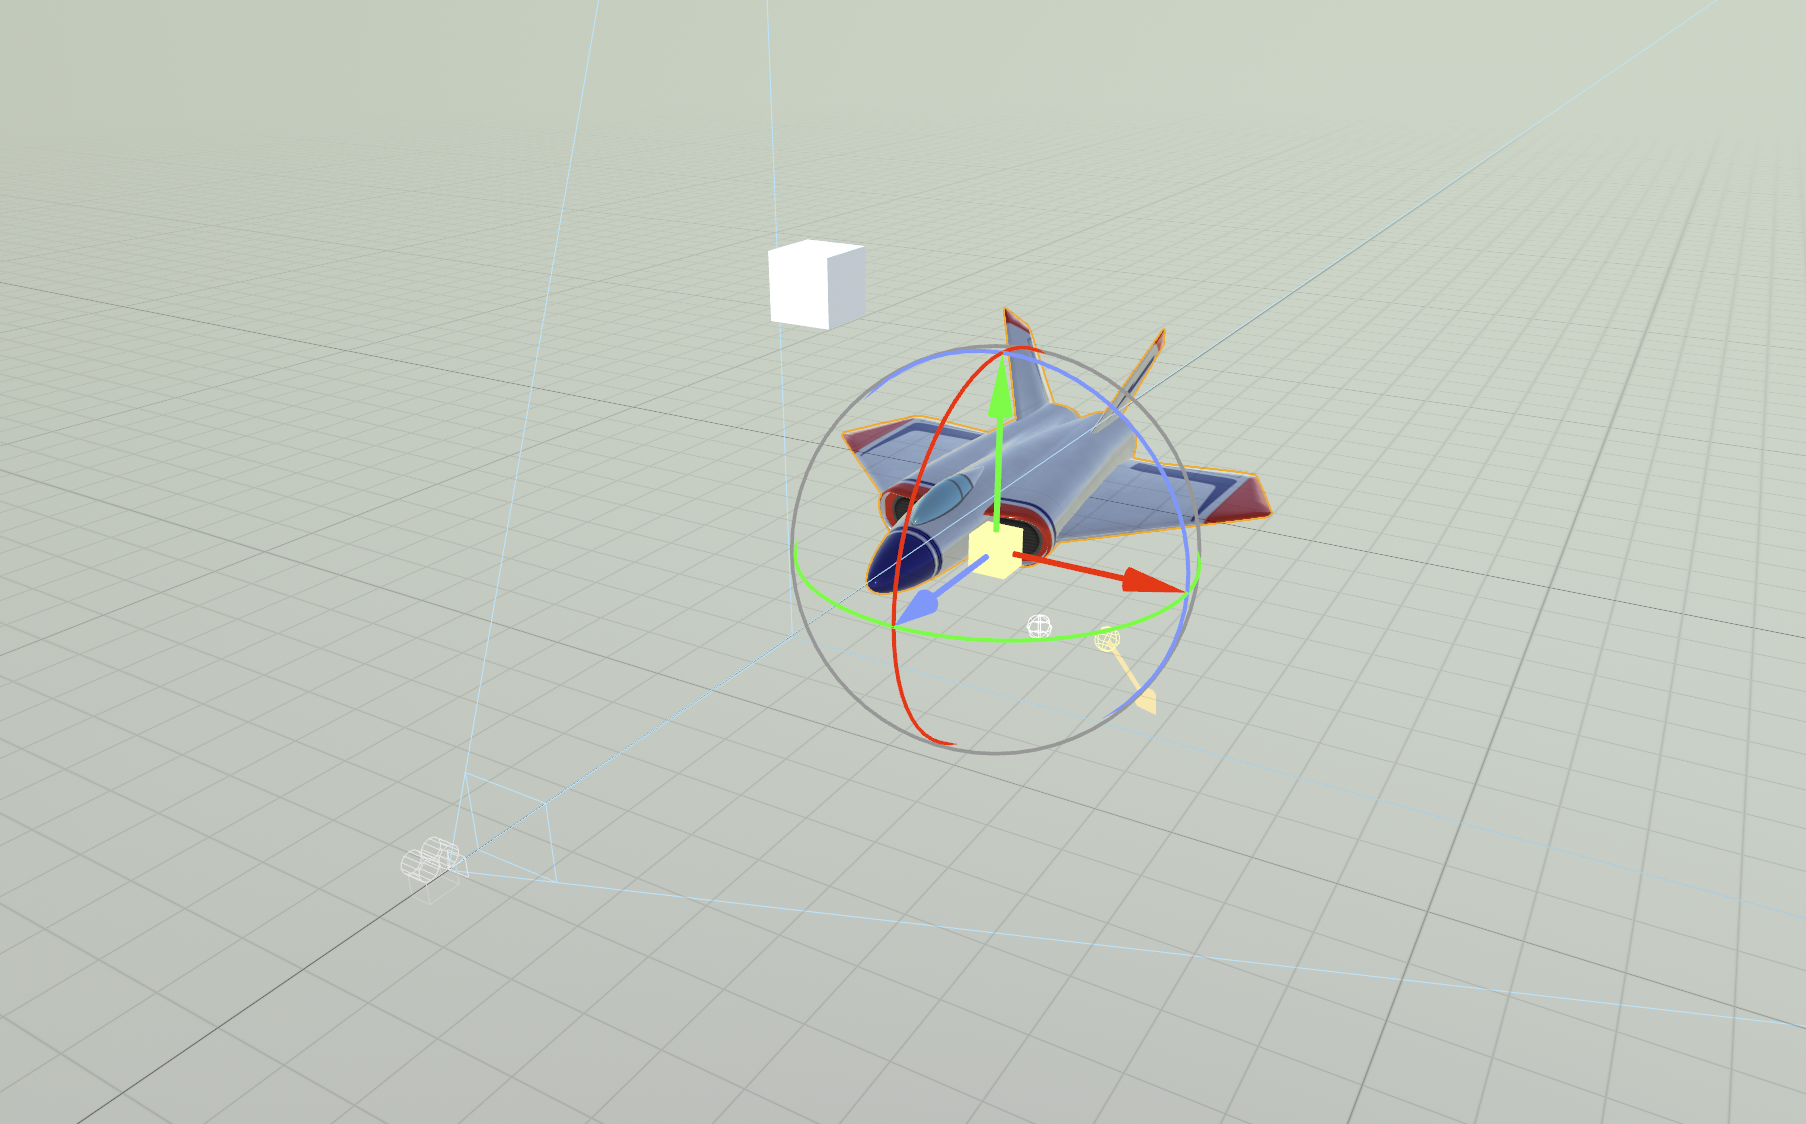
The base object in SceneKit Scene is called a SCNNode
A structural element of a scene graph, representing a position and transform in a 3D coordinate space, to which you can attach geometry, lights, cameras, or other displayable content.
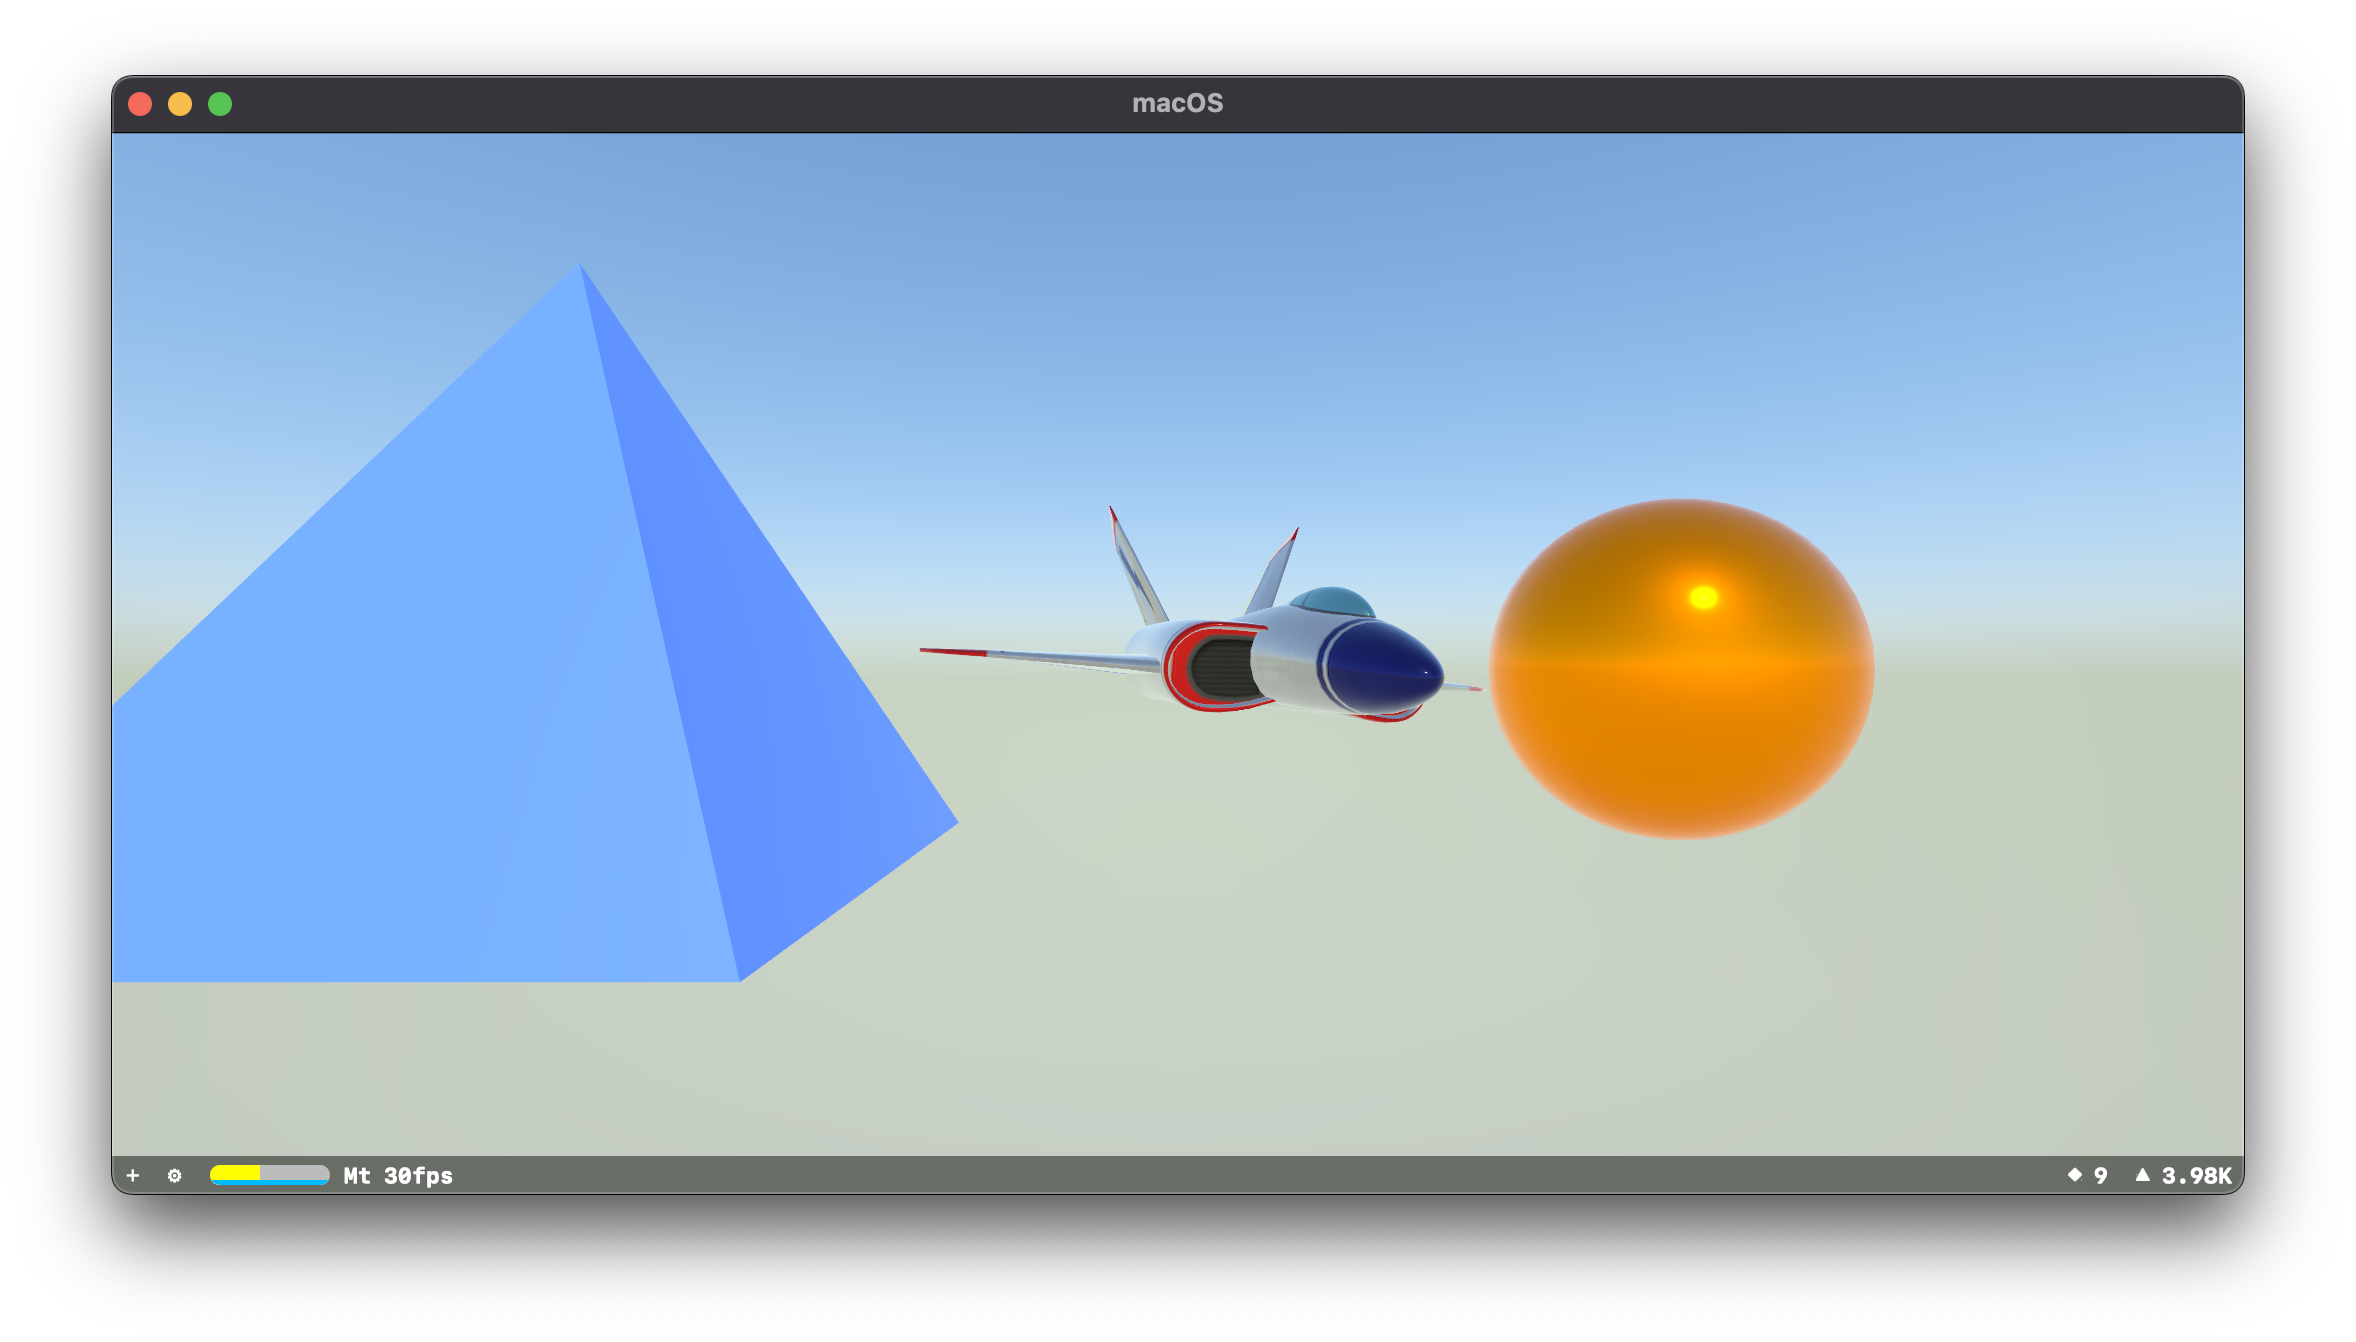
So I've created two new nodes, given them the geometry of a pyramid and a sphere. They also have a physics system which means that when the jet model collides with the pyramid, it causes the wing to lift up. Or when the jet model collides with the sphere, it rotates.
Great. Excellent.
Levels, Mapping
One problem though, is that a game world populated entirely with spheres and pyramids is only so compelling. I need to be able to create arbitrary structures or layouts.
The last time I spent any time with a 3D Modelling application was quite some time ago, and I preferred Modo. However in the intervening span of time, Blender has become the de-facto modelling application for people who do not have some reason to use things like Maya or the other high quality and very expensive applications.
It works though, surprisingly.
The jet model dutifully bounces off the walls. I now have a way of creating things in Blender and making use of them in my project.
First things first
One thing about using SceneKit is that you get to use a "Scene Editor", that lets you inspect the scene and add new nodes to it.
The first thing I worked on was a way of getting the jet to move in various directions, and it was great to see that LightingShadows were just something you get for "free" depending on how you setup your scene:
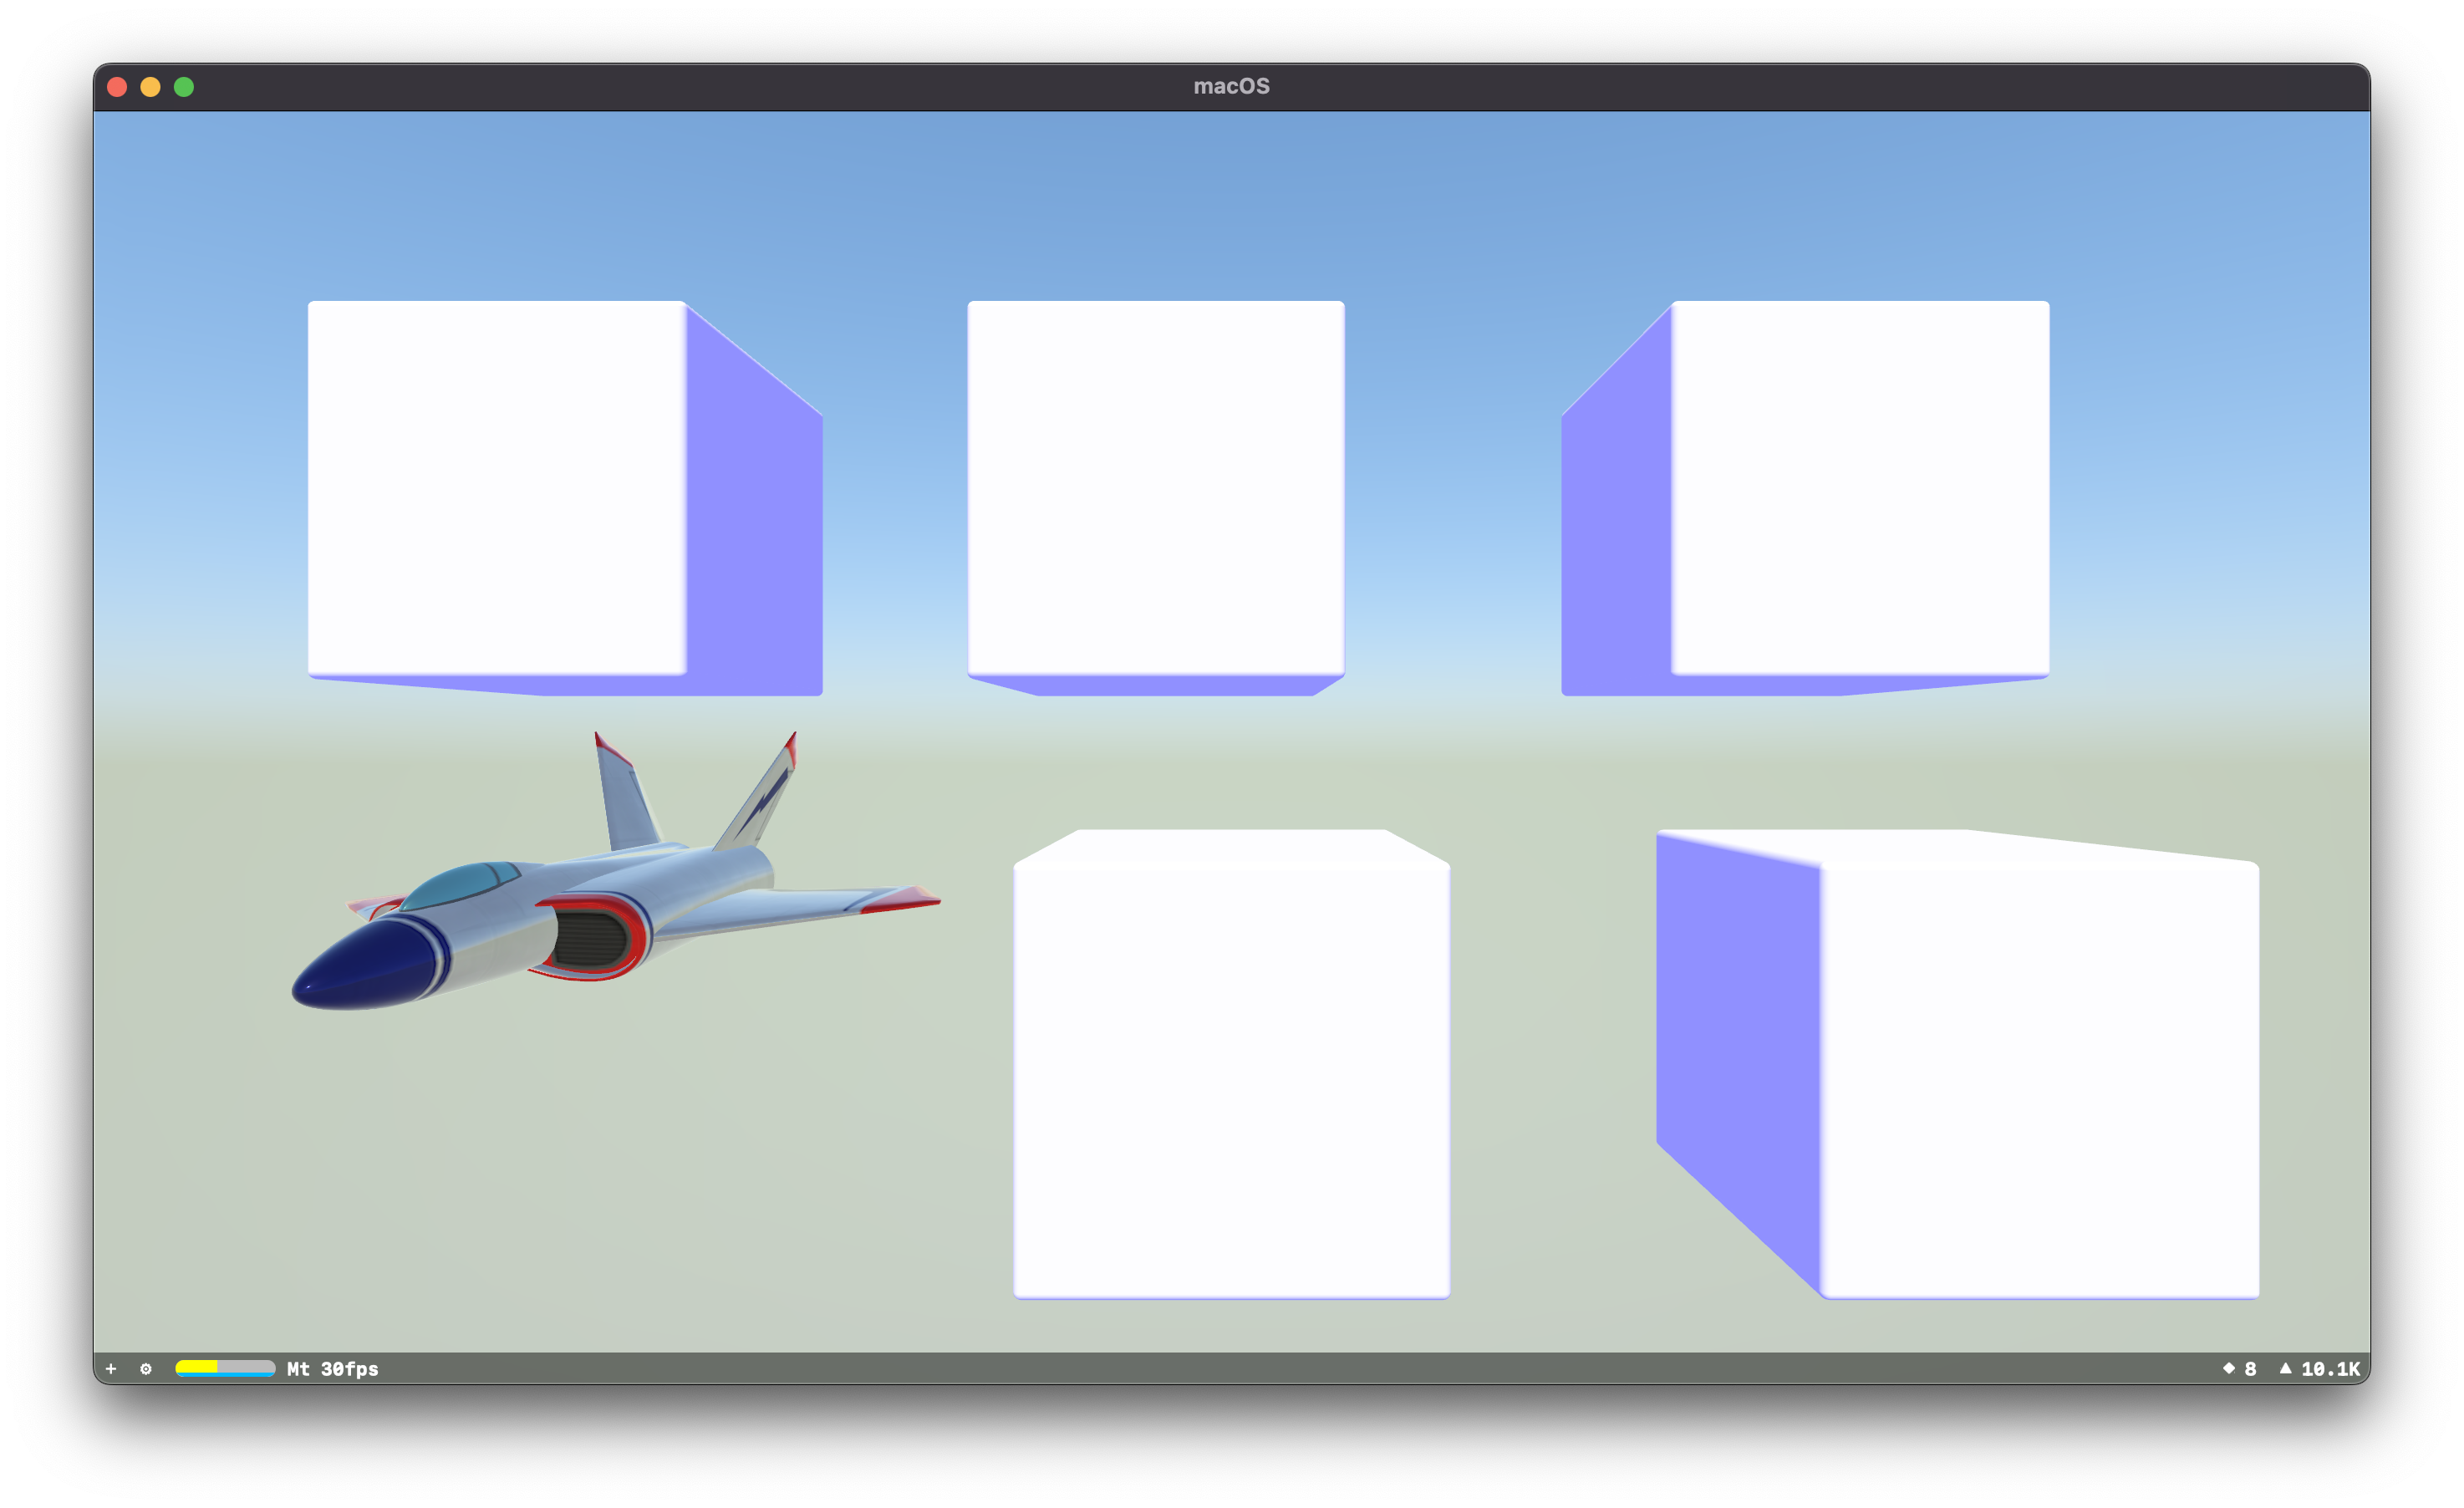
It's also possible to get realtime reflections:
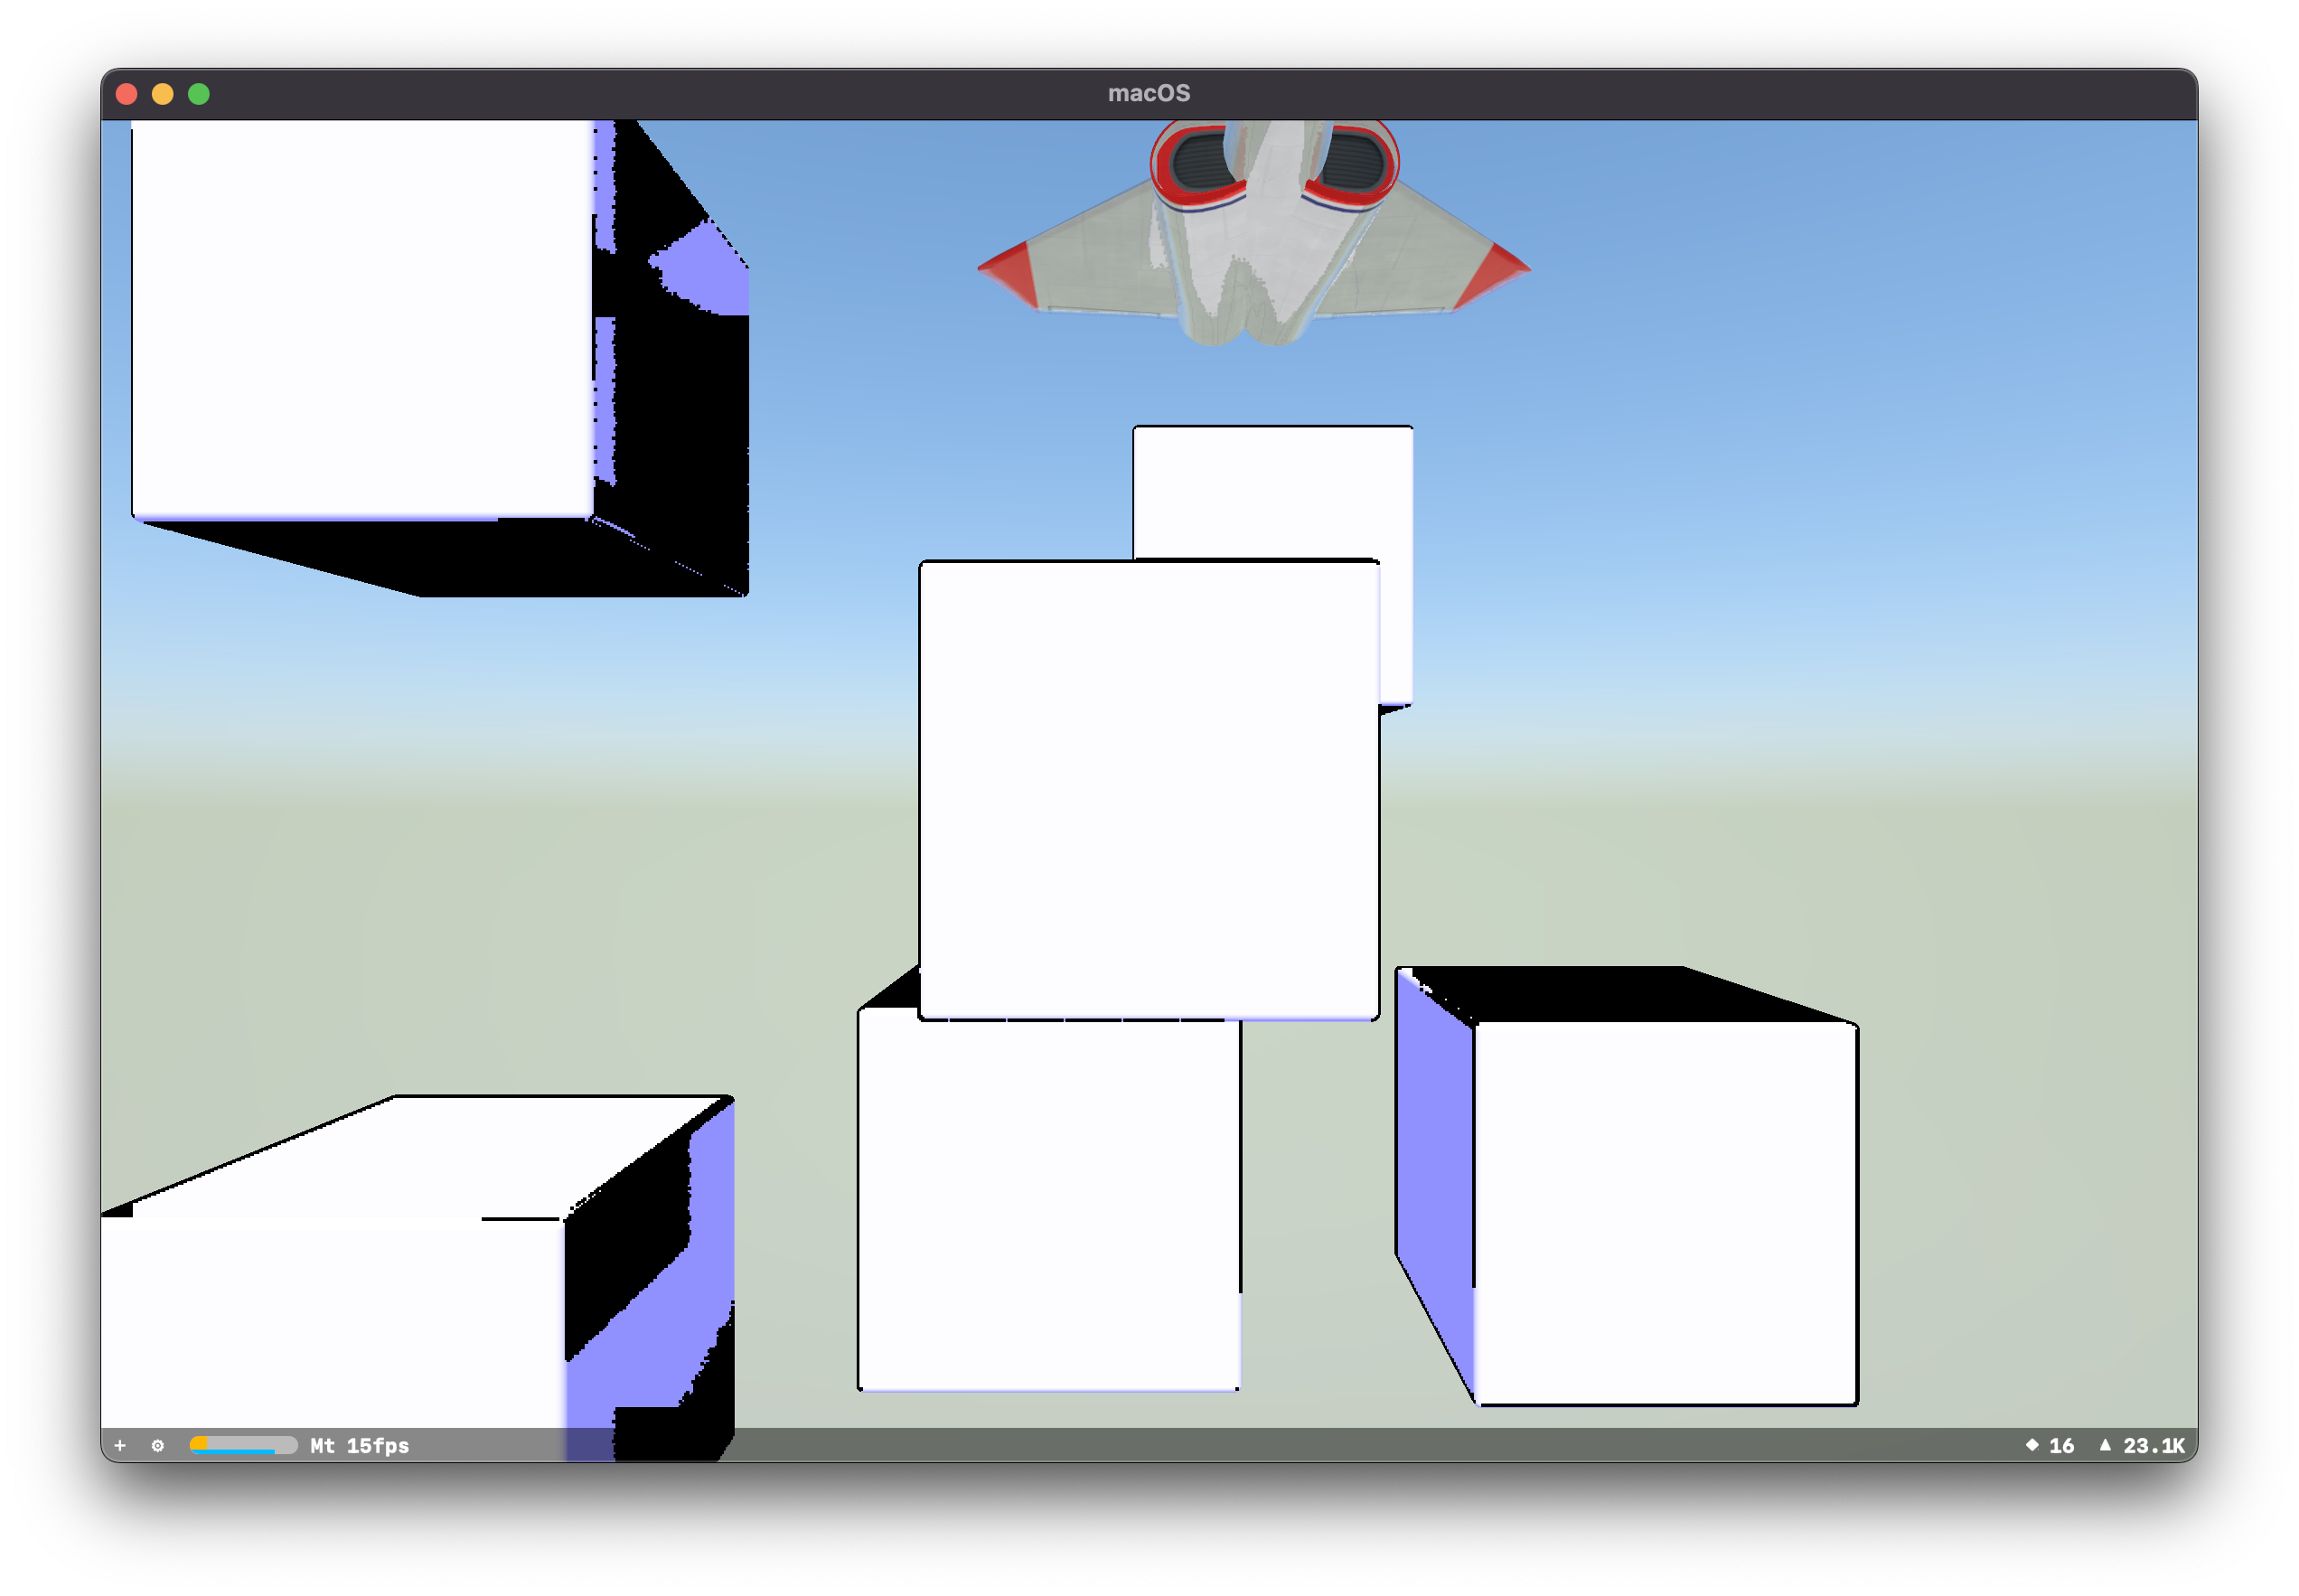
The cube faces are having some issues due to not having great support for Metal on the GPU I was using at the time. If you look at the shiny material of the jet you can make out the reflection of the white cube below it.
This is why I abandoned my own attempts at writing a game engine, stand on the shoulders of giants, and all that.
Gotta start somewhere
Upon hitting the rocky shores of reality with the dawning realization that I did not want to write everything from scratch, I searched for alternatives.
There are the ones that people might be aware of:
And some others that are similar but less well known. My main criteria was that it had to run on macOS, and preferably wasn't either C++ or C#. 1
That set of criteria left me with SceneKit.
Goal Setting
So at the end of June 2022, I decided to write-up my plan and start seeing where that would take me.
Kekouan
Grand Plans
I think I have accrued enough knowledge and hubris to attempt to create a vision of something and then attempt to execute that idea.
I’m going to try to attempt to create a game similar in substance to id Software’s 1992 Wolfenstein 3D. The original Wolfenstein 3D was broken up into episodes, the first one had 10 levels and I believe each episode had a “boss fight”.
It had 4 weapons:
• Knife
• Pistol
• Machine Gun
• Chain Gun
In the first episode I believe you only encounter 4 regular enemies plus the “boss”.
It also featured sound effects and music, which I will need to consider as well.
Things that I will consider to be “out of scope”:
Networking/Multiplayer
Verticality
Technical Aspects
I’m planning on creating this using Apple’s SceneKit framework. This is conceptually similar to the sorts of systems offered by Unity and Unreal Engine, in that it offers you things like:
SceneKit is a high-level 3D graphics framework that helps you create 3D animated scenes and effects in your apps. It incorporates a physics engine, a particle generator, and easy ways to script the actions of 3D objects so you can describe your scene in terms of its content — geometry, materials, lights, and cameras — then animate it by describing changes to those objects.
Plot / Theme
I don’t really want to re-hash the themes/plot to Wolfenstein 3D. I’ll fill this in later, perhaps.
Style / Substance
I’m not sure assets I have for this that I want to use, or what I’ll be able to procure or create. I’m going to focus on prototype things for now.
Goal
So what I’m trying to create is a single-player first-person shooter that has ~4 weapons, ~4 enemies, a boss, and ~10 or so levels. Ideally using assets I have either created myself, or licensed. I don’t really think there’s much in the way of demand for something like this as a commercial endeavour, but it could be something I toss in a portfolio / release for free.
And lo, this is what you get with the default SceneKit project:
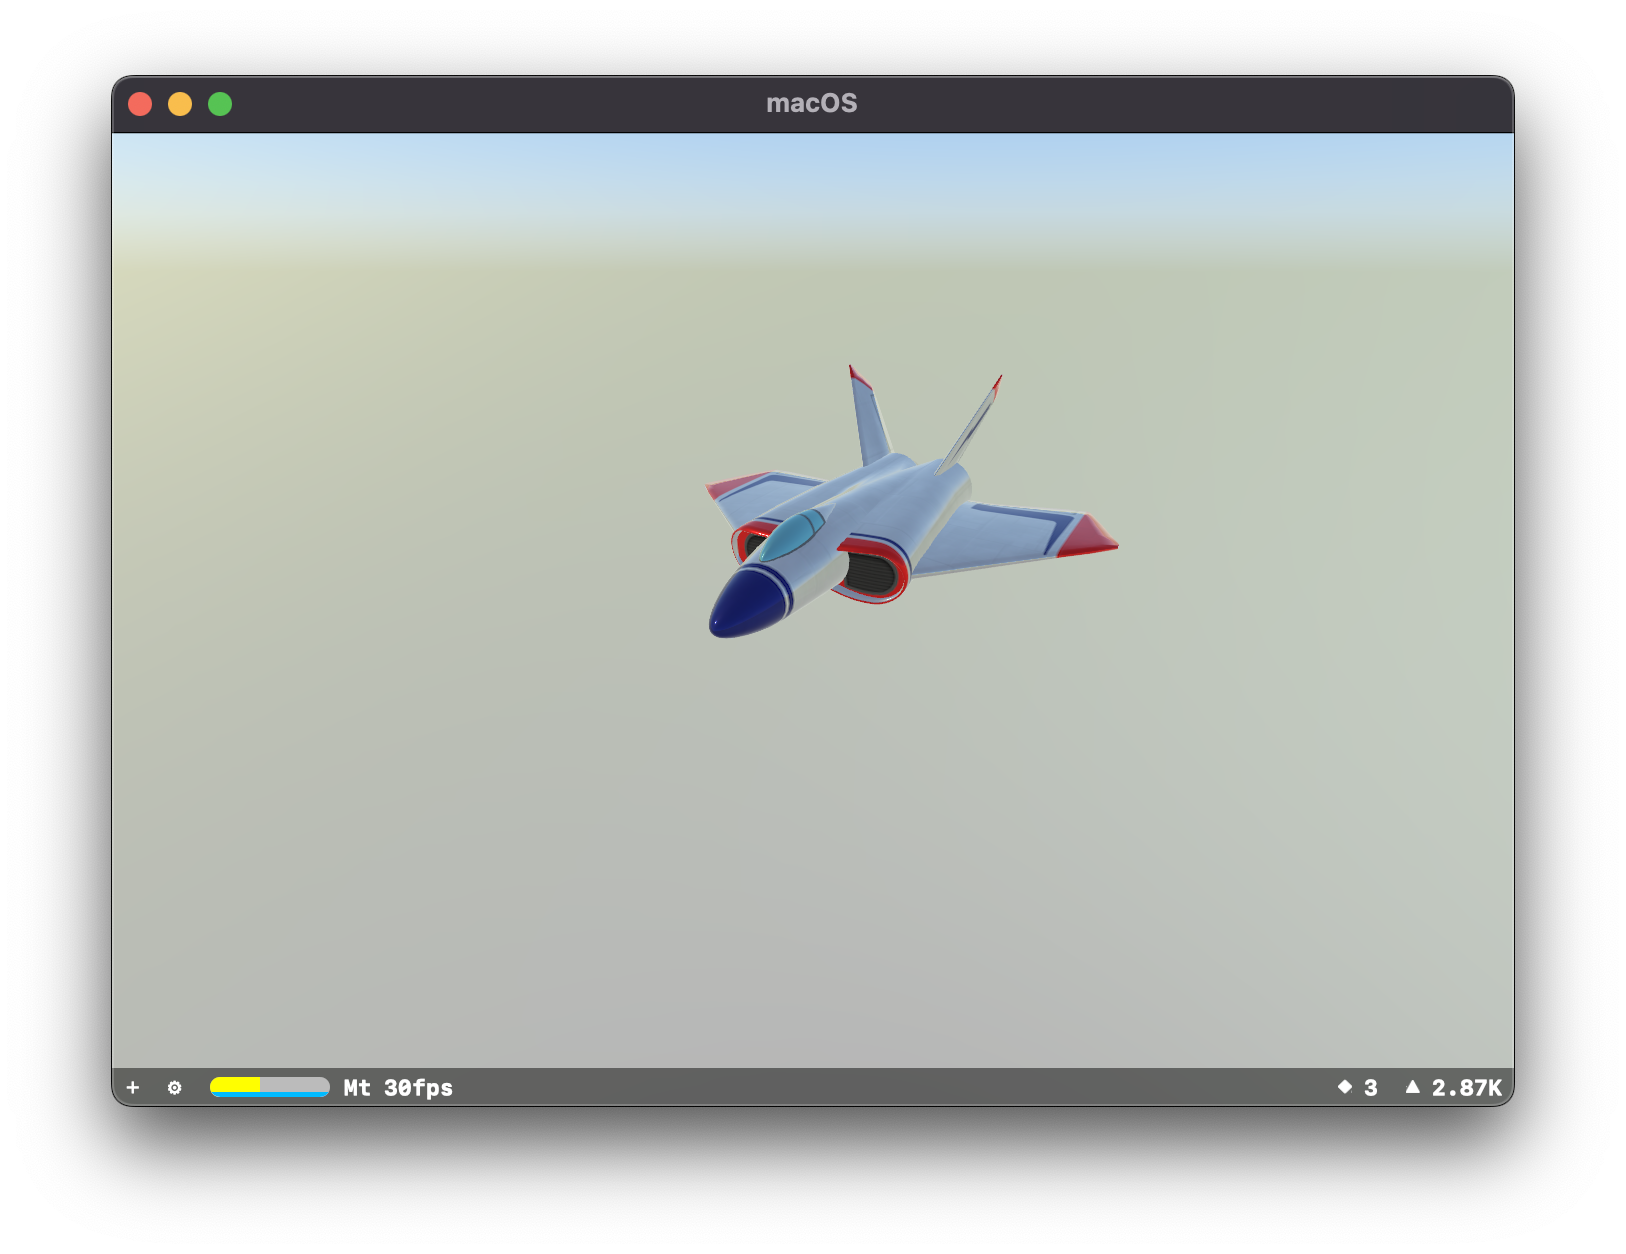
The jet model just rotates in space, you control the camera, and if you click on the jet it briefly turns red and blinks for a moment. Humble beginnings, but it has a physics system, sophisticated lighting/shadows and support for a surprising amount of 3D formats.
Although there are now Swift bindings for Godot↩
Q2Model, Part 10
Shadows
My plan to add shadows to Q2Model was to implement a depth map, but my shadows were only going to be computed from the view point of my Sunlight.
Just adding the depth map caused everything to get very dark.
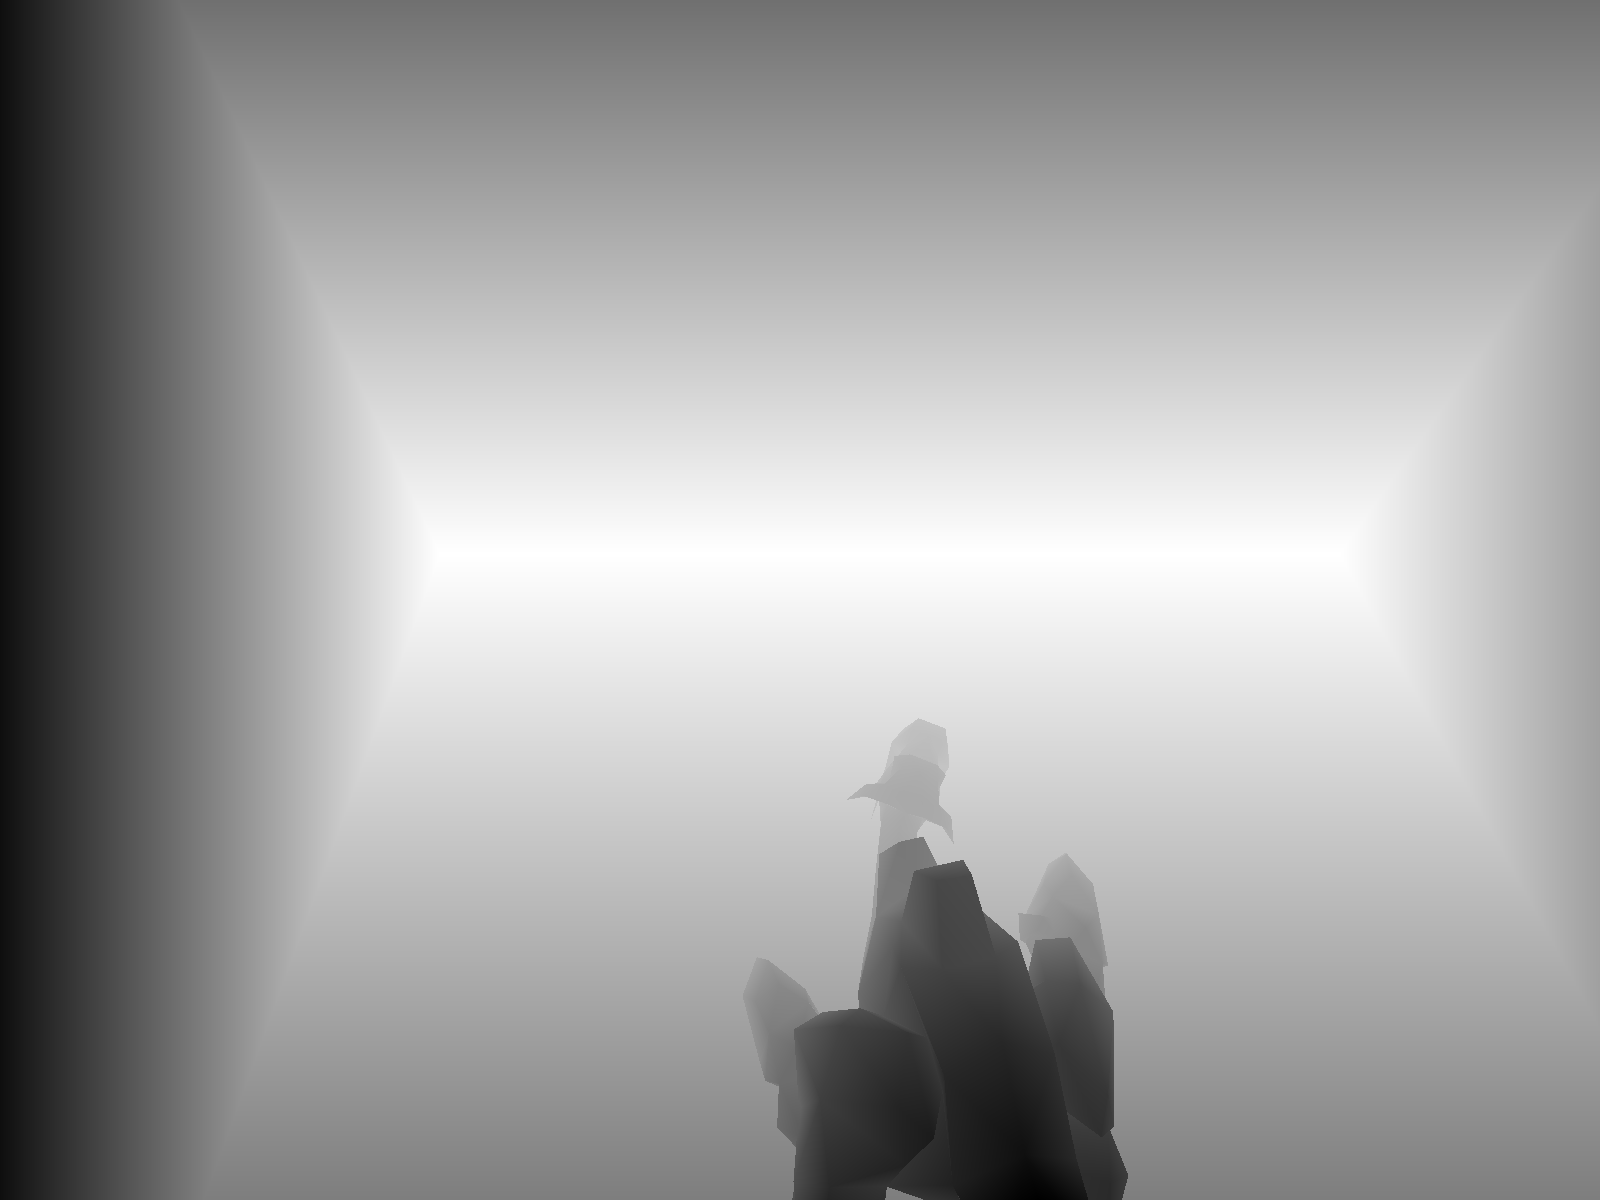
This is the perspective of the light that will be casting shadows, it's above and behind the model.
The first evidence I had that shadows were working, but nothing really identifiable. It moved as the model moved though, so that was exciting.
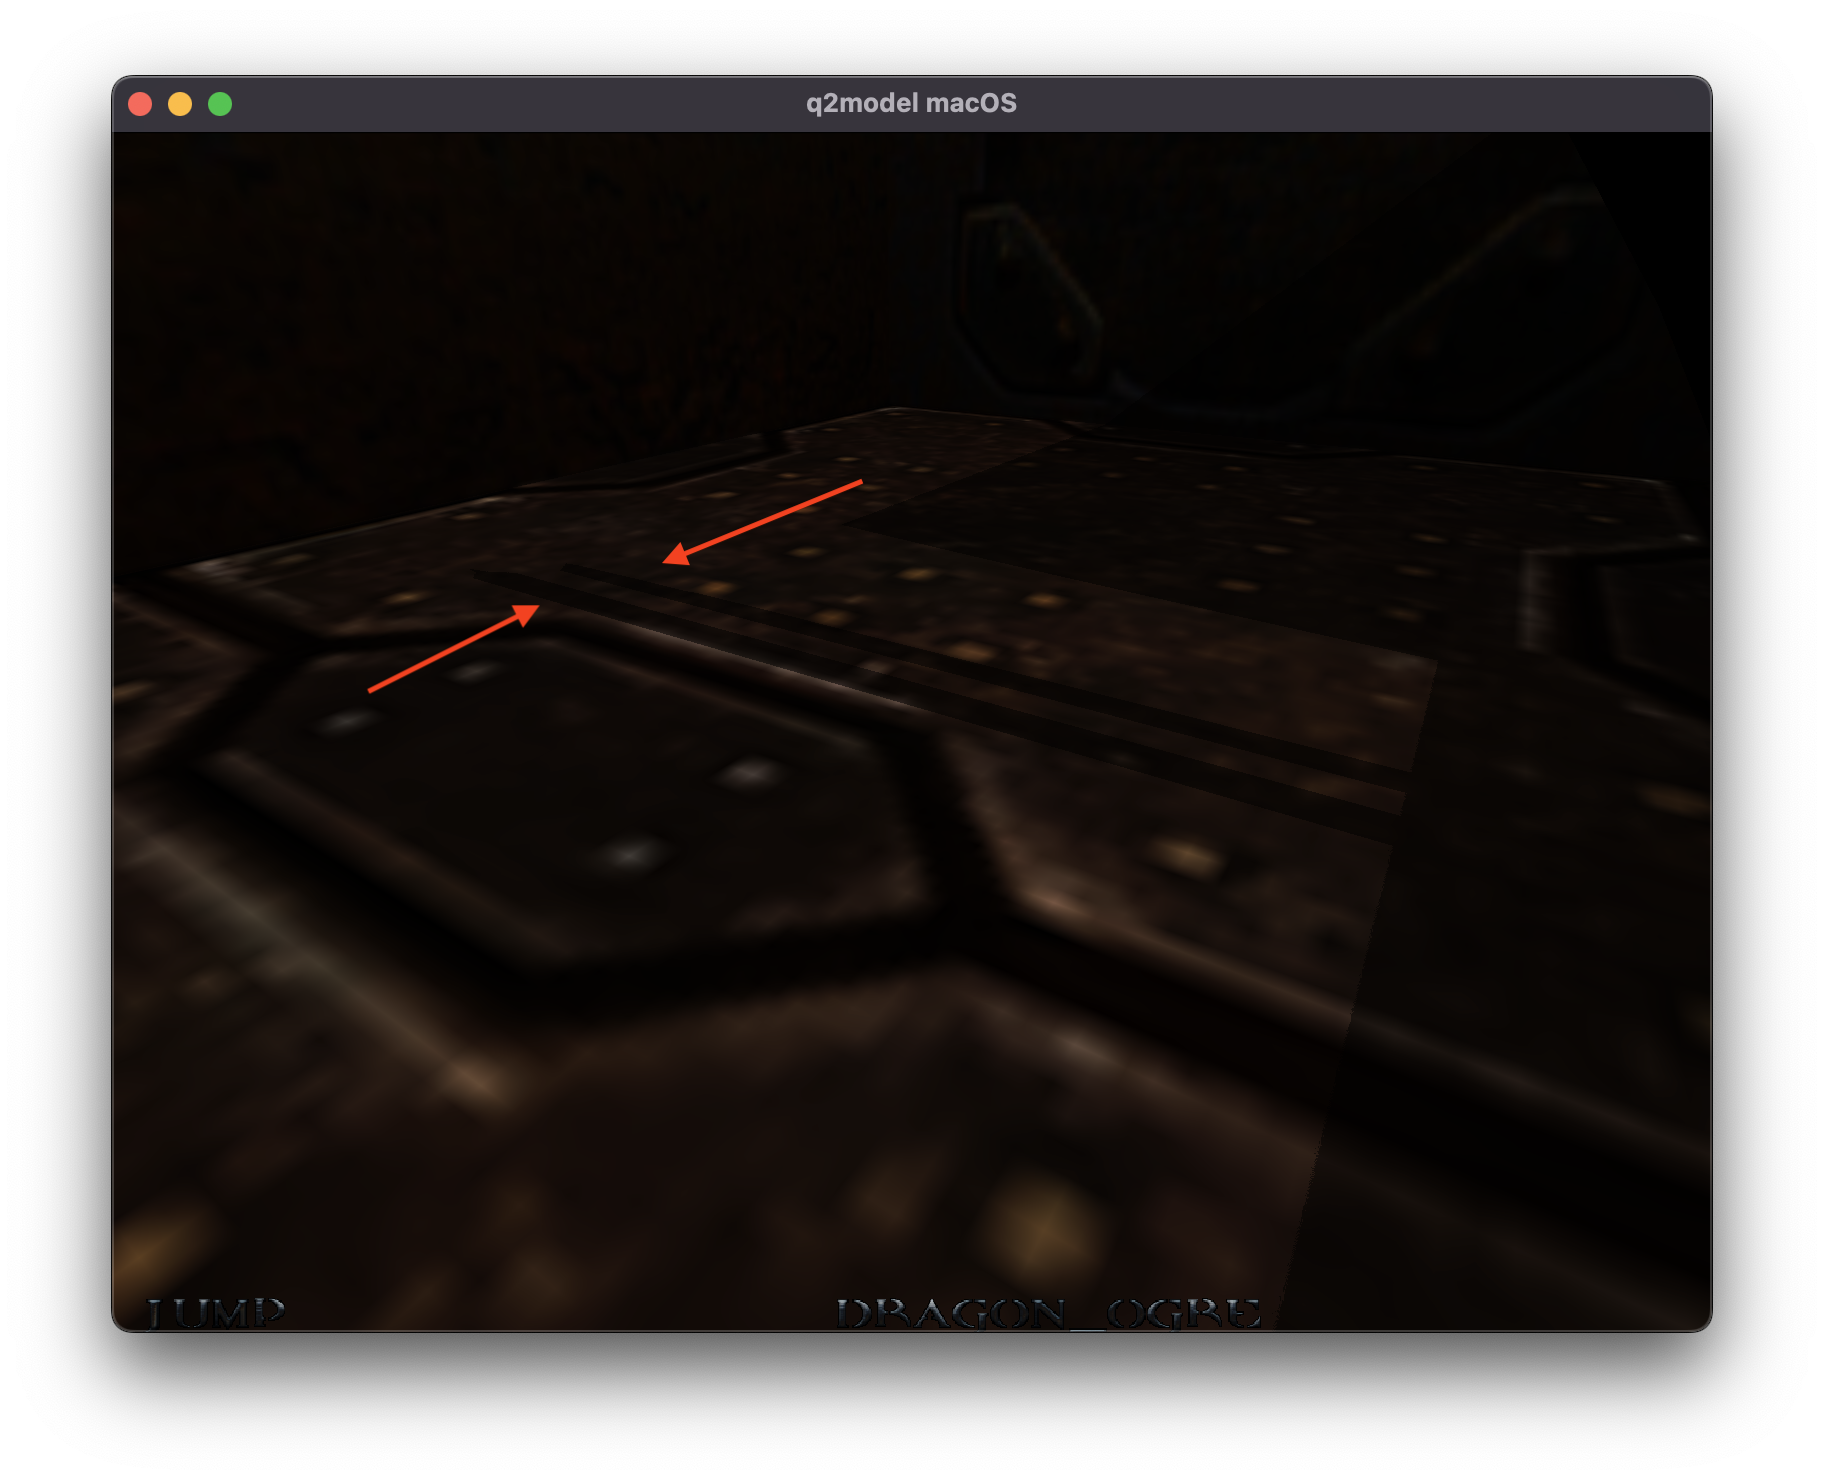
I also had an interesting wall shadow:
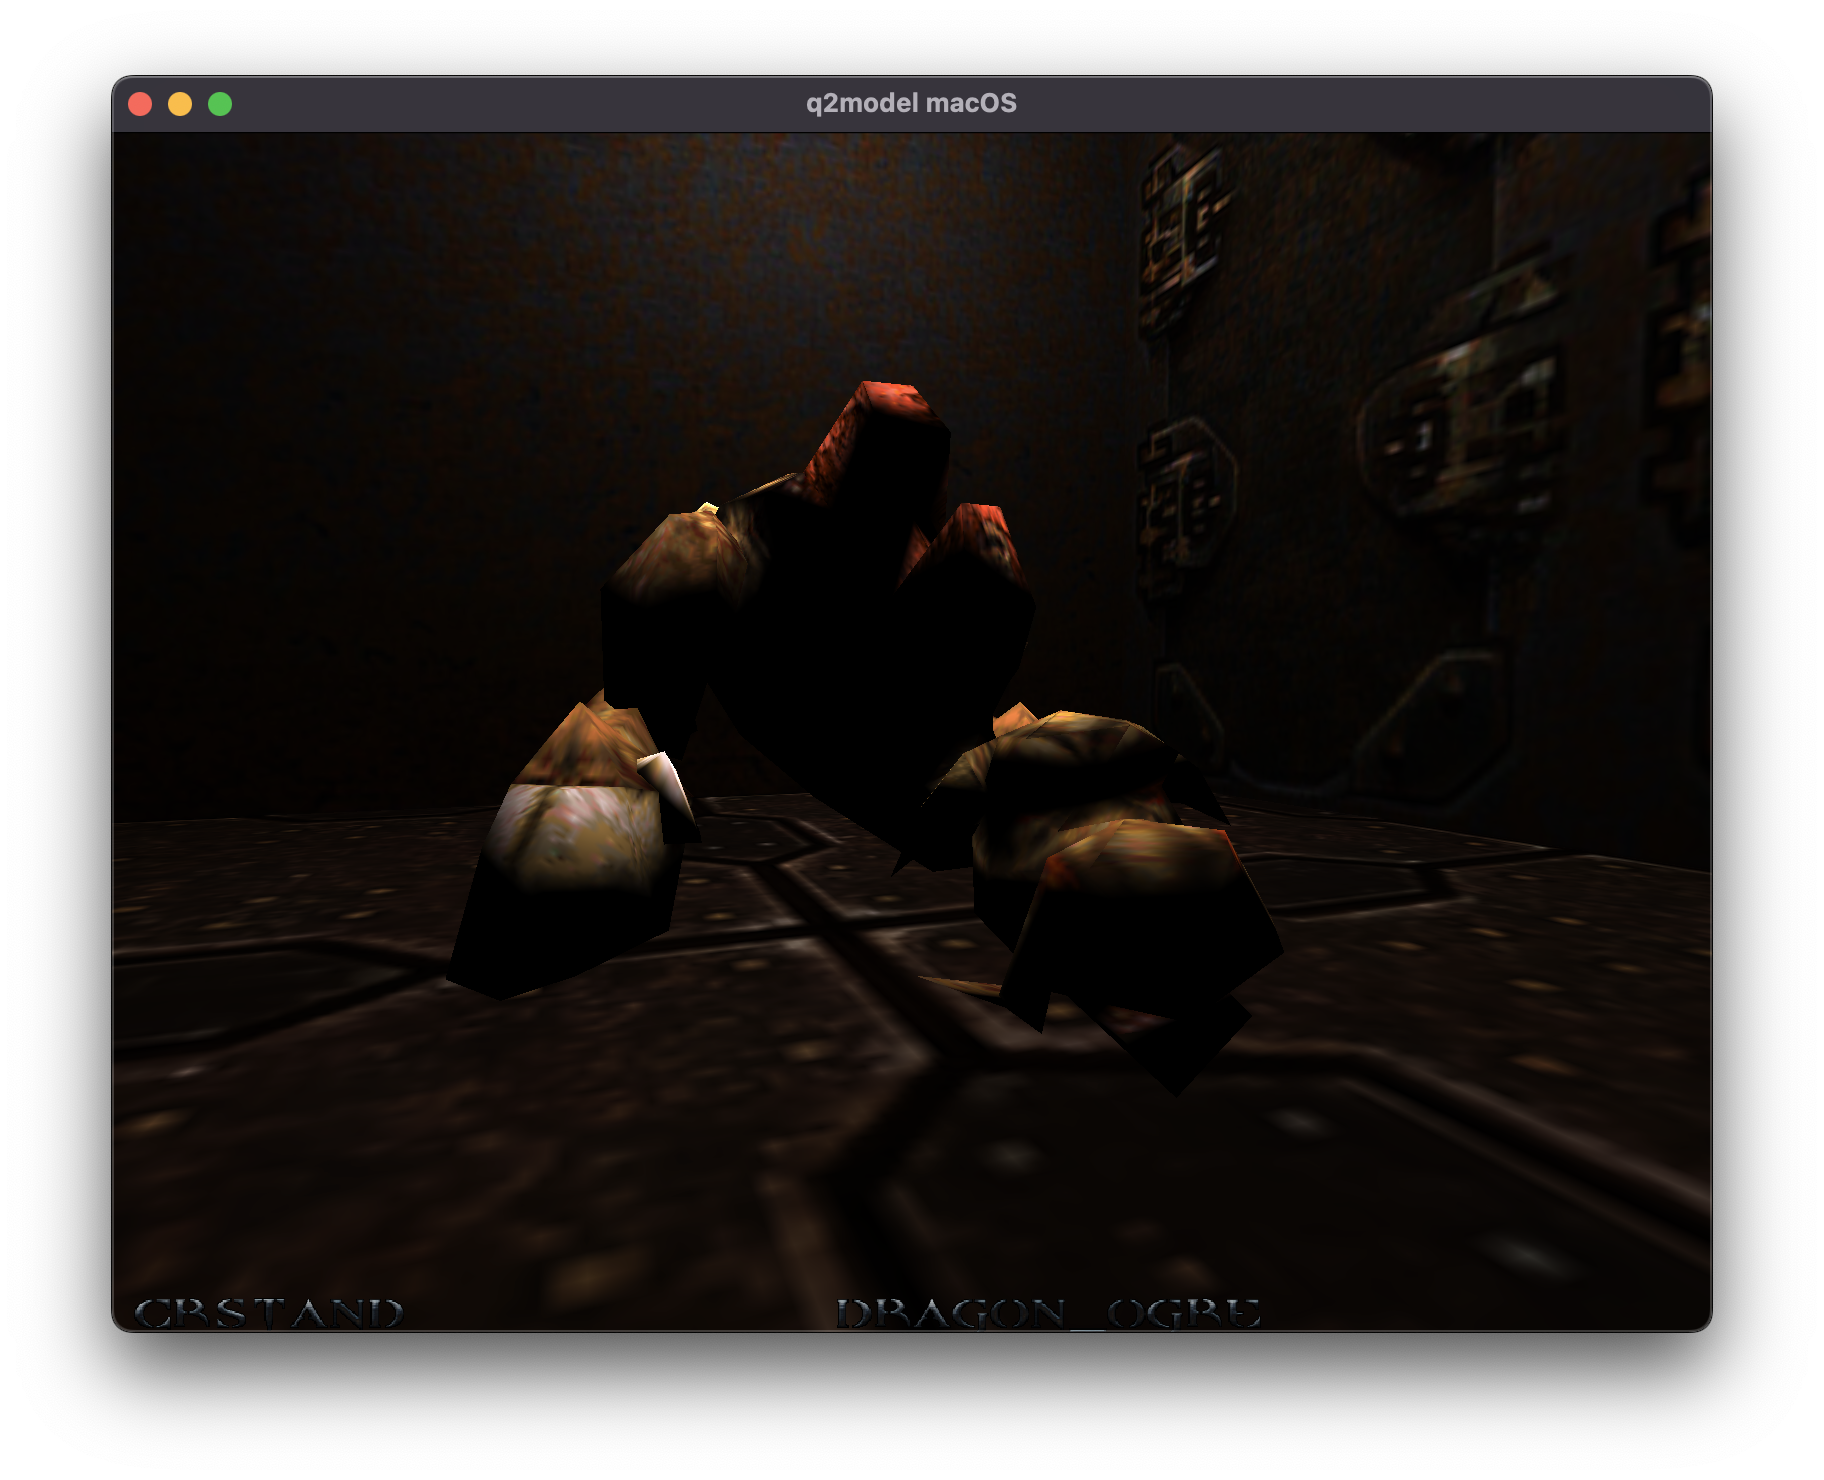
I never did figure out where that notch came from, but a couple of changes later I had working shadows:
And because I still had a collection of random Quake 2 models lying around: 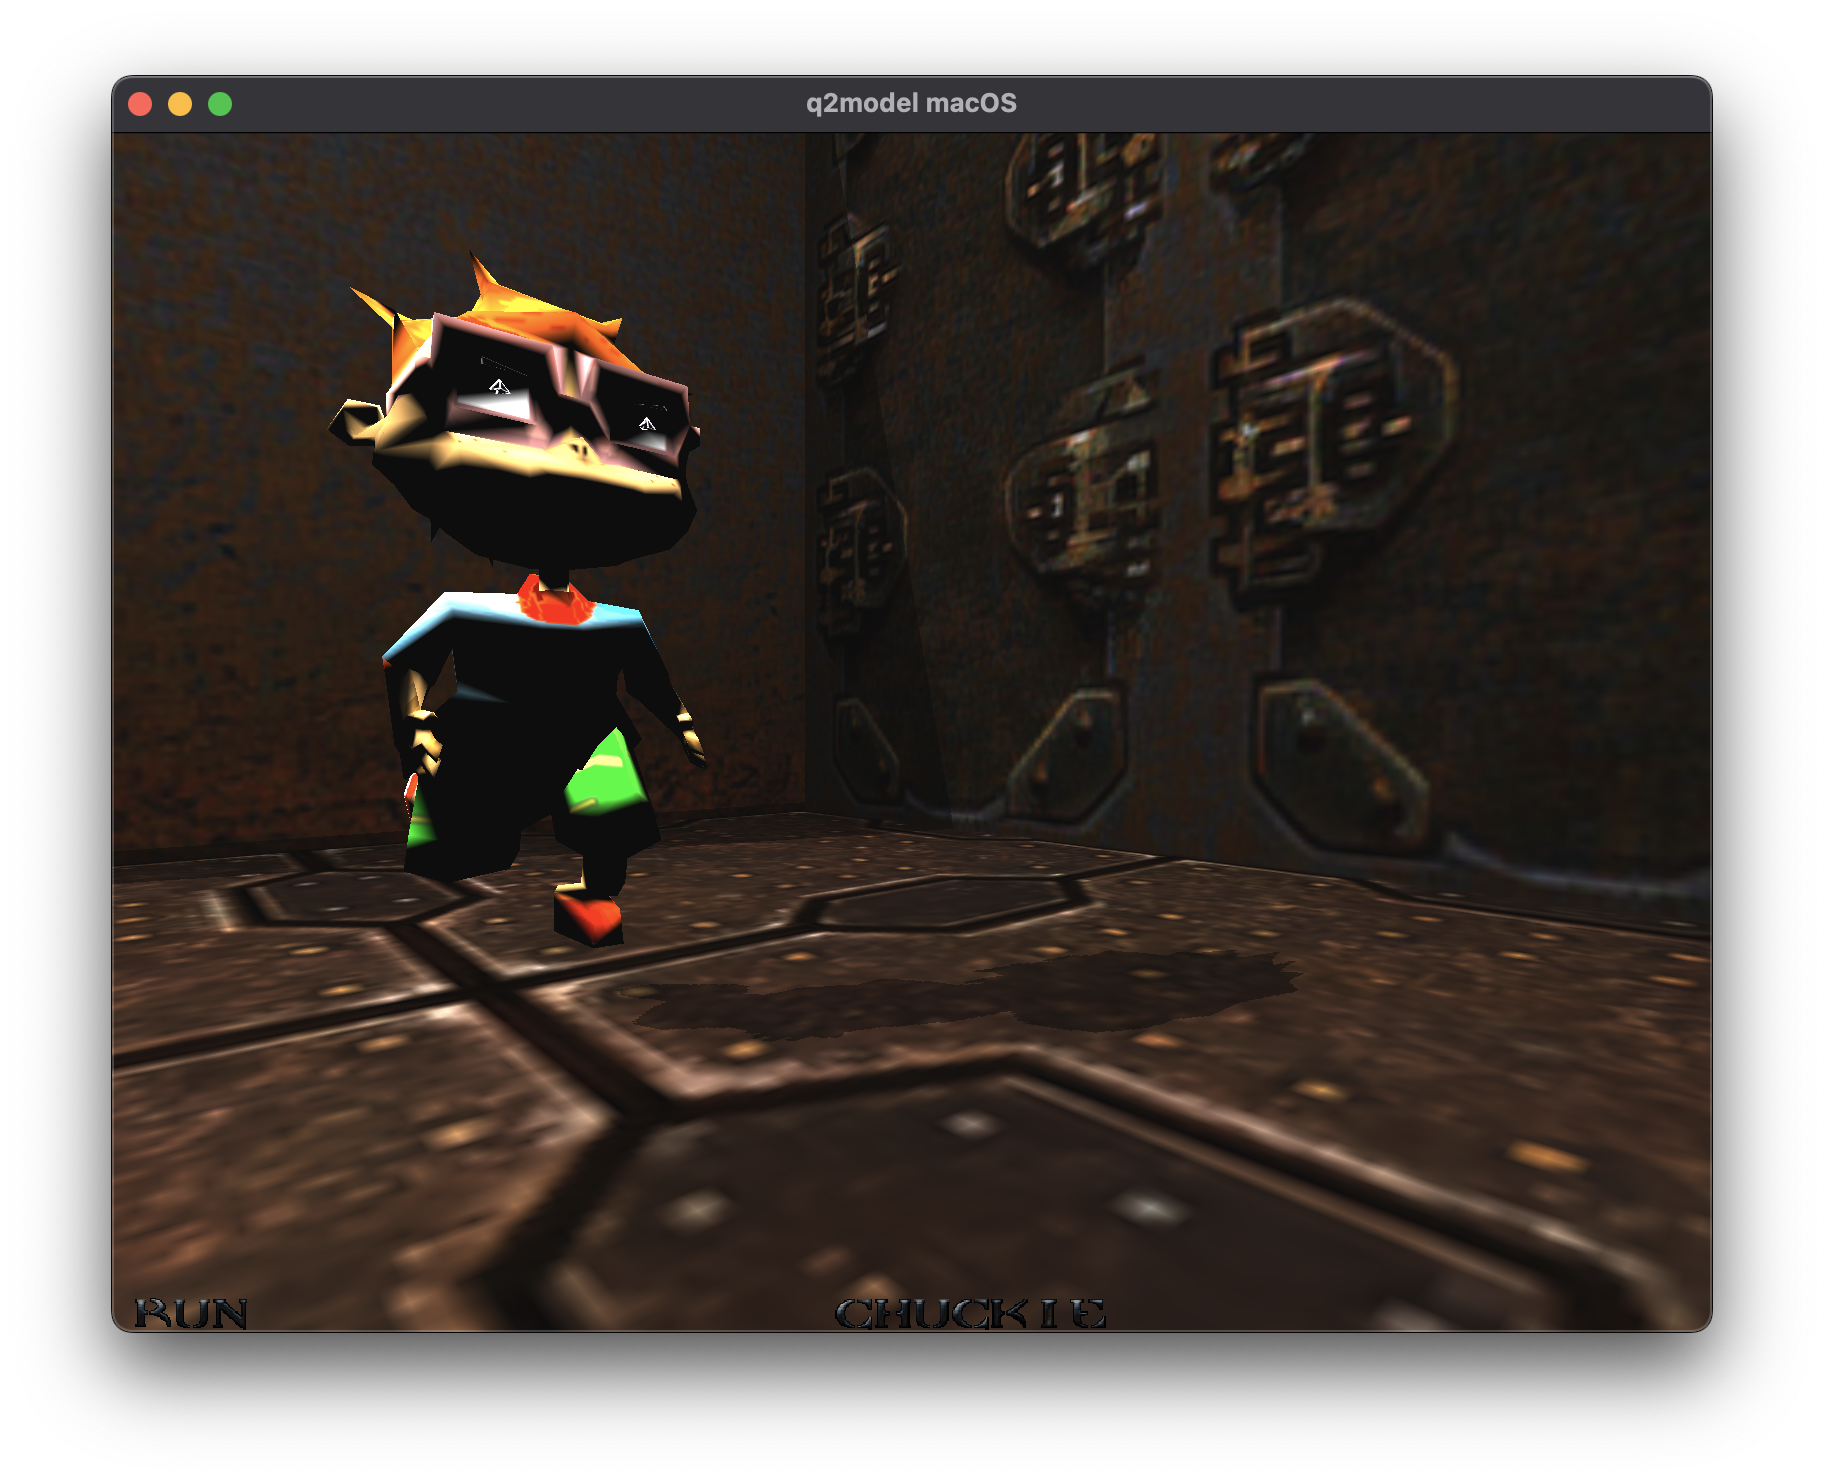
It was around this part that I started to see how daunting my plans/project were, if I was going to create all of this from scratch. I did spend some time re-working the lights and shadows to get to this point:
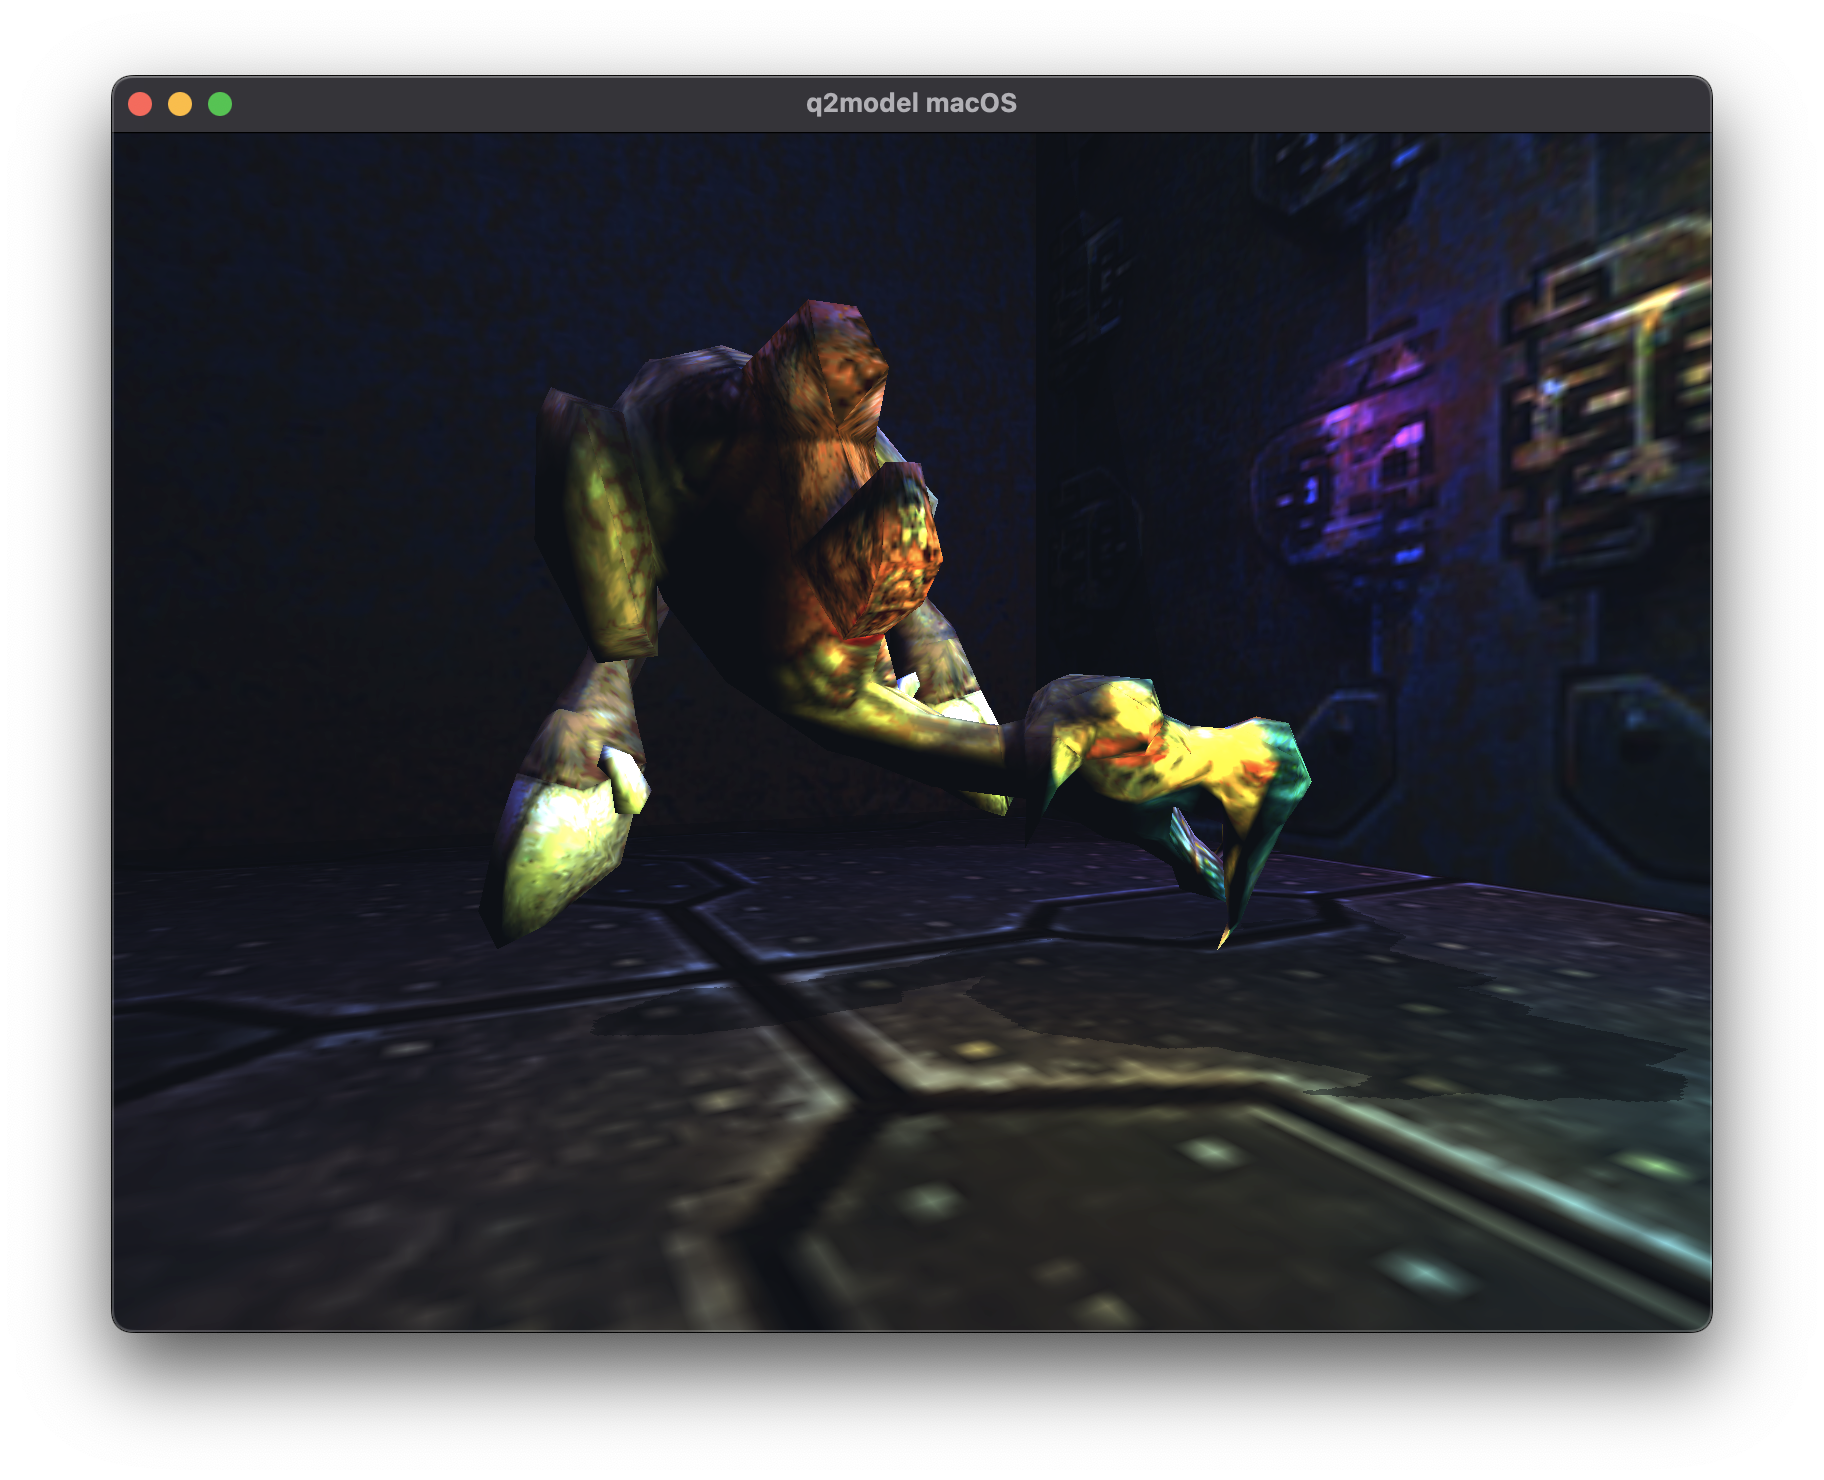
But I was still only capable of creating shadows from the perspective of the "Sun".
However in doing so I had to remove the text I had that displayed the animation/skin.
That's as far as I got with this. It was at this point I decided that writing a 3D game engine, and also the renderer was going to be too big to tackle. It did however accomplish the goal of making me learn how things worked from the ground up.
Q2Model, Part 9
Lights, Shadows
During all of this, I did occasionally think about Forsaken) which came out a year after Quake 2. It was also a "Six Degree of Freedom" game like Descent, but they went all in on the lighting system.
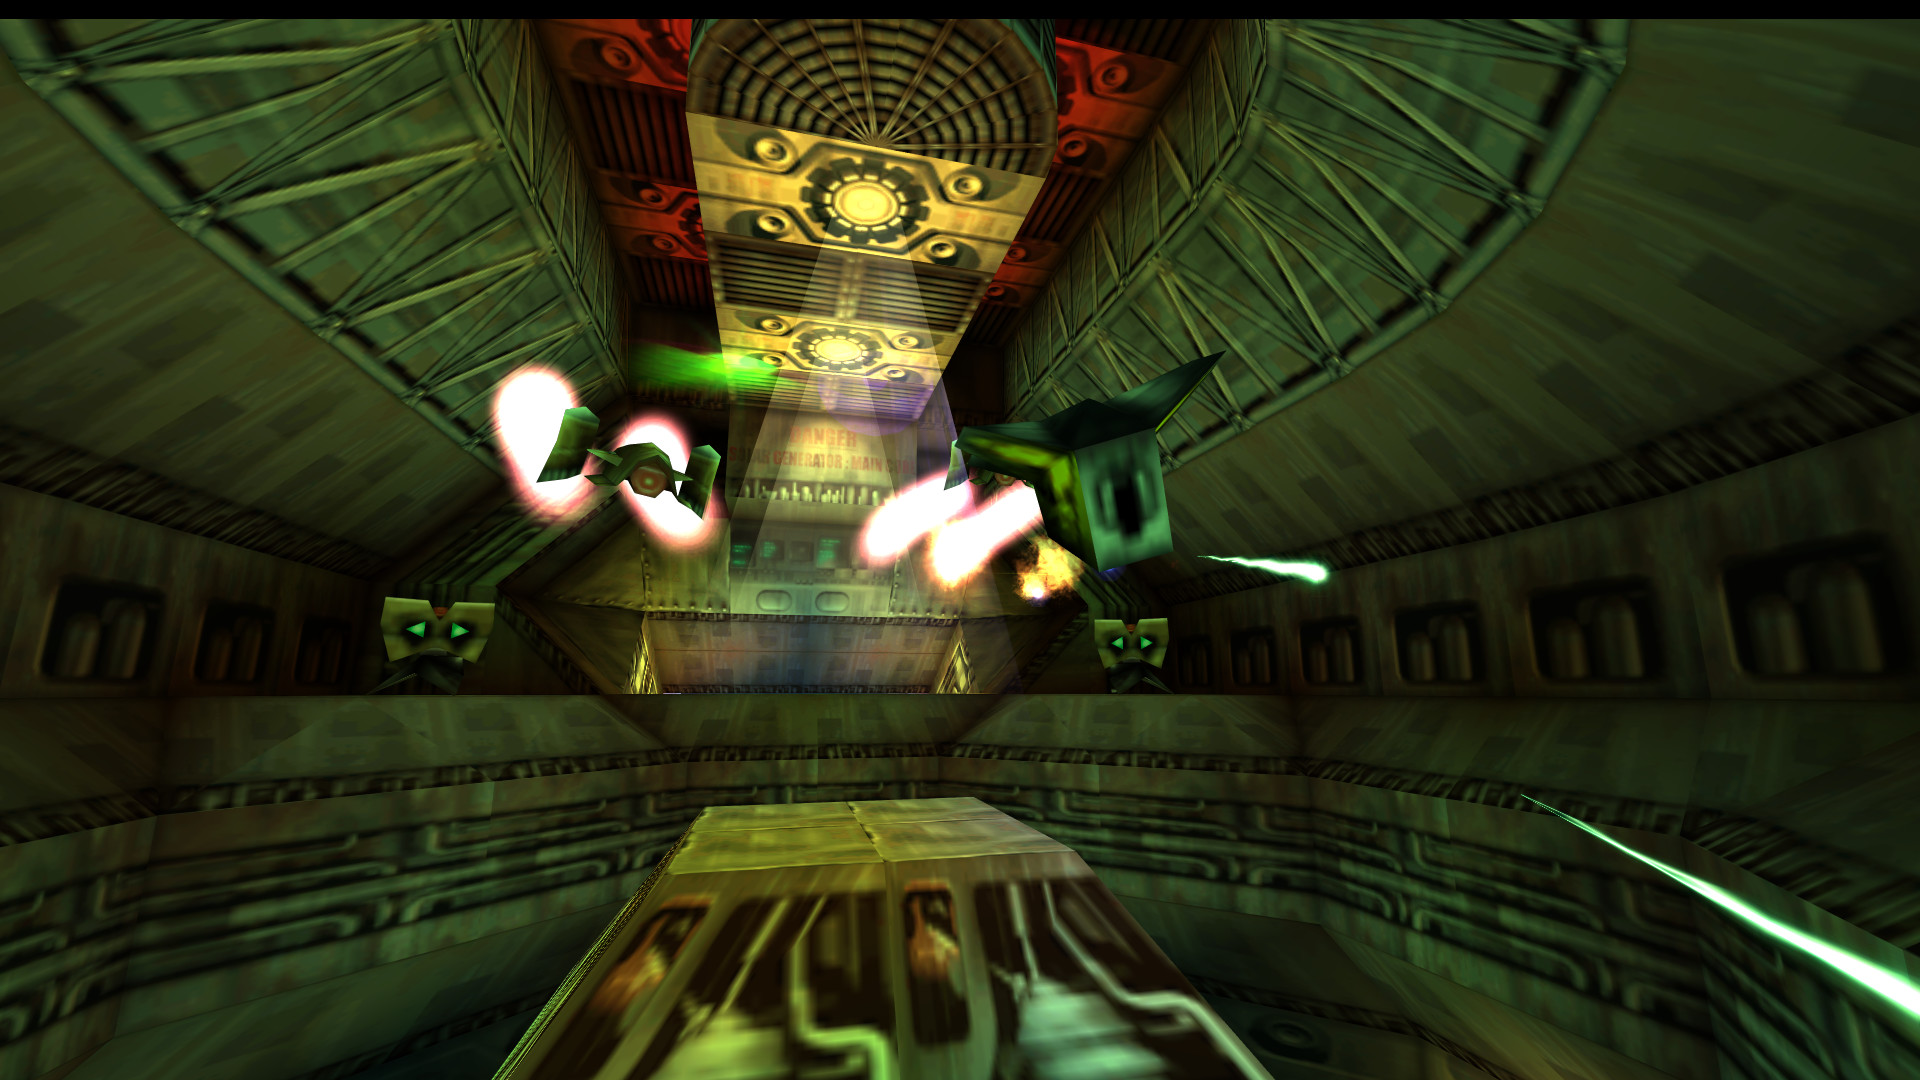
It's atmospheric, it's slightly green tinged, wonderful.
I think you'll agree that you need to have lights for things to be
- Compelling
- Visible
So I started working on adding lights into my project.
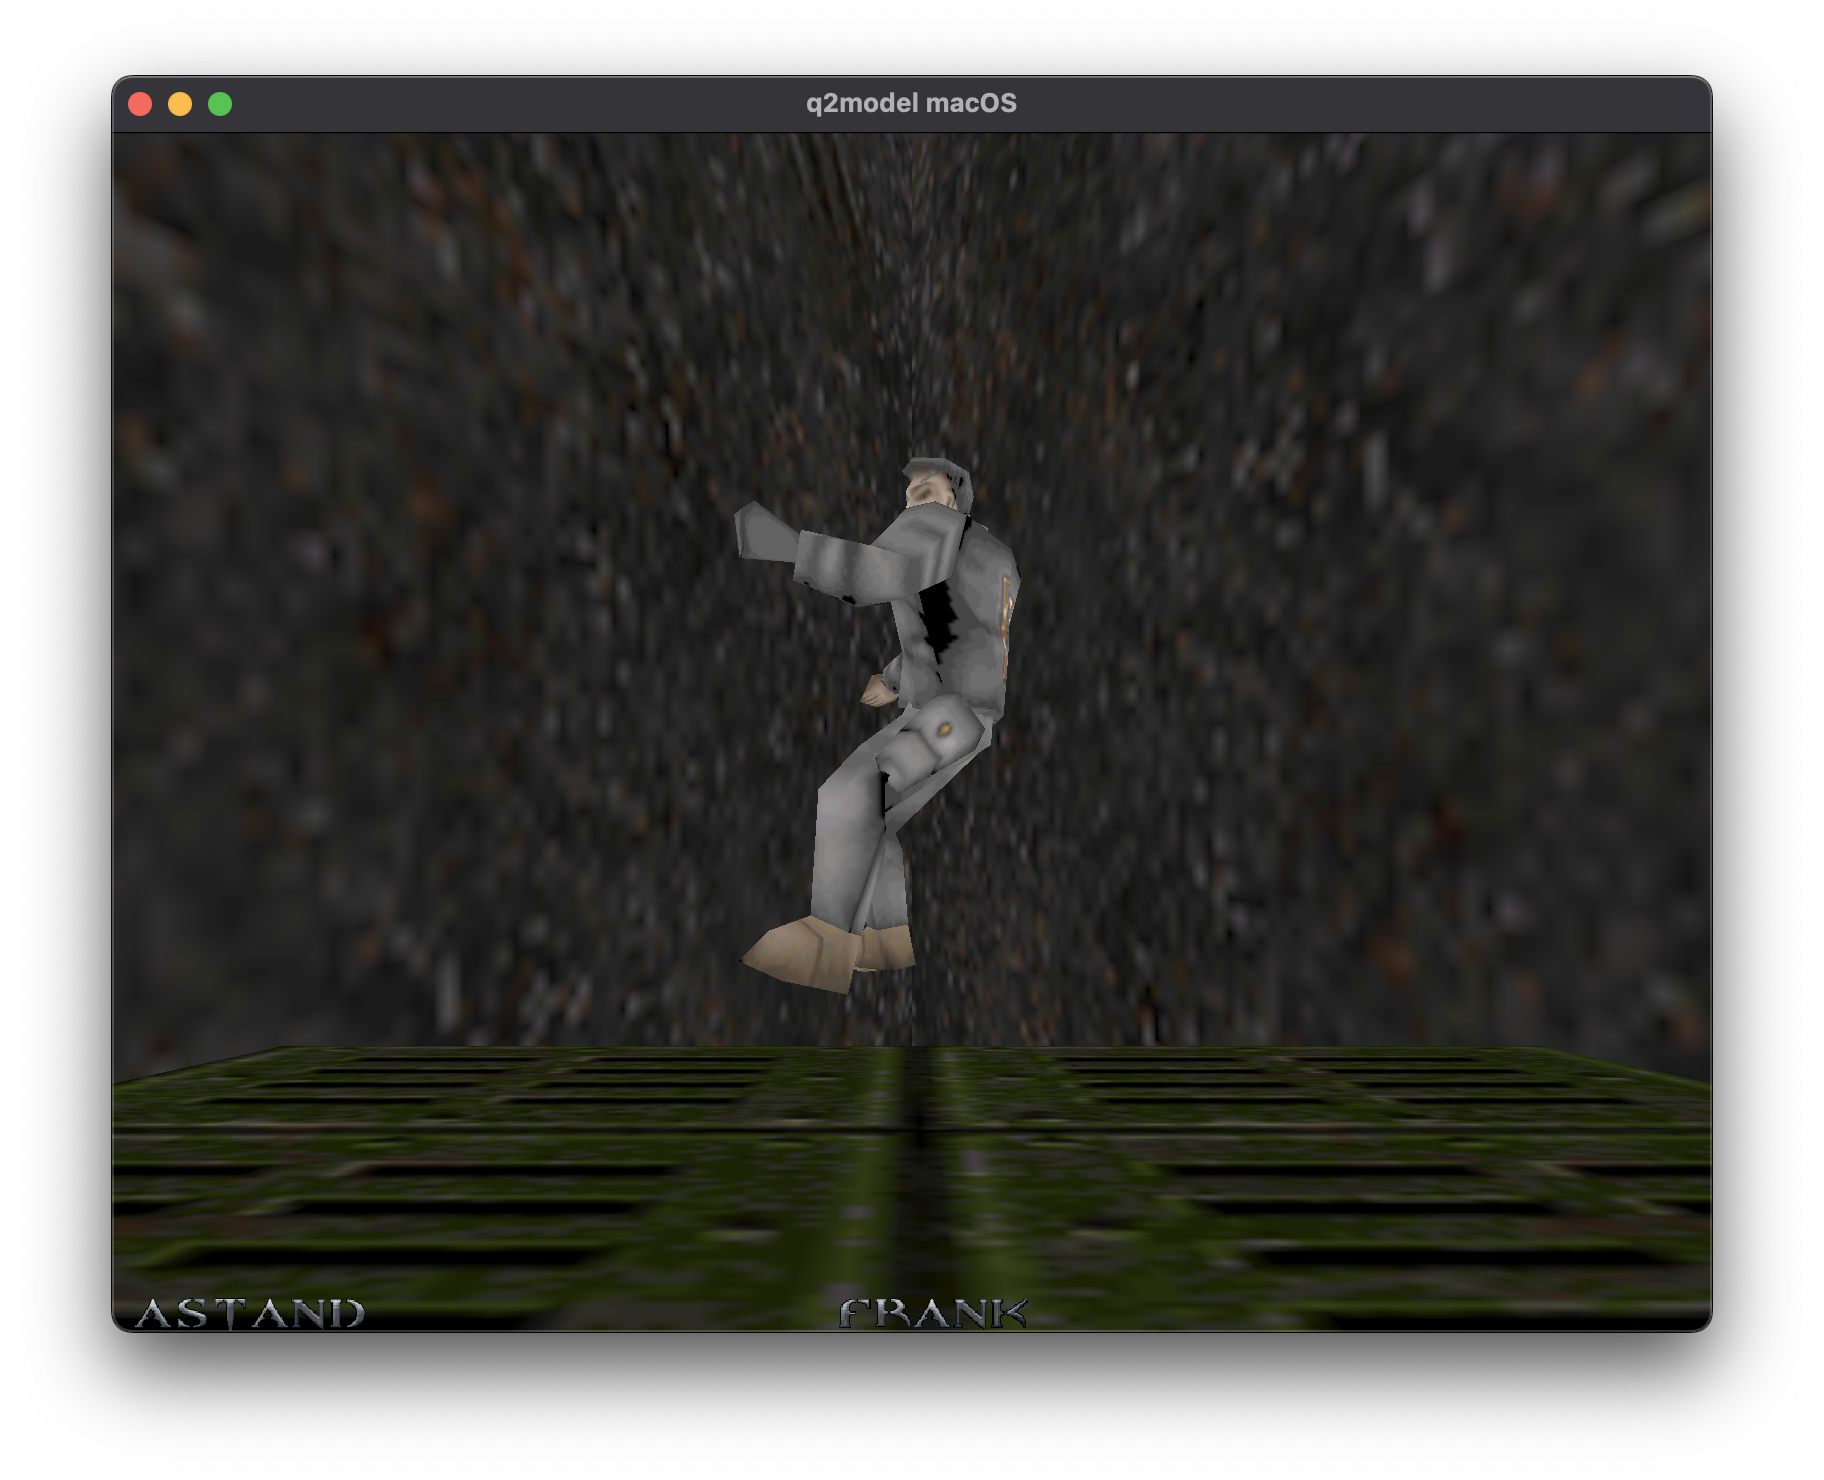
What I had at this point, after swapping out the skybox textures for something more Quake 2 like:
There is no specific or directional lighting being applied, the model is as bright as the texture is in all locations.
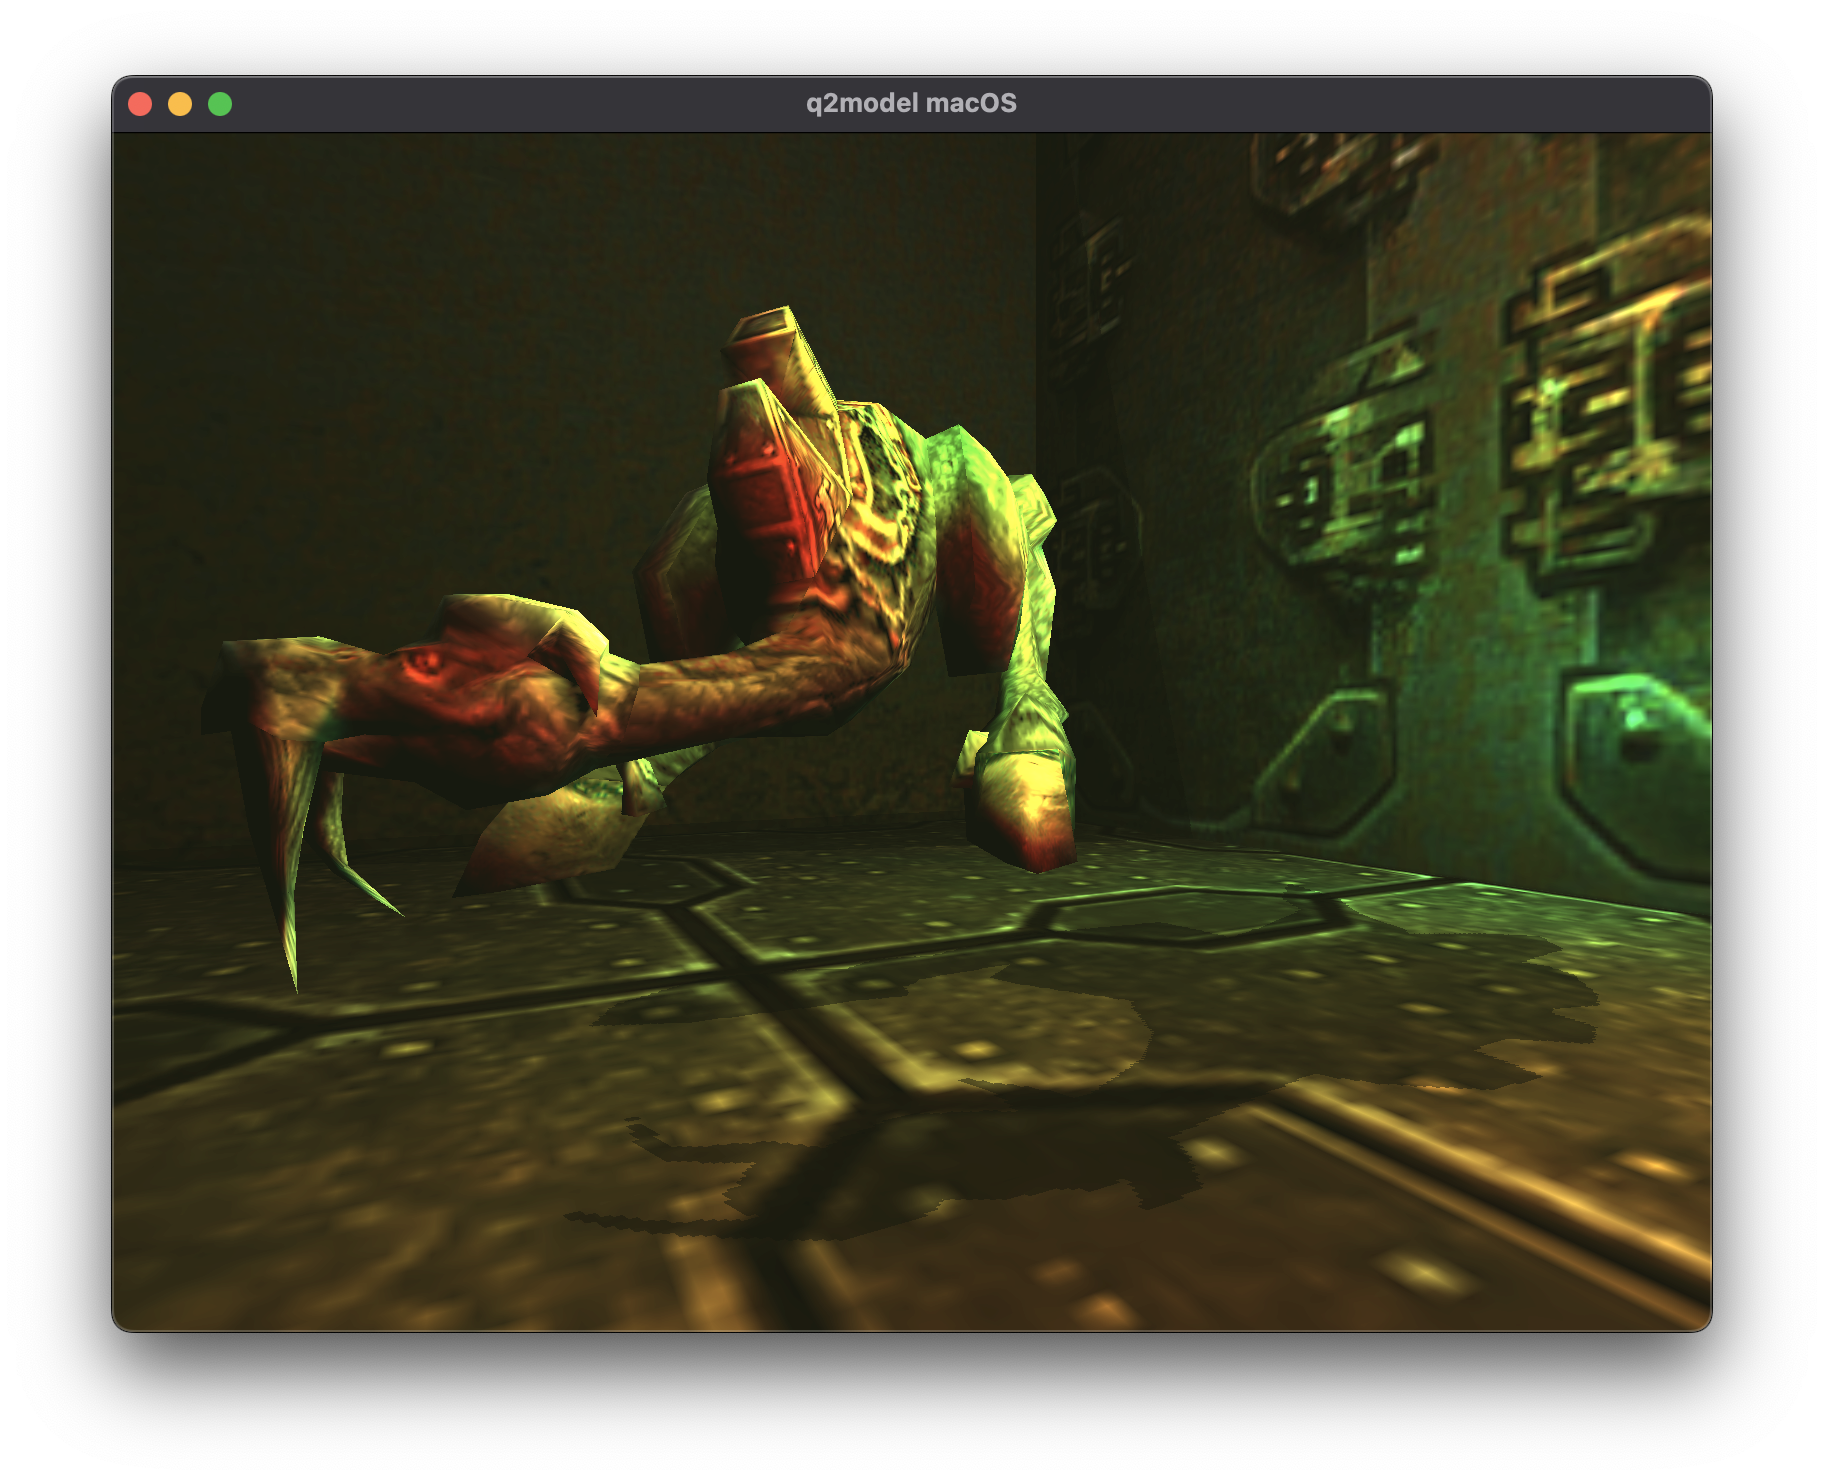
Now I've placed a light above the model, slightly behind. You can see that parts of the model that would be obscured are now much darker. The model itself doesn't cast a shadow, so the room/walls remains unchanged.
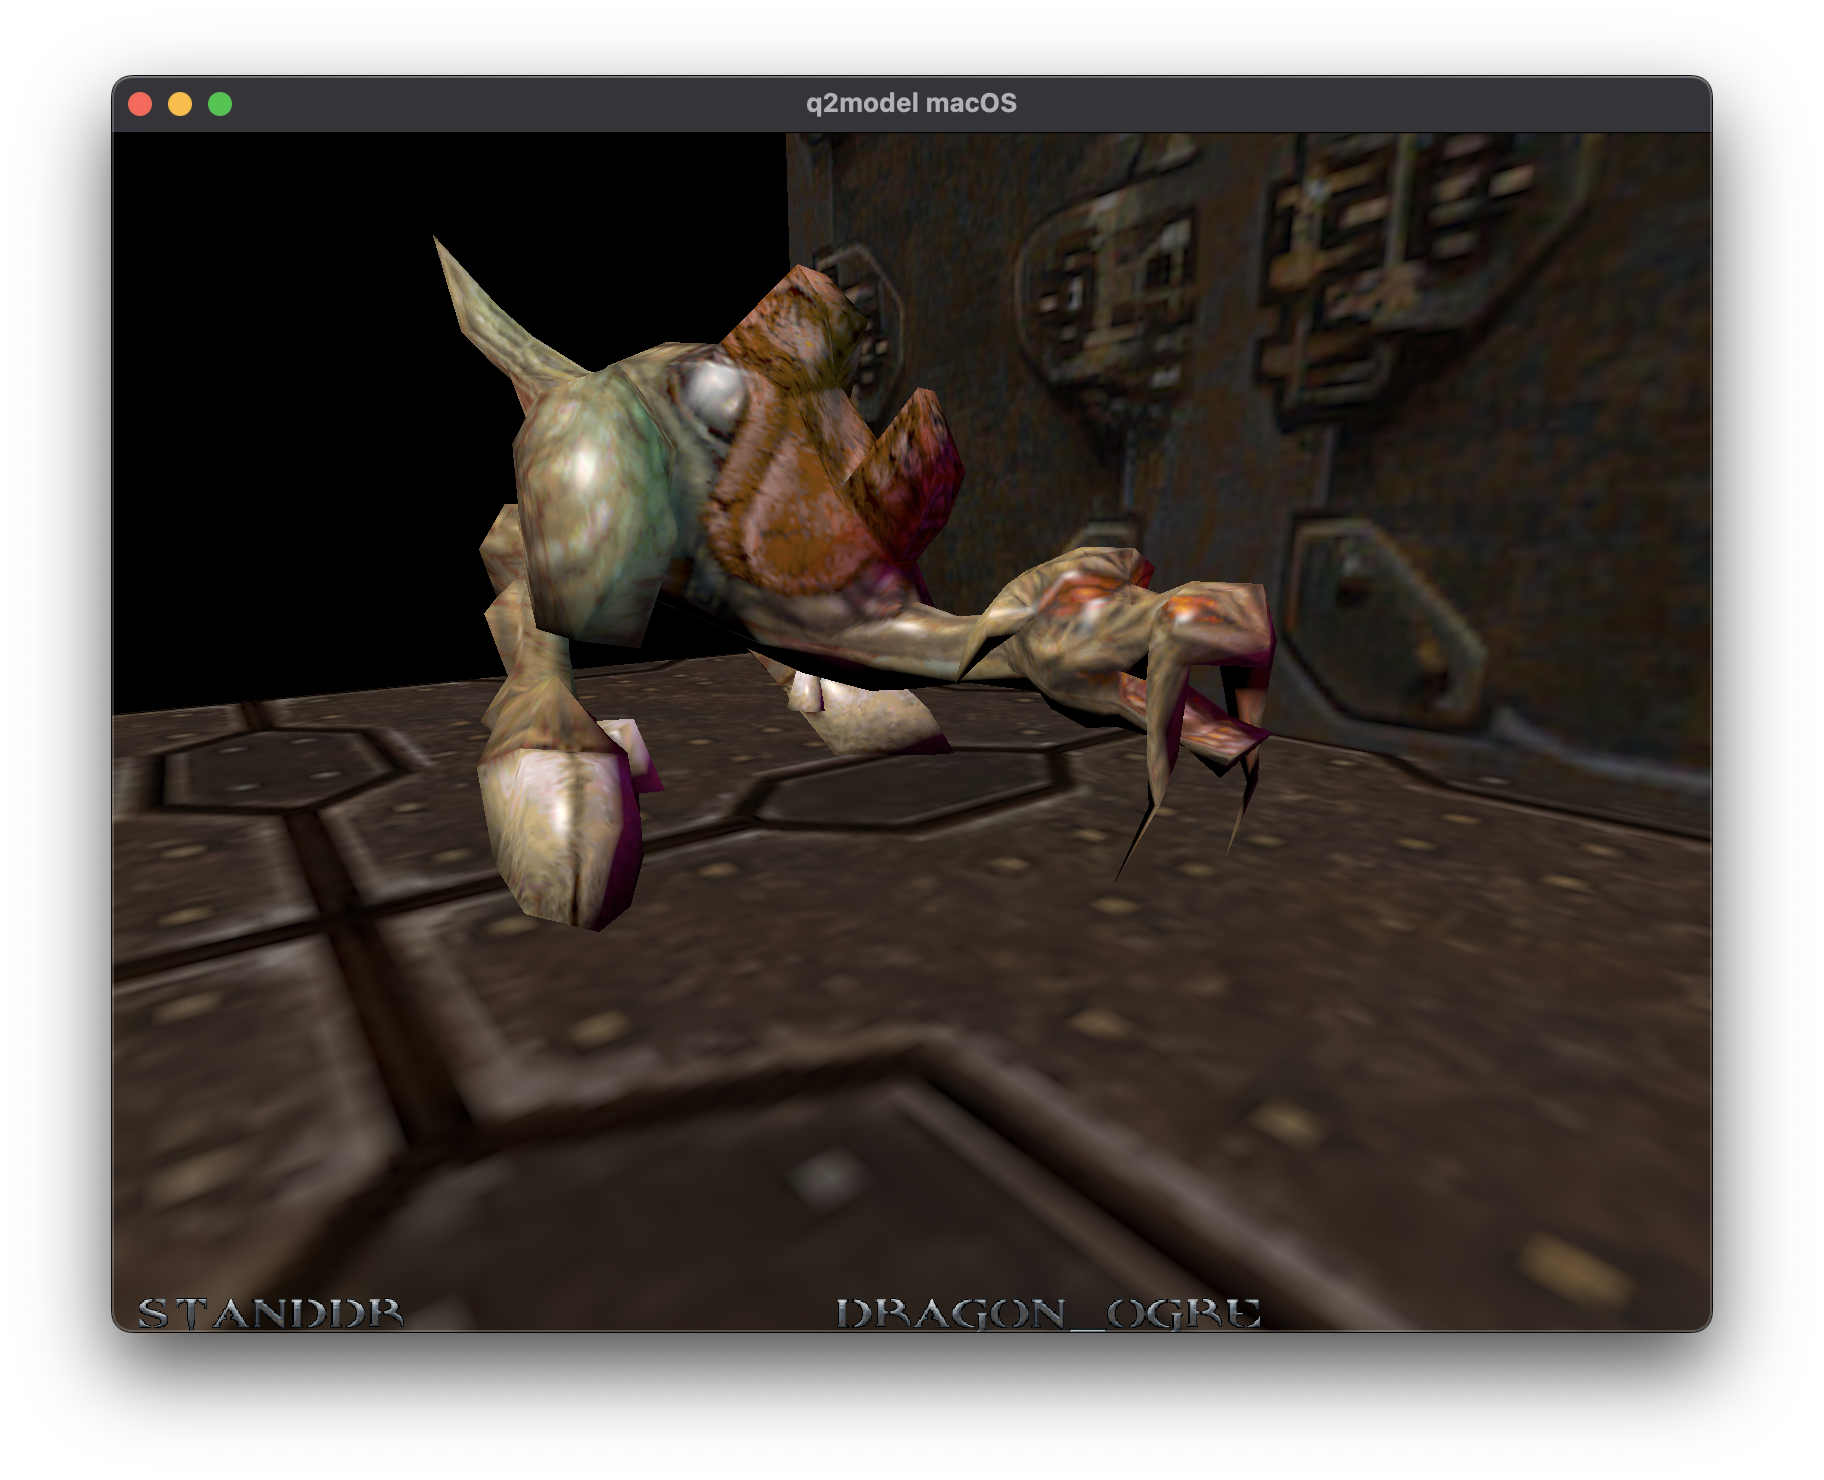
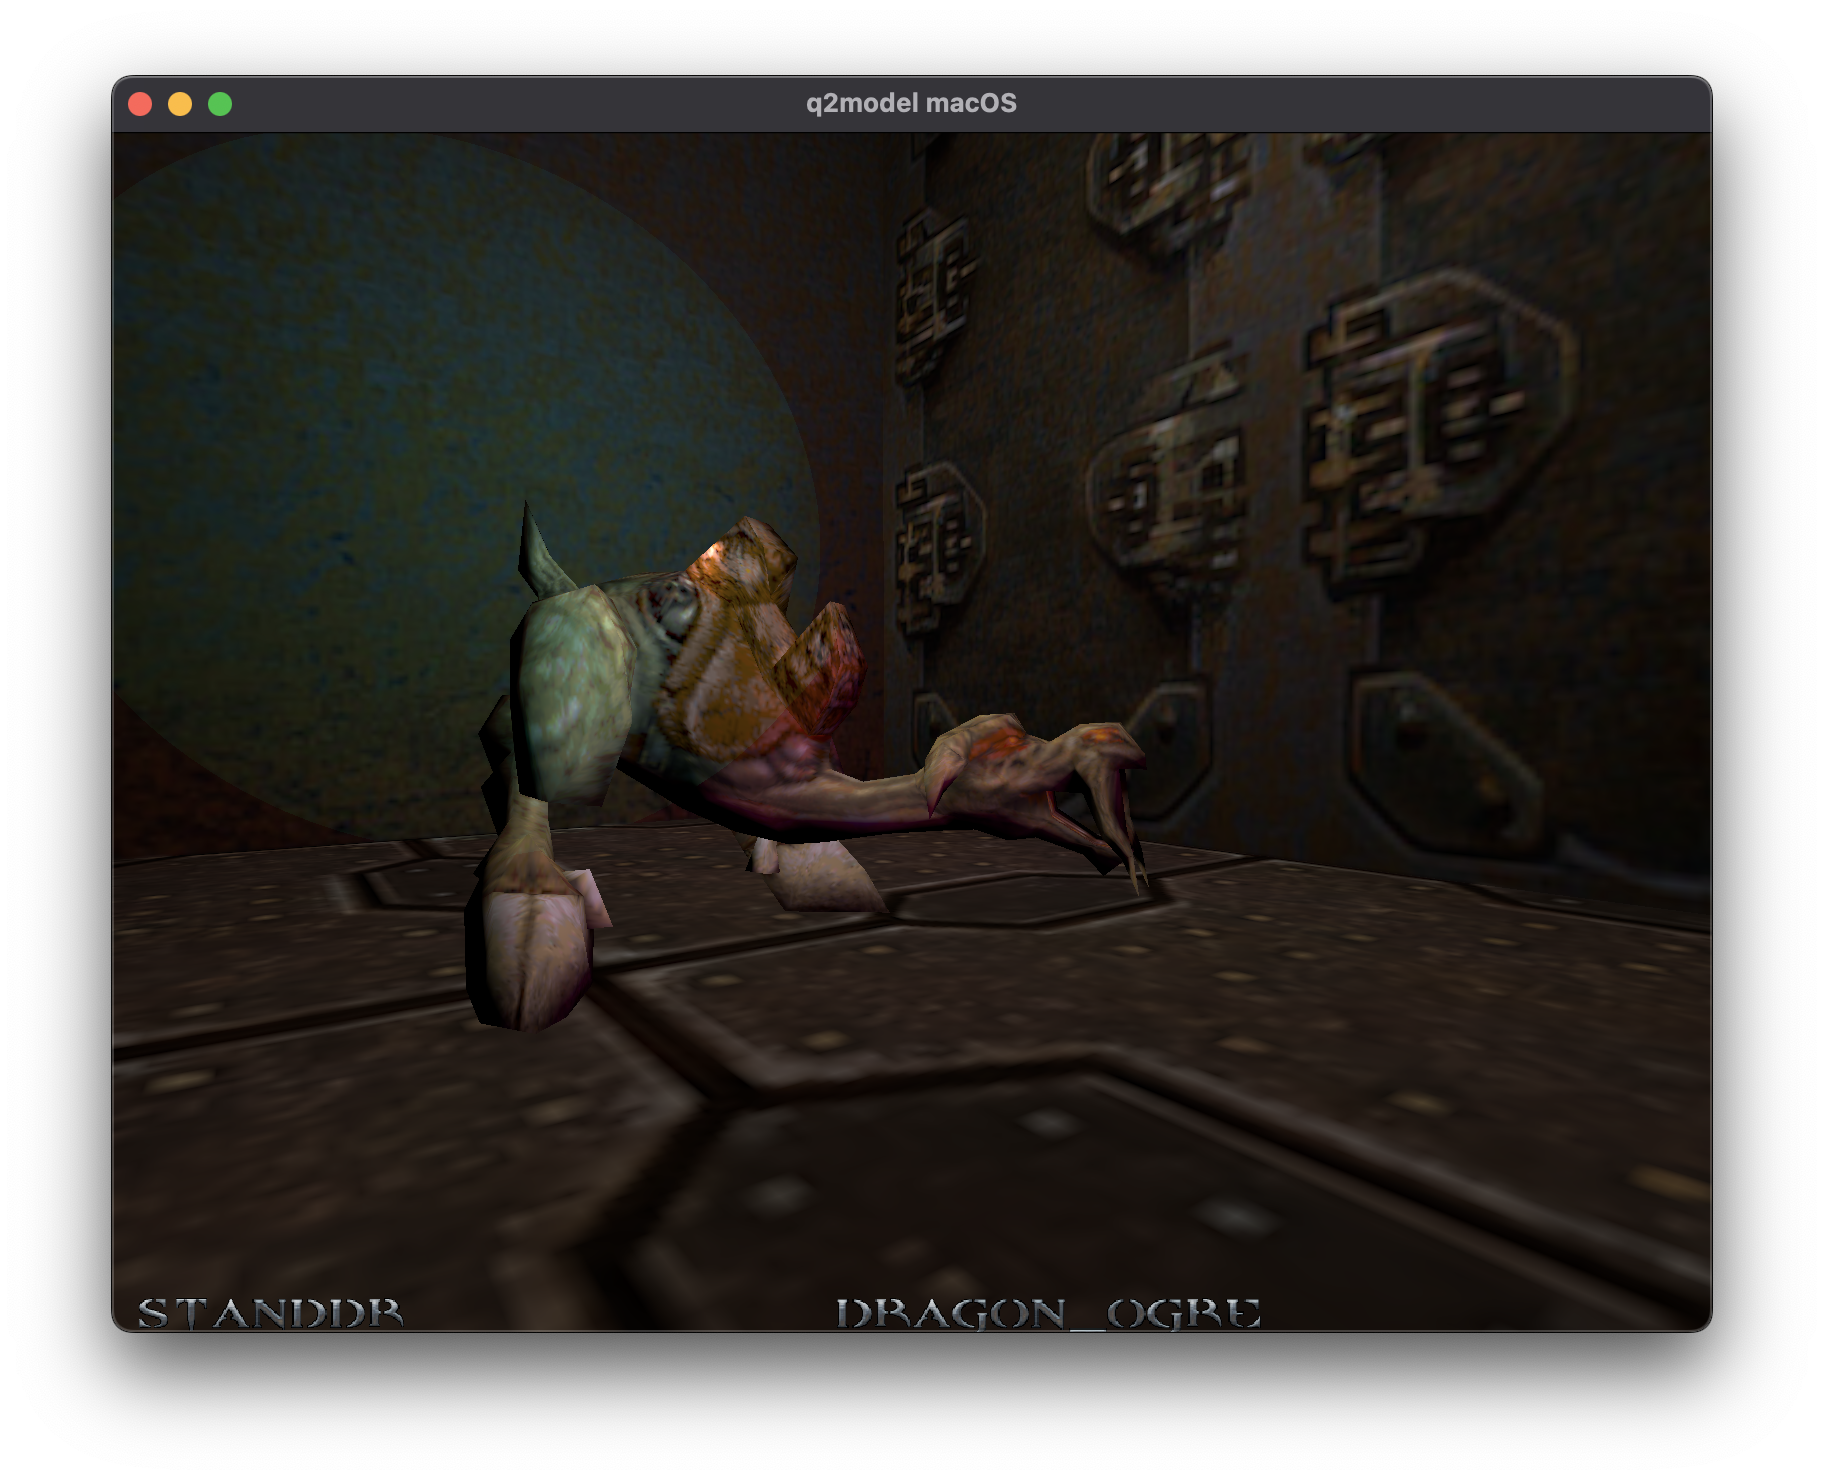
Added some delightful coloured lights. Not entirely sure what happened with that back wall texture though.

Here's where I start attempting to make the room/walls also receive lighting. Not quite there yet, but it didn't take long:
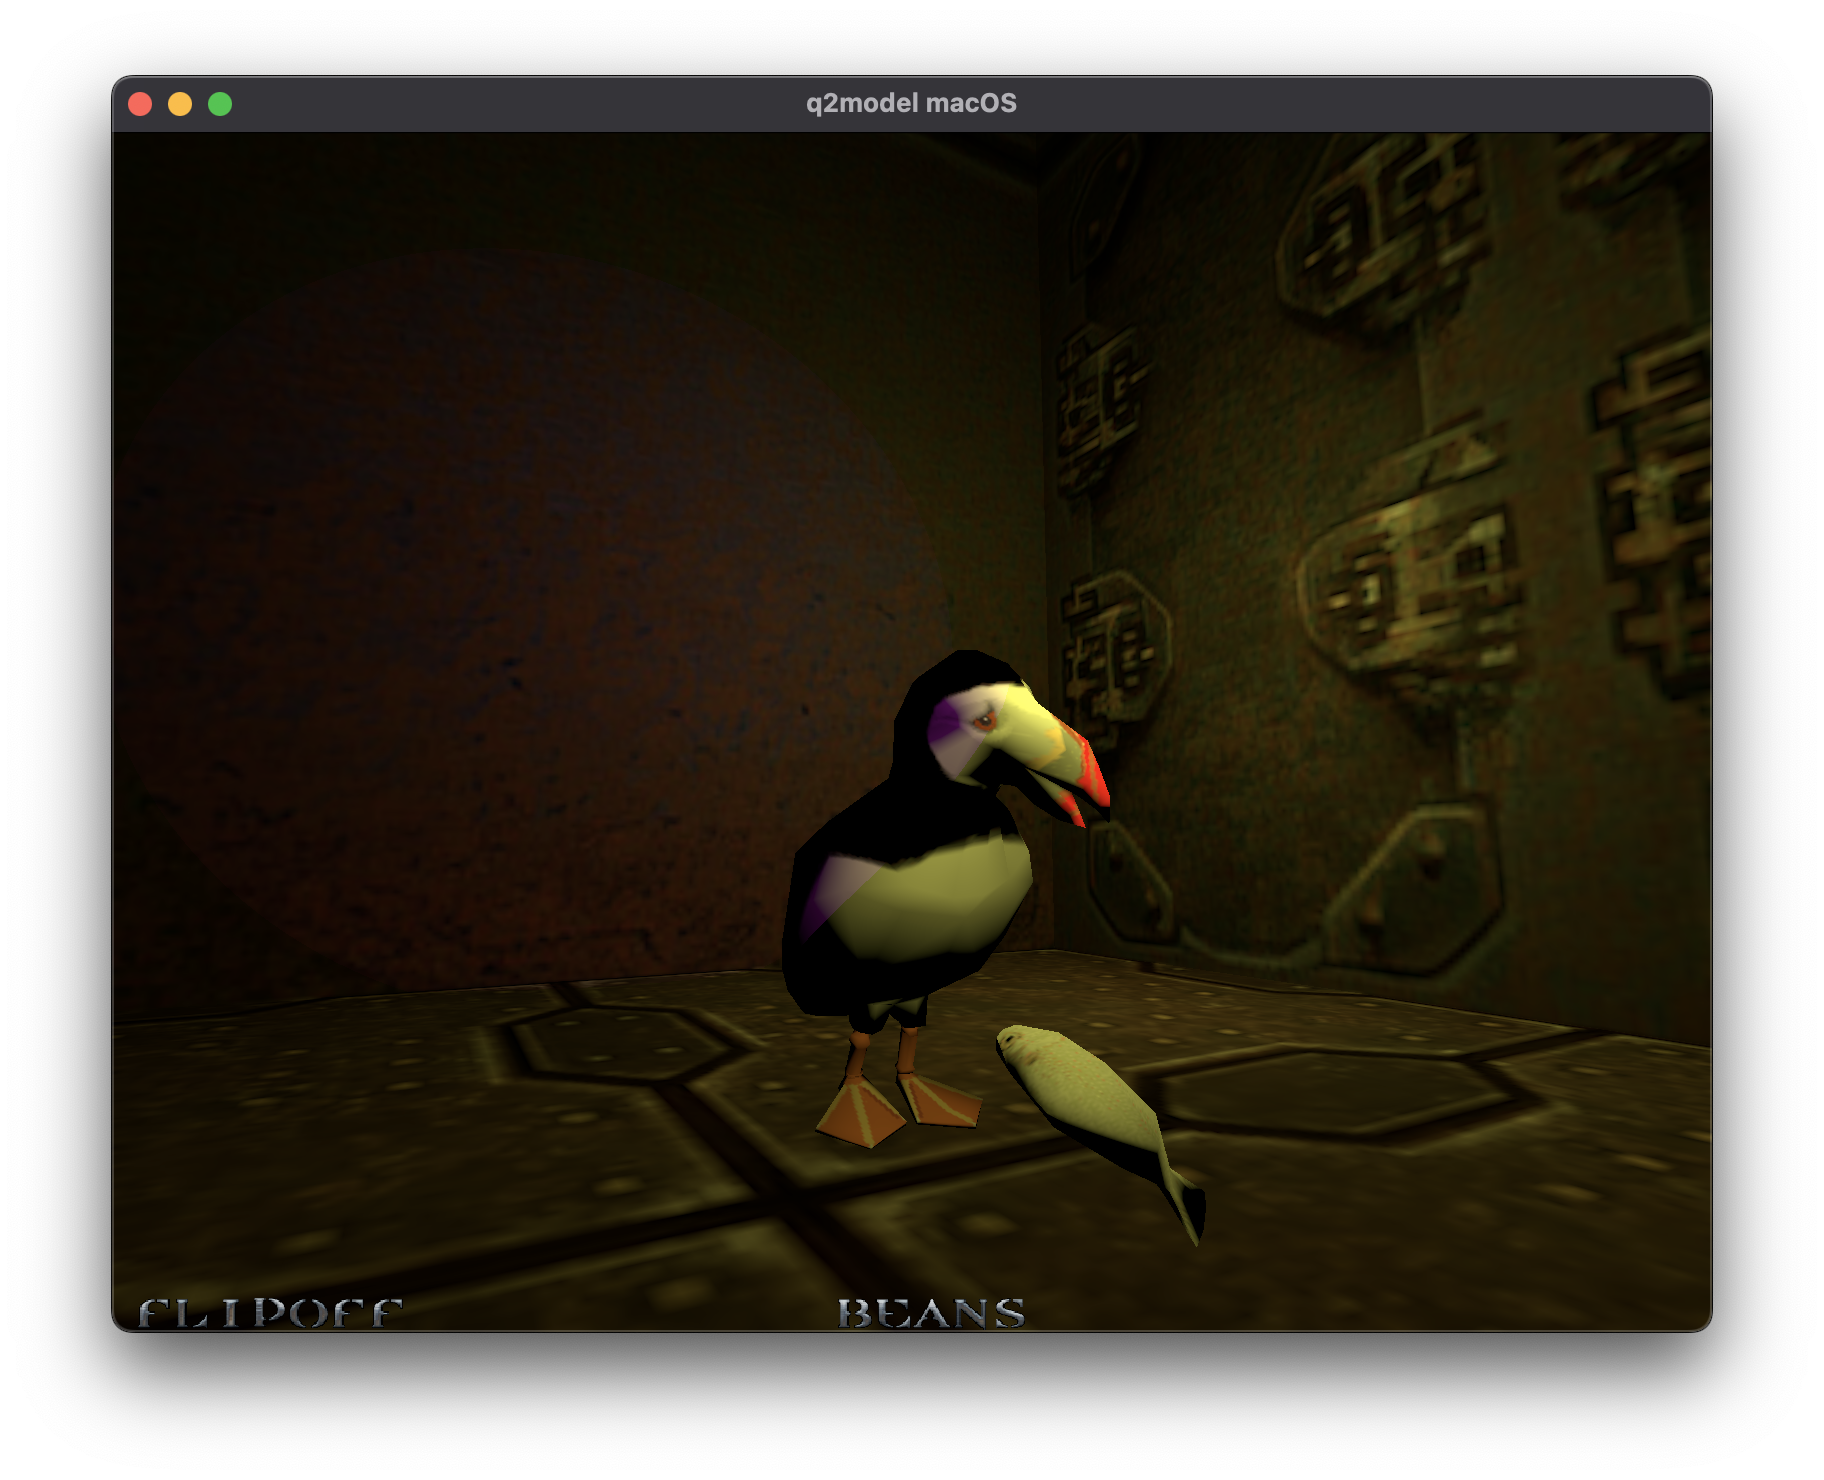
Decided to see what it would look with a different model:
At this point I had added support for 4 kinds of lights
- "Sunlight"
- Ambient Lights
- Point Lights
- Spot Lights
It's probably easiest to start with the last two. A point light is a light source that radiates in all directions. See also this blog post on Pluralsight, where I have taken these images from.

Candles, Incadescent Bulbs, are what this would invoke. Generally there is no spot where the light does not radiate, unlike their physical counterparts. You typically get to set a colour (or temperature), the intensity of the light, and how quickly it attenunates or "drops off" as the distance increases.
Spot lights are, unsurprisingly, what they say on the tin.
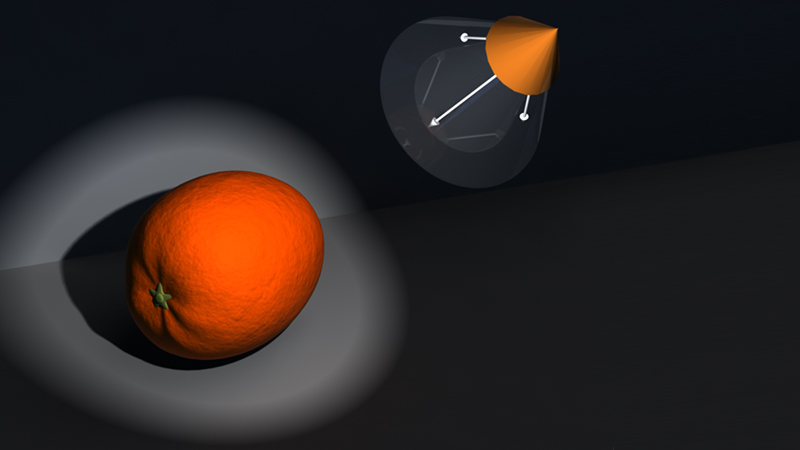
Spot lights have a direction of the cone, the angle of the cone, and how much it falls off from the center of the cone in addition to the distance.
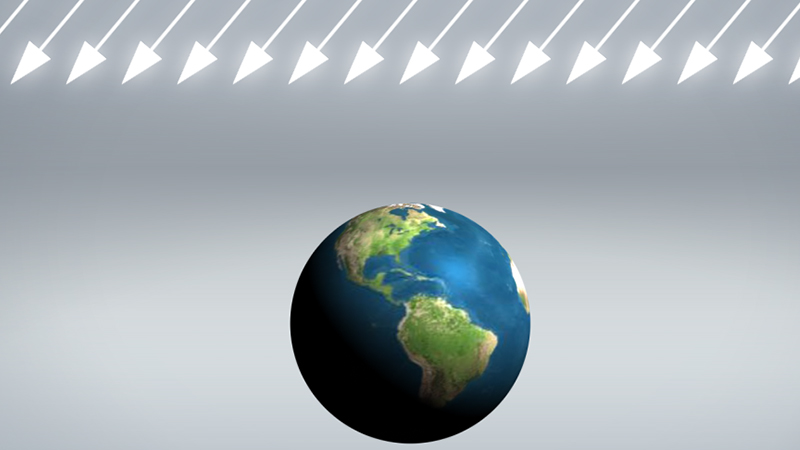
Sunlight or directional lighting is the sort of light you'd get from the Sun, it's directional, but goes on forever (+/- attentuation values).
Ambient Light is just a sort of "global illumination":
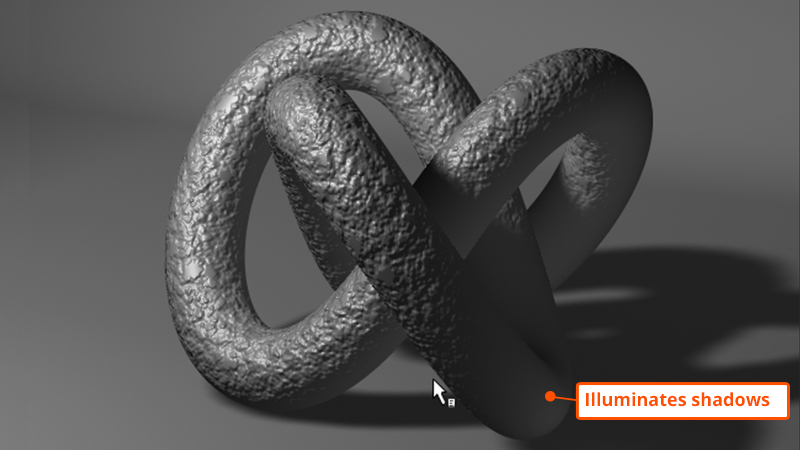
This is useful to add lighting so everything isn't completely dark if not lit.
Q2Model, Part 8
To the Walls!
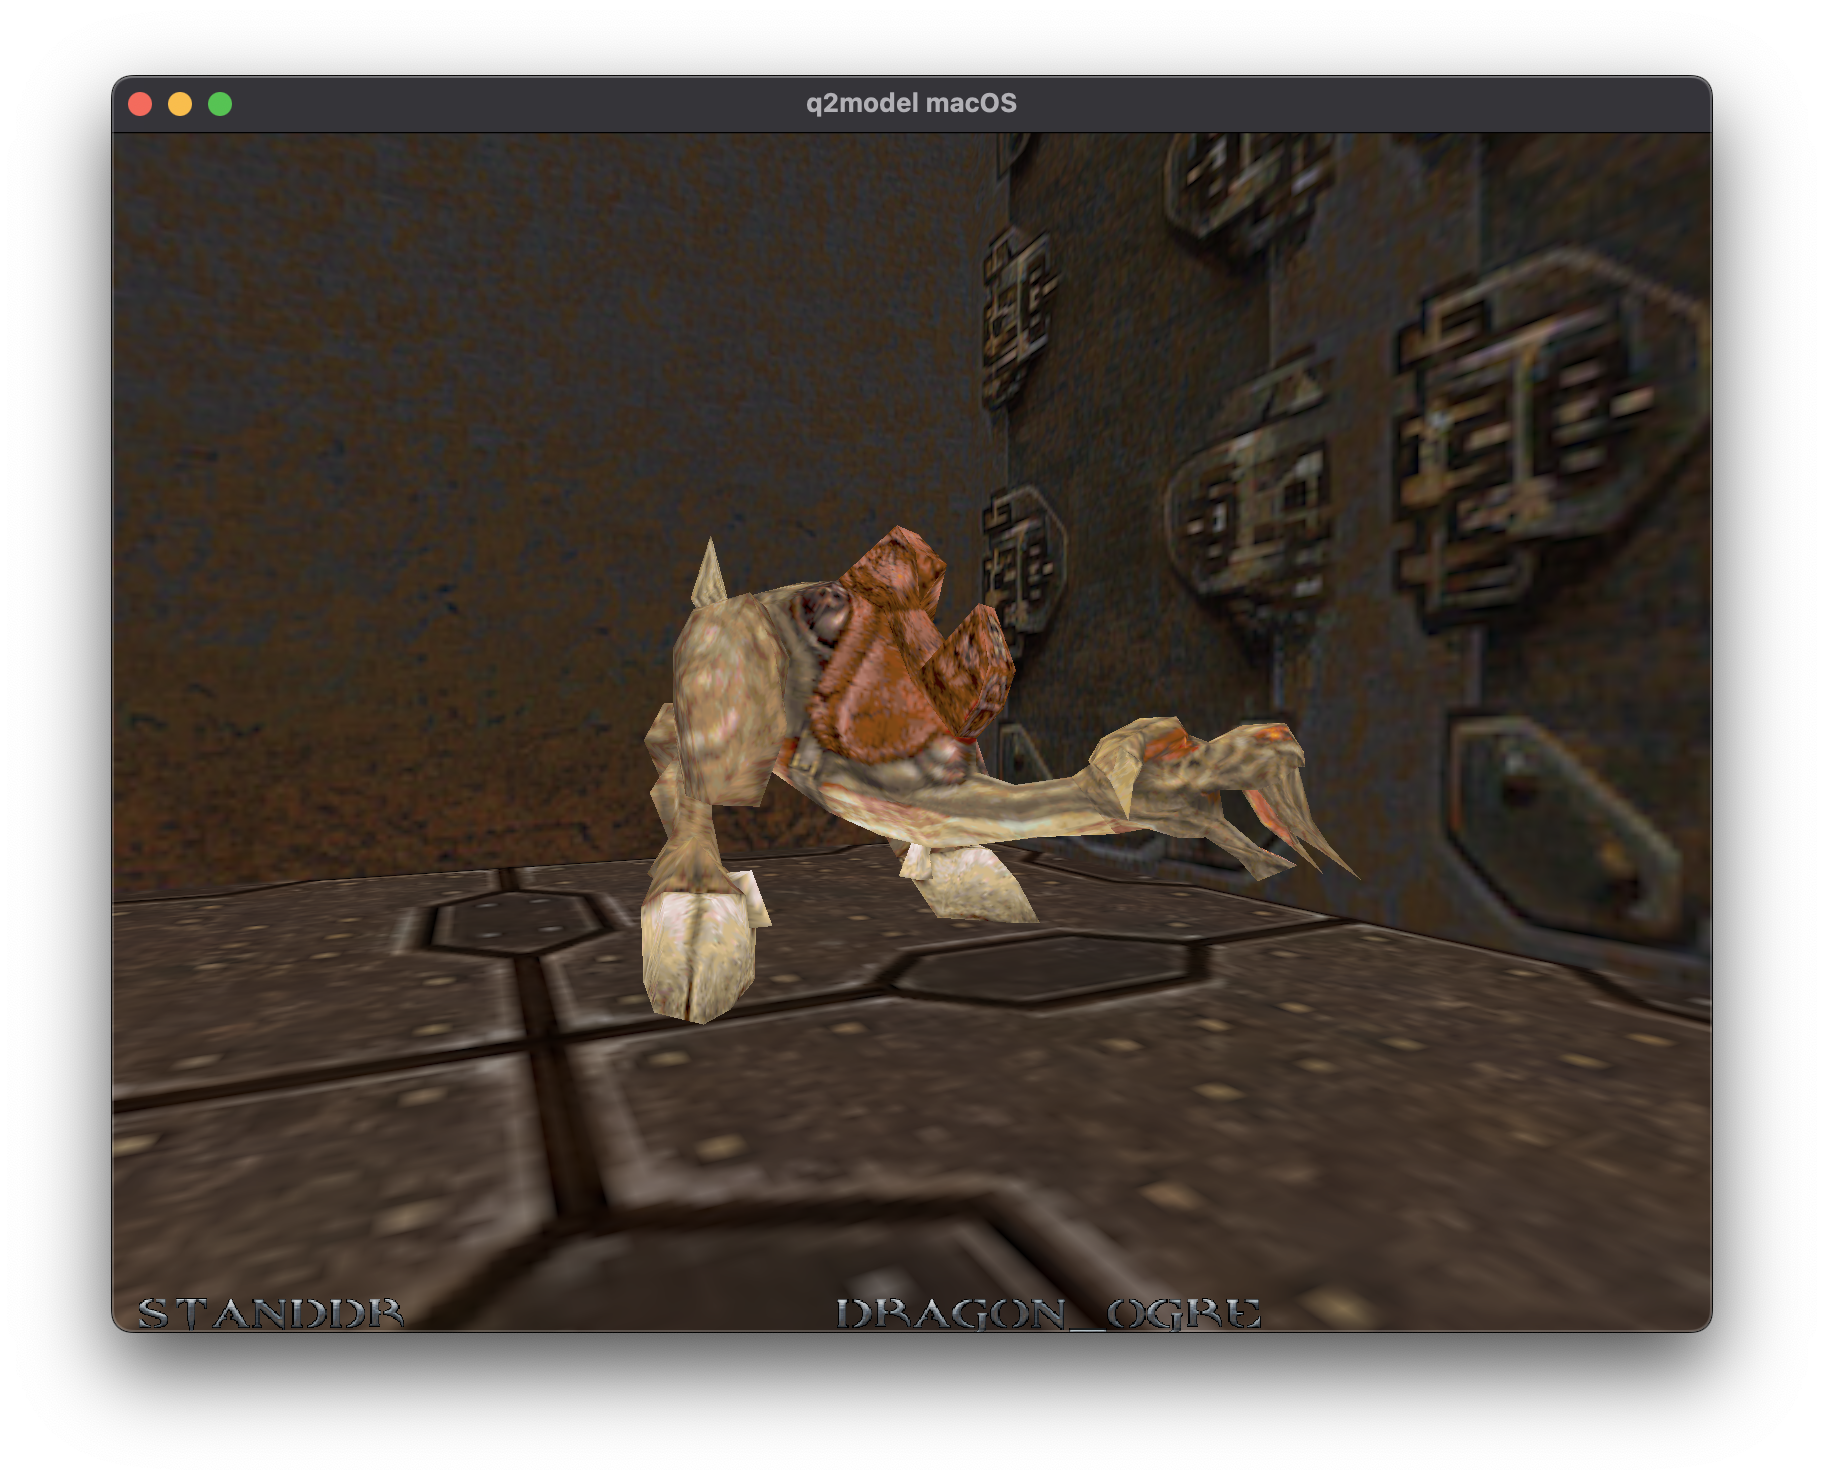
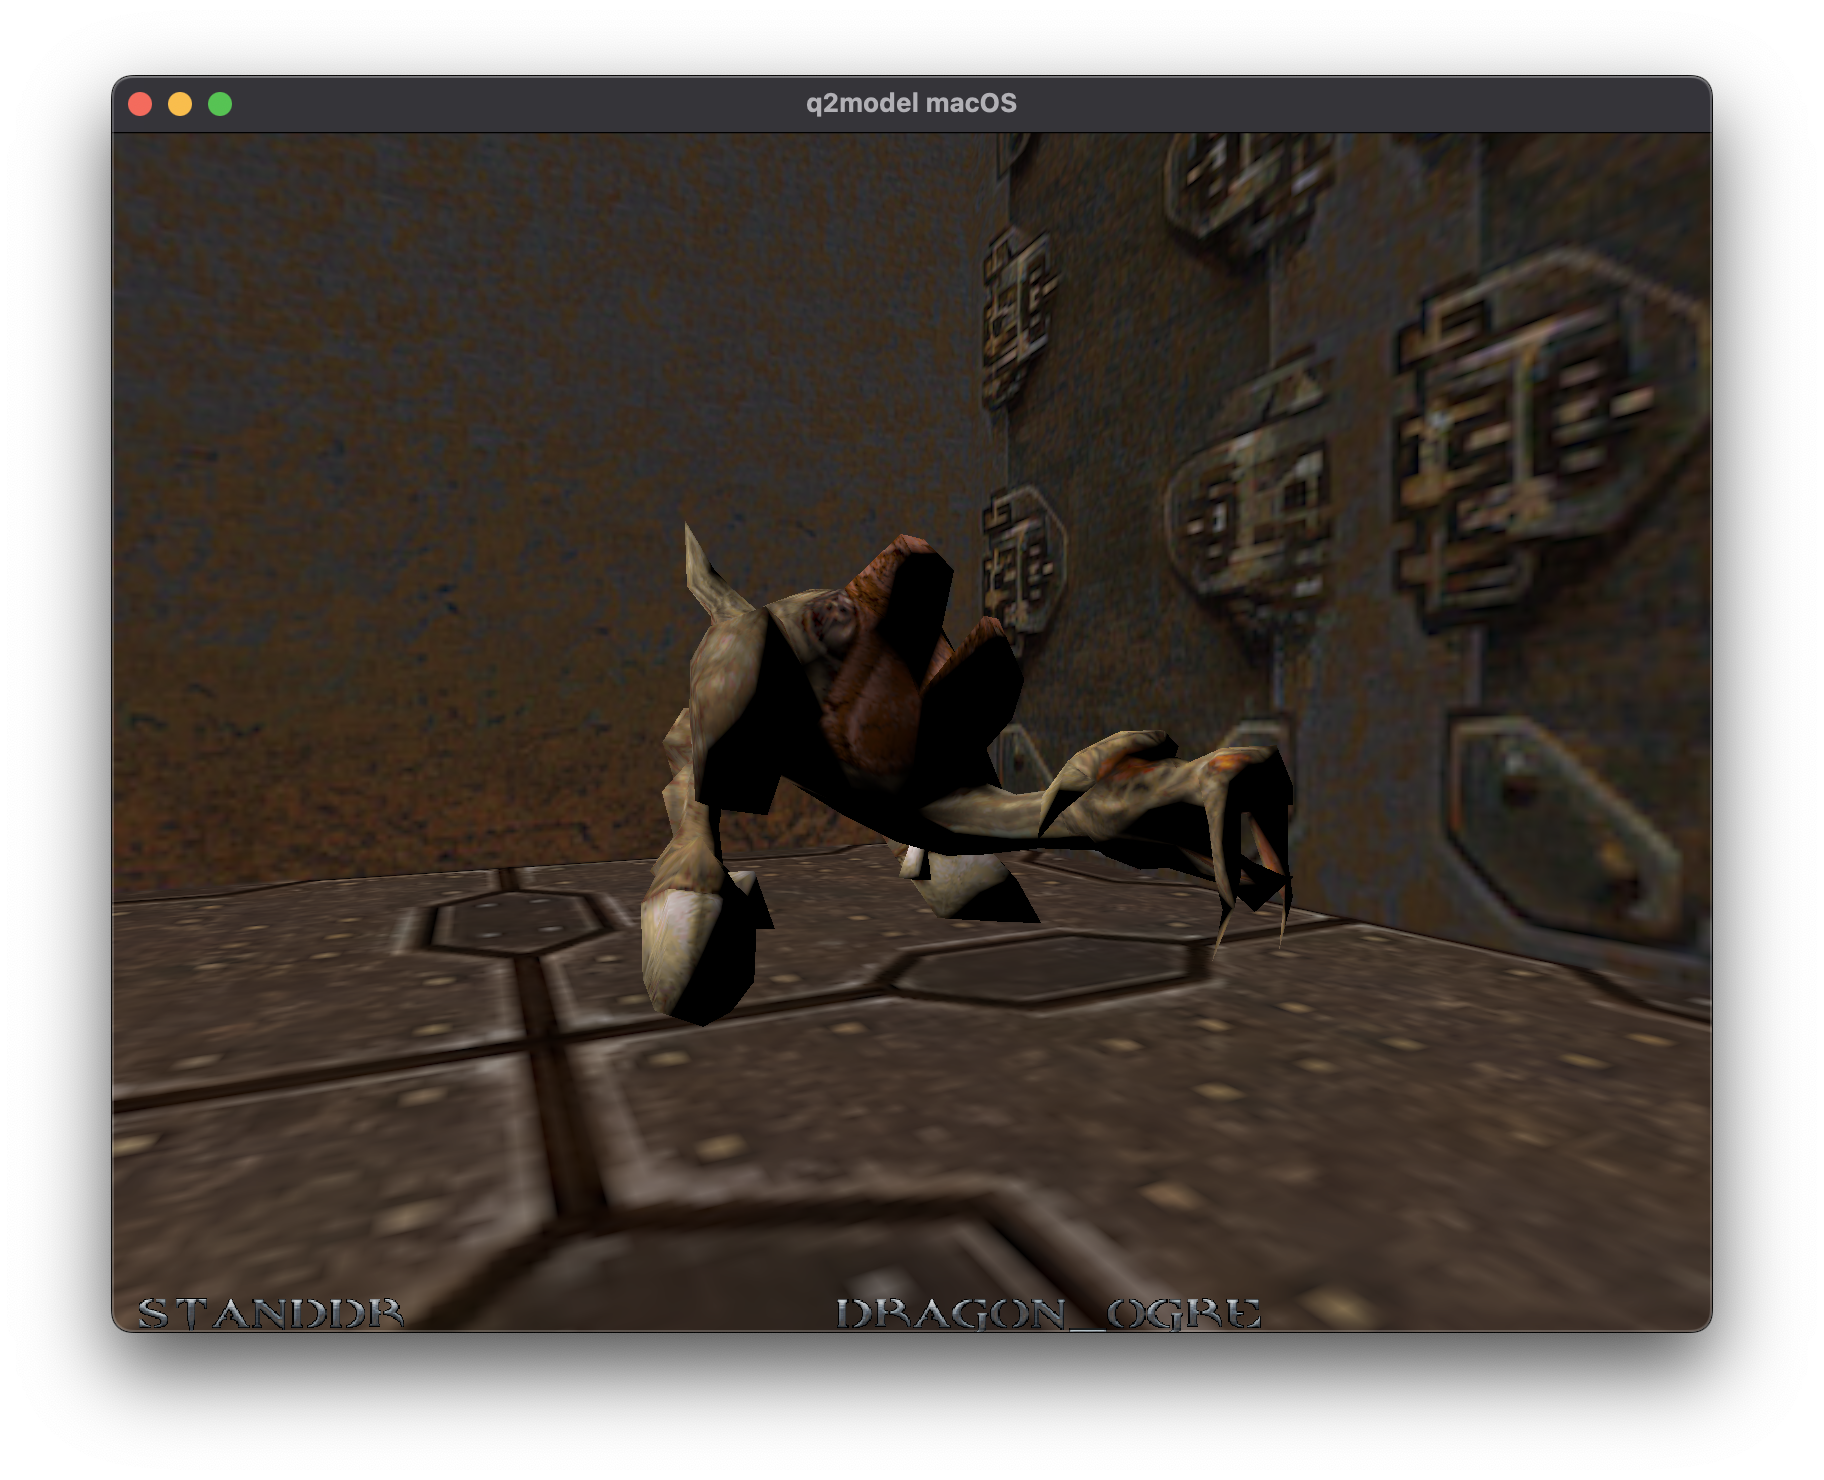
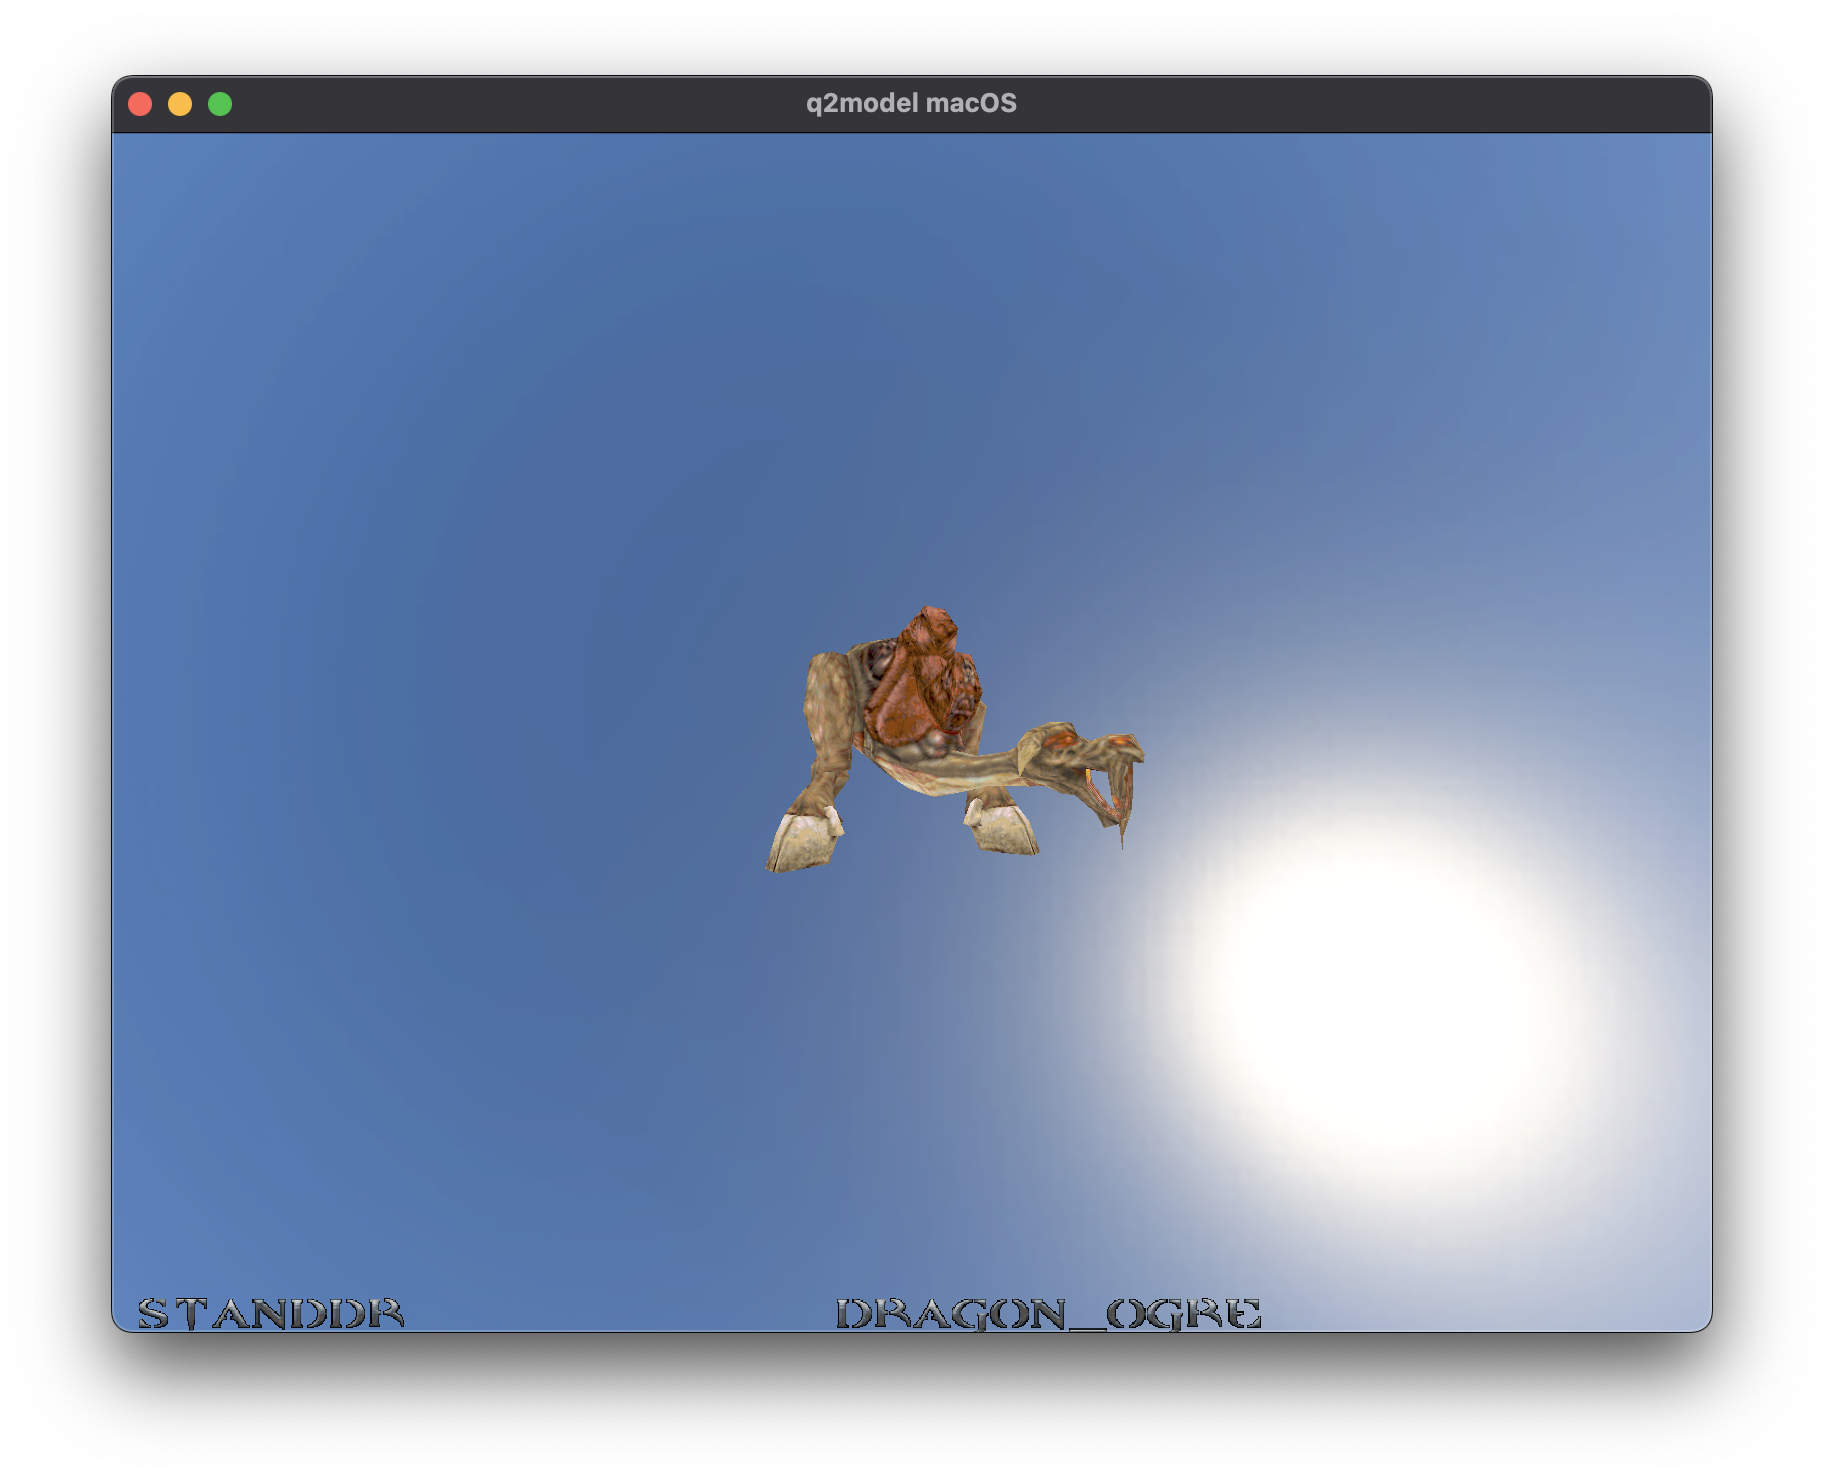
After I had figured out a solution for getting some way of displaying things, I combined them together to great effect:
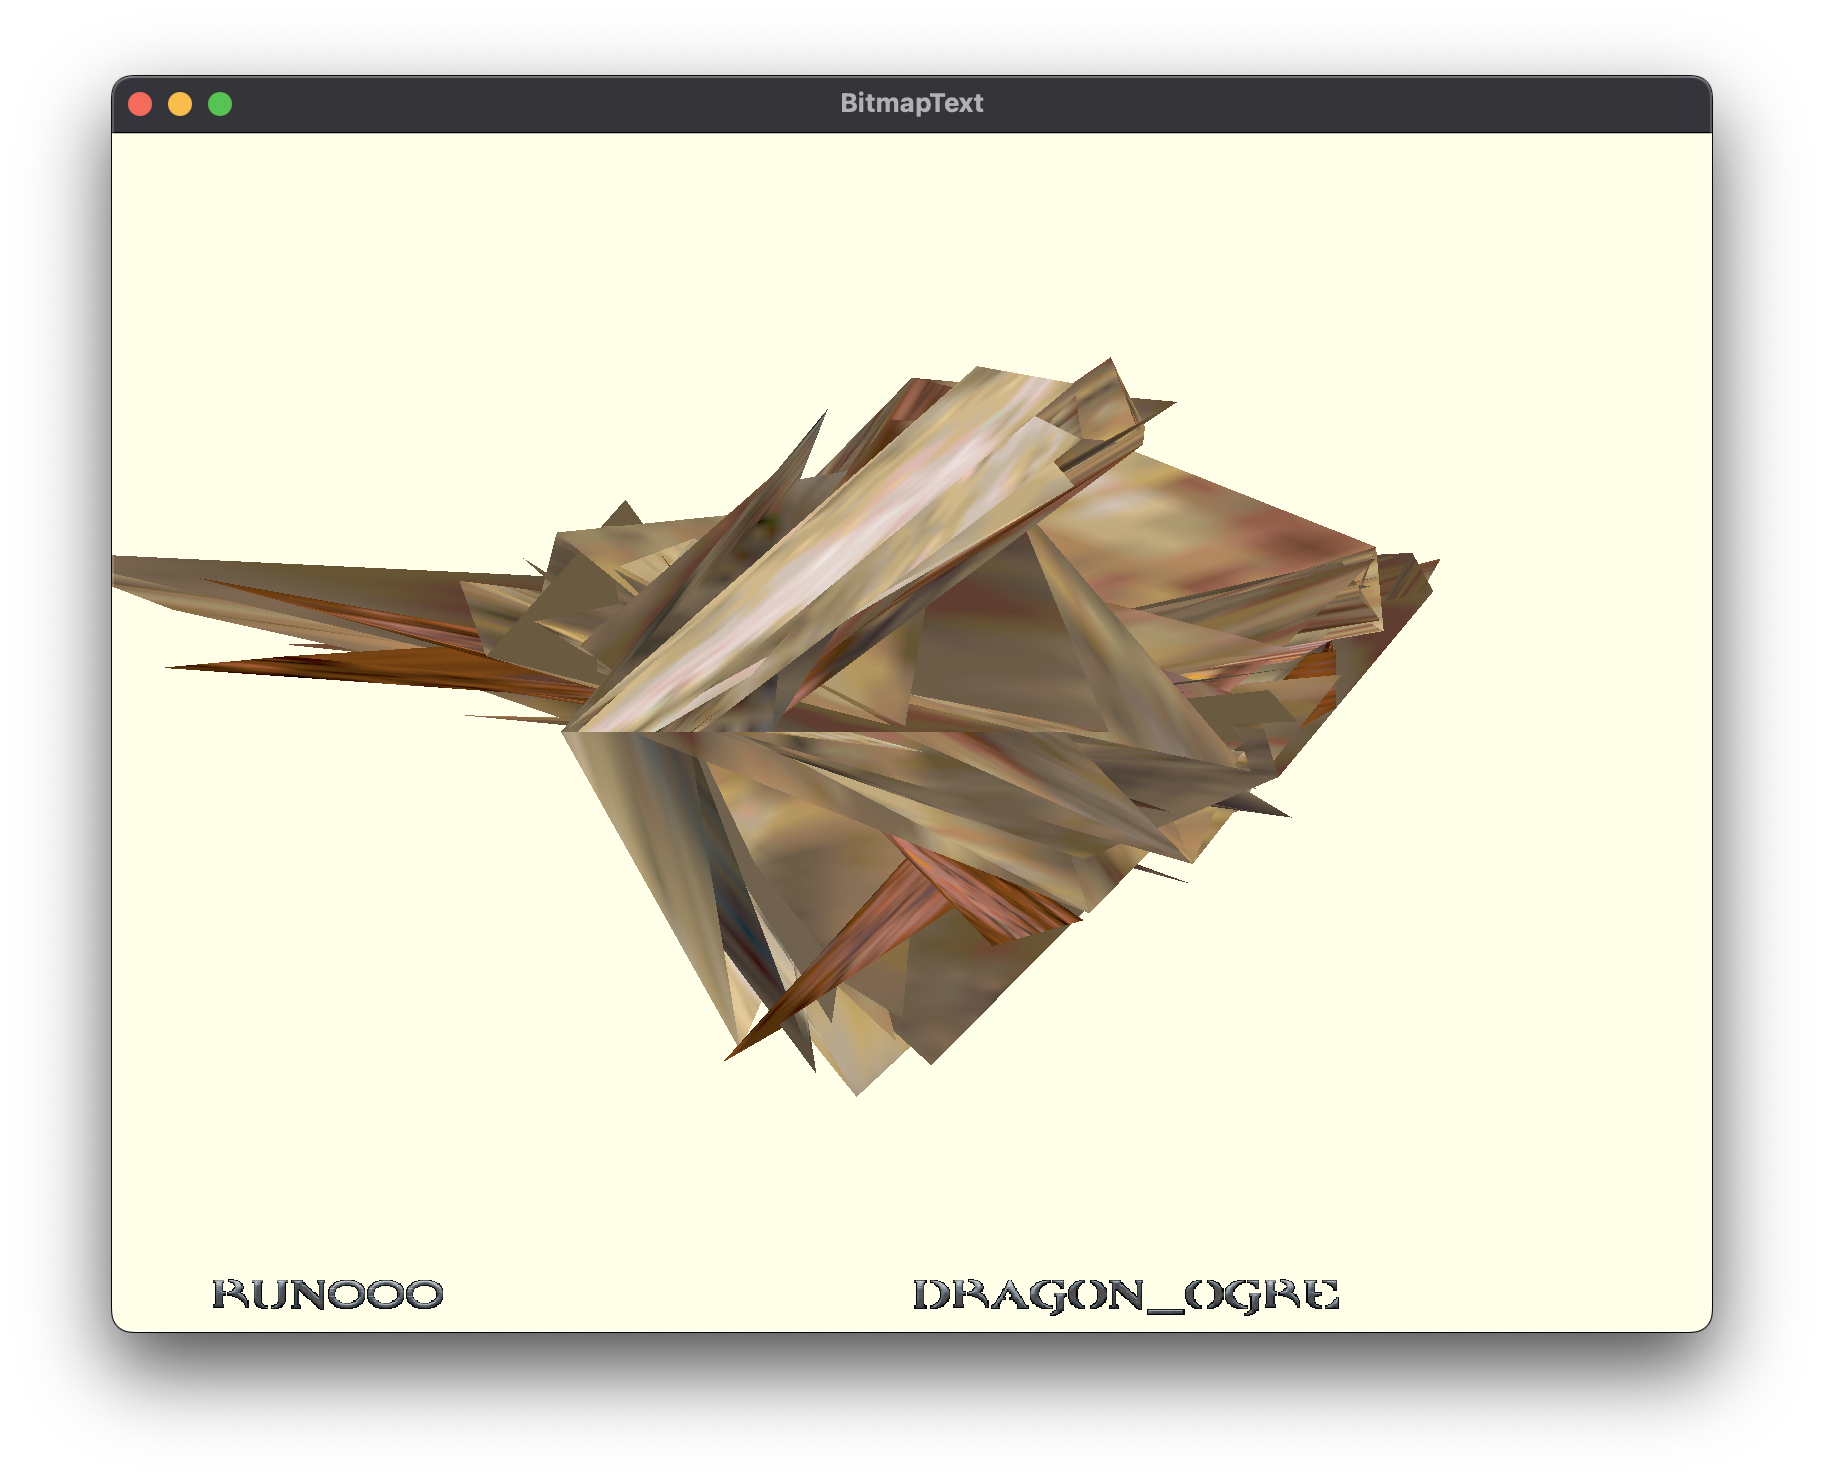
"RUN000" being the specific frame it is displaying, and "DRAGON_OGRE" is the name of the skin.
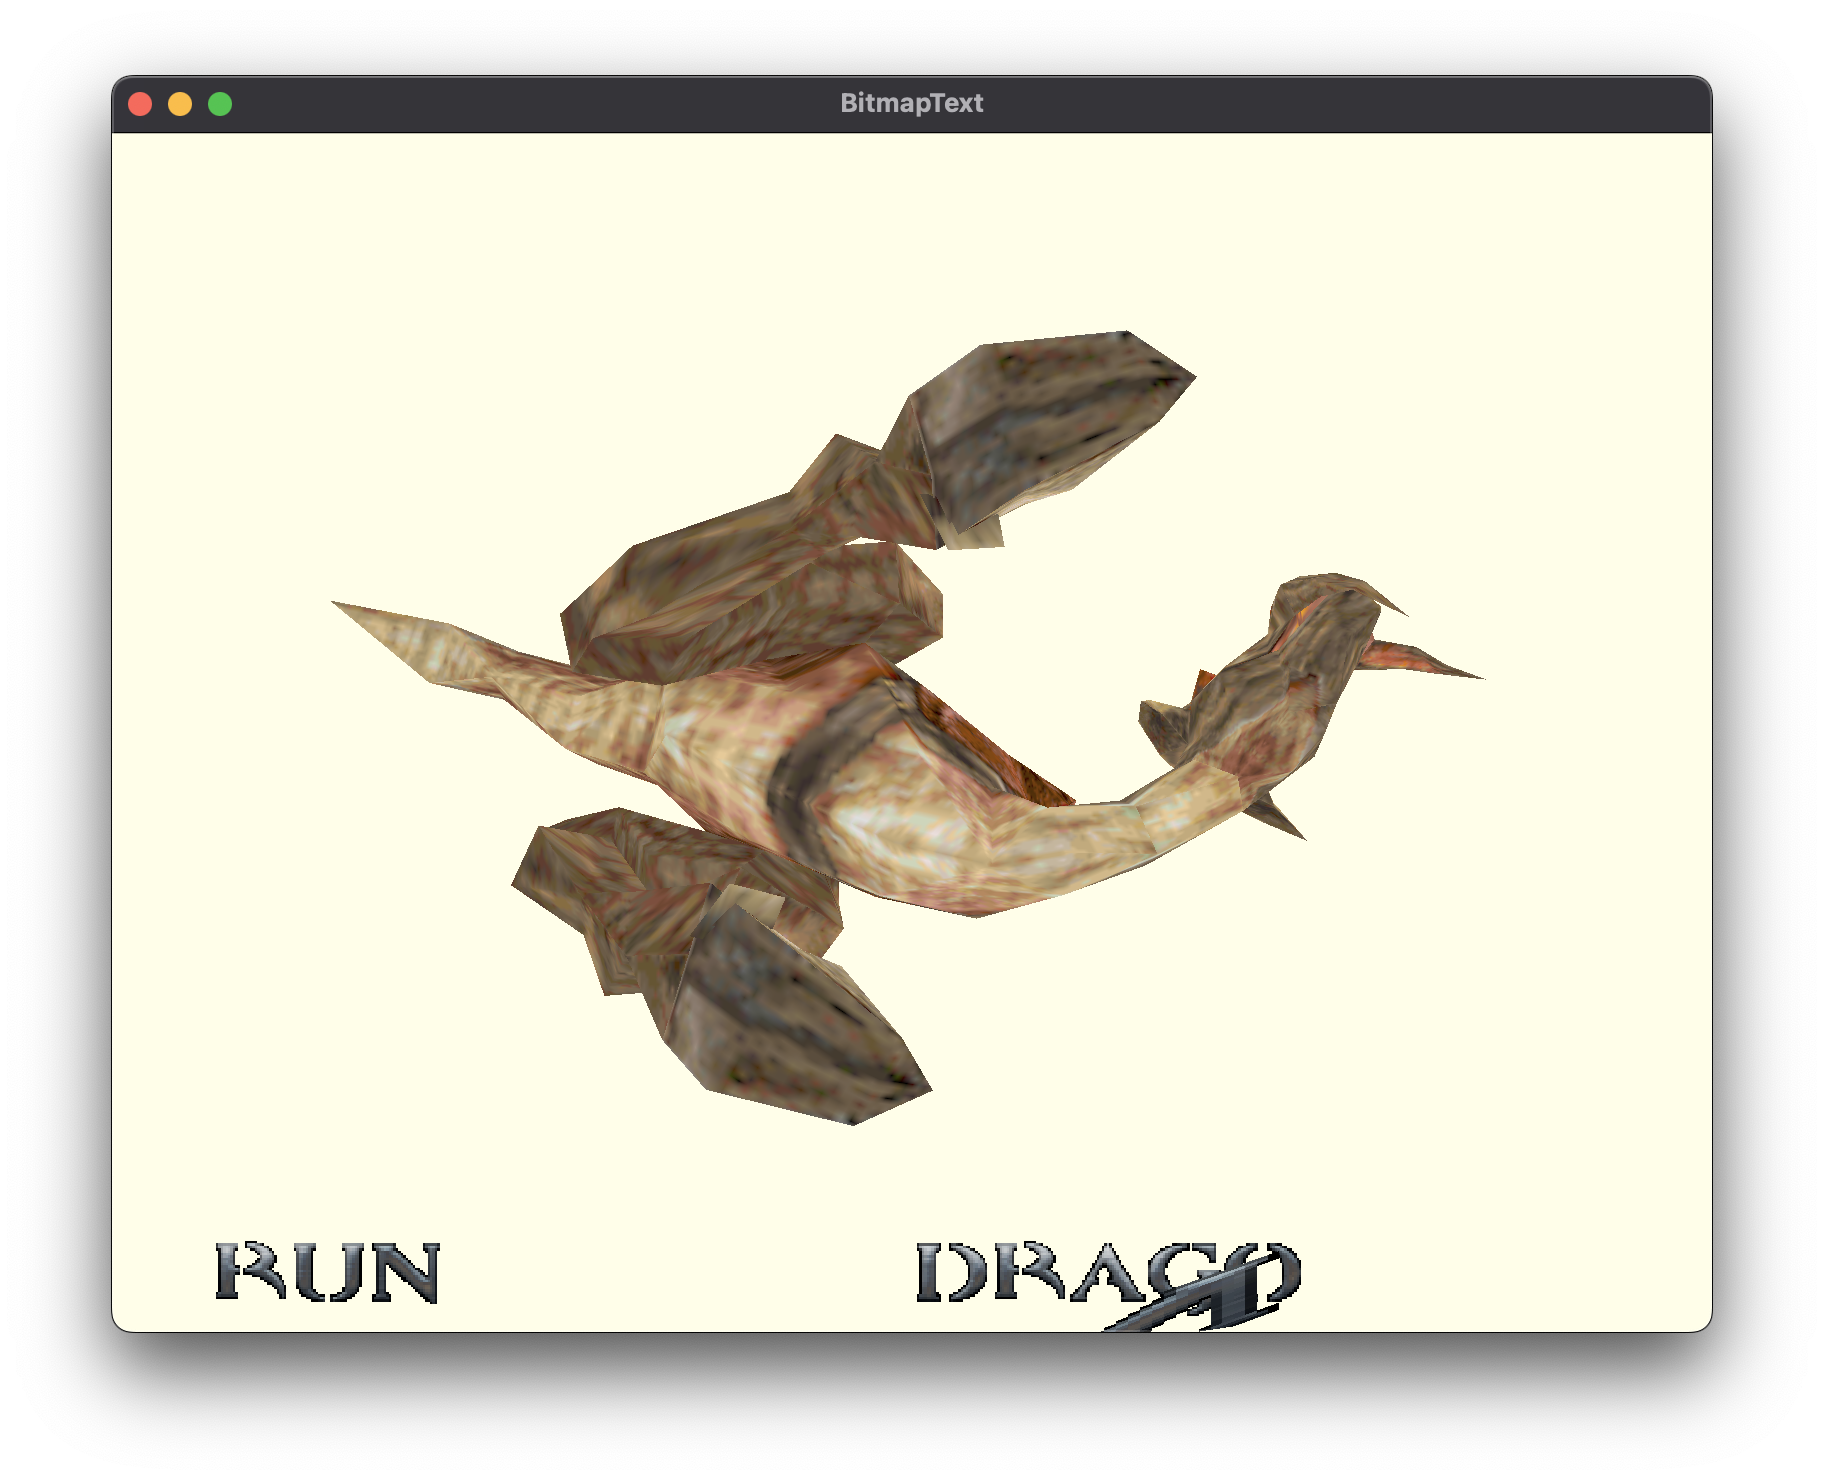
I managed to get the model displaying correctly but I broke the display of the text. It's cutting things in half, it's still attempting to display "RUN000" but the last part got cut off.
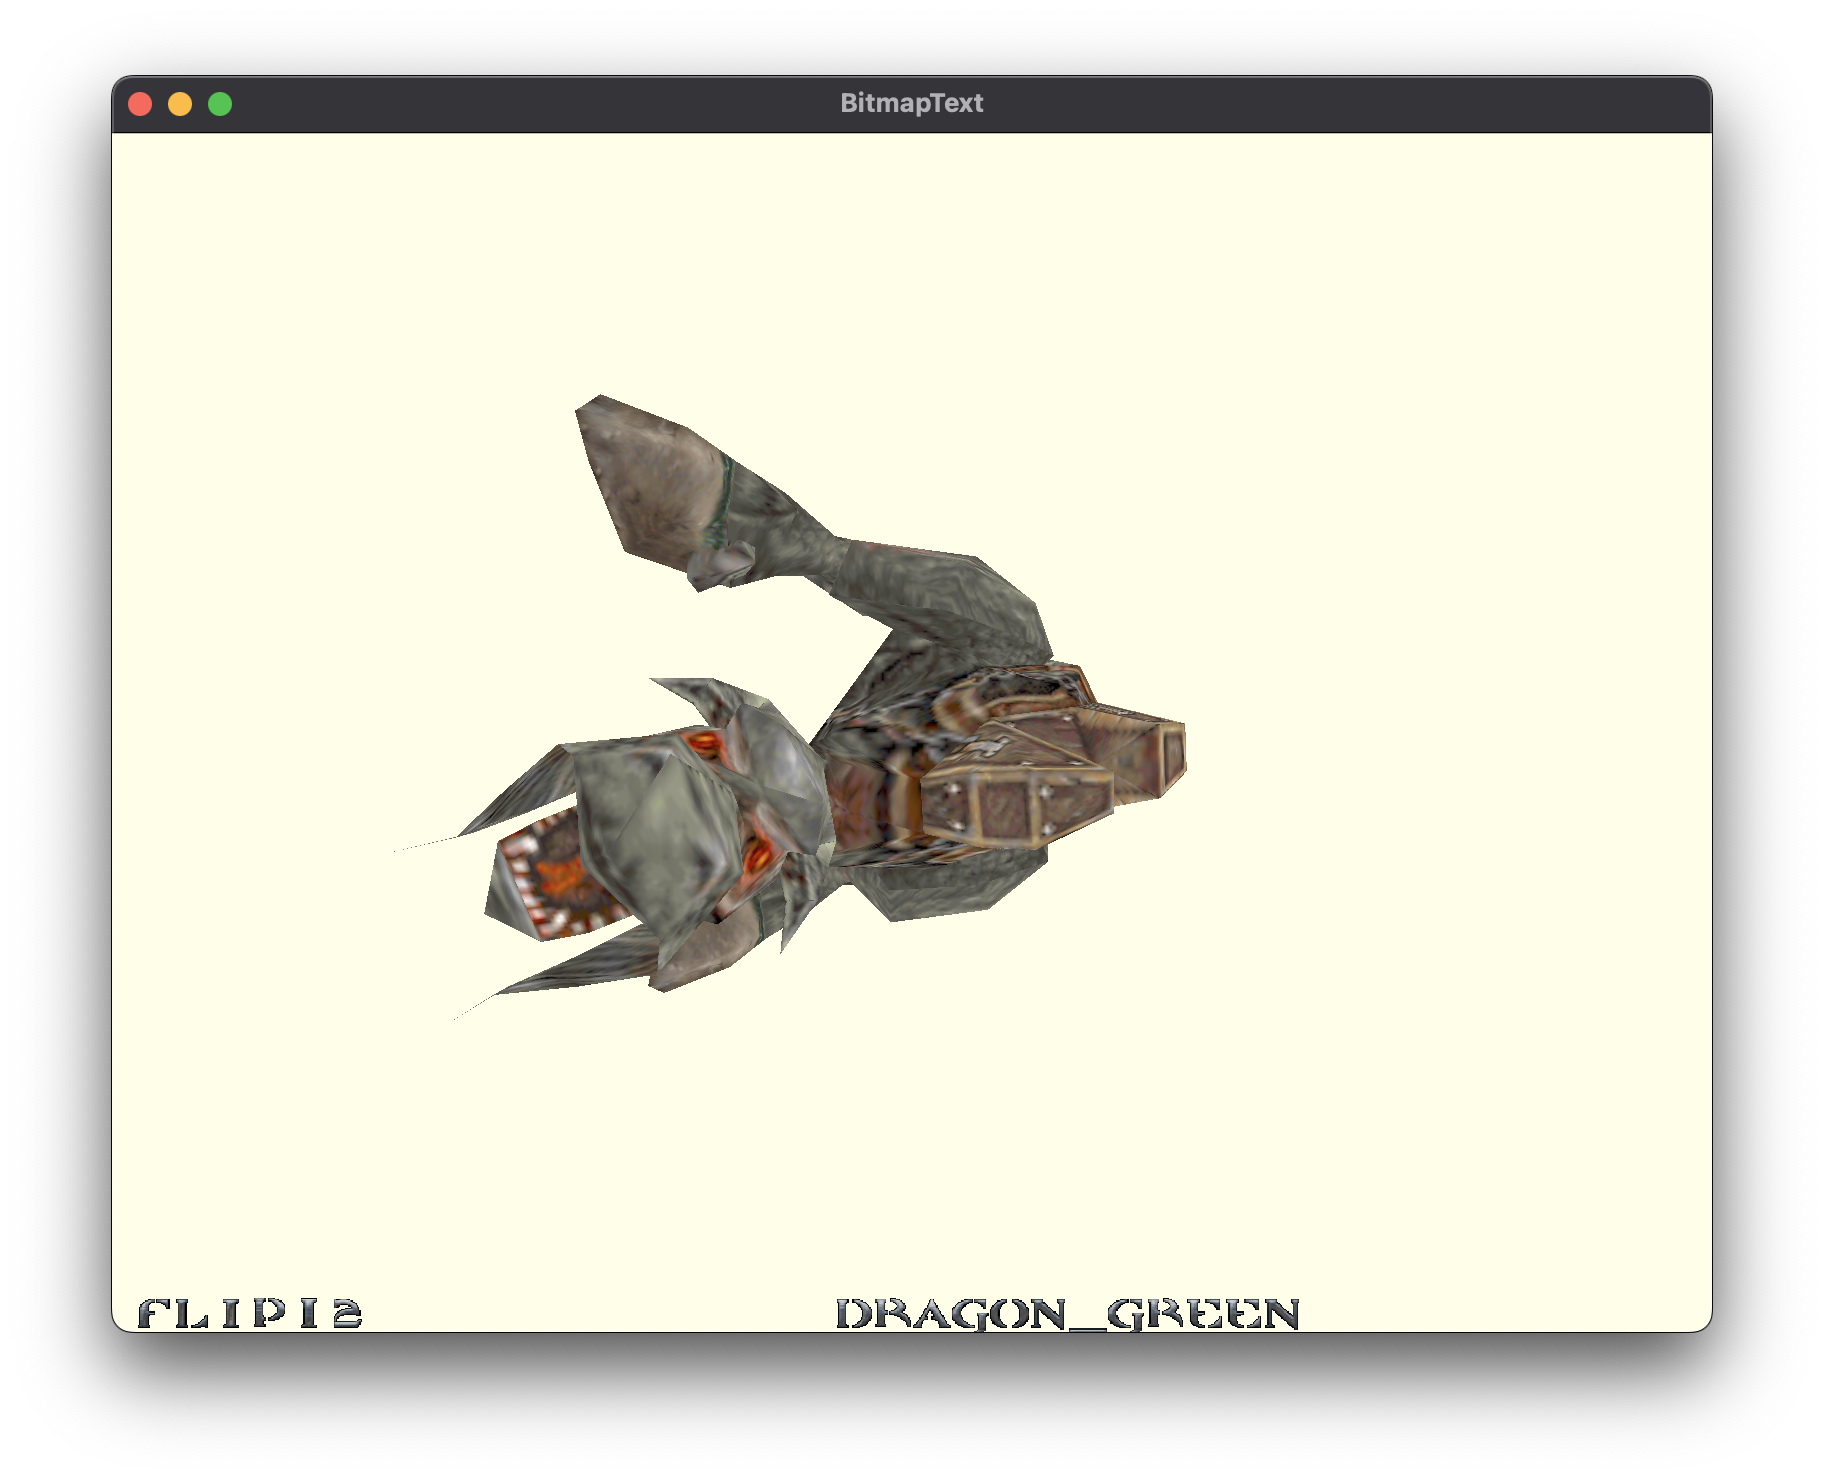
Okay so it turns out when I turned my text from 2D into 3D I didn’t update everything I needed to update. I was allocating space for N things that had 2 positions, then I came along and filled in N things with 3 positions.
So the animation text worked because it was actually something like RUN00, so 5×2 = 10, and 3×3=9 so it had enough space to work.
Easy fix, in retrospect but it took me some time to track it down.
From my notes at the time.
I was still browsing through models at the time:

Timeless.
Walls, and how to hit them
My original plan for this was to use this to create game similar to Wolfenstein 3D, and that definitely had walls. So that was my next ambitious goal, with a bit of misadventuring.
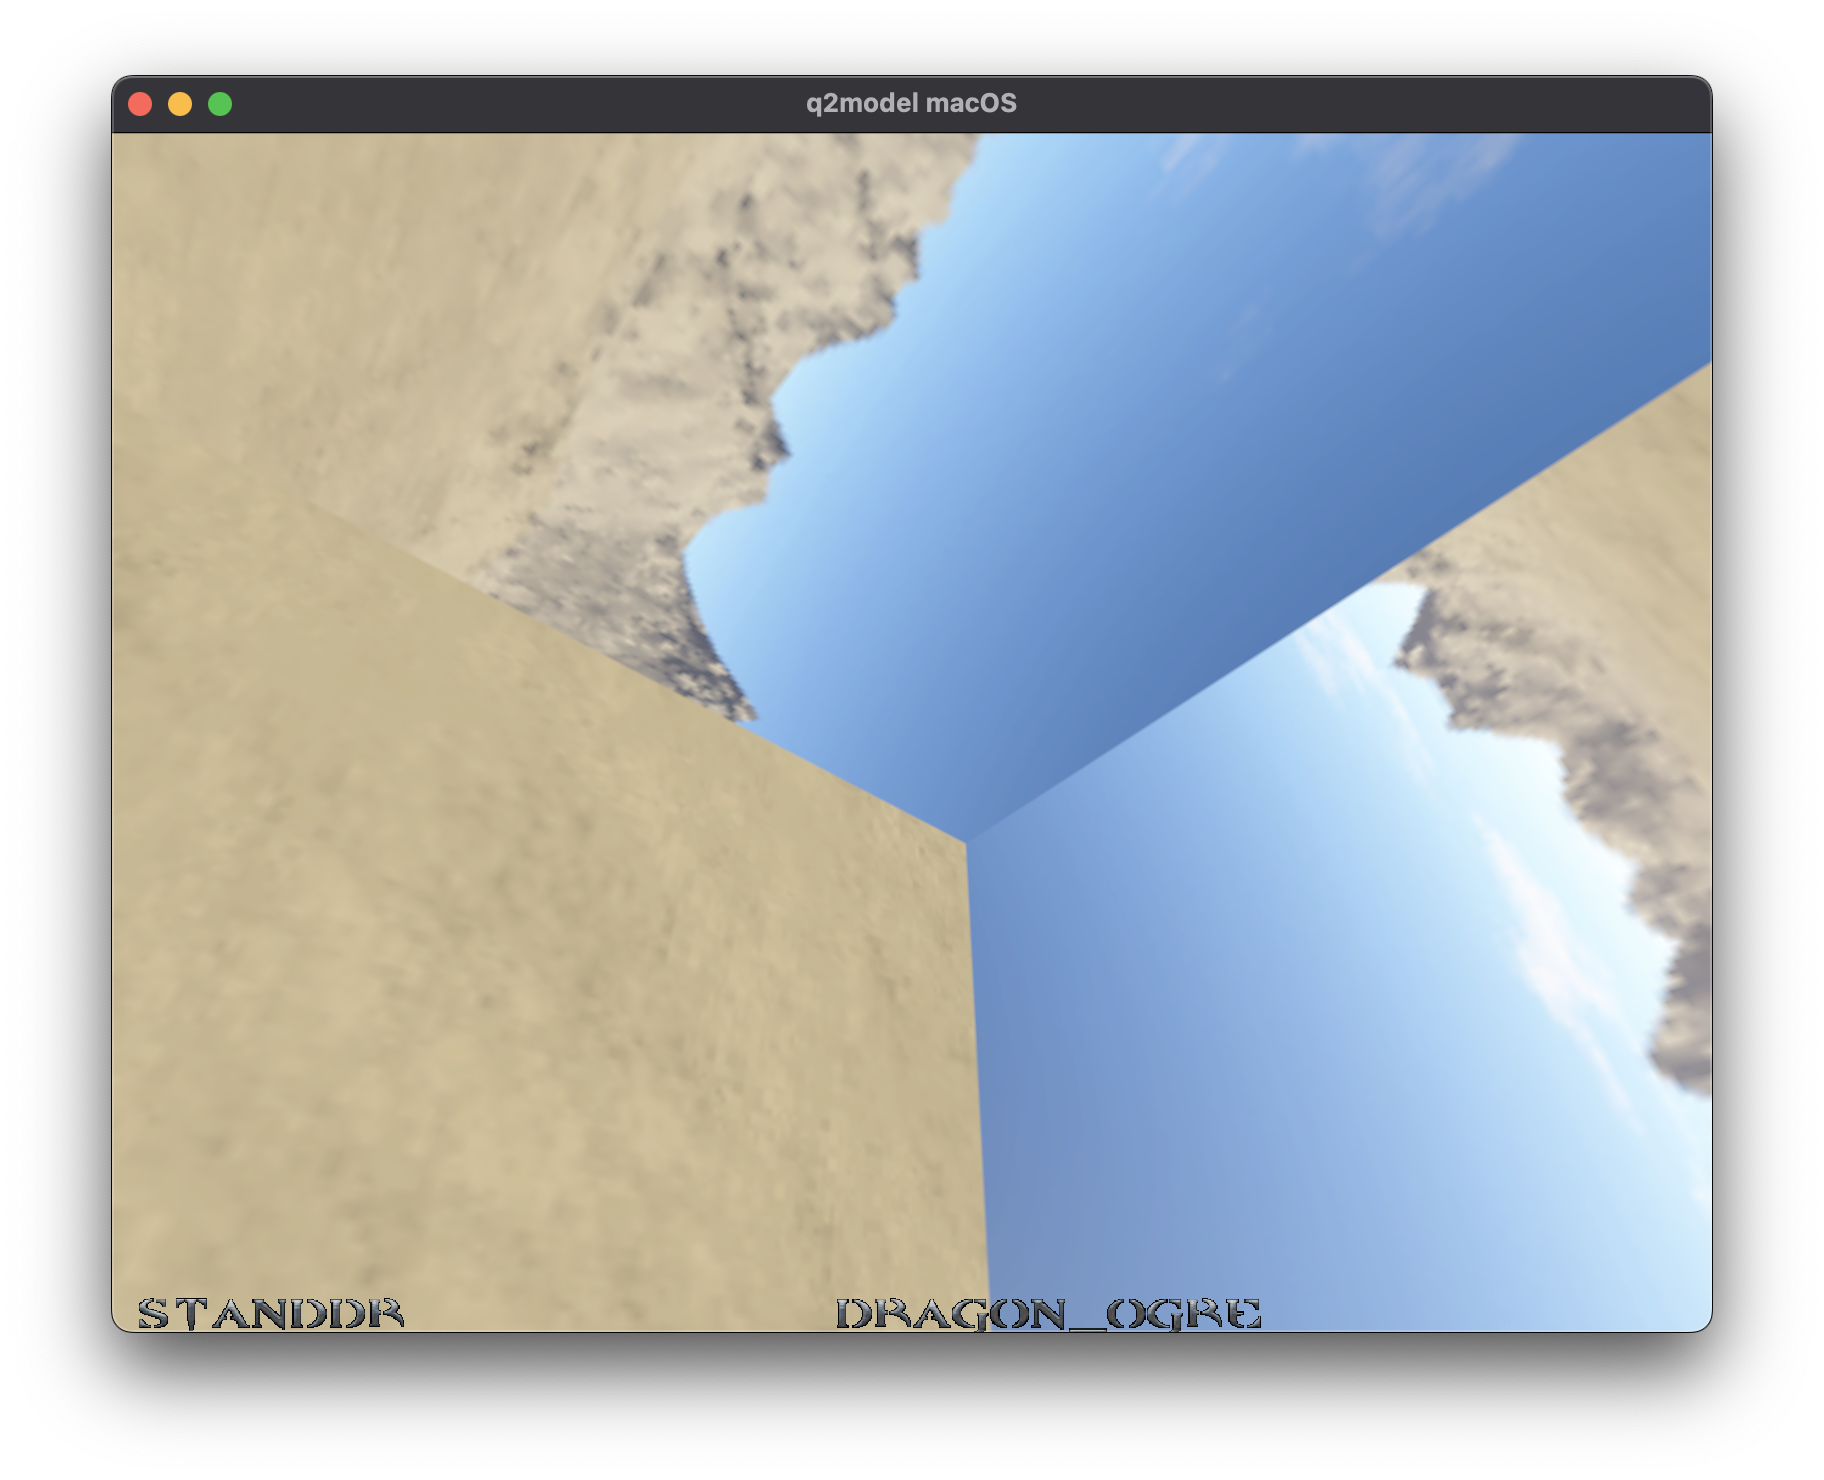
My first implementation was to attempt to just generate some flat planes and hook them together. One corner of a cube, and everything attached, essentially. This was not a plan that was going to work.
Skybox
I decided to do what everyone else does and just make a large cube and stick everything inside of that.
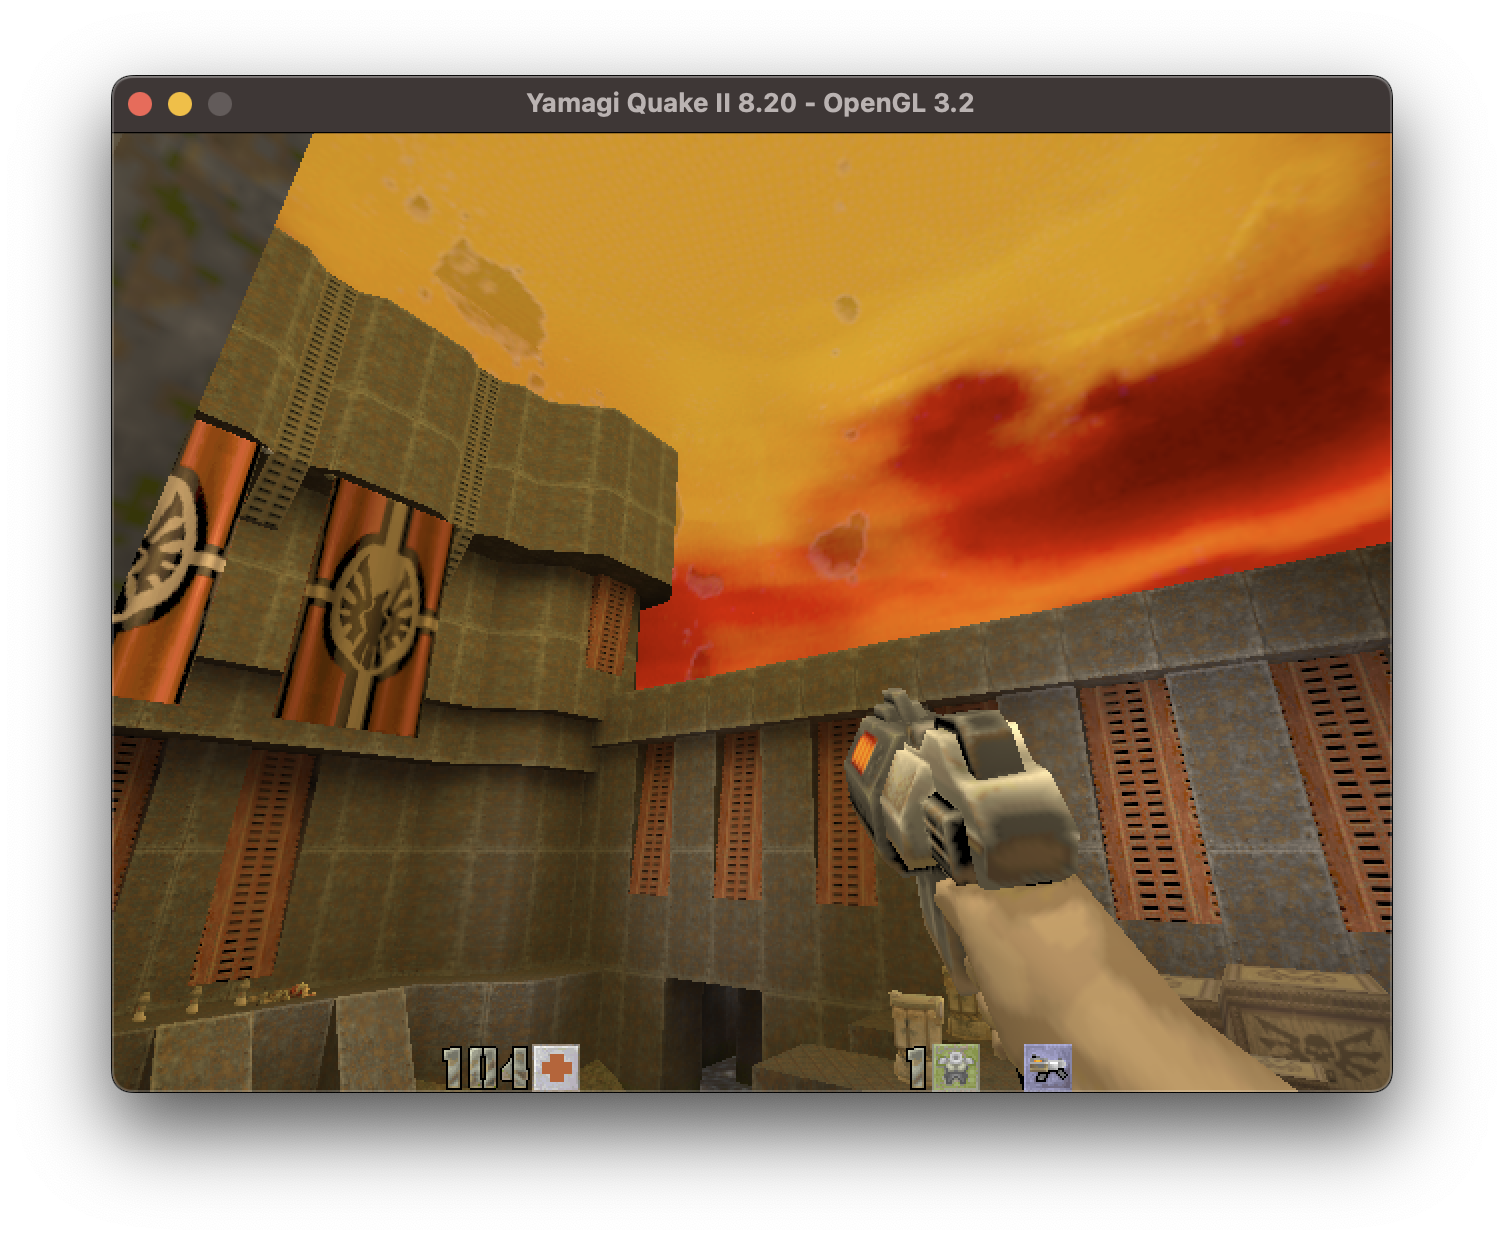
In Quake 2 for example, you've got the level geometry and then the reddish-orange sky that depicts what it would look on Stroggos. That is effectively the inside of a large cube.
That's one representation of a skybox texture, with the sides labelled. Saves it from looking like things are taking place inside of a black void.
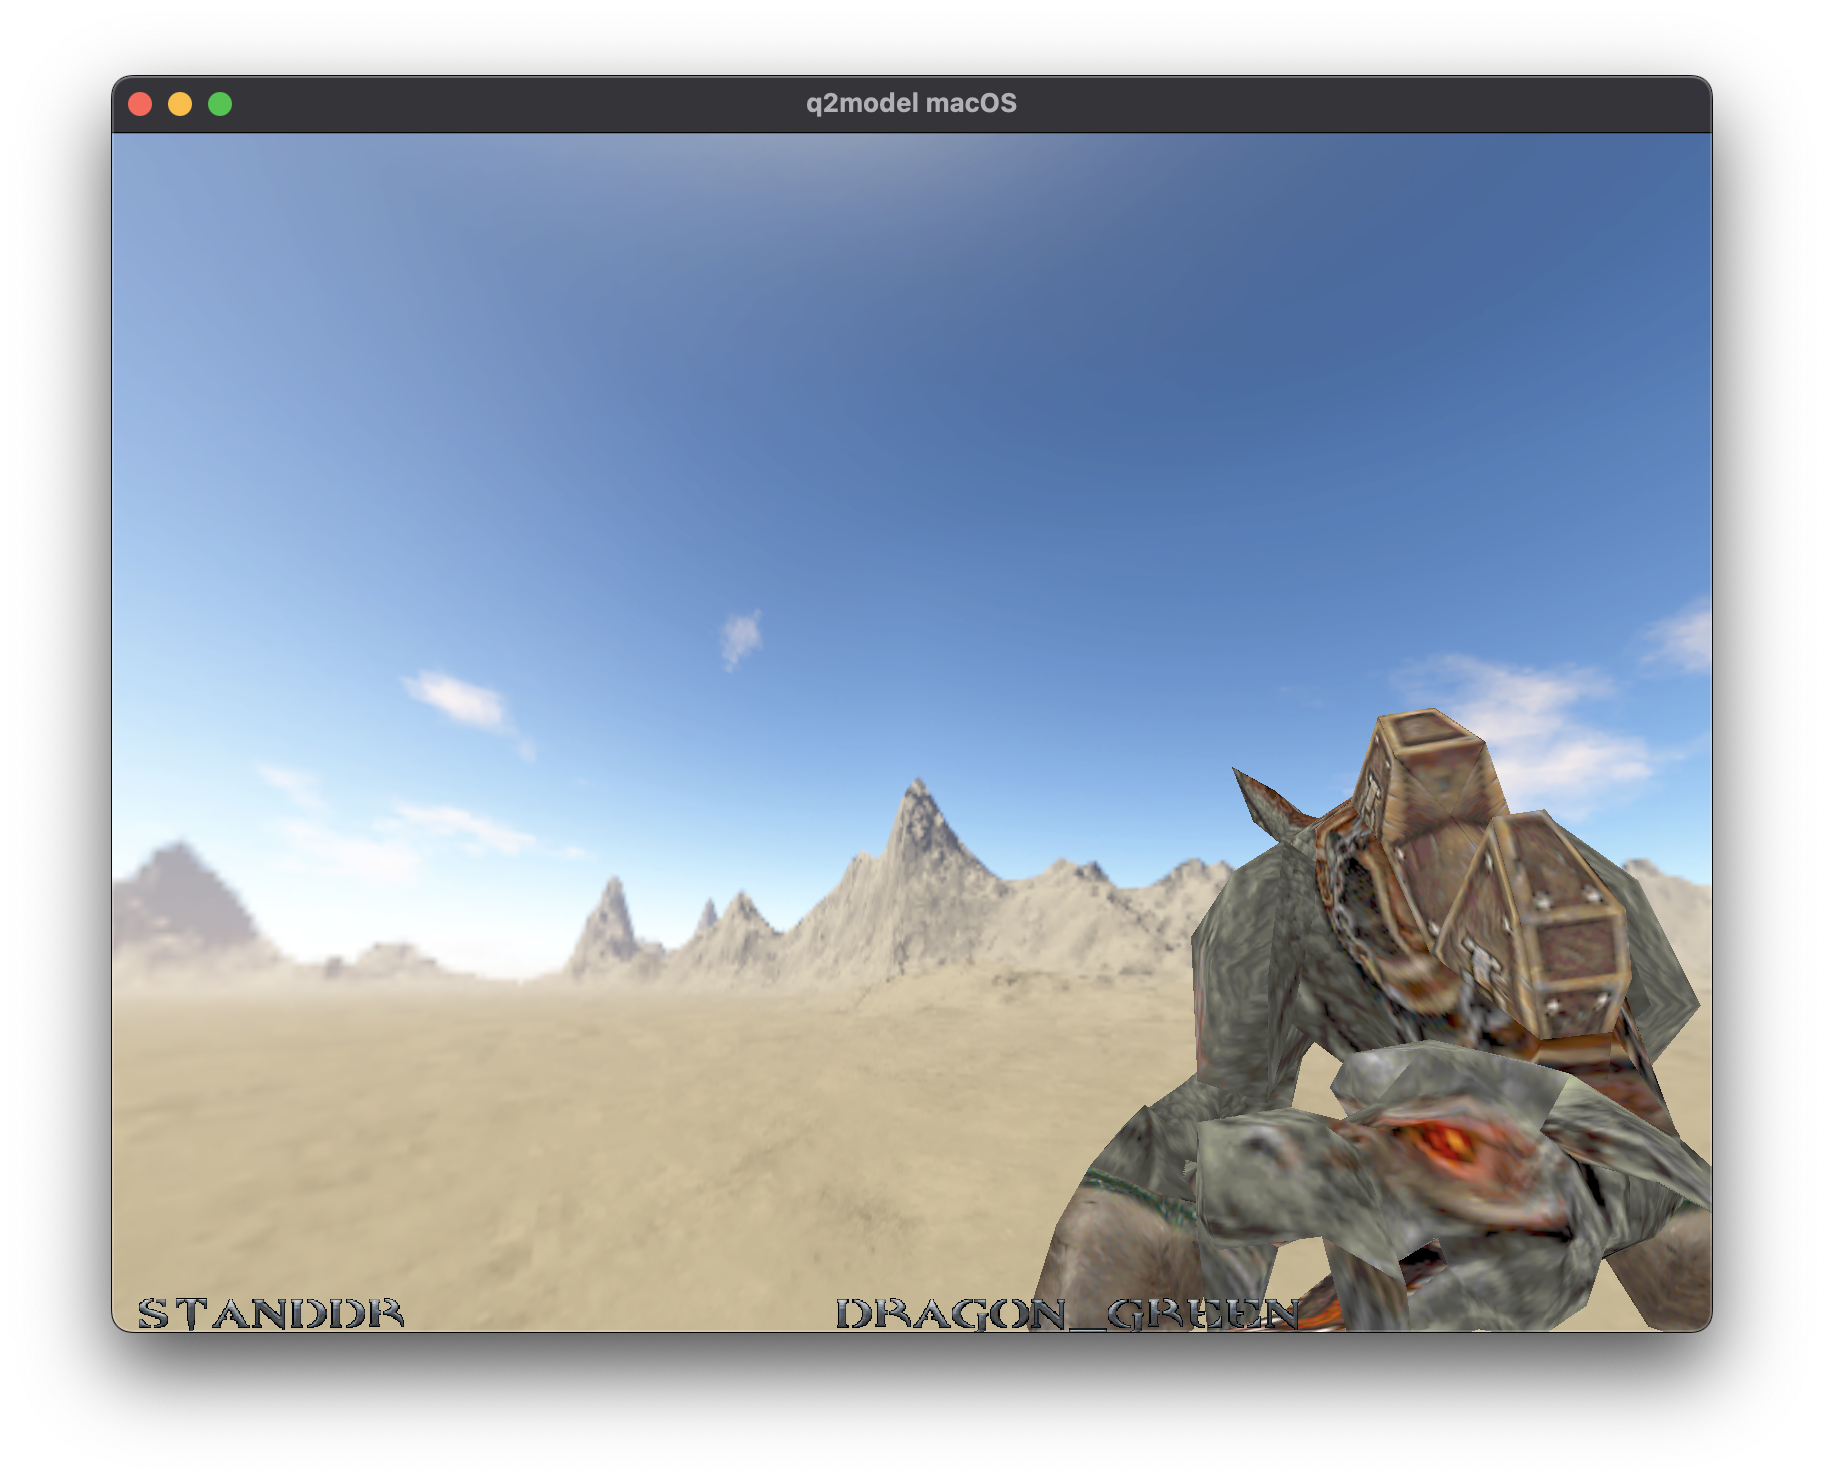
I also started with a Skybox texture, as there are numerous versions floating in the aether.
Depending on how your directions are defined, you find that you have to rotate certain images to fit properly.
Q2Model, Part 7
The fun and exciting thing that figuring out the PCX file format allowed me to, was to wander through a large collection of models people had created.
Check out that neat shield effect!
Delightful.
I ended up switching to the Dragon model as it was very well done and quite a lot of work put into it.
Adventures, in other directions
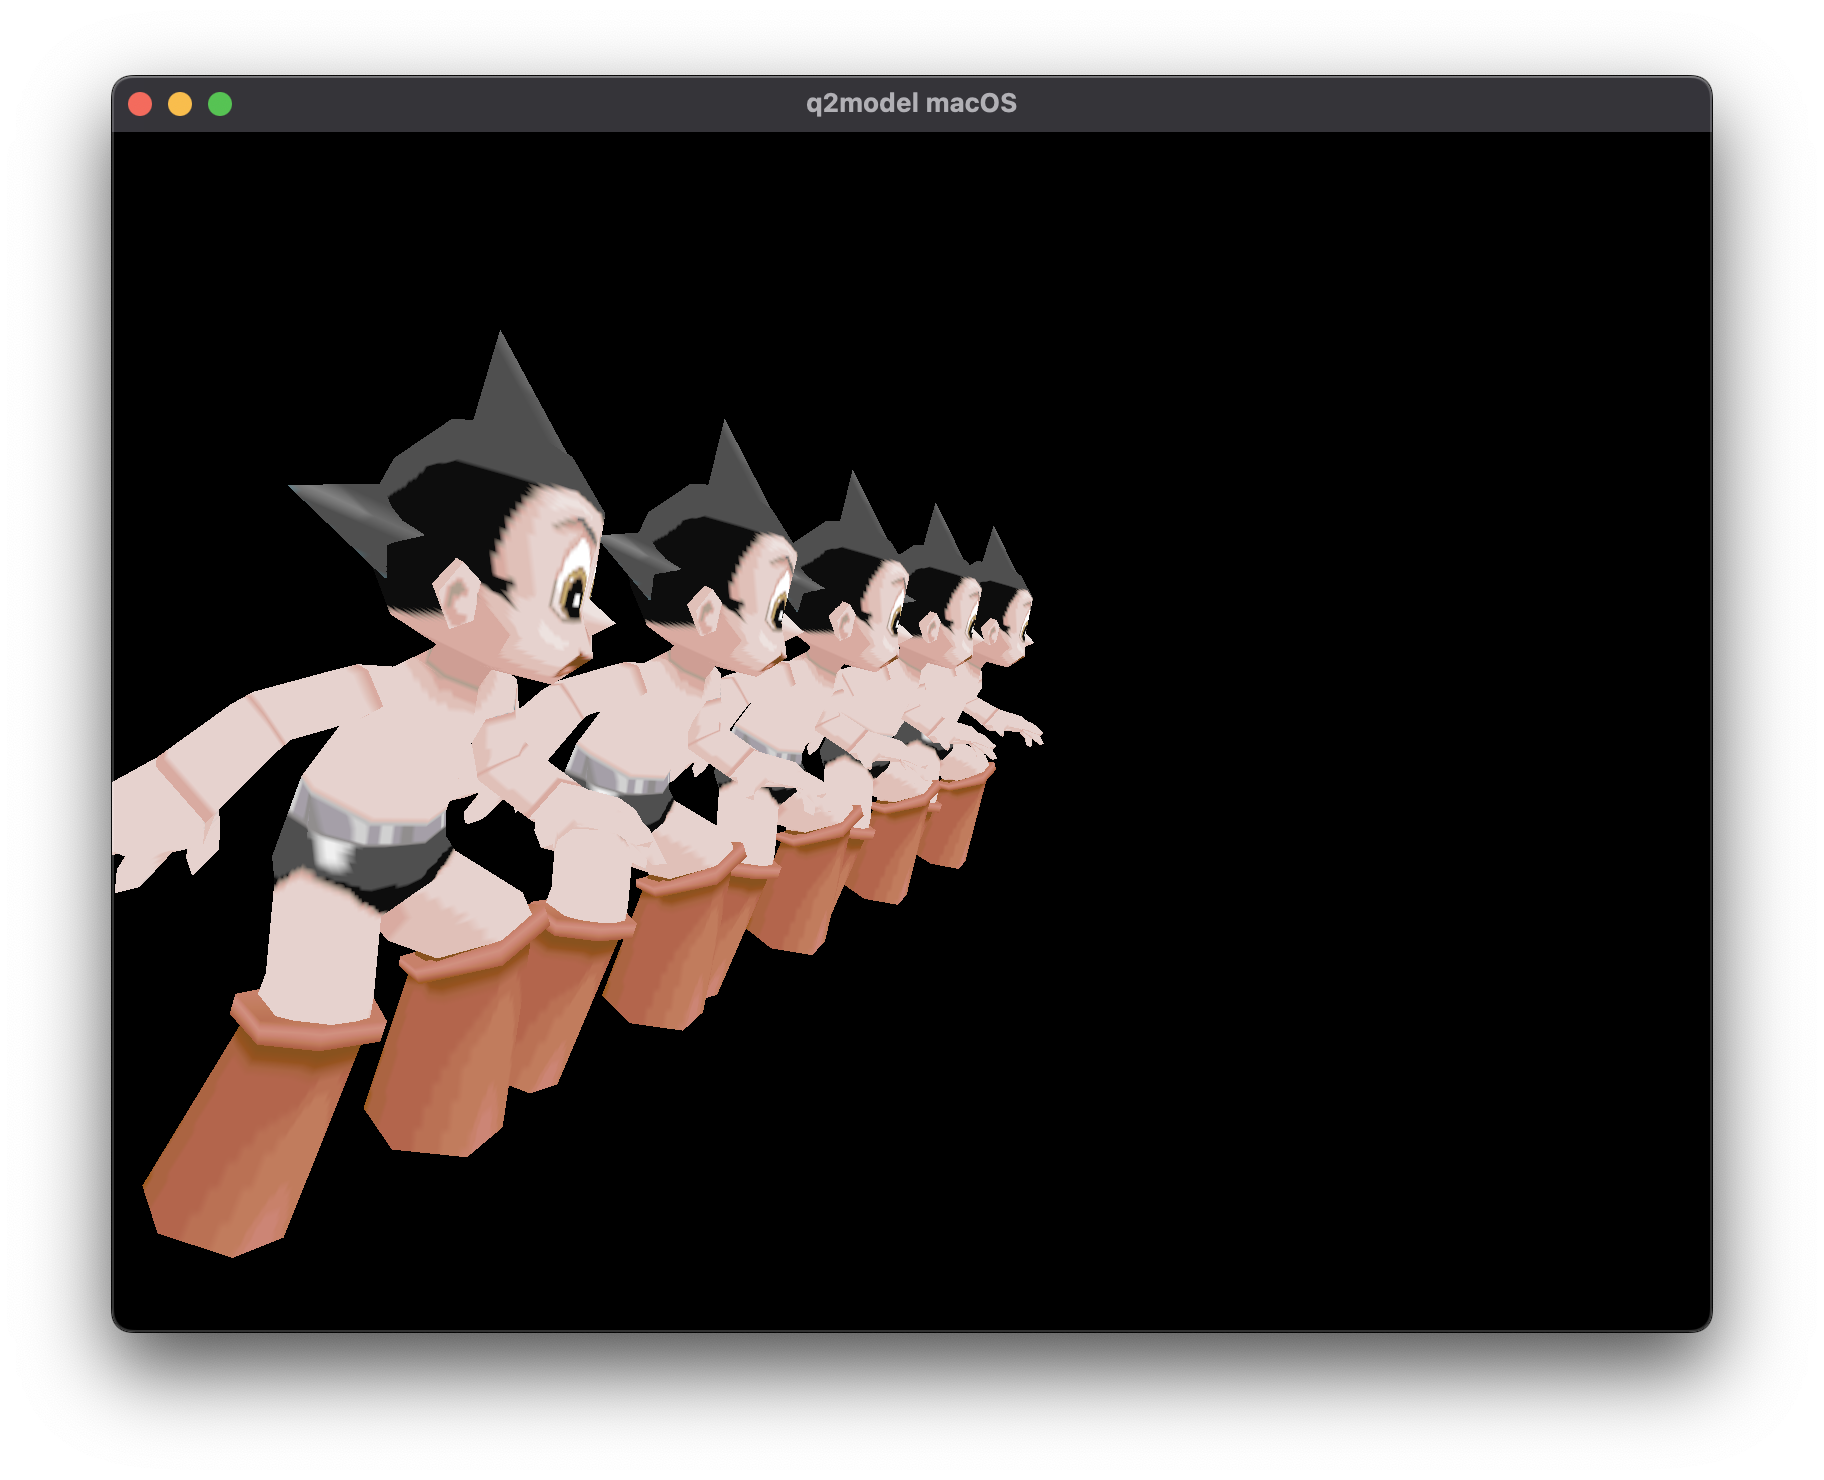
Among other things I also figured out how to have Metal render the model several times. One would use this sort of thing if you had multiple copies of things in a given "scene", think trees and foliage.
Bitmap Fonts
At this point I had implemented the ability to switch between animations and skins, but it wasn't entirely clear what I was looking at. I needed some way to display information.
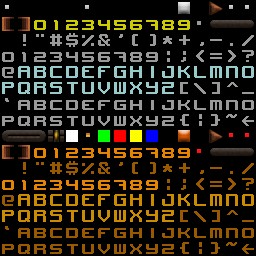
That's a bitmap font called "Grey Bugs" by Michal Sochon (KaszpiR). My first attempt didn't work out so great:
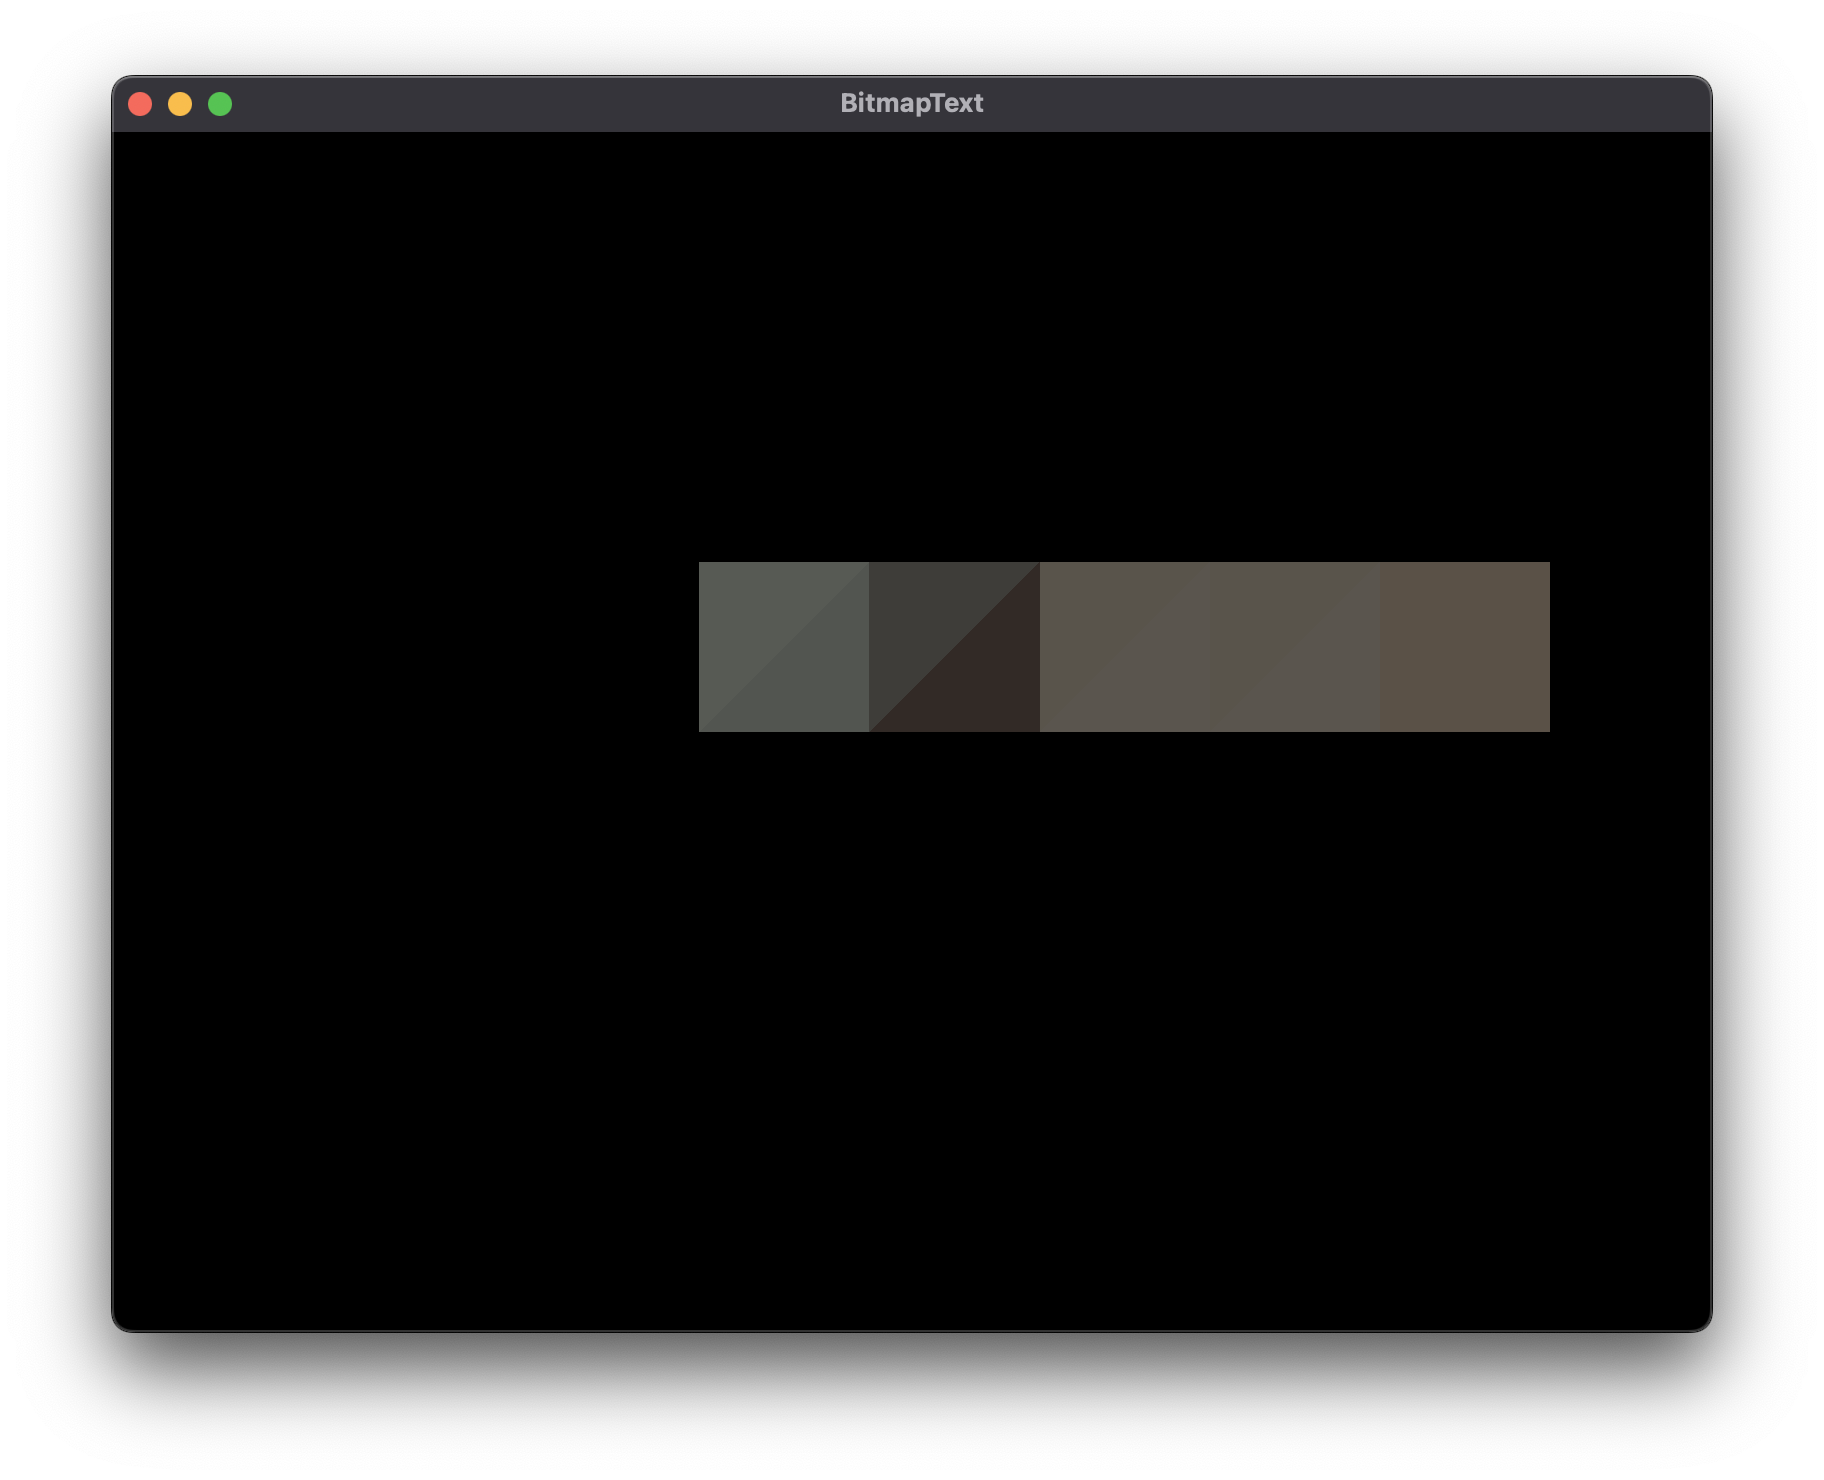
That is supposed to be "Hello", but due to how I am sampling the texture (the bitmap font) it's not working properly. In short order I managed to get this, which is a definite improvement:
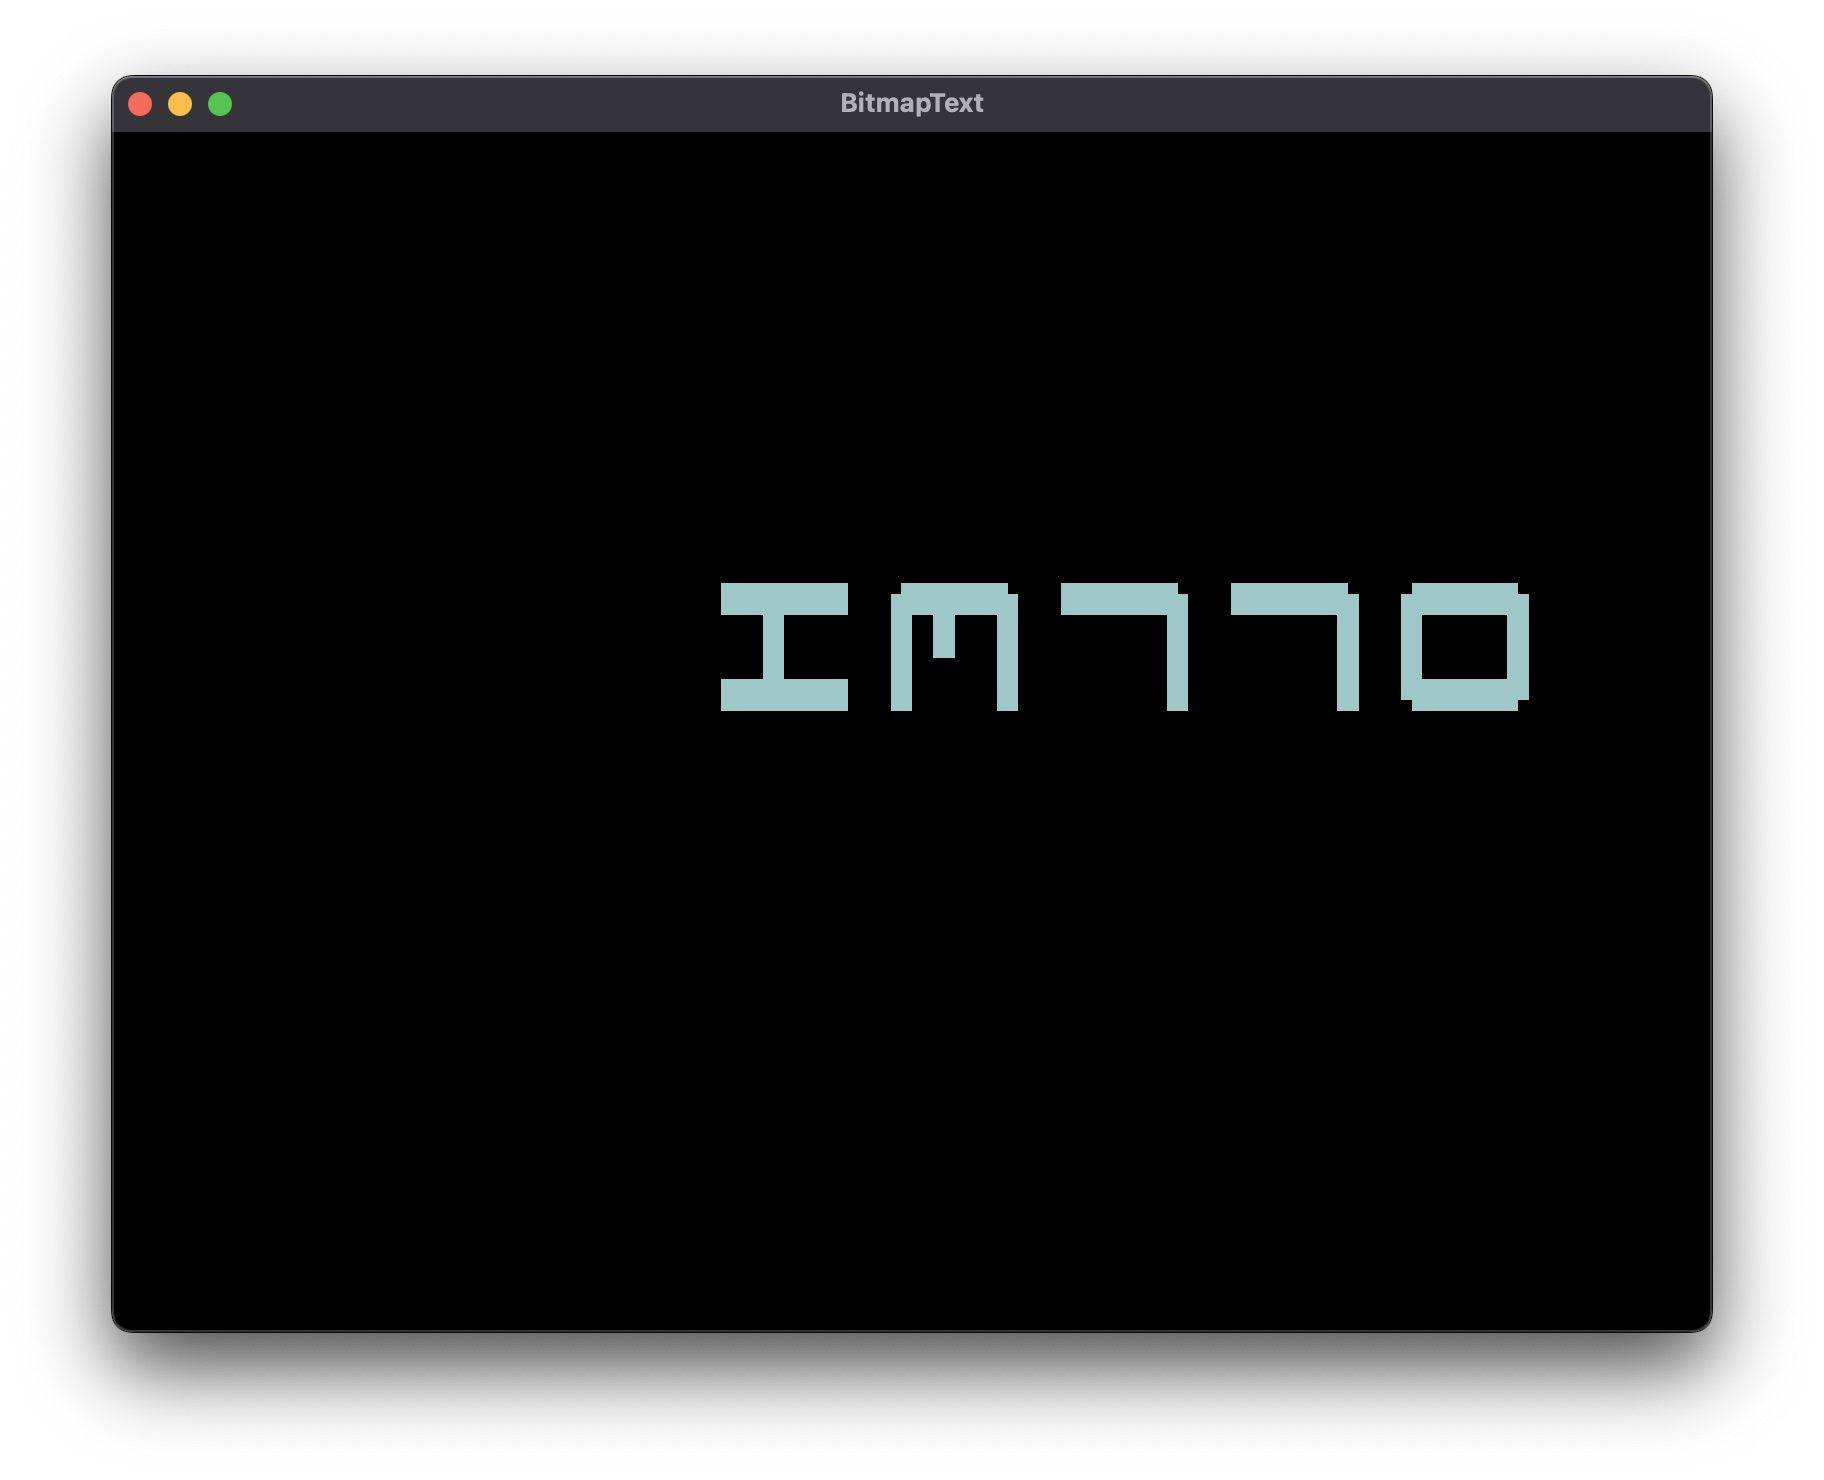
Small problem in that I was specifying the coordinates in the incorrect order so it was flipped and mirrored.
Still, I was quite pleased that I was able to get this to work. There were solutions that involved using the macOS text rendering system to render the text into an image and then displaying that, but that seemed overkill. This is just constructing a series of triangles together (as you can see in the first image), and applying a texture to them.
Q2Model, Part 6
Actually, I went back to look at what I worked on after getting the model to render with a texture. Turns out it was animations and figuring out the PCX file. Indexed primitives would turn out to be a colossal pain, but I figured out animations and the PCX file first.
Animations
The way animations work in the Quake 2 Model format is to store the vertex positions of every vertex at that point in the animation. So the stand animation for this model is 40 frames. My rough initial version looked like this:
It's going a bit quickly and I am not interpolating the values between frames, so it's fast and jerky.
There appears to be a standard set of animations, but I've seen models where people have added their own animations:
- stand
- run
- attack
- pain1
- pain2
- pain3
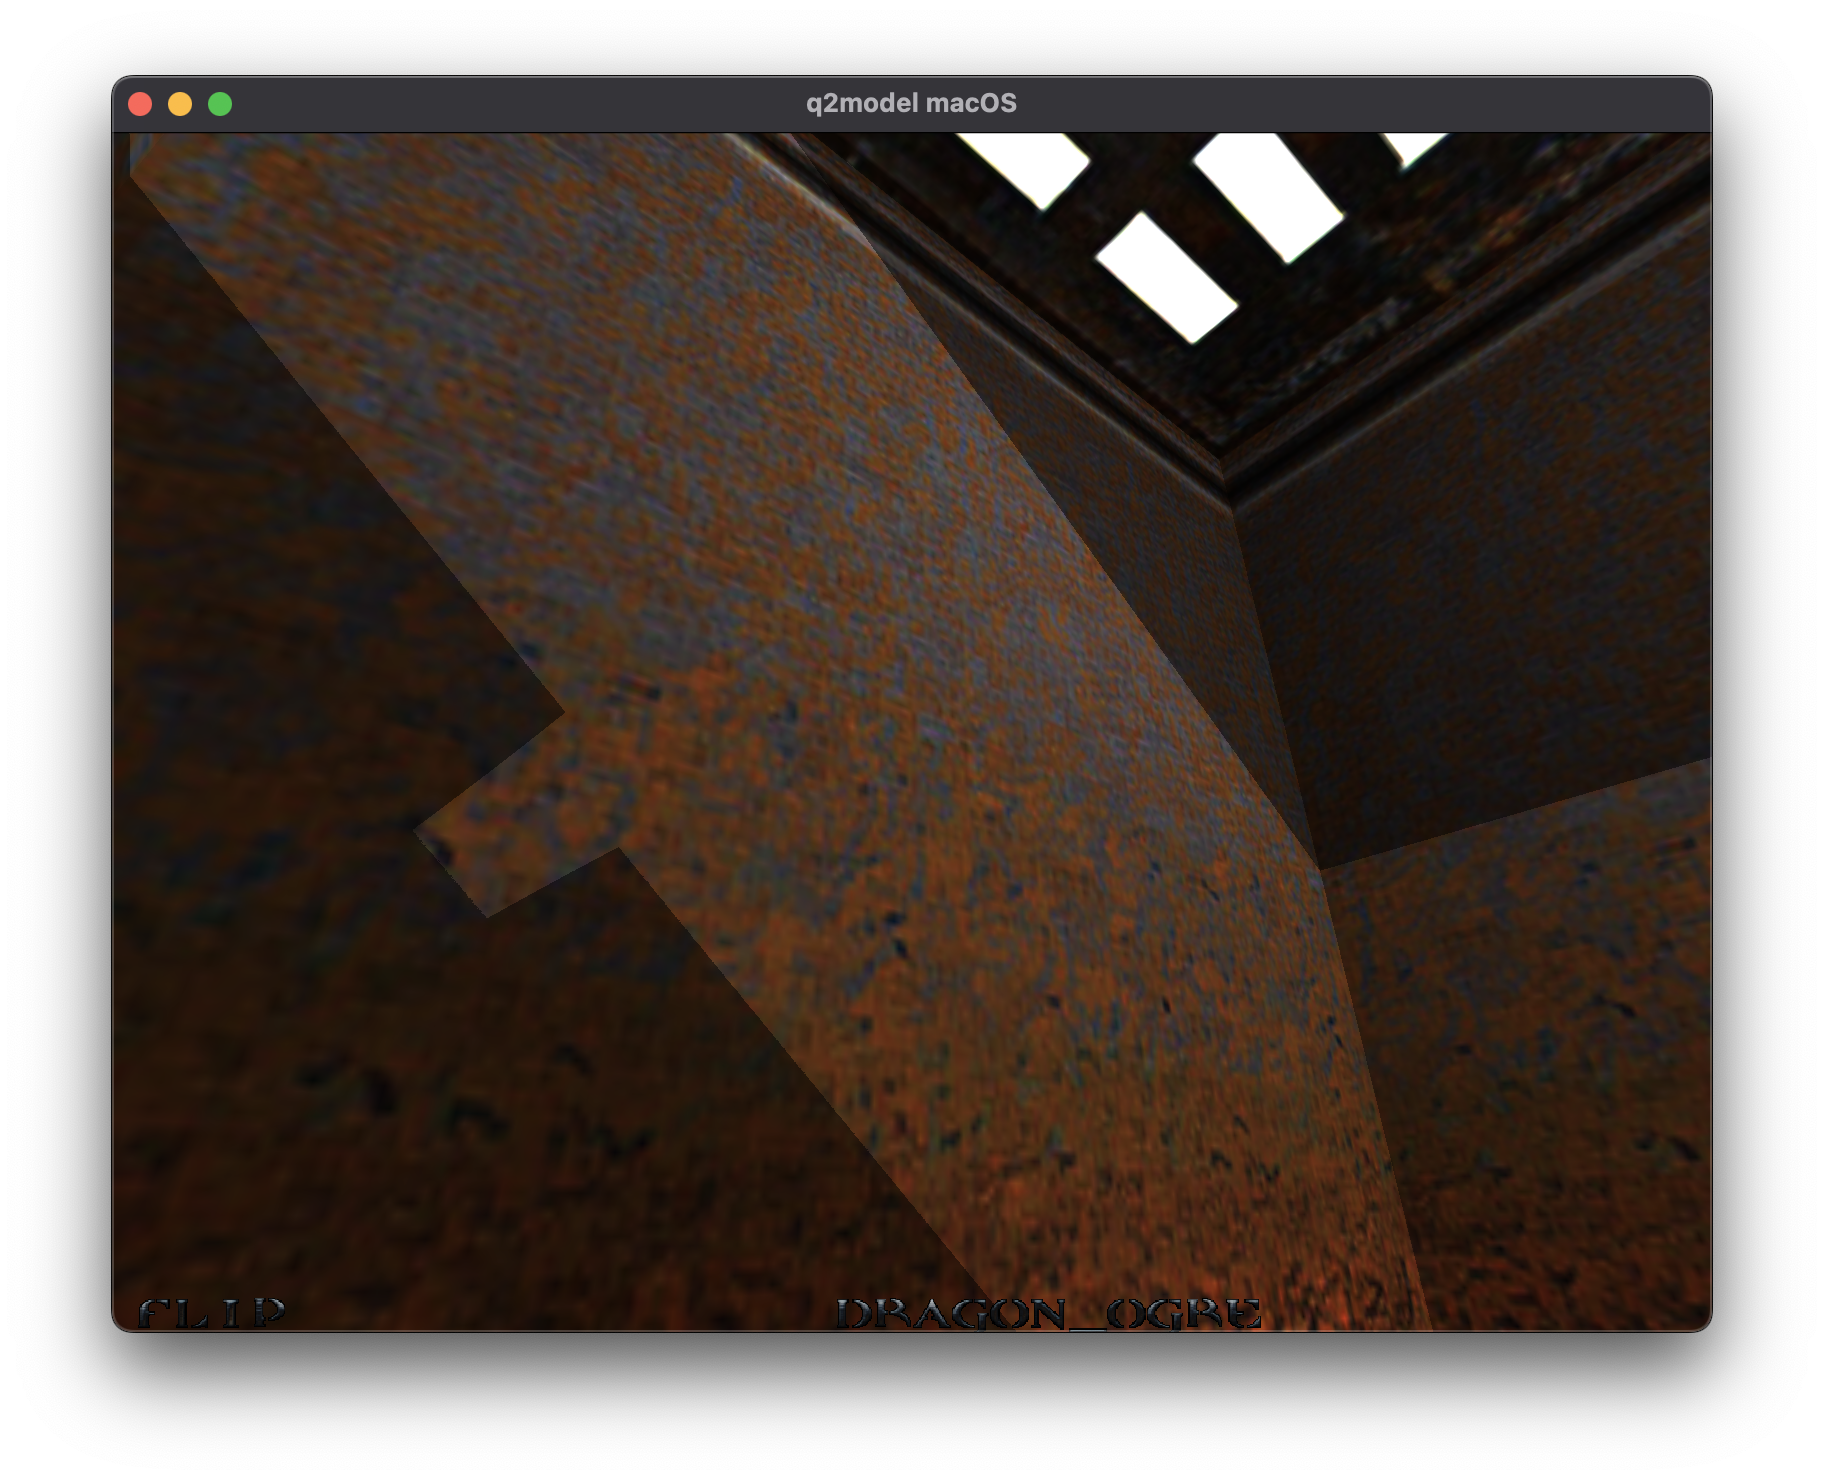
- jump
- flip
- salute
- taunt
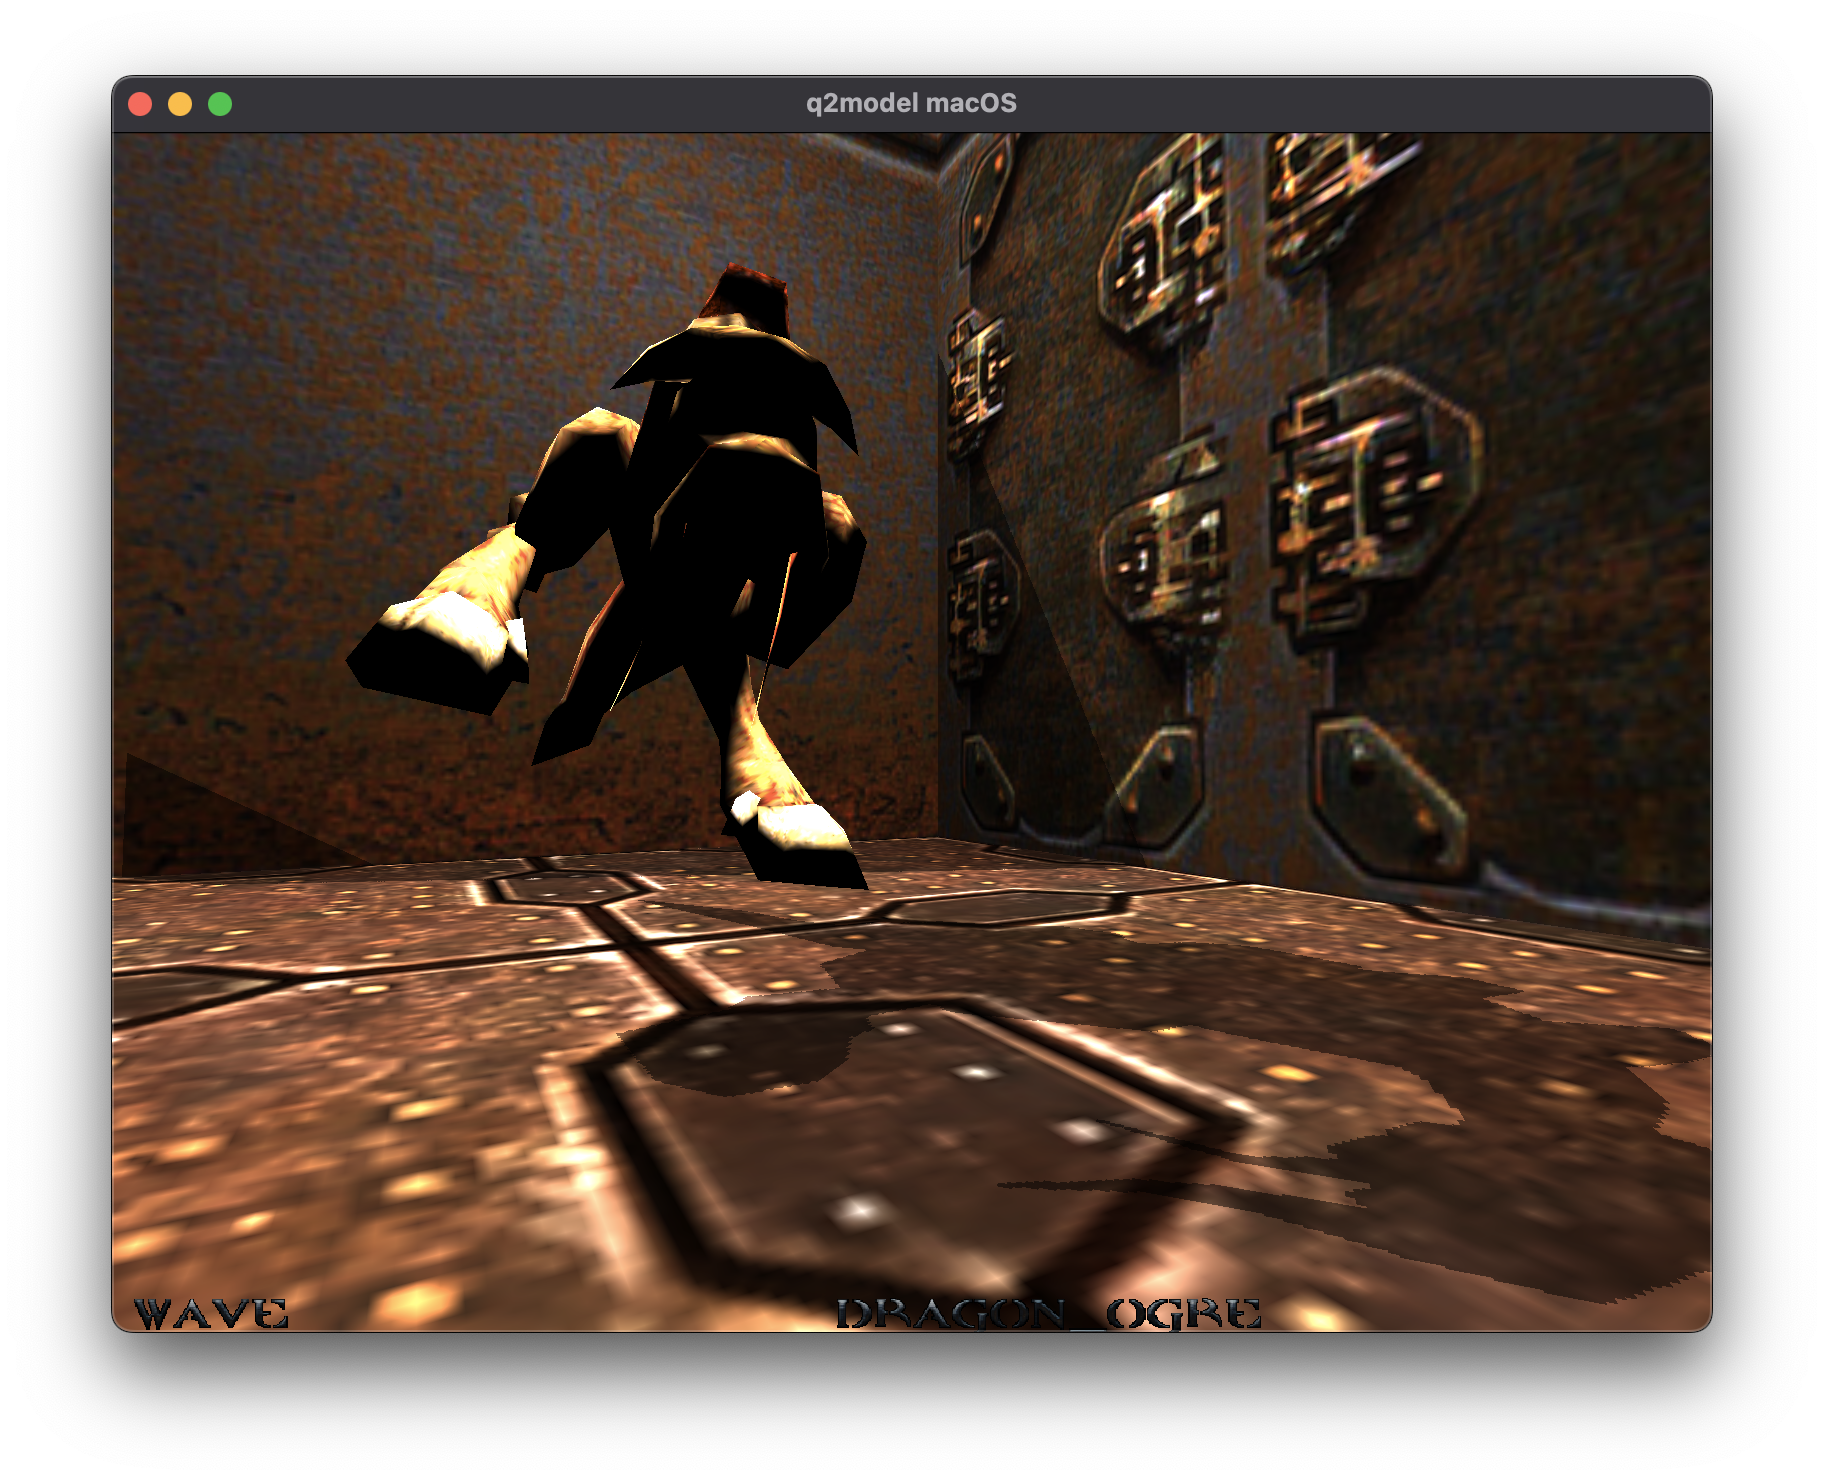
- wave
- point
- crstnd
- crwalk
- crattak
- crpain
- crdeath
- death1
- death2
- death3
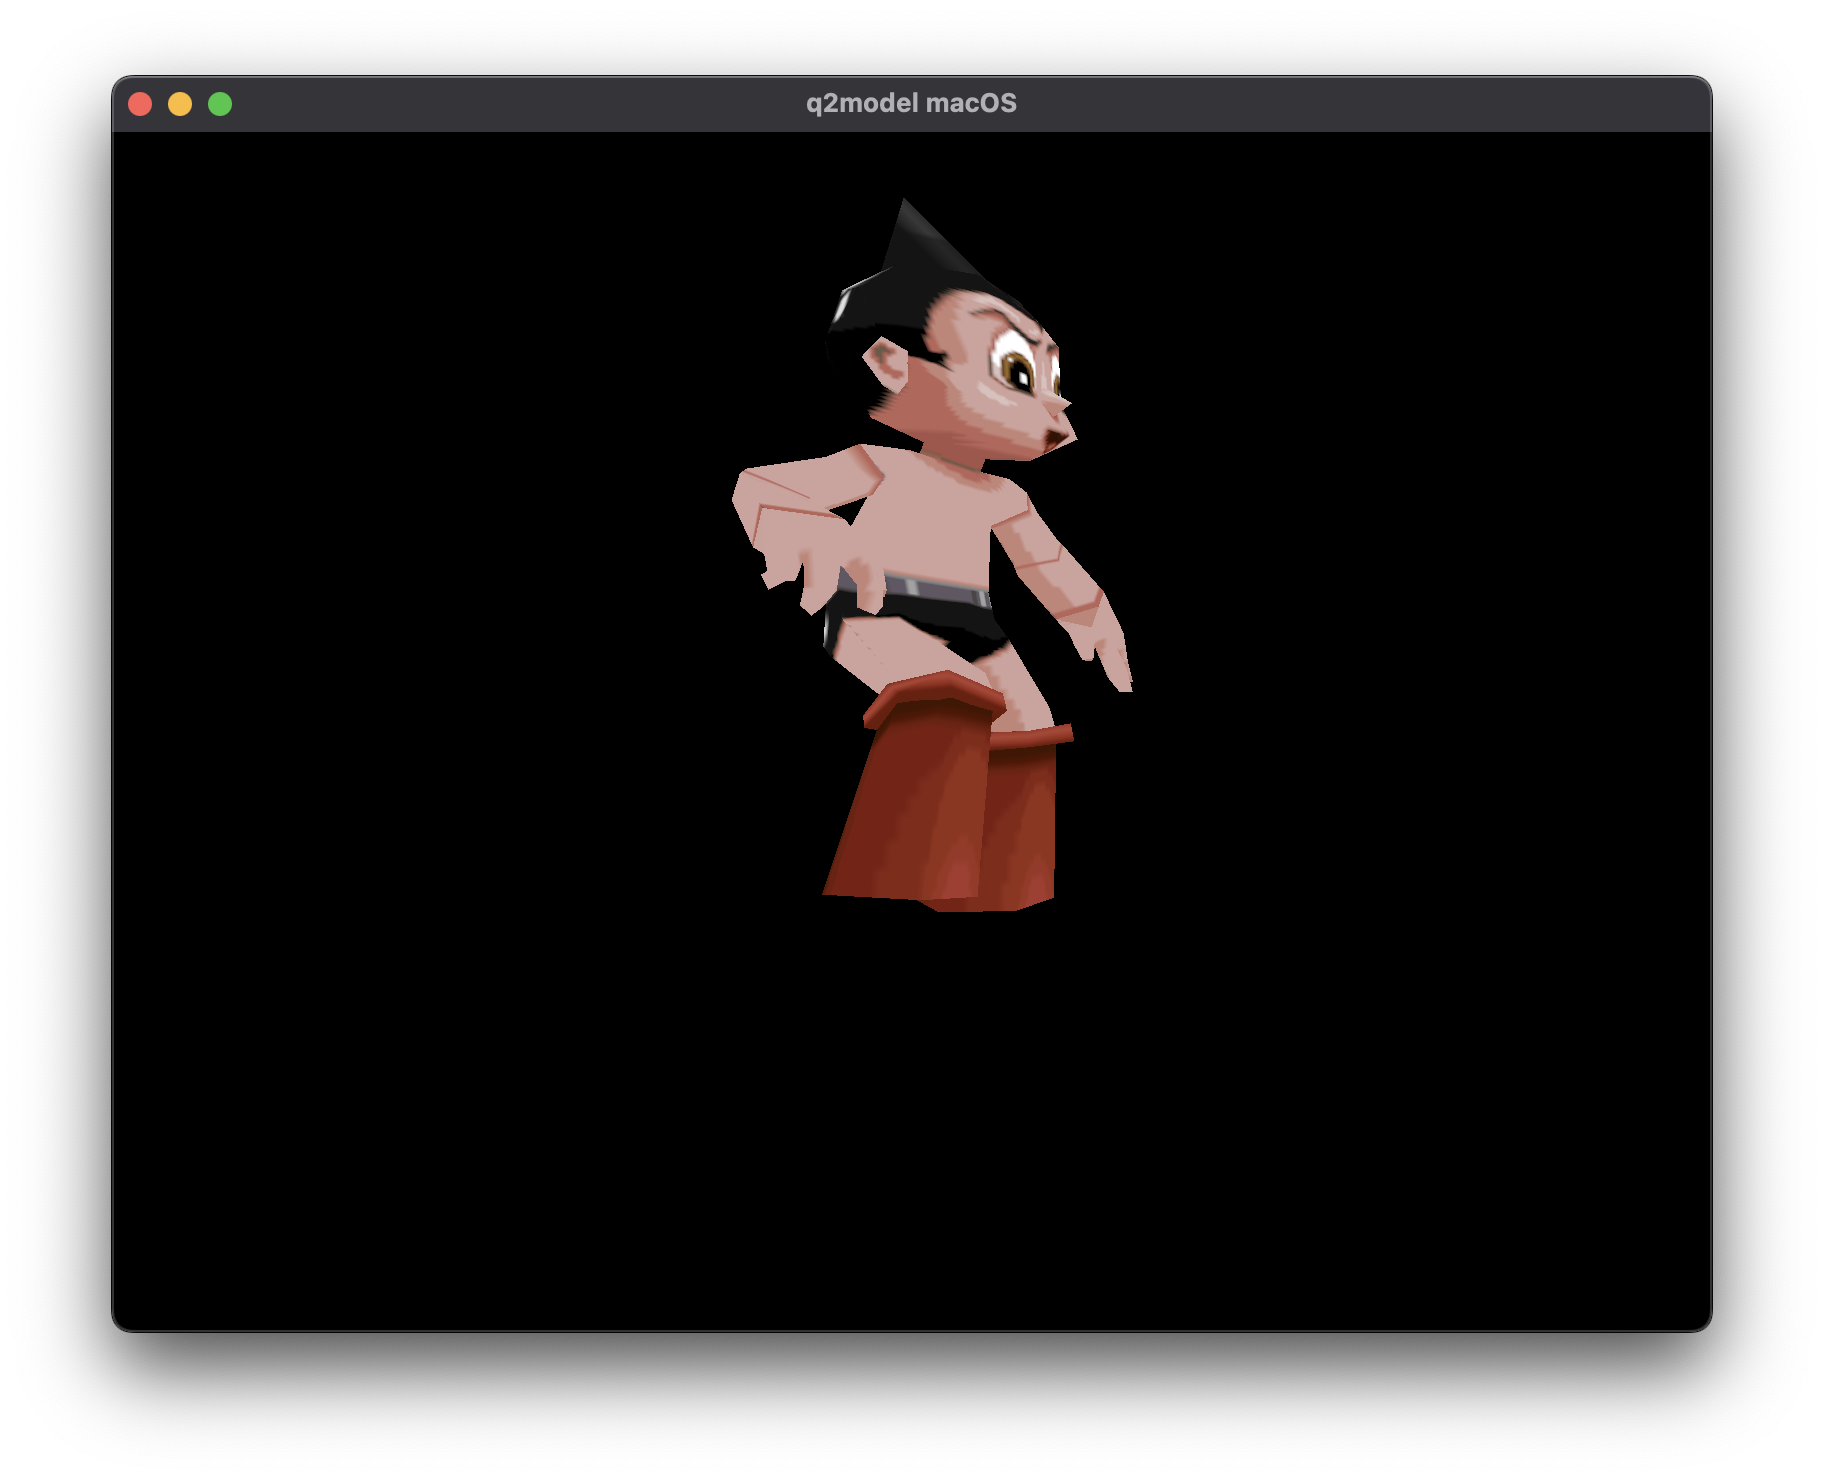
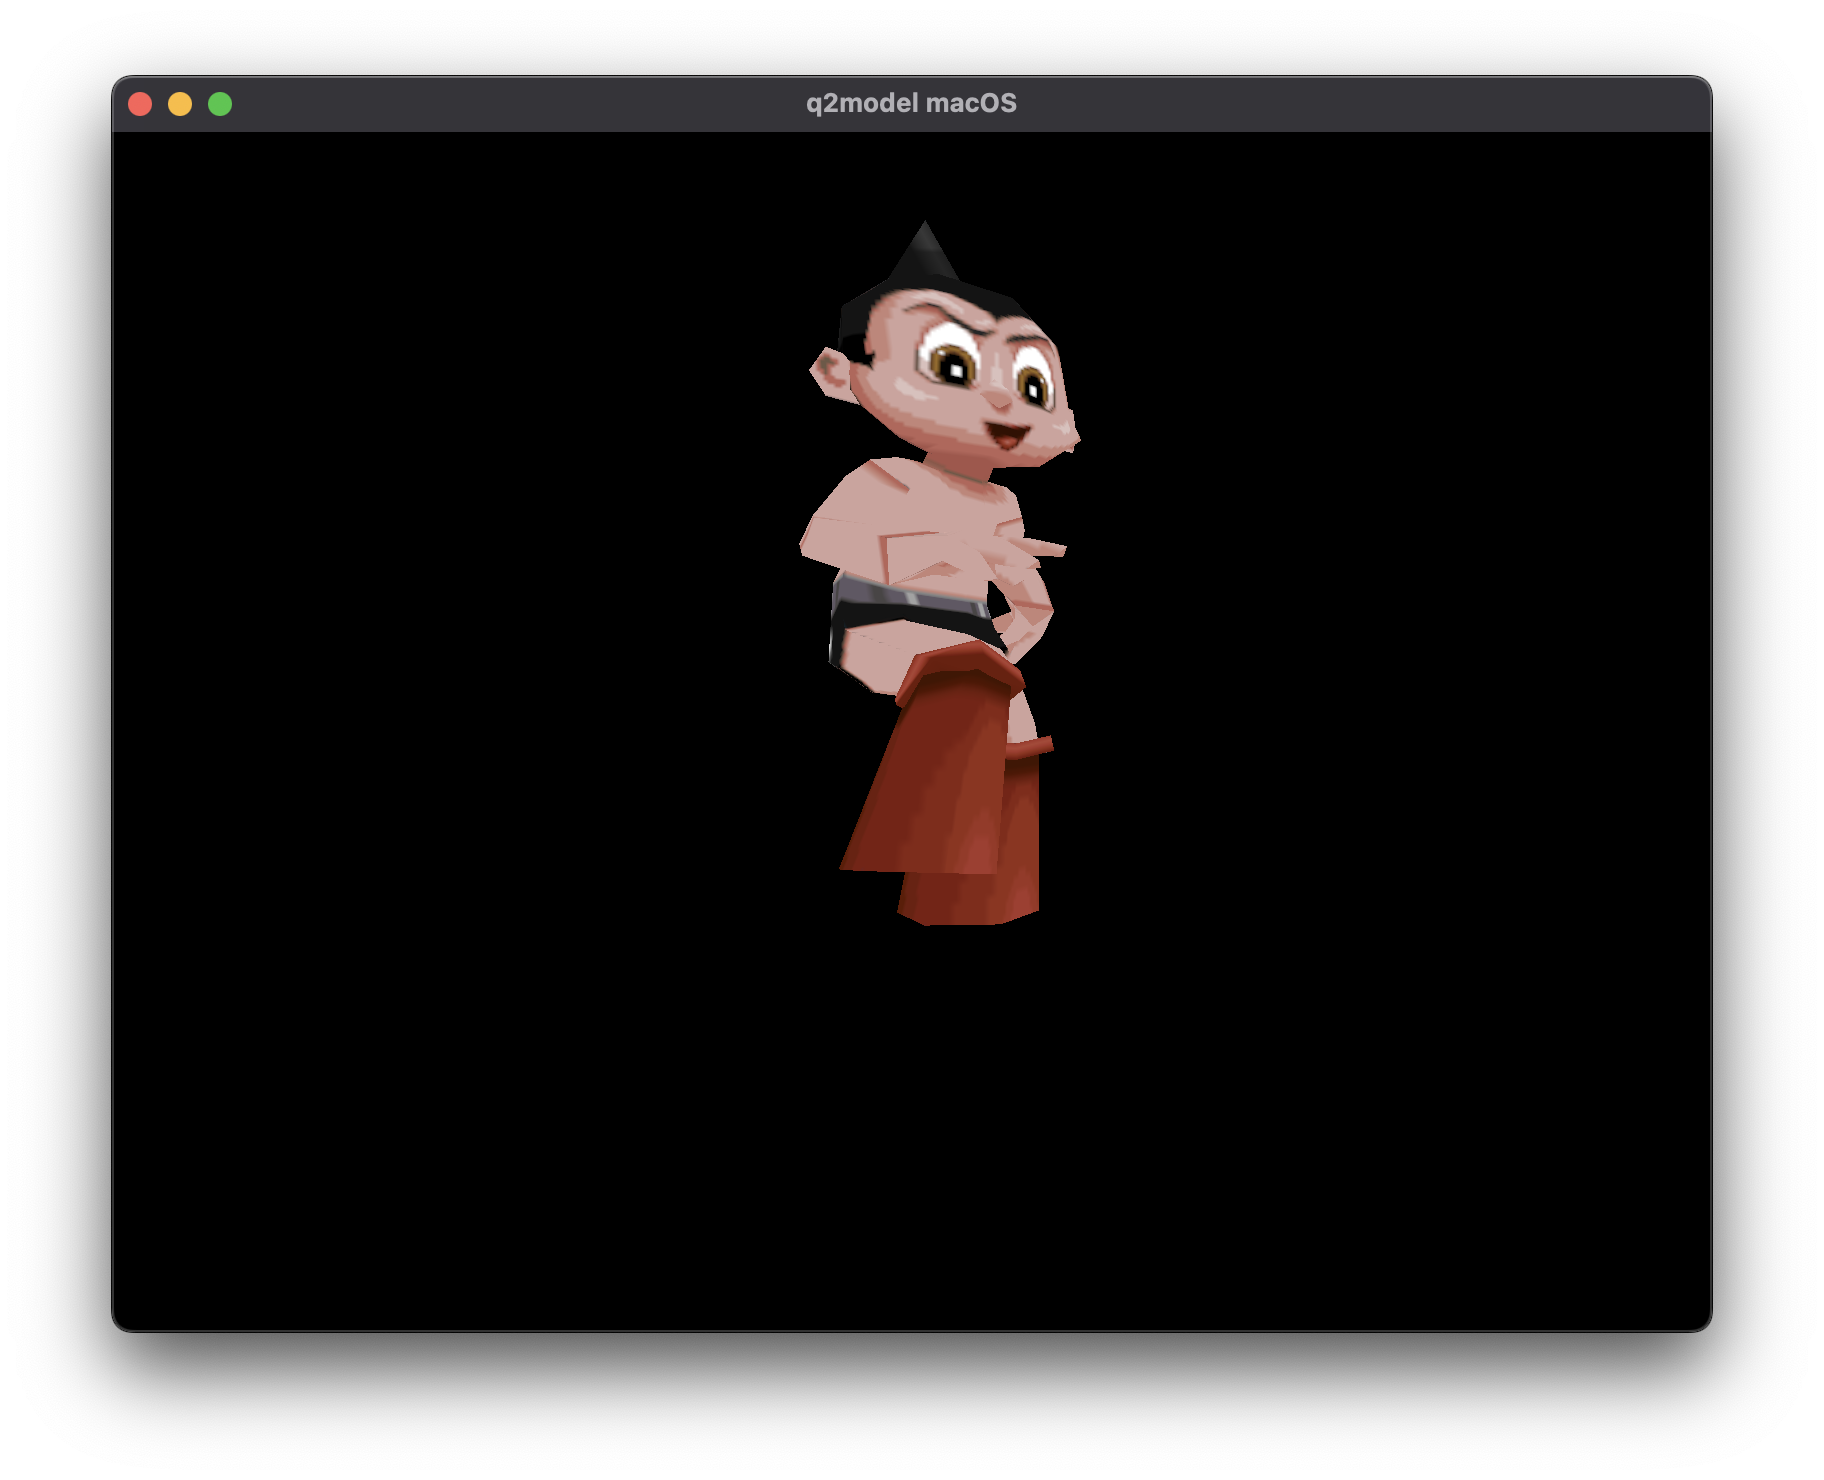
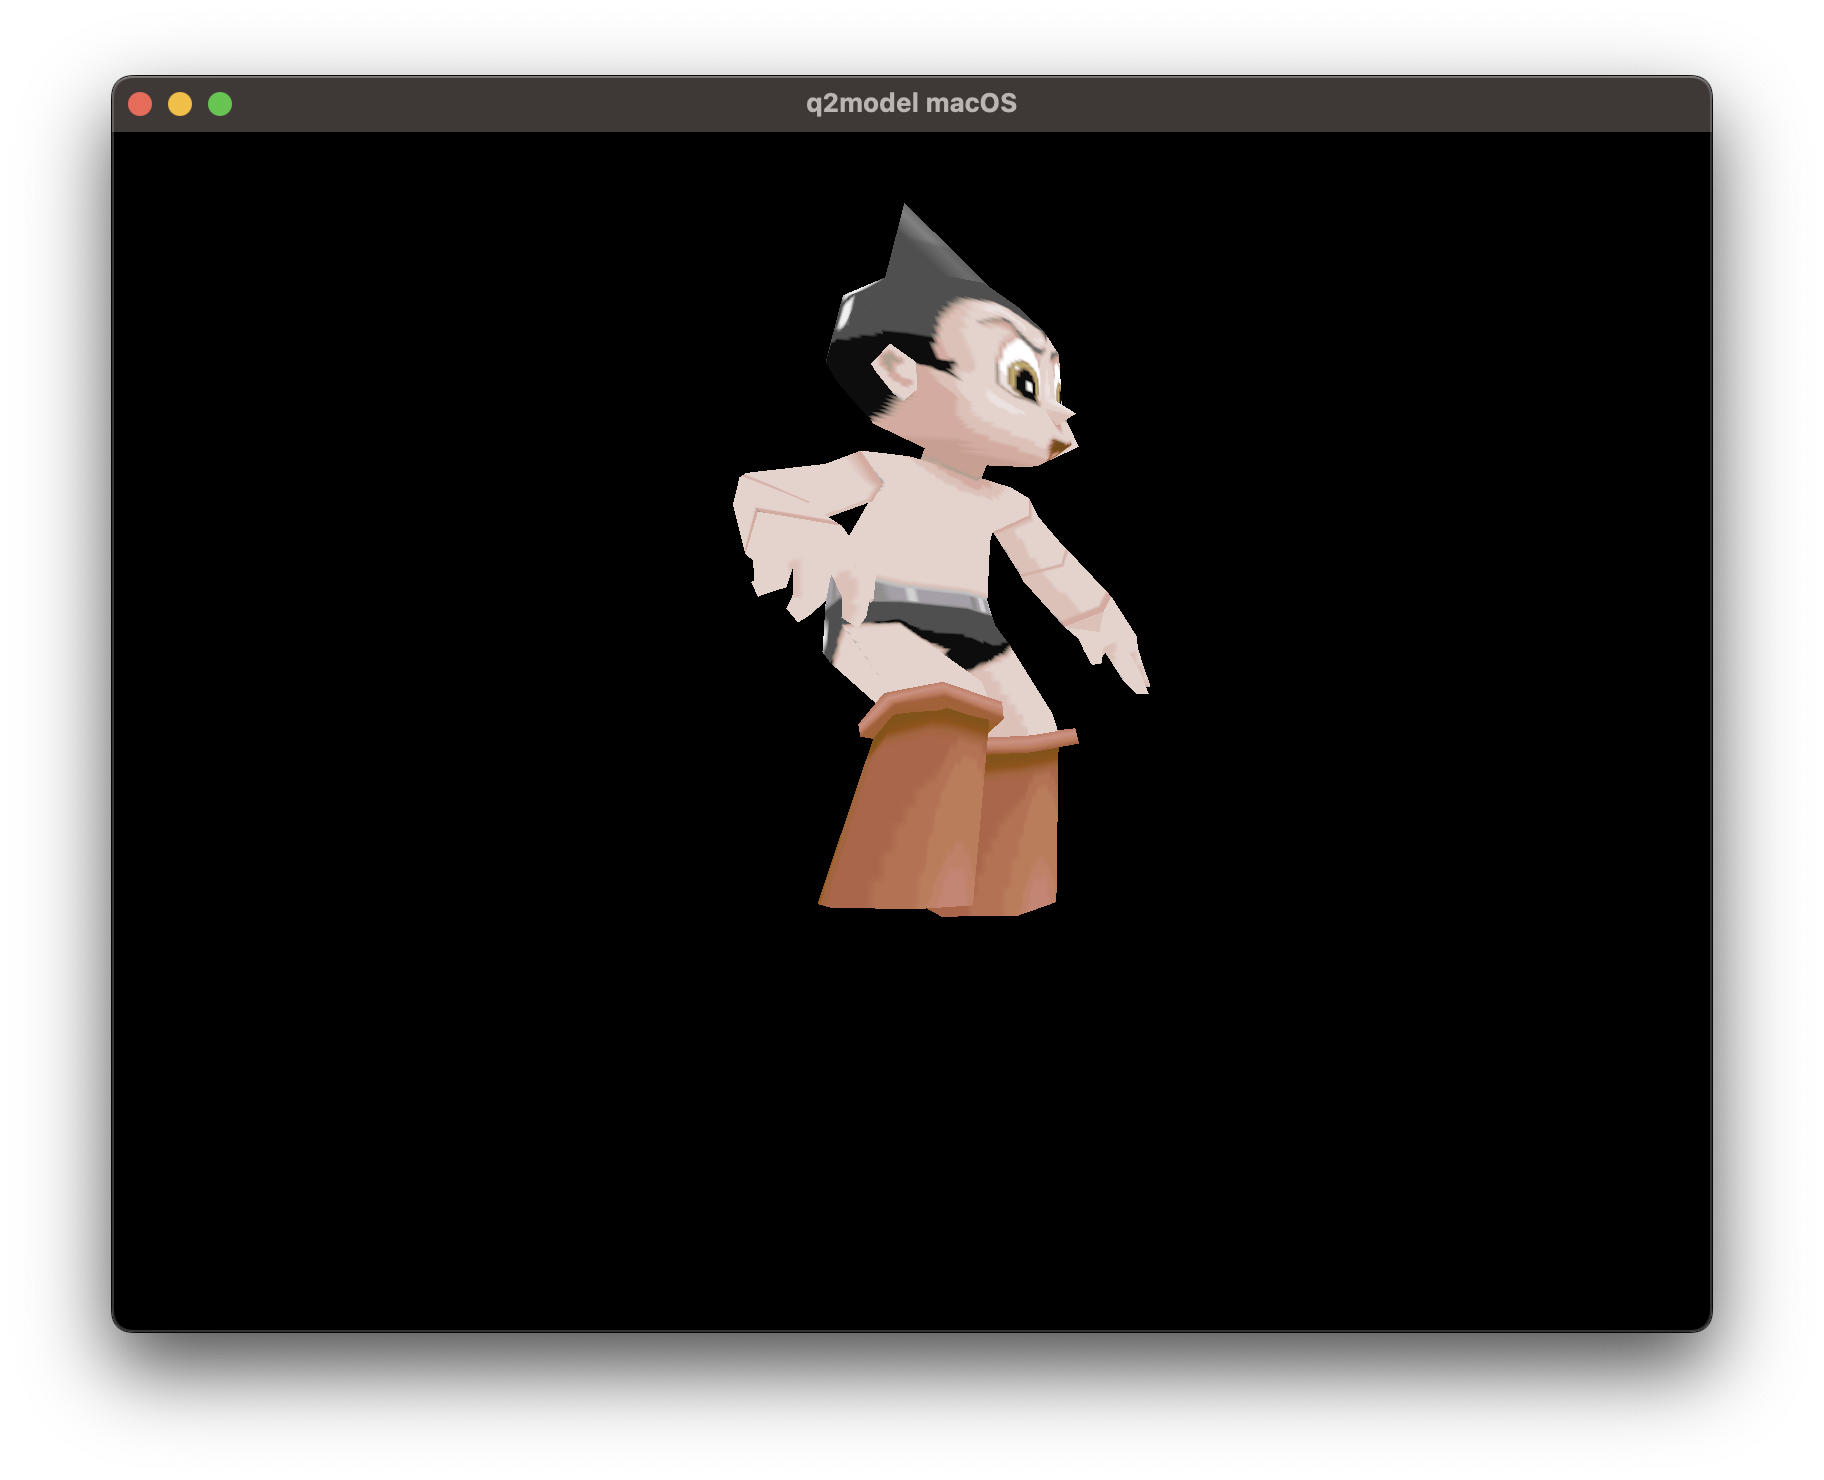
Some of these are only ~10 frames, whereas the the stand animation has 40 frames in the Astroboy model.
Through the cunning use of interpolation (instead of switching to the next position immediately, transition between the two) and slowing it down a bit:
Delightful.
PCX Files
The textures for Quake 2 Models are stored as PCX files, a delightful image format that was getting long in the tooth even in 1997. I thought this was going to be a vastly more difficult problem to solve. I had the good fortune to find someone who wrote a Quake 2 Software renderer in Swift, and they had to contend with loading PCX files as well.
A bit of tinkering later, and I had this to show for it:
Everything is brighter now for unknown reasons, is this the way it's supposed to look? Unknown.