Wherein, we handle events
In my new level it quickly became apparent that there was an issue where I could not shoot and steer at the same time. I just needed to handle a mouseDragged event in addition to the mouseDown (fire), mouseUp (stop firing) and mouseMoved (aim).
Hey! I'm patrolling over here
Okay, got a new level, need some enemies. So I added my existing Marten enemy into the scene, and it immediately slams into the player at high speed. Which is fun, but only so much.
A note on being Goal Oriented
The way GameplayKit works is that you have agents, and you give them goals
As Apple describes it:
In many kinds of games, entities move in real time and with some degree of autonomy. For example, a game might allow the player to tap or click to move a character to a desired location, and the character will automatically walk around obstacles to reach that location. Enemy characters might move to attack, planning to intercept the player character ahead of its current position. Ally characters might fly in formation with the player character, maintaining their distance from the player character and a parallel direction of flight. In all of these cases, each entity’s movement might also be constrained to realistic limits, so that the game characters still move and change direction realistically.
Implementing Patrol Behaviour
The first thing I was able to do was to add a "wandering" behaviour.


To actual get things to patrol, I had to combine the path following goal with a speed goal.
// Create path following goal
let pathGoal = GKGoal(toFollow: path, maxPredictionTime: 1.0, forward: true)

// Add speed maintenance goal
let speedGoal = GKGoal(toReachTargetSpeed: desiredSpeed)

// Combine goals with appropriate weights
agent.behavior = GKBehavior(goals: [
    pathGoal.withWeight(1.0),
    speedGoal.withWeight(0.5)
])
This resulted in enemies that could patrol a path:
Path Visualization and Refinement
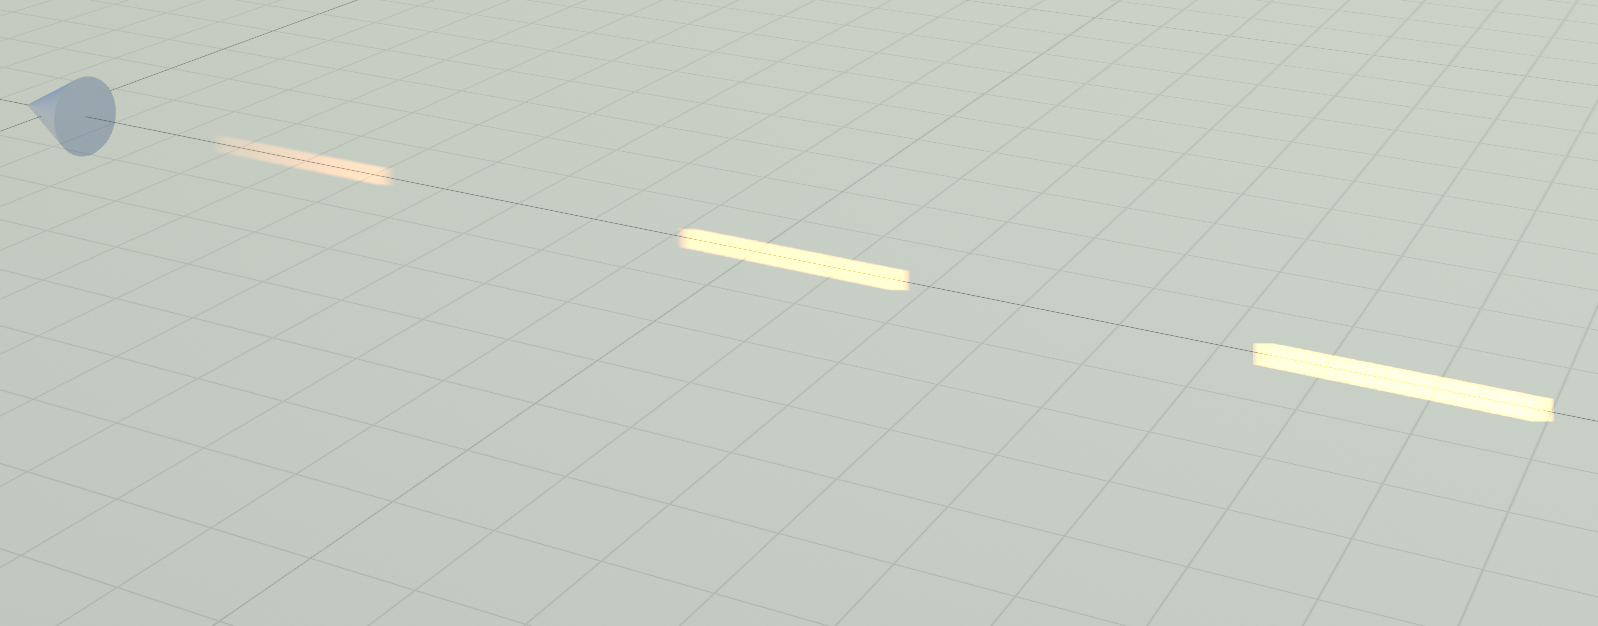
To help with path creation and debugging, I added visible markers along patrol routes:
This helped identify issues like path clipping through geometry, which could be fixed by adding additional waypoints around obstacles.
Final Results
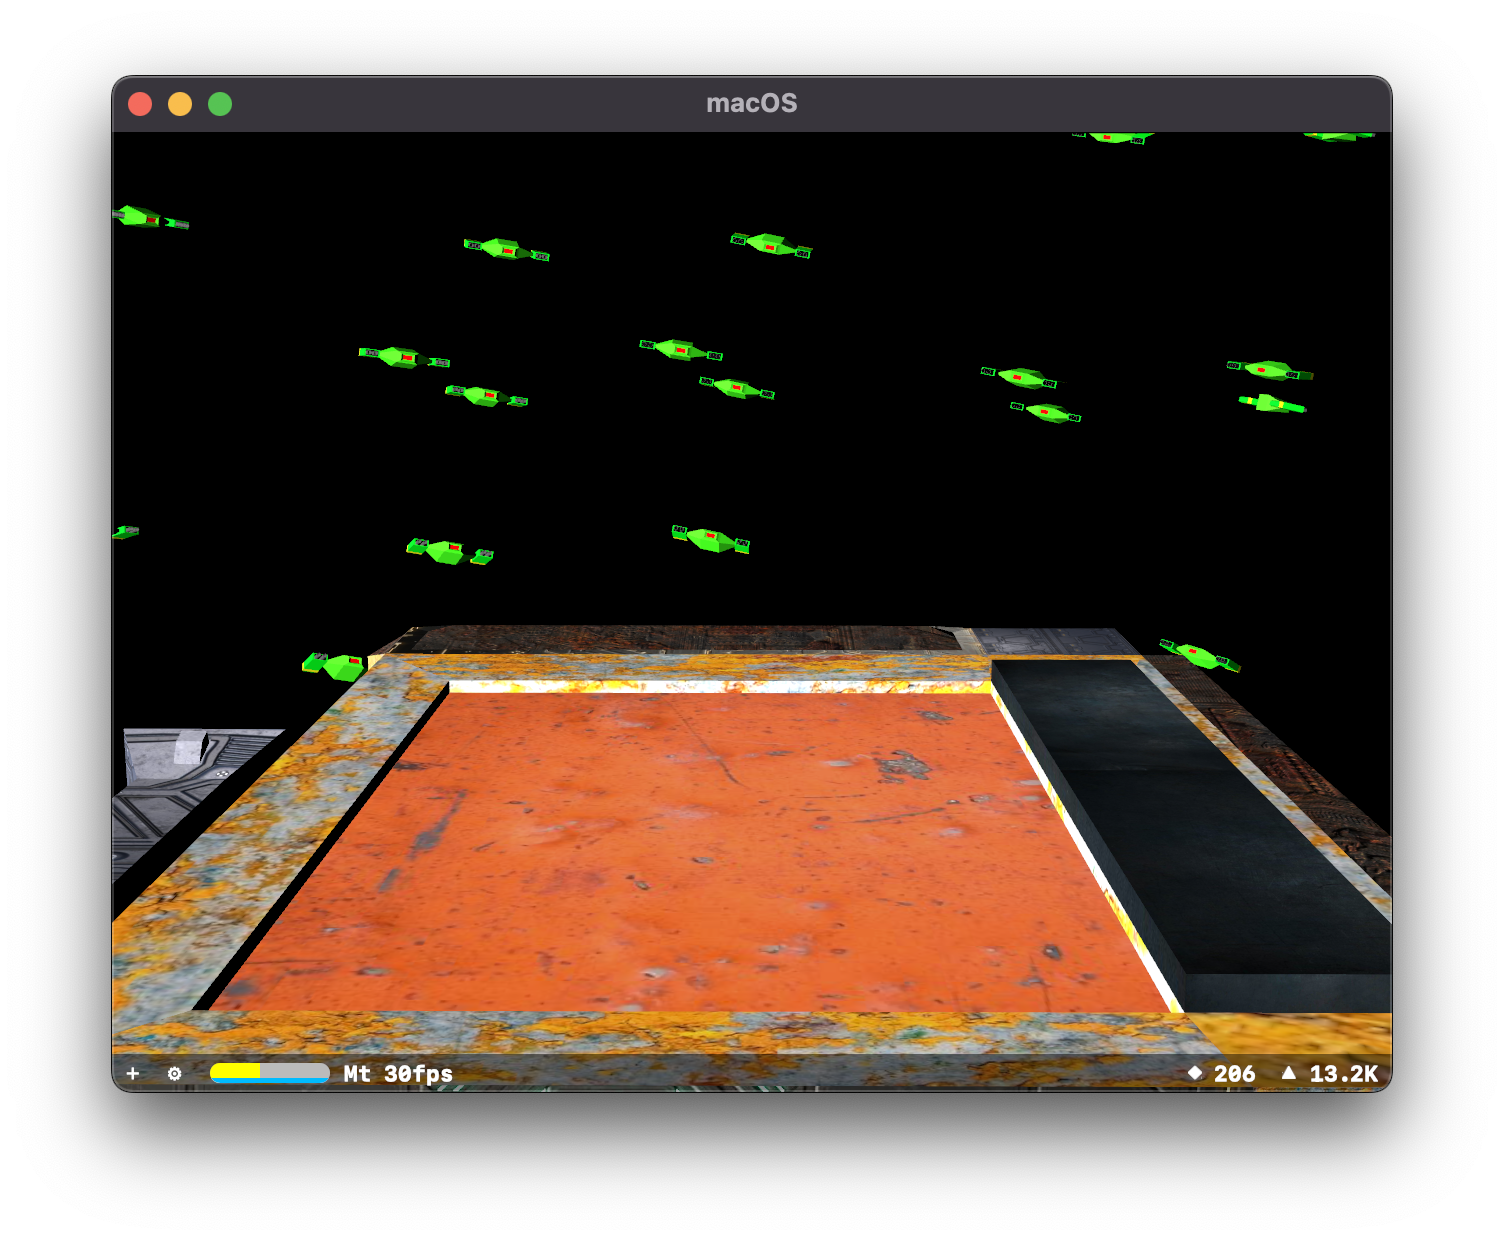
The completed system allows enemies to smoothly patrol predefined paths while maintaining the ability to engage targets:

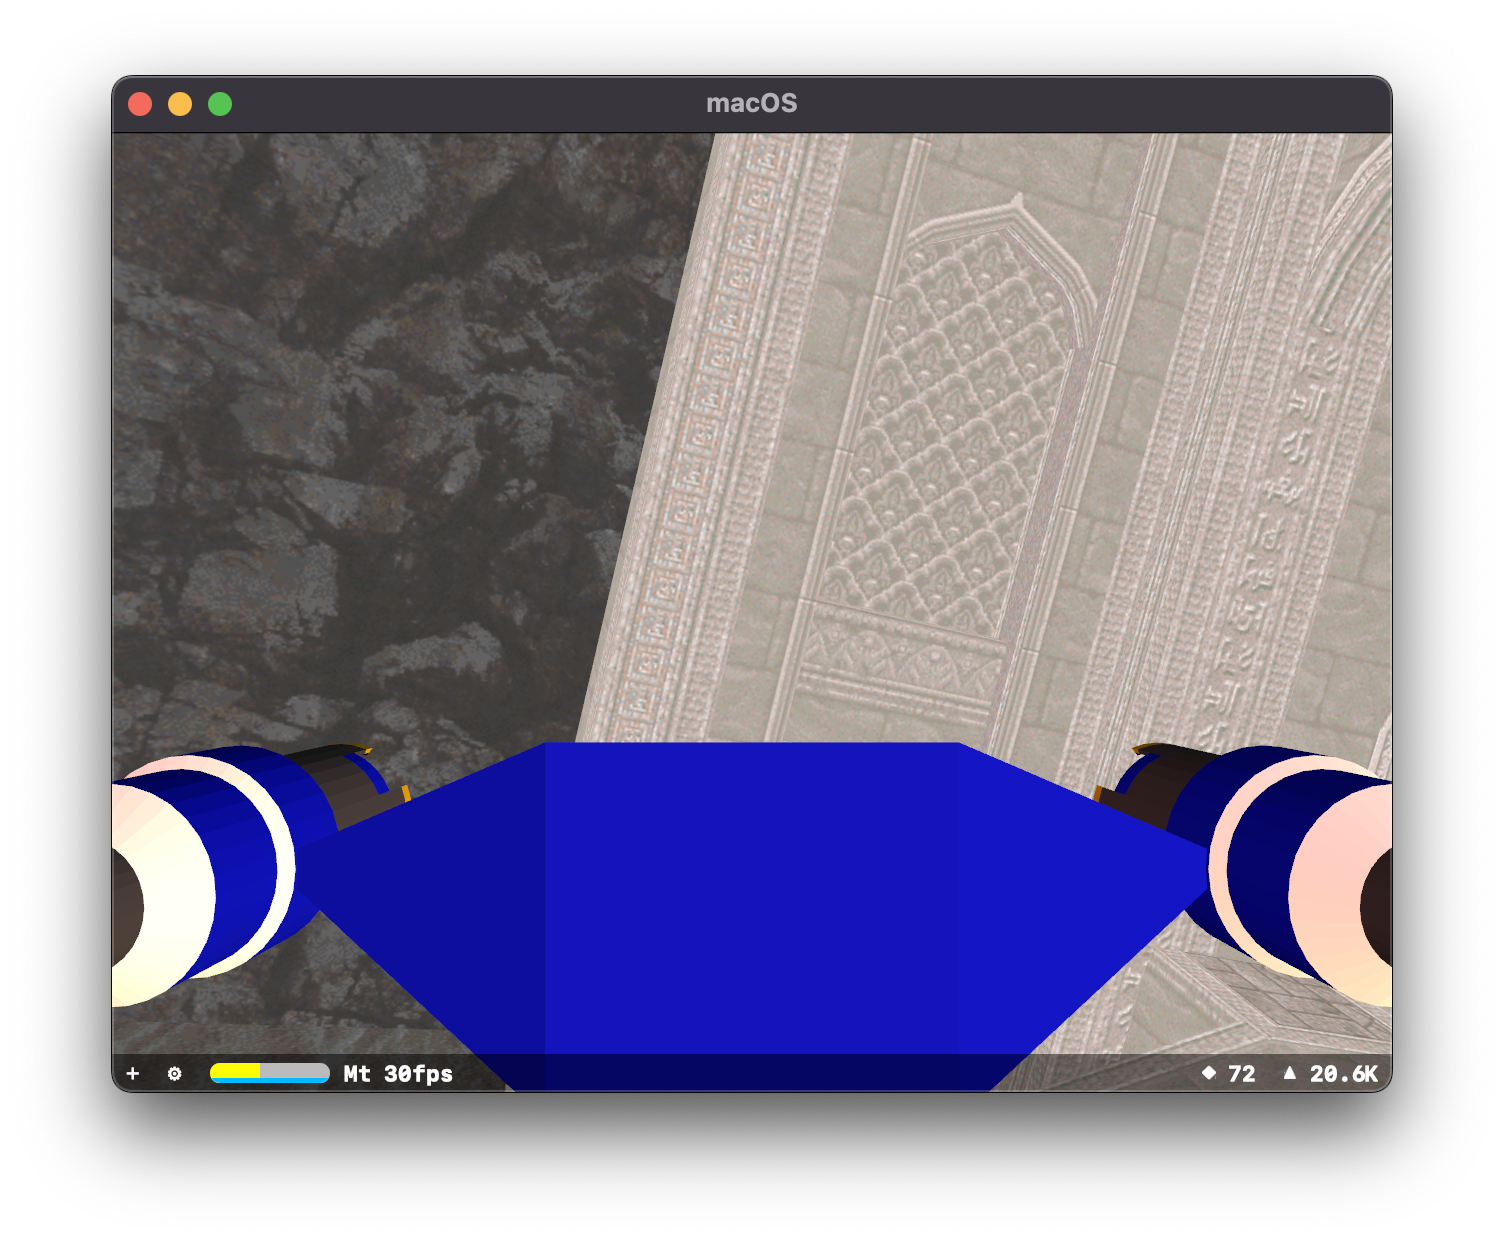
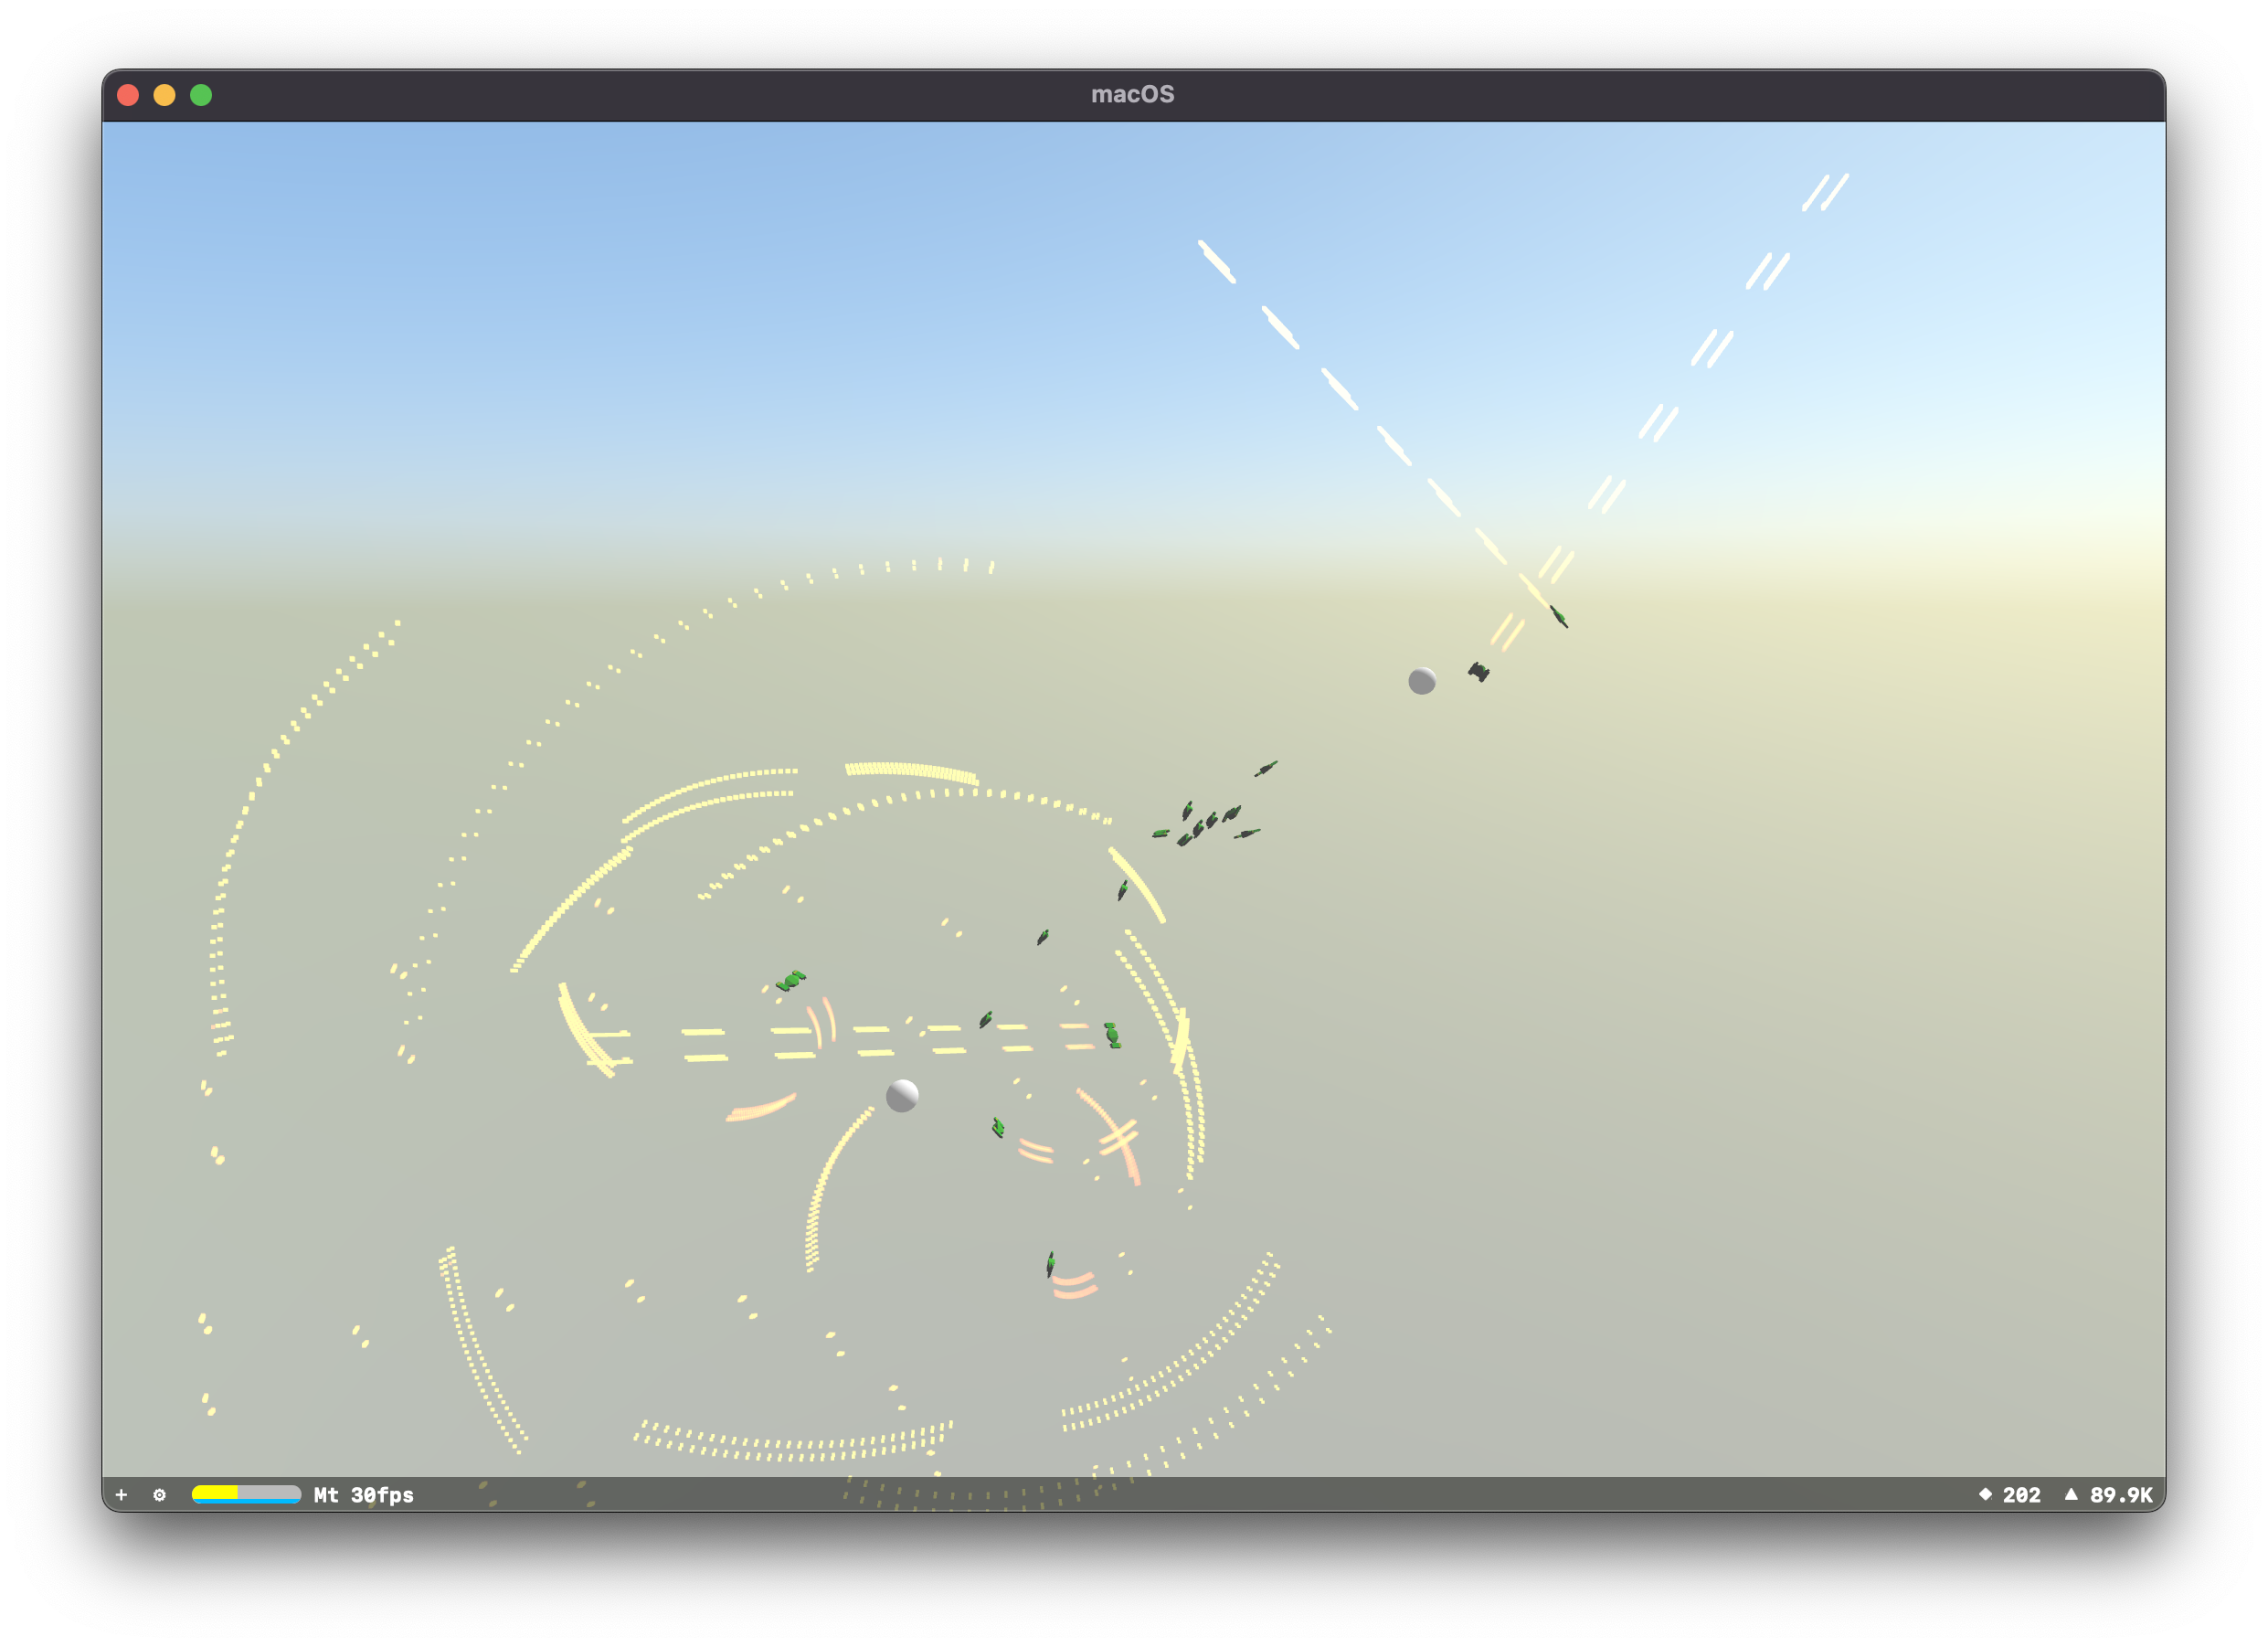
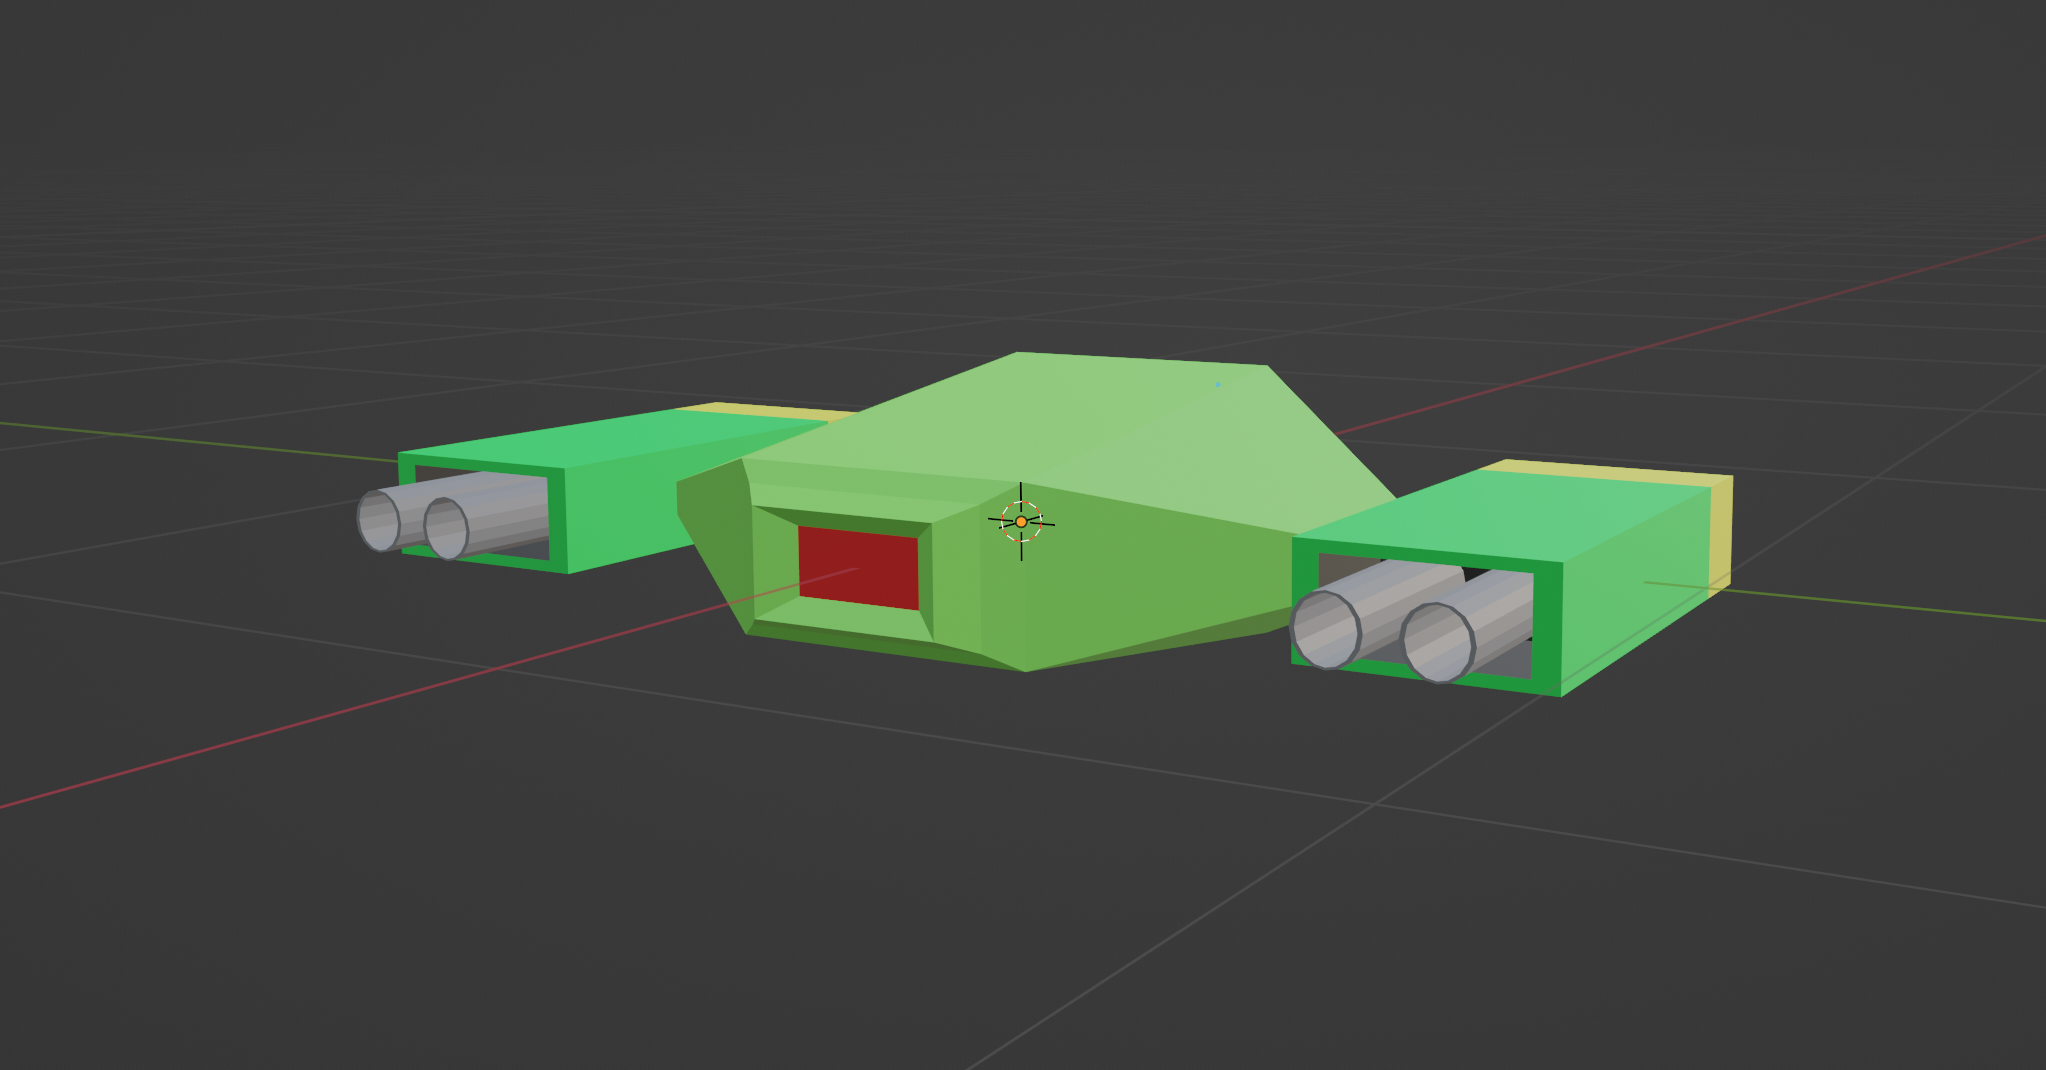
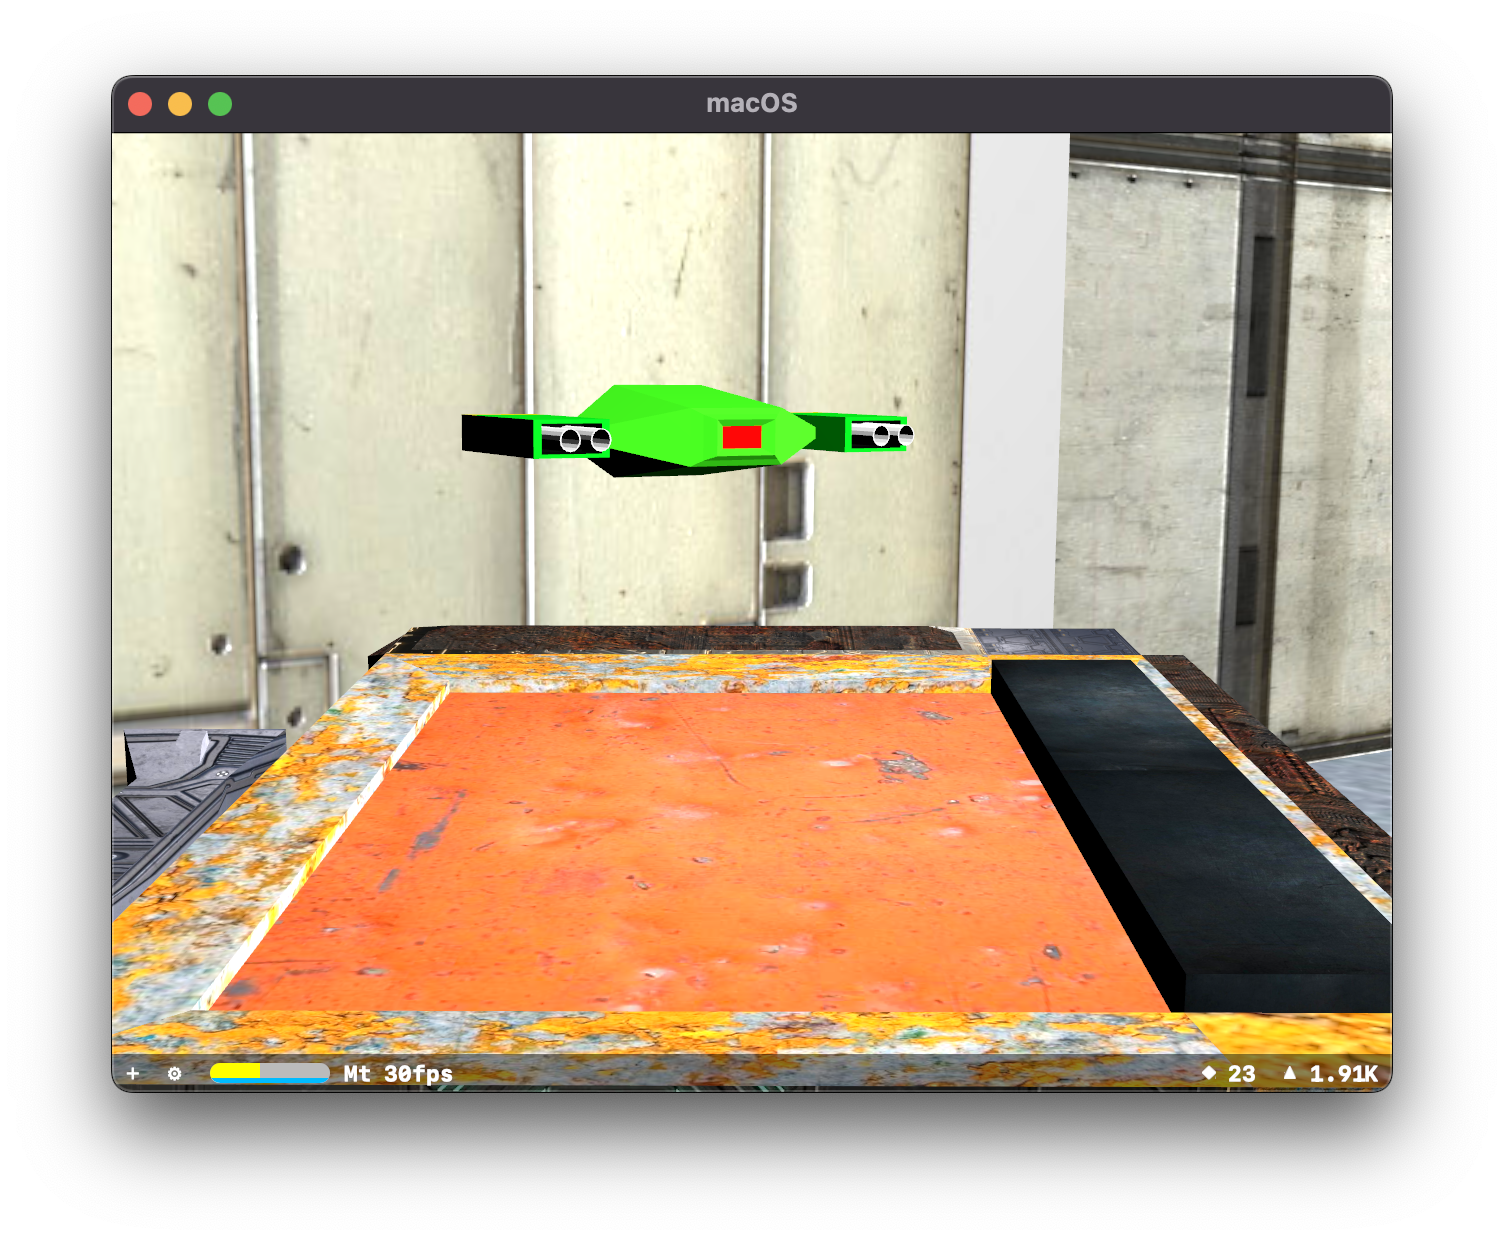
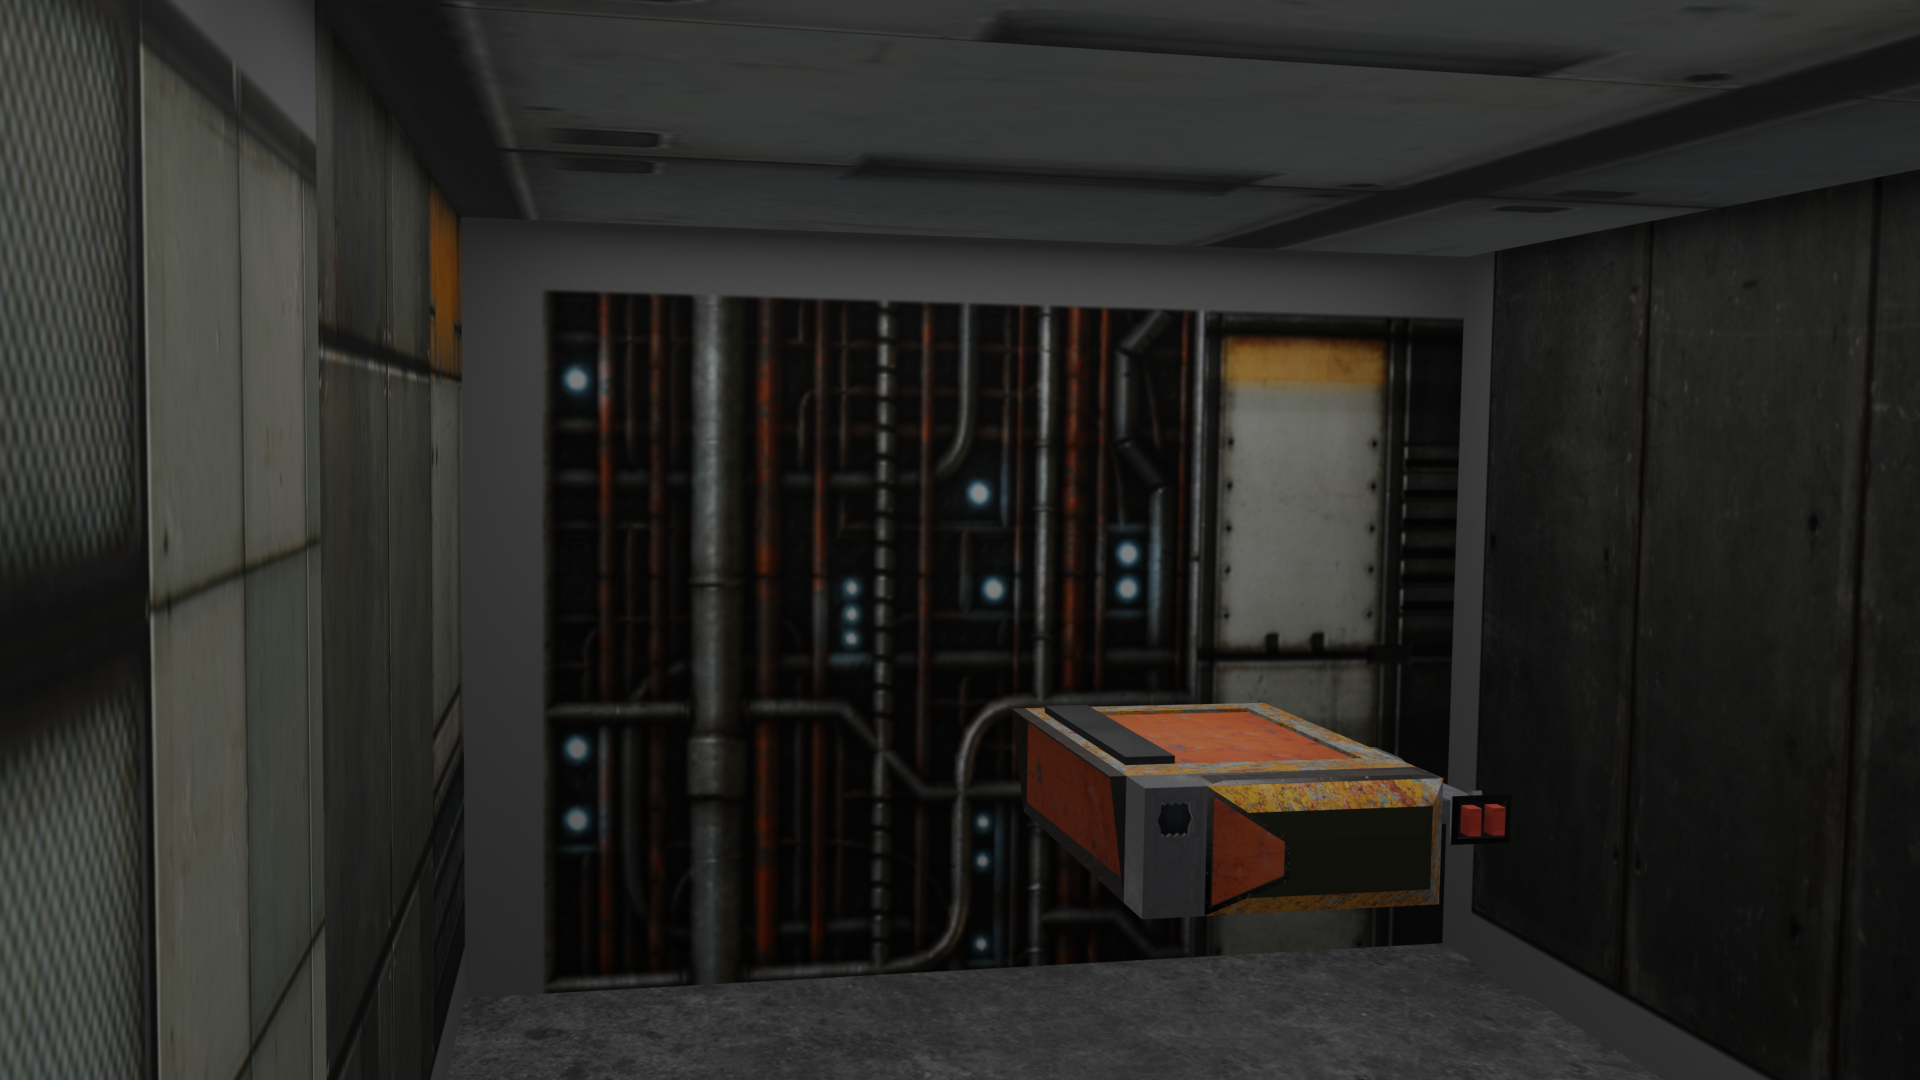
And if you add a camera to an endless patrolling enemy, you get a neat screensaver effect. This is after I redesigned the weapons on the marten so that instead of two "pods" with two barrels, it's two much larger single weapons. That they look like RCA connectors is merely a coincidence.
Getting ahead by using someone else's work
The large open map I had created to work on things in a "deathmatch" setting was starting to get on my nerves. It's too large, too symmetrical, and hard to orient yourself in.
This could be address/fixed, but why do that when you can do something else. I went looking for Quake deathmatch maps, which I knew there would be an extensive collection. What I found was a bit surprising, people are still making Quake maps in this day and age?
It makes sense from the perspective of how popular Quake is/was, the continued support of its file formats by the various open source engines that implement them, and effectively how they set the tone for all things to come after.
jam2_tronyn.bsp
jam2_tronyn by tronyn, part of the “Func Map Jam 2 - IKBlue/White Theme”
The lights sorta come across, but not really. So this is not how these would look in a proper Quake engine. You can watch someone speed run it in 1 minute and 42 seconds and see that it's pretty moody.
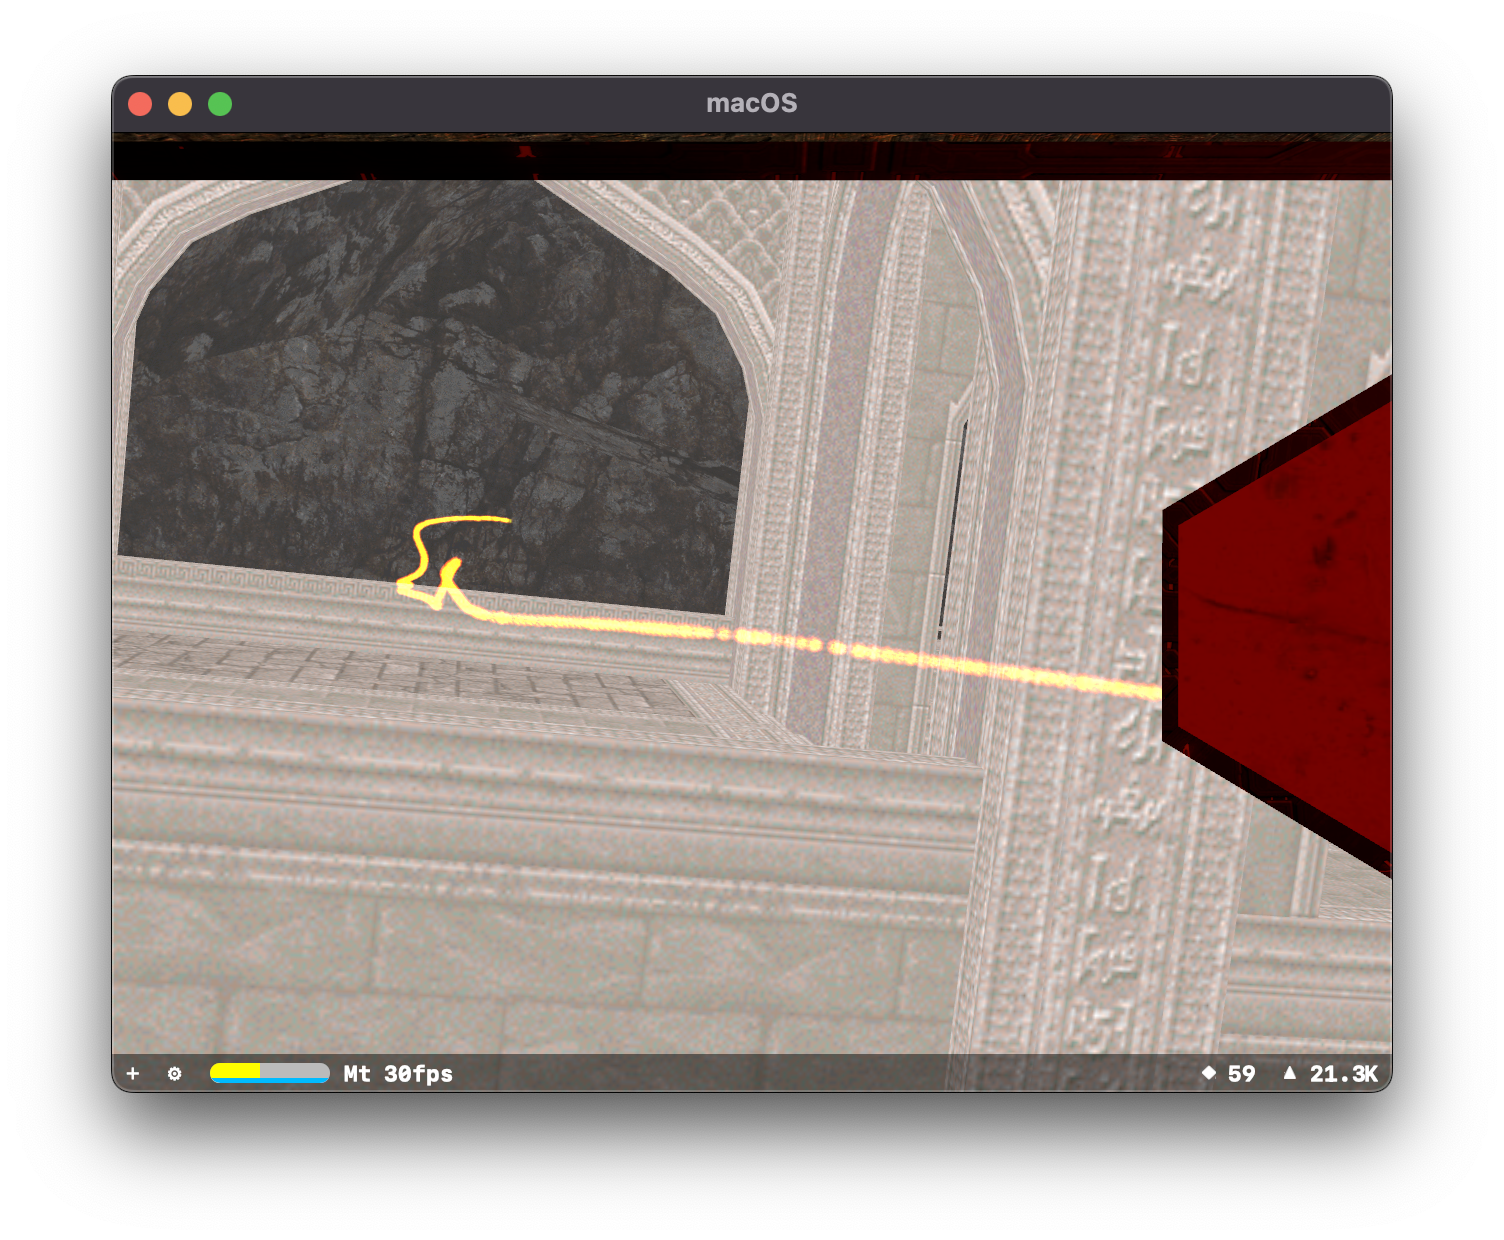
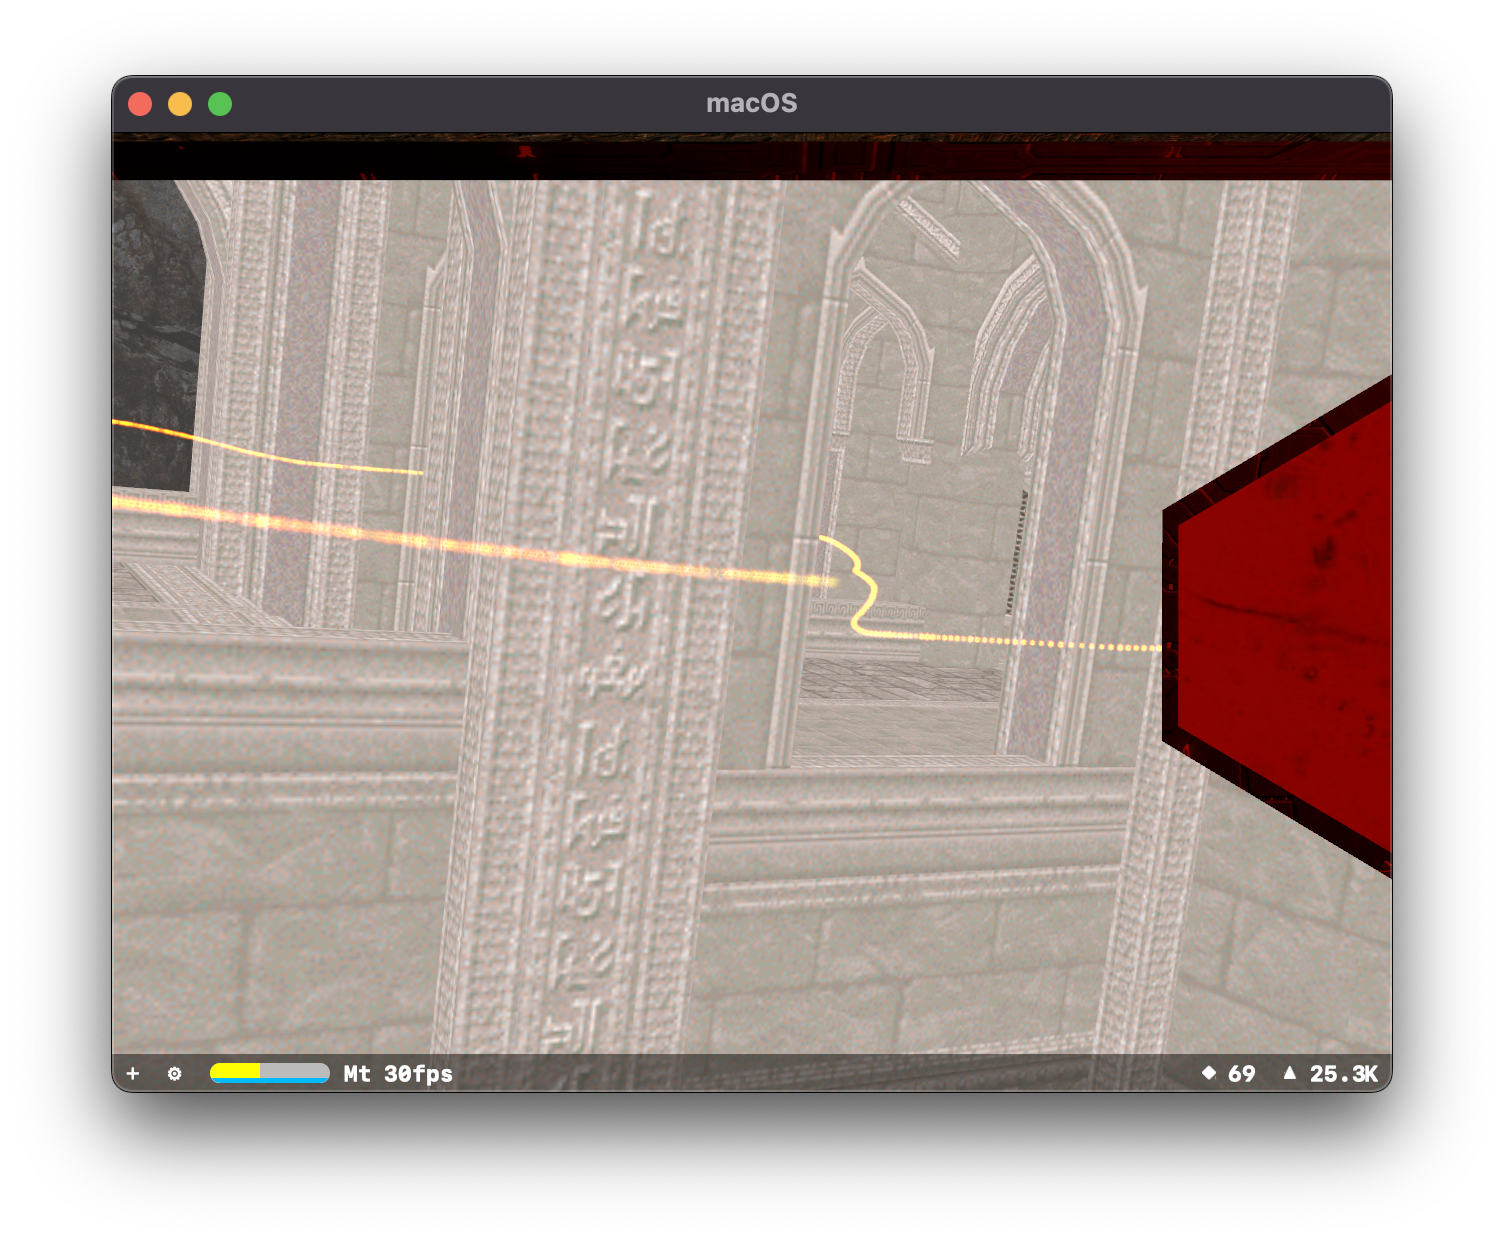
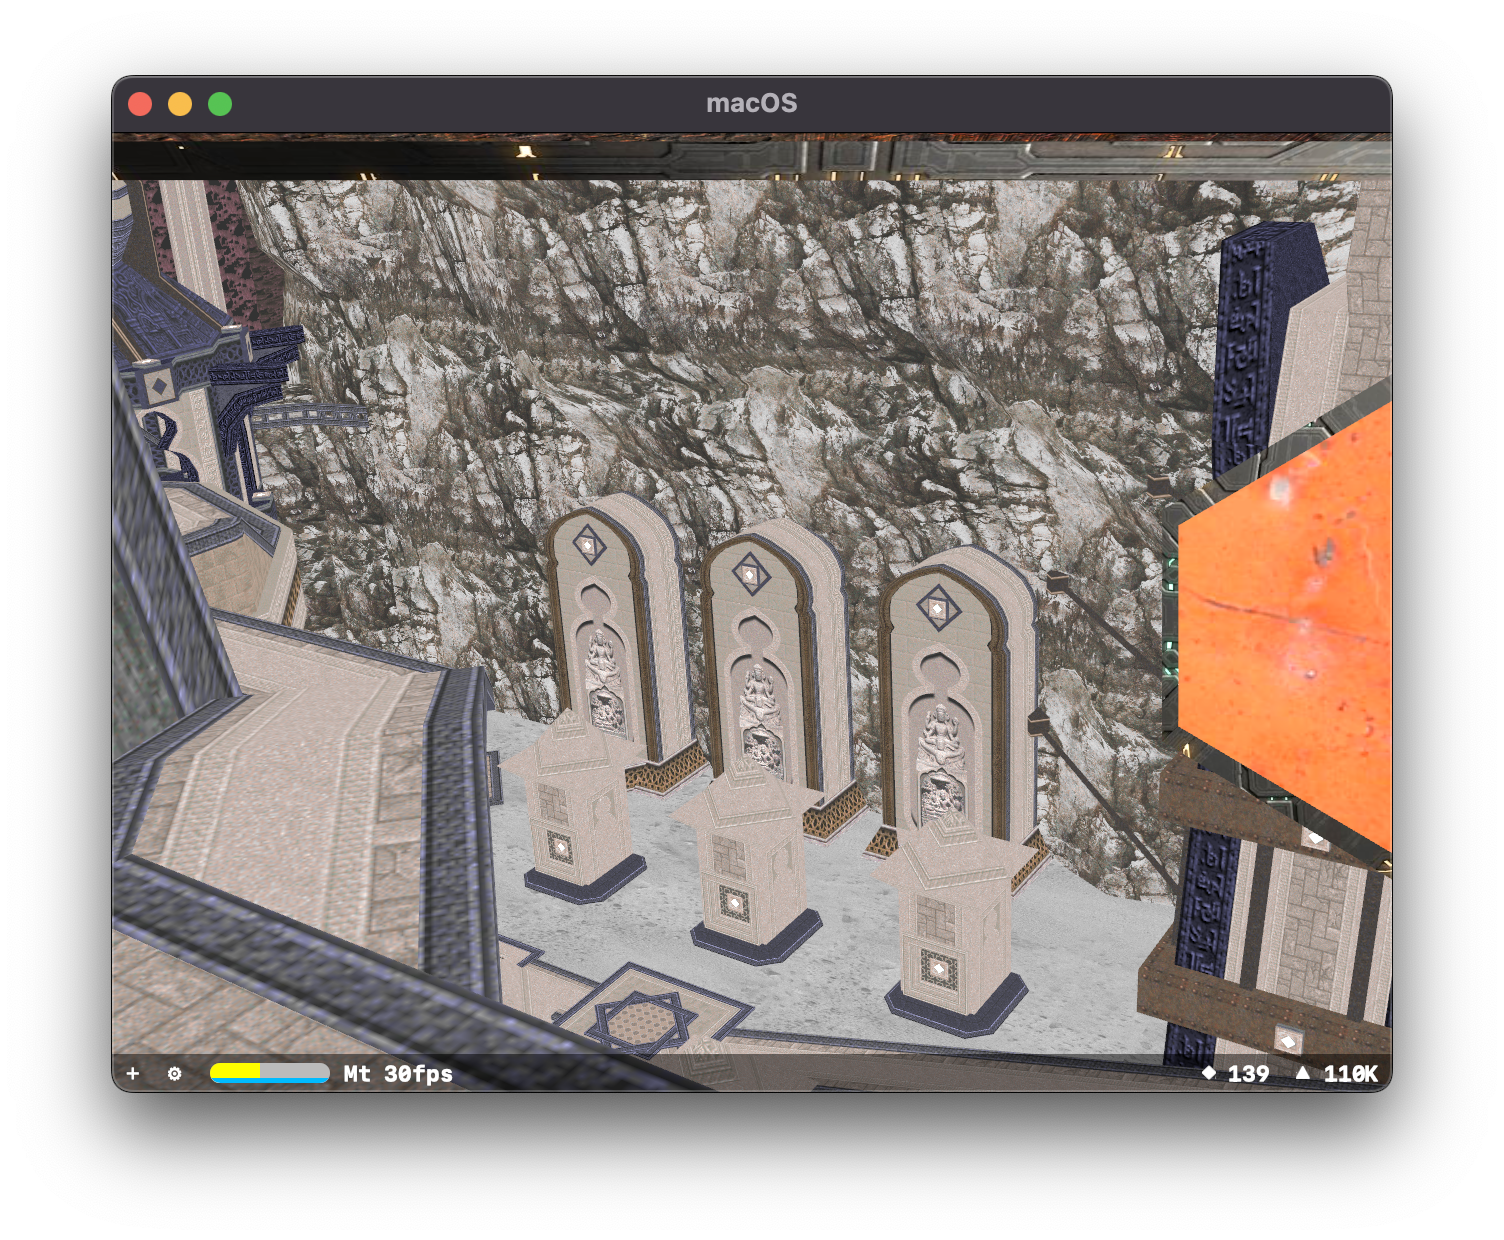
jam2_lunaran.bsp
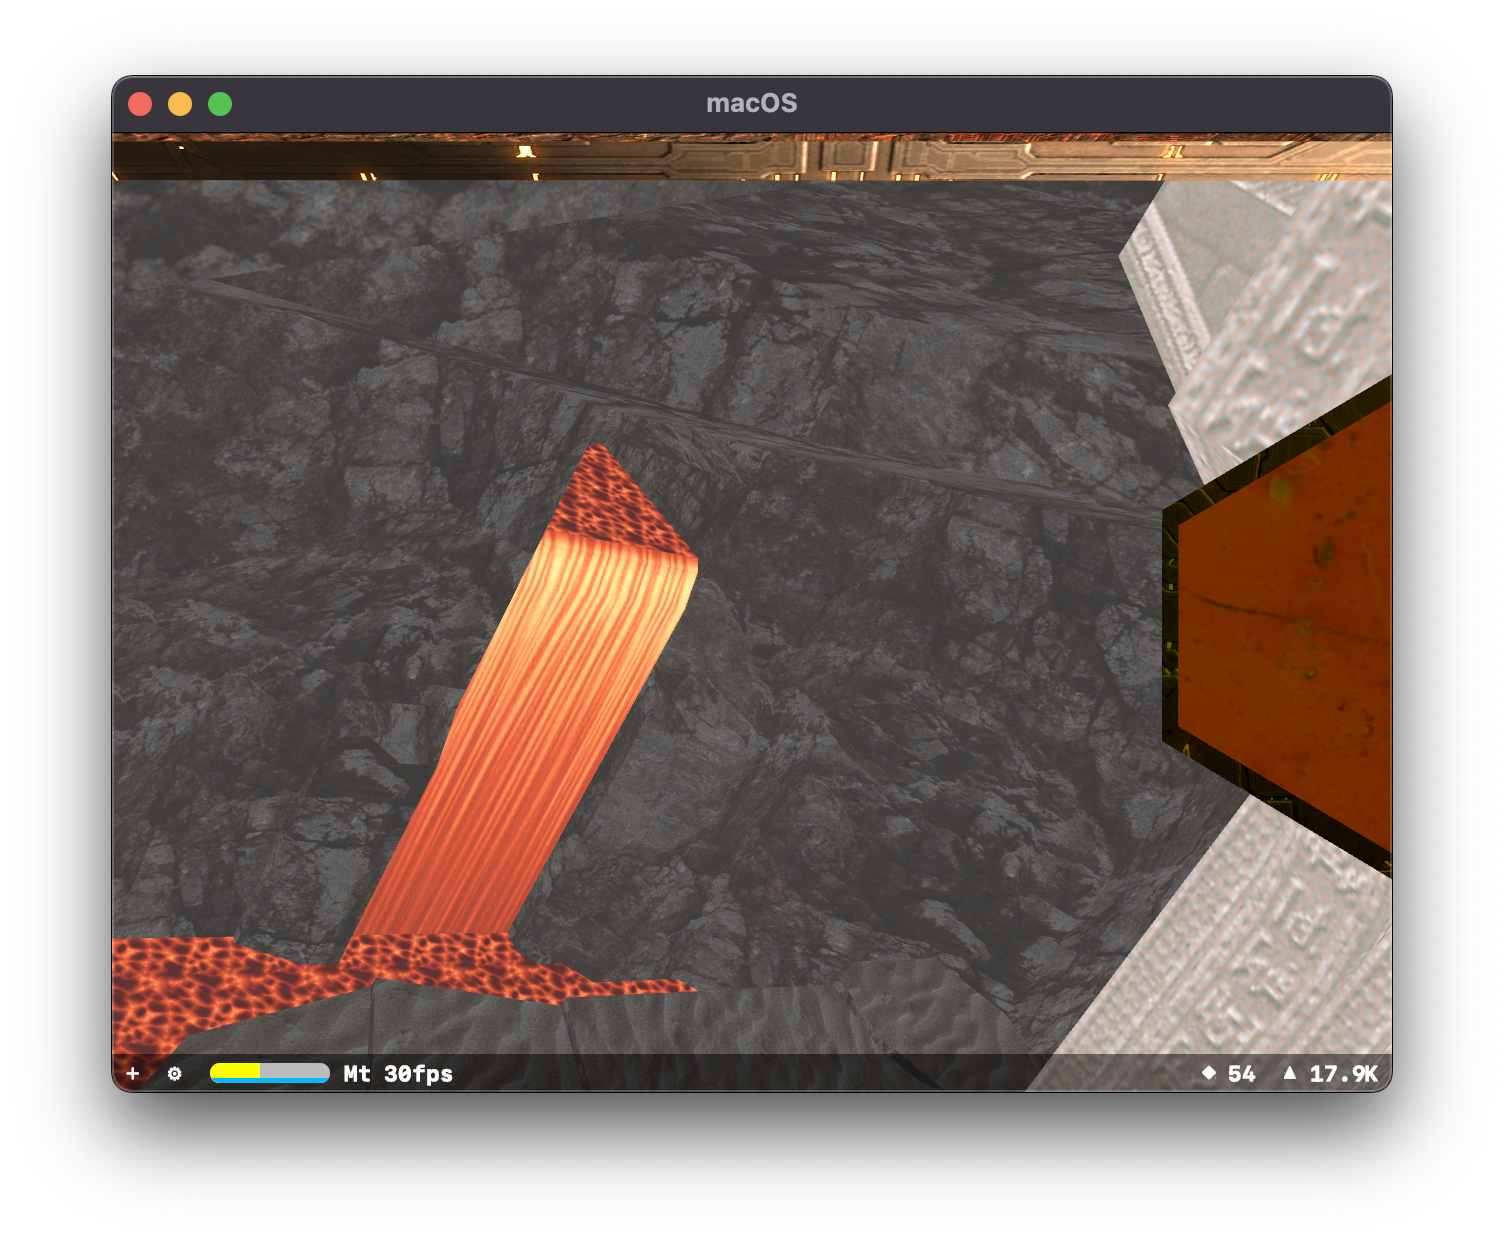
jam2_lunaran, by lunaran, part of the “Func Map Jam 2 - IKBlue/White Theme”
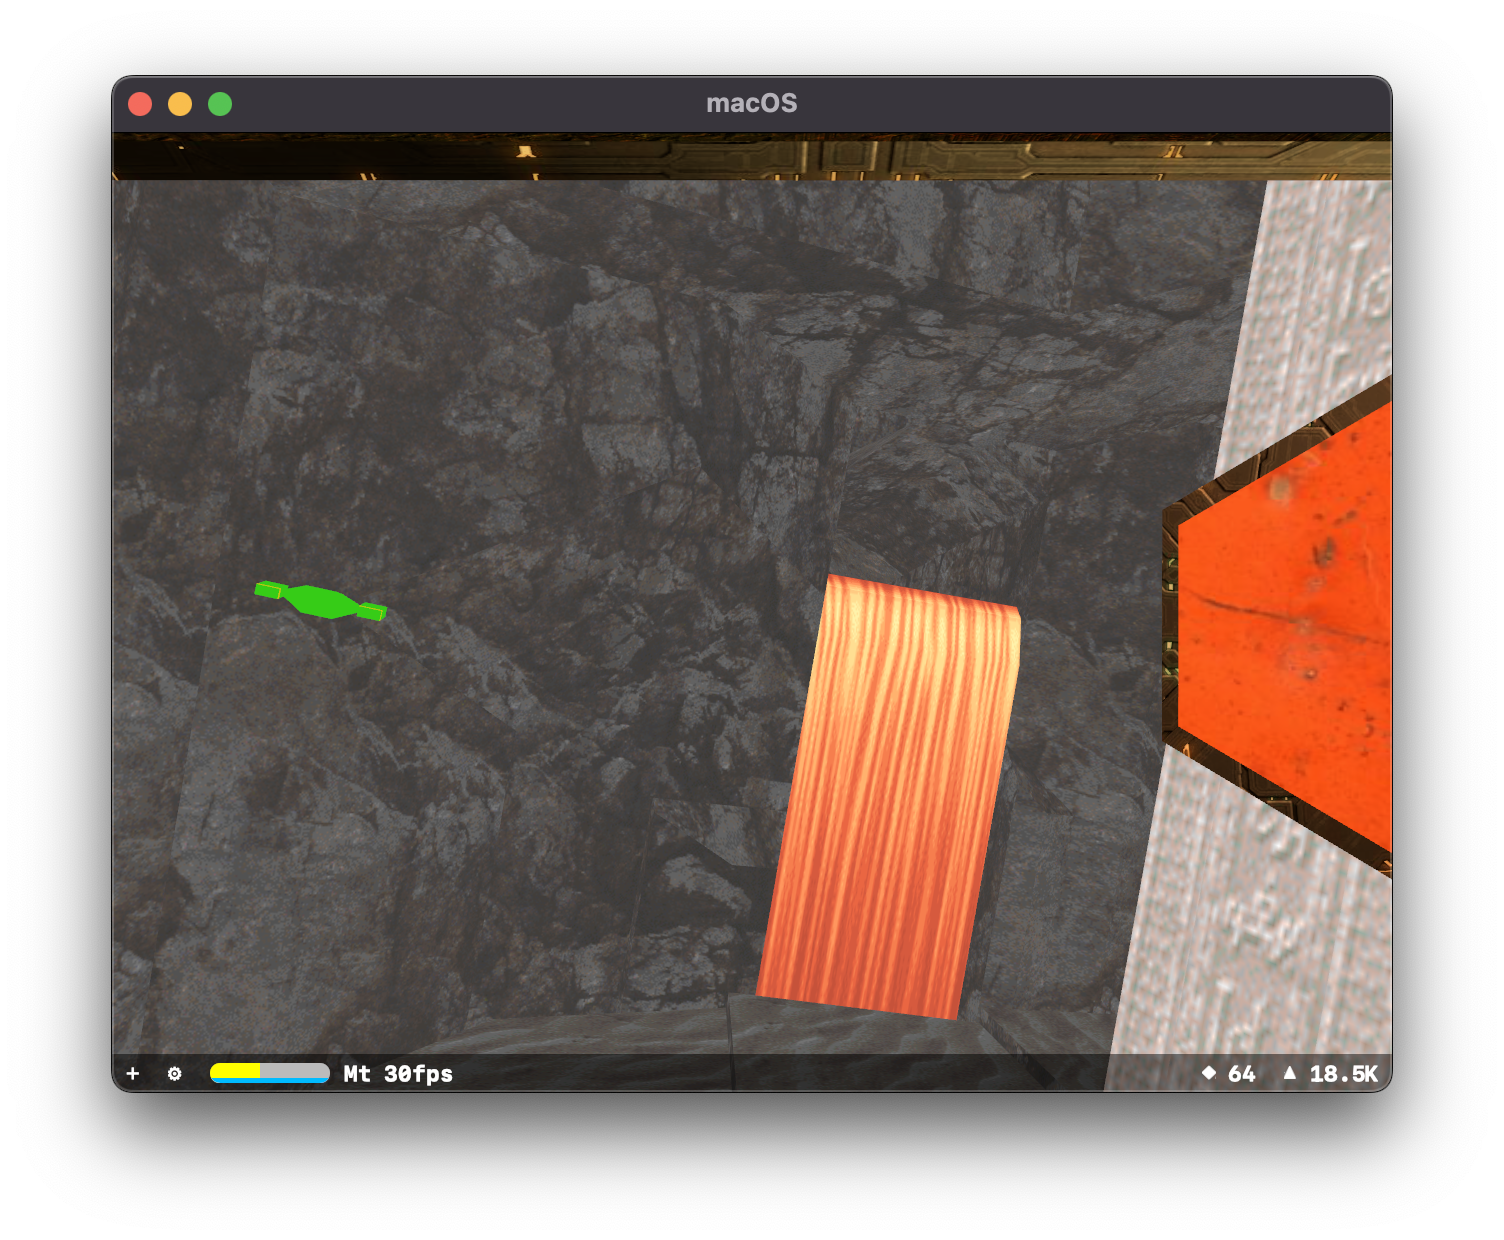
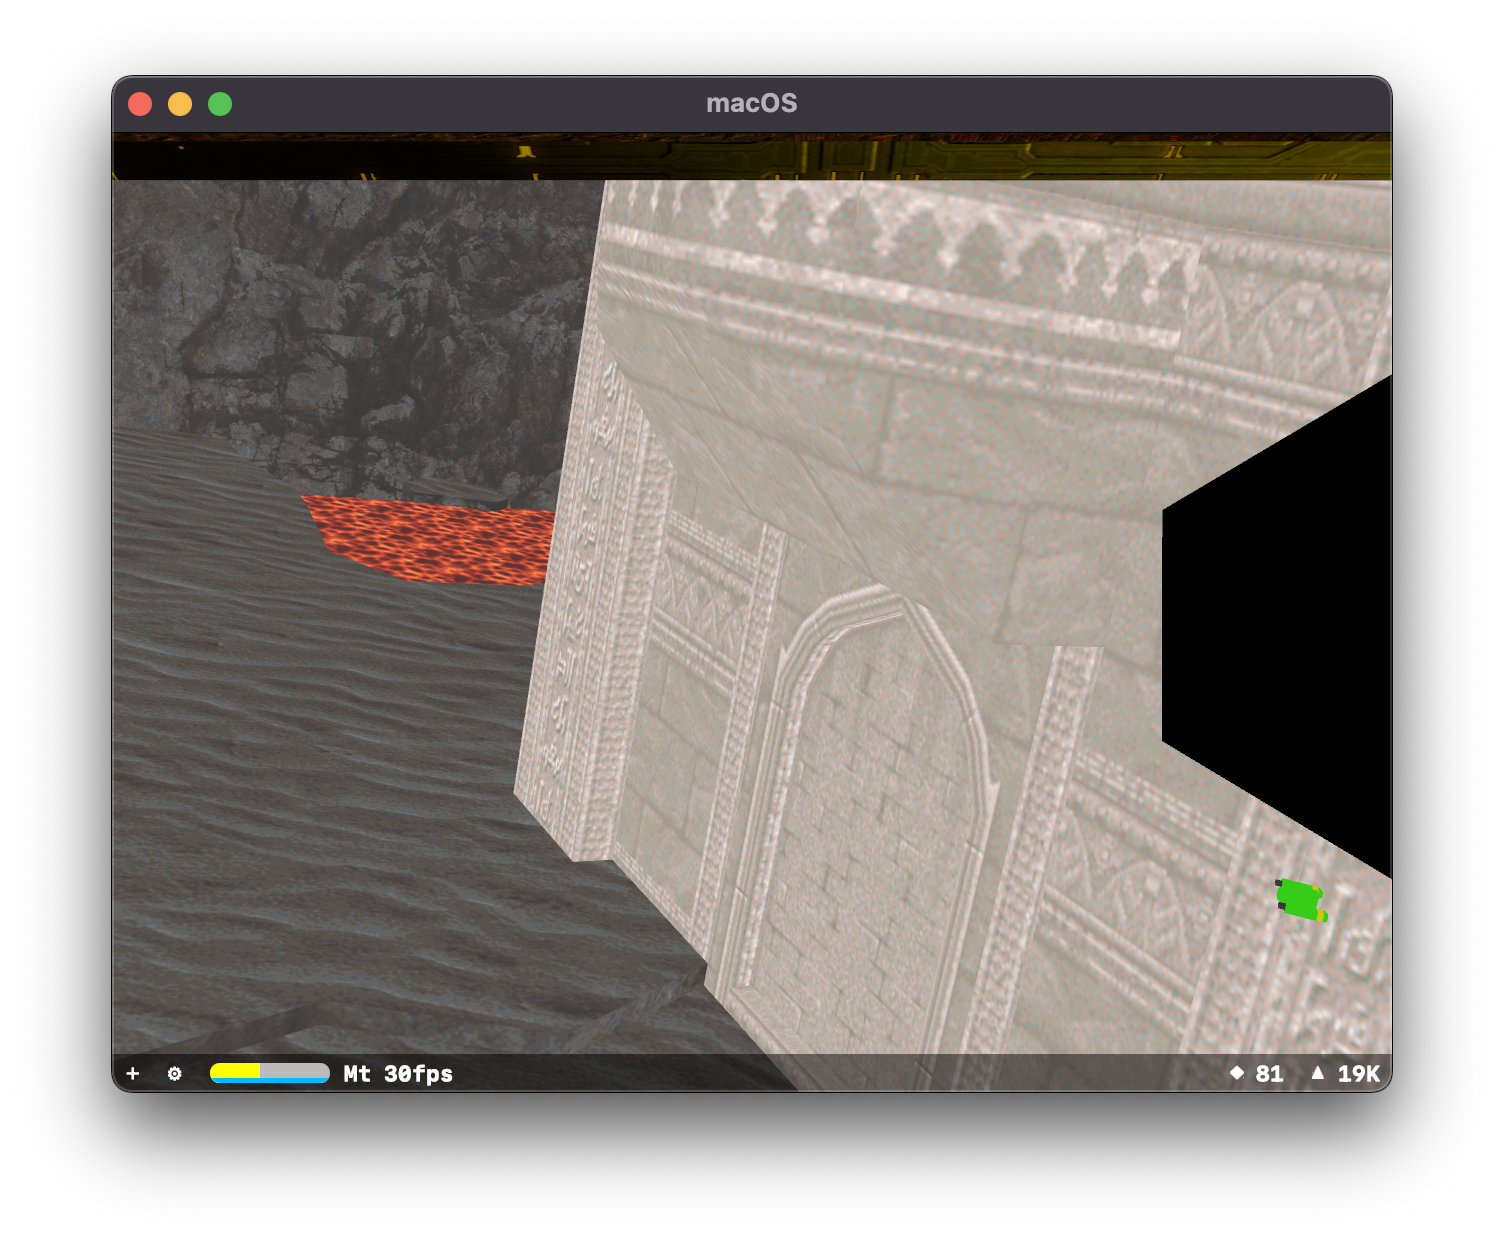
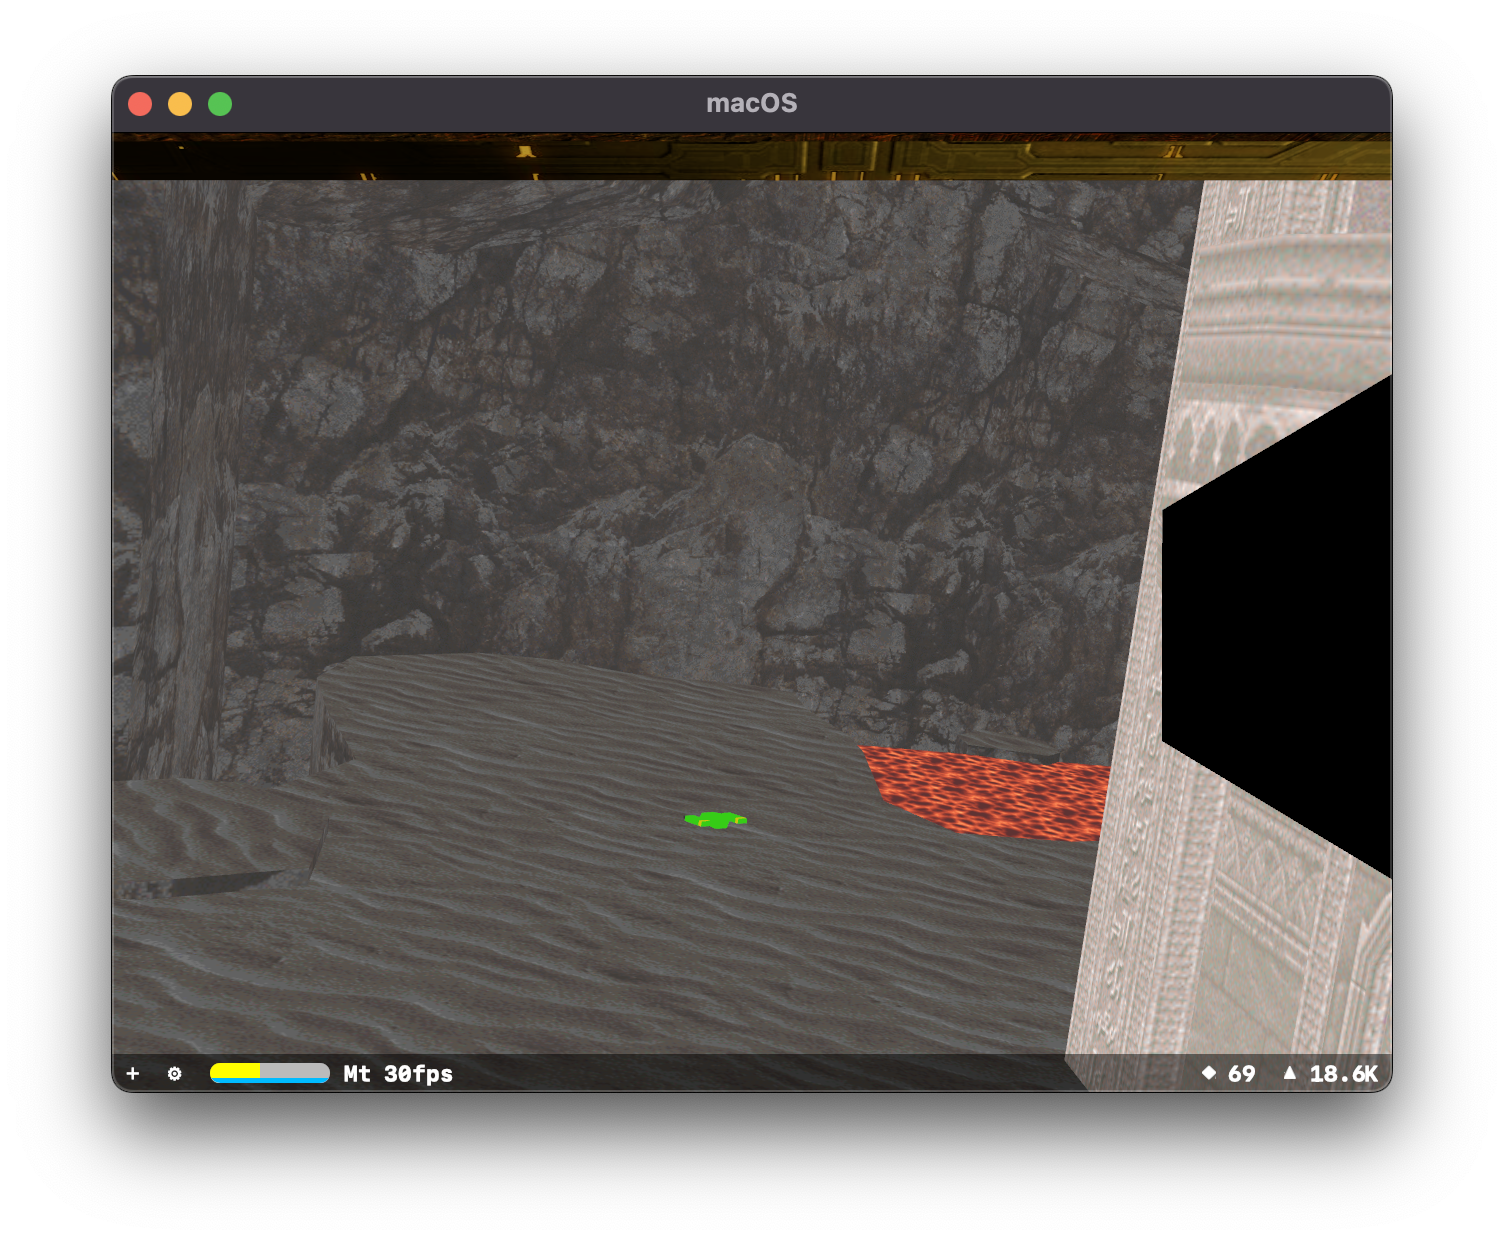
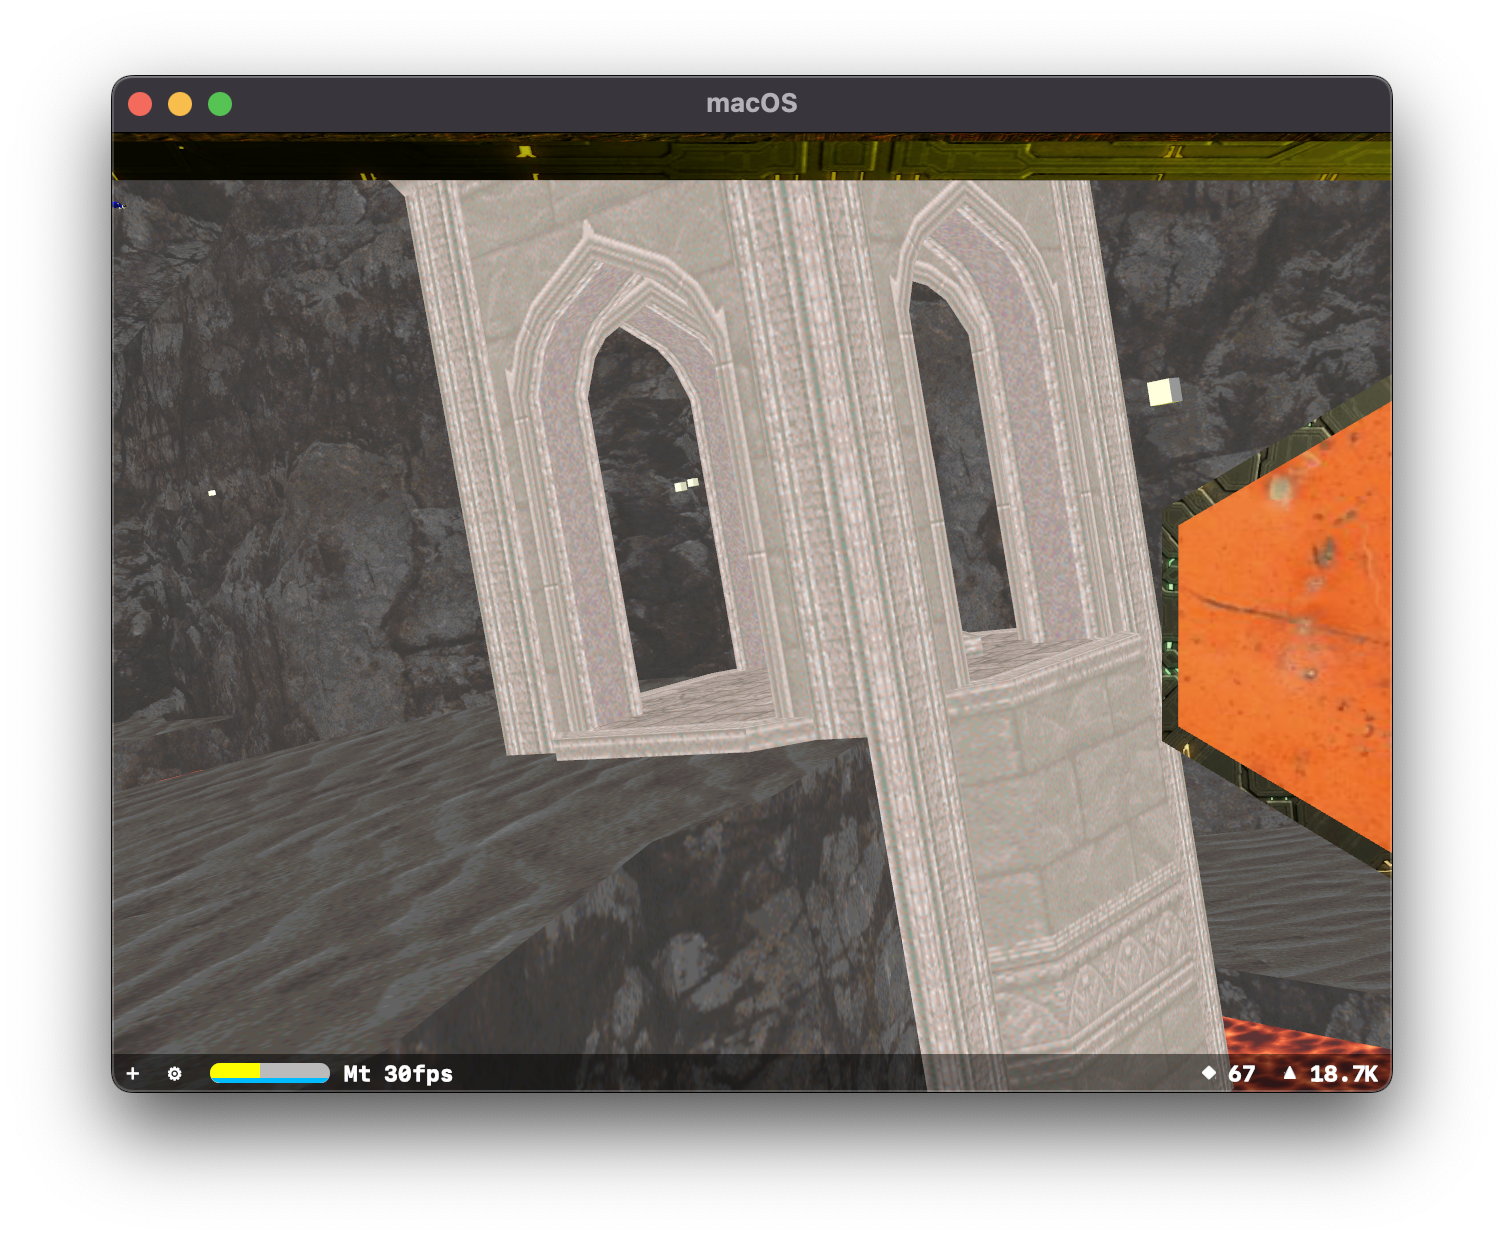
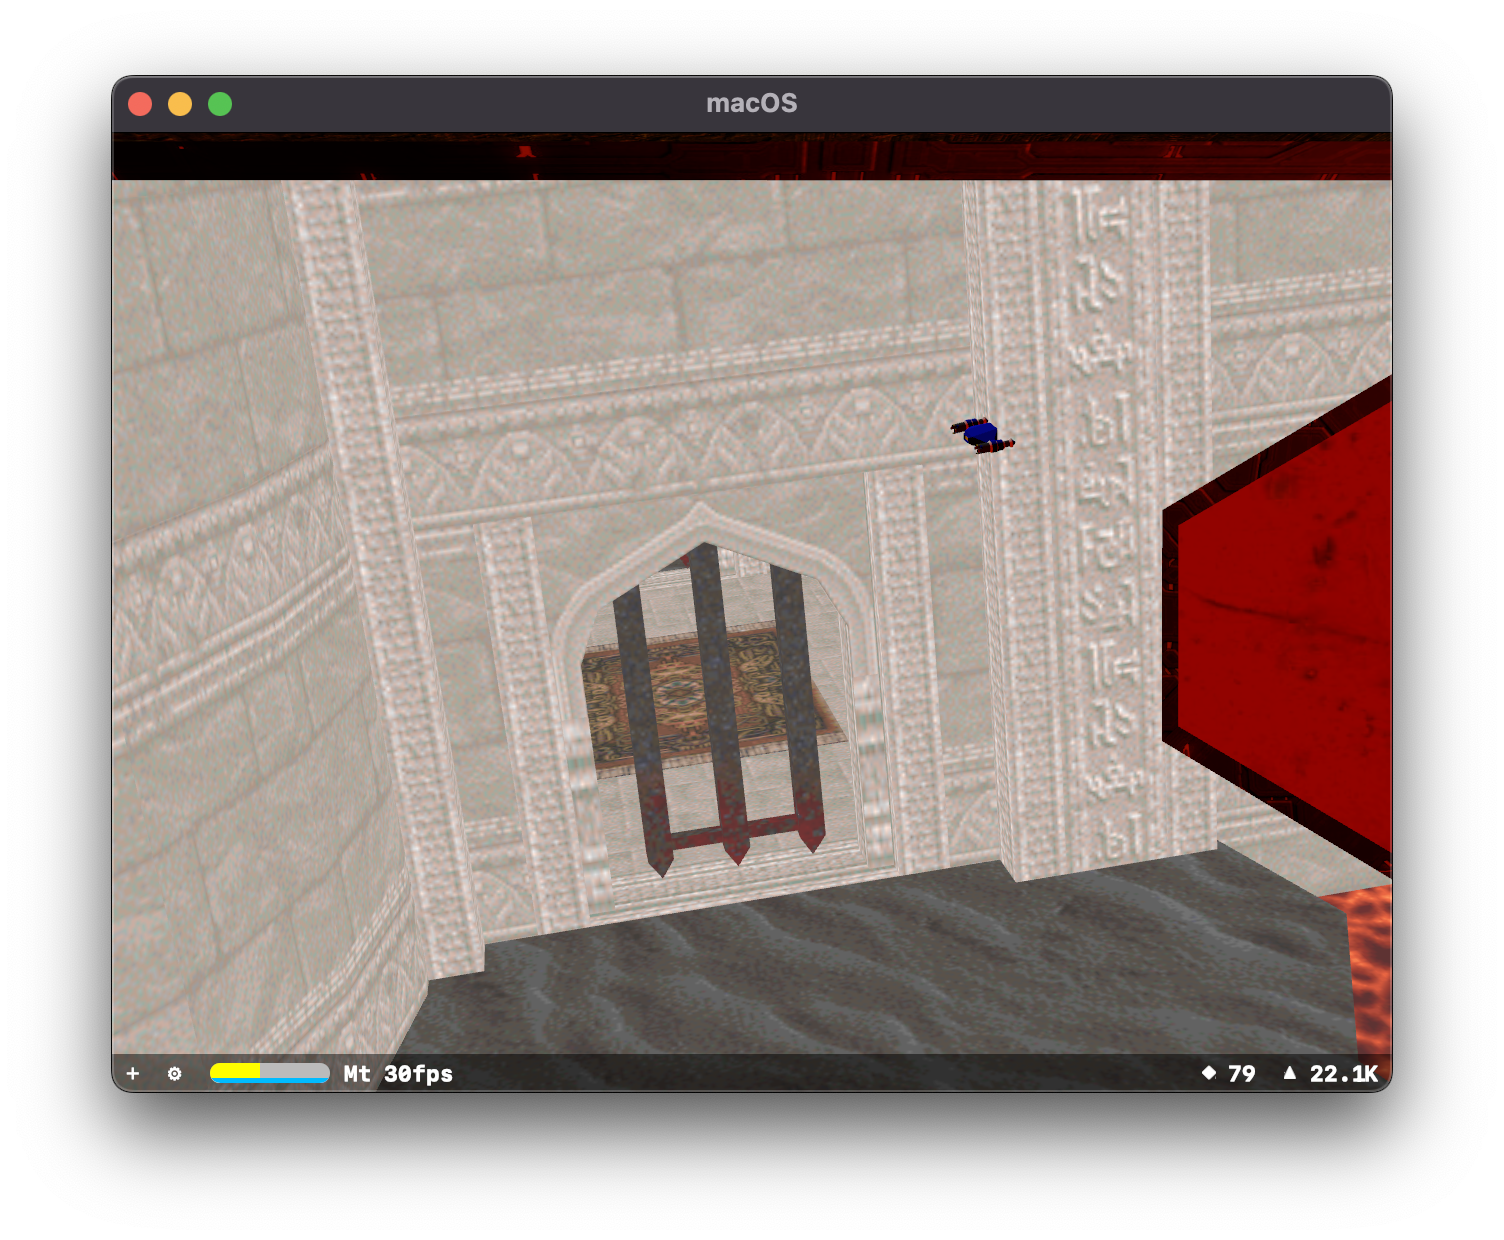
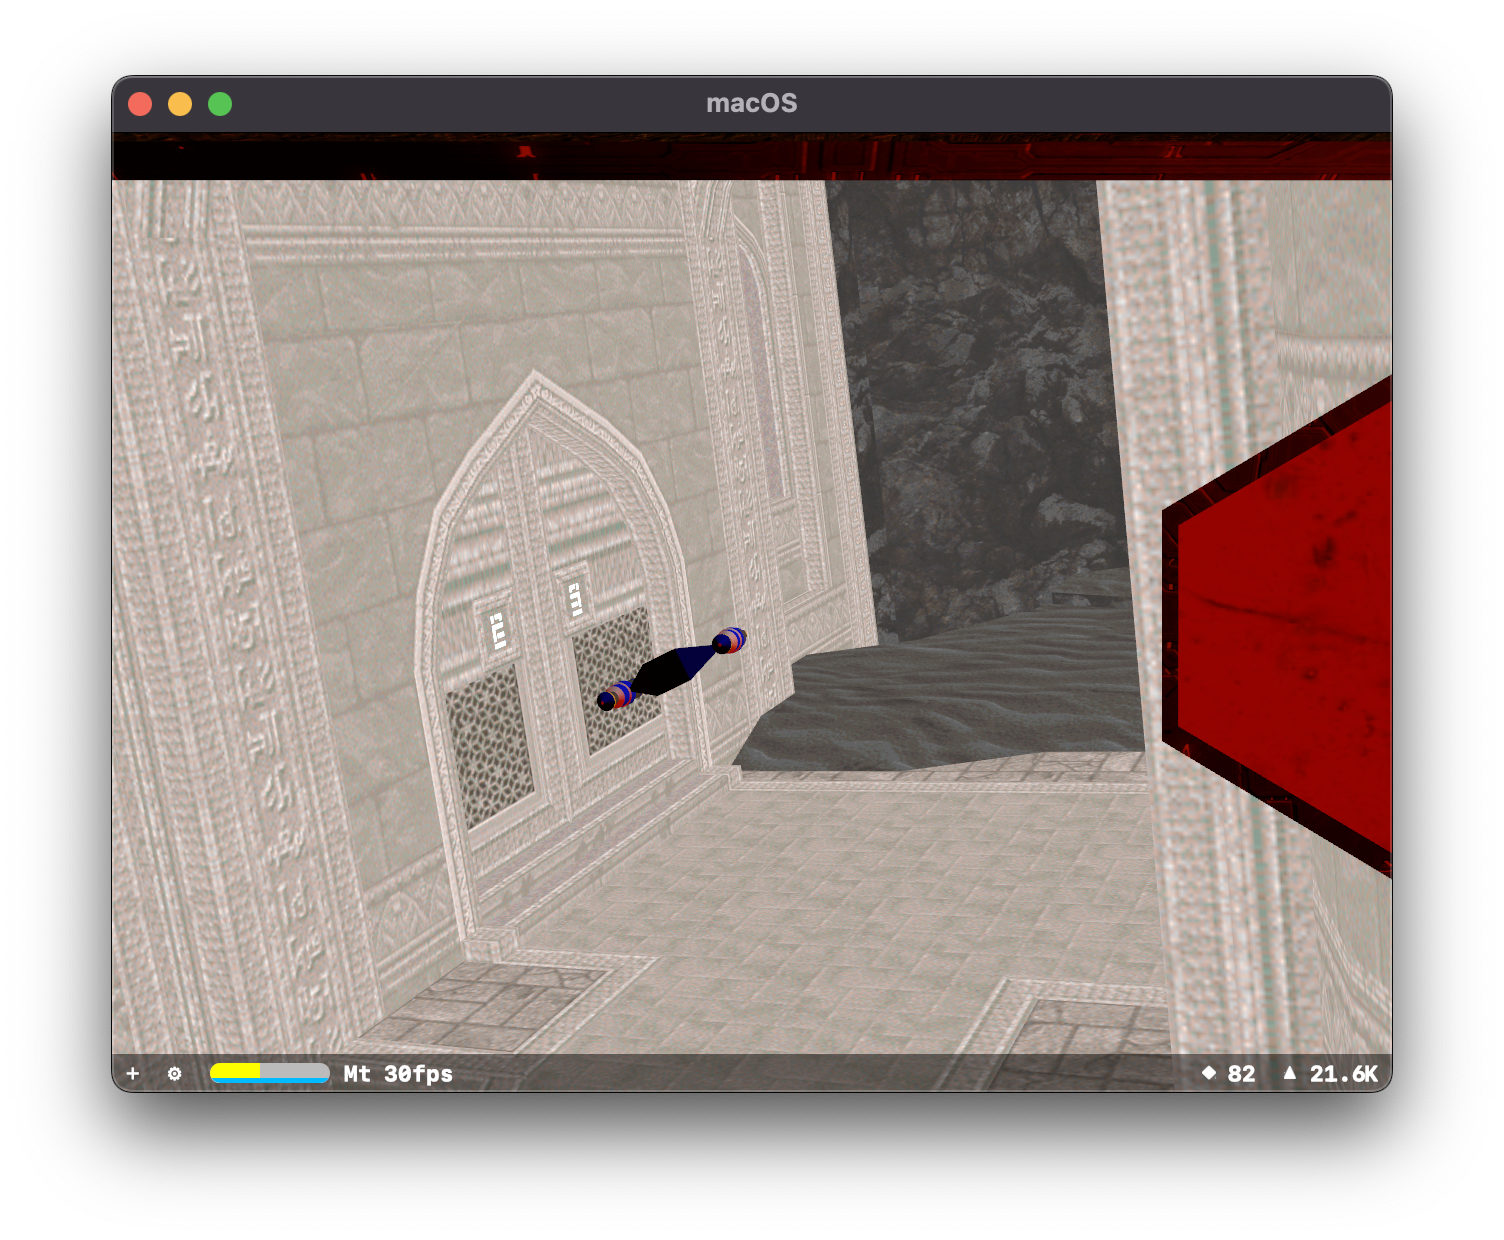
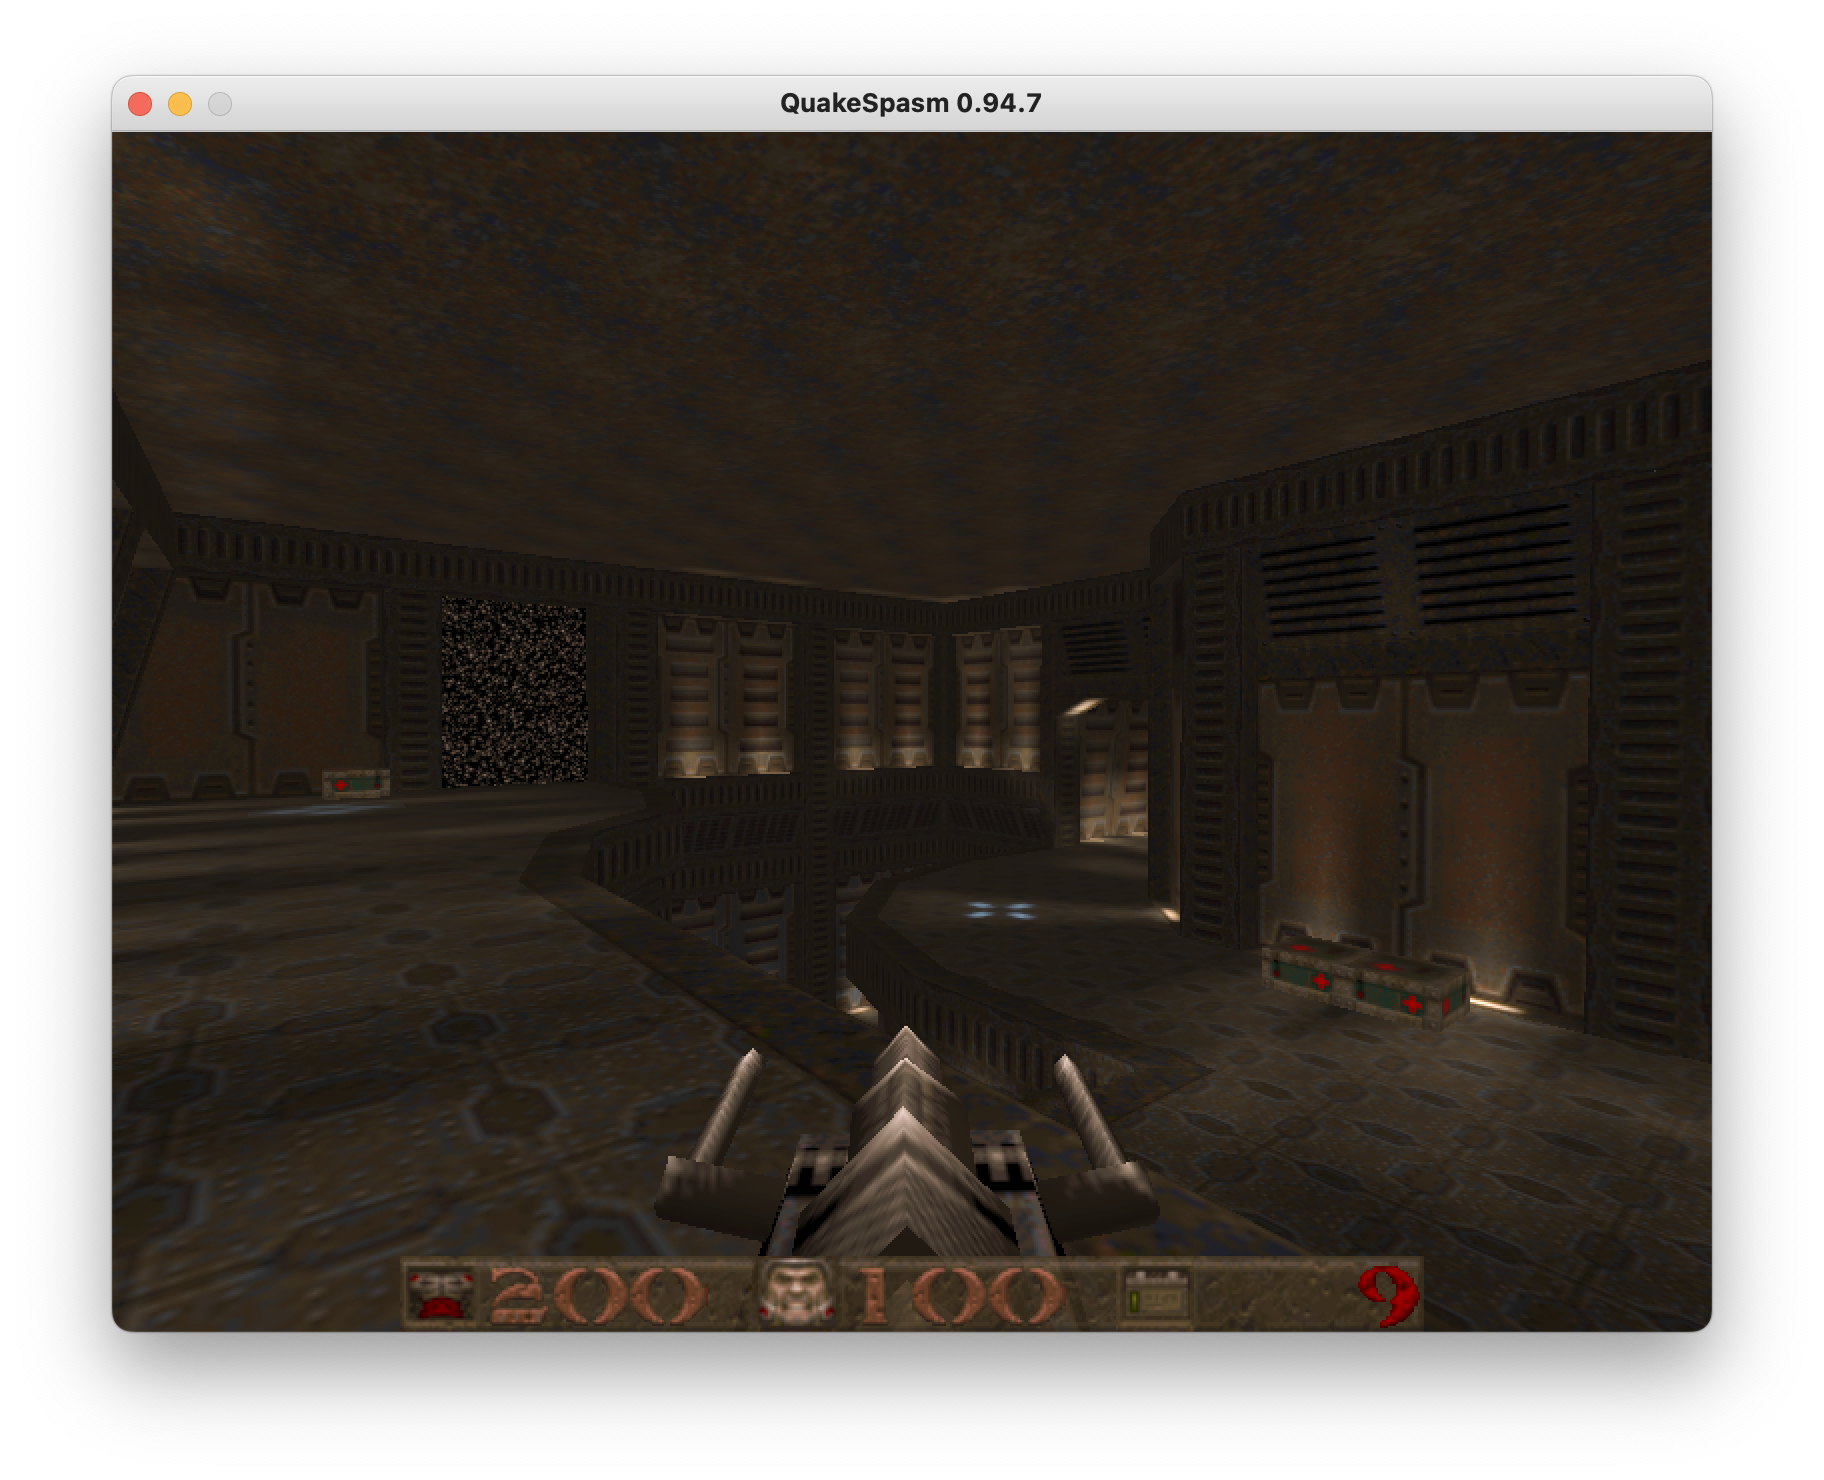
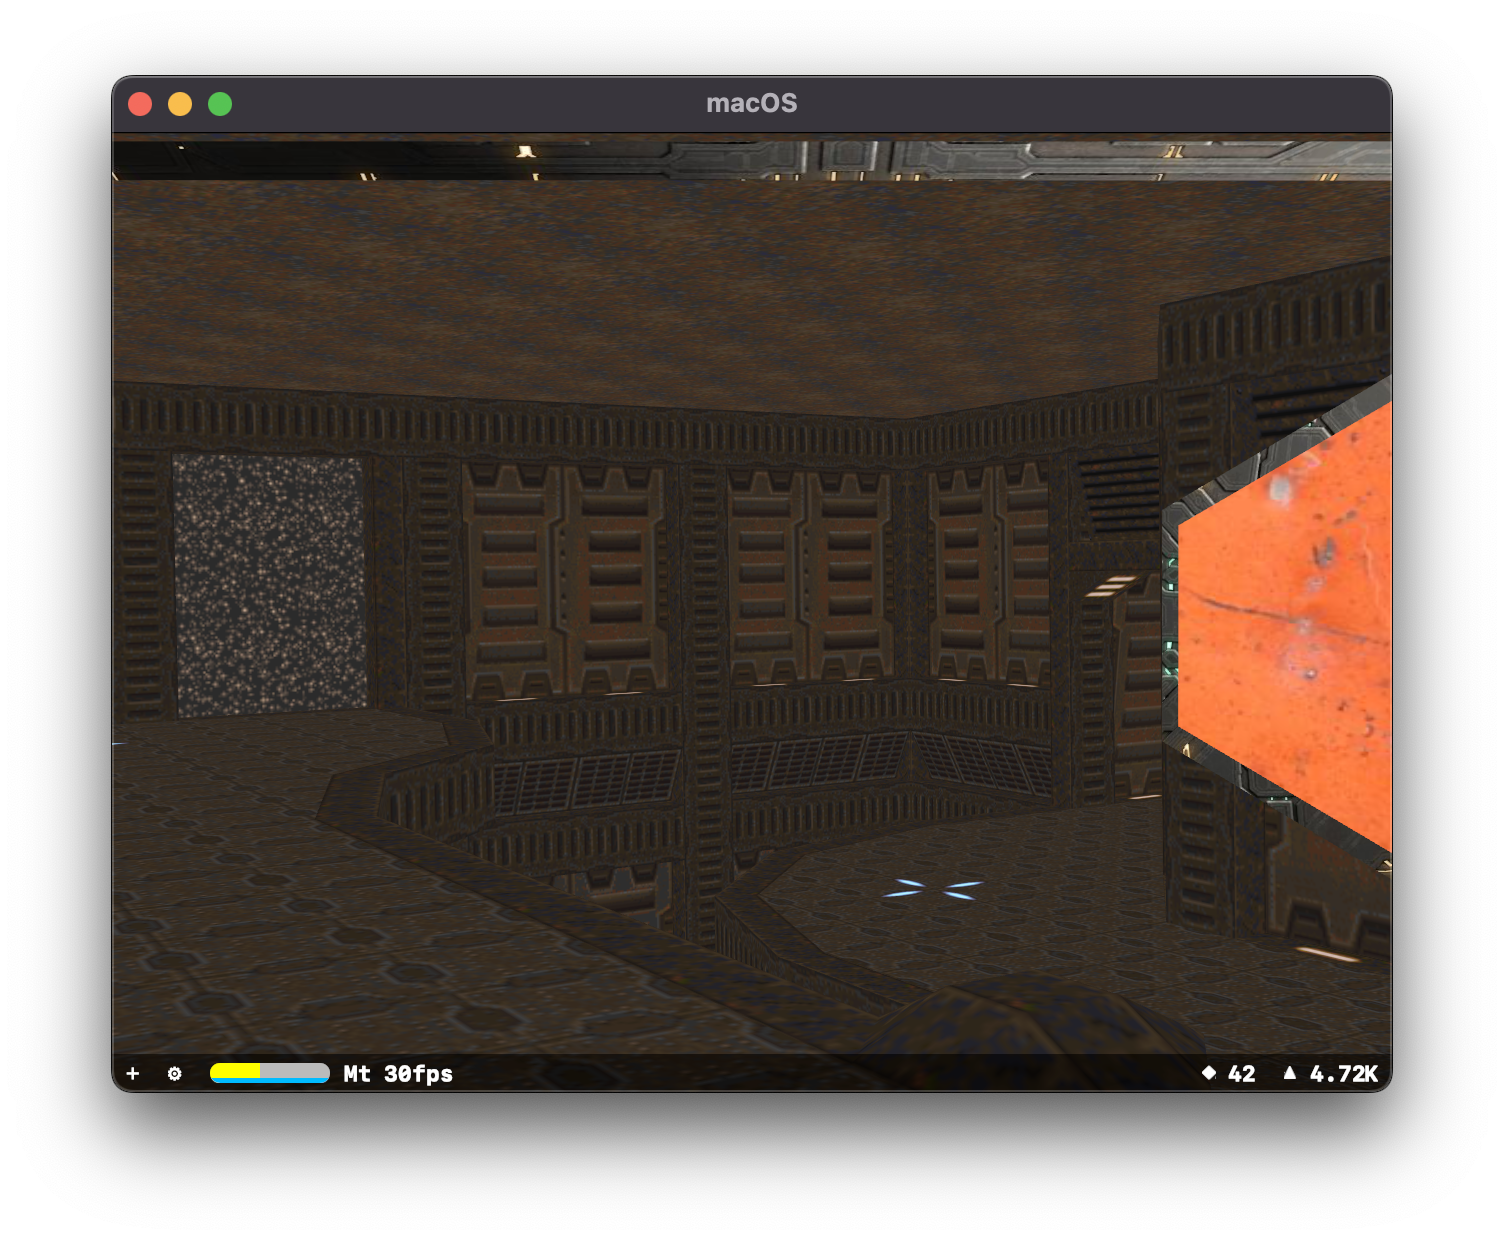
This other map, also from the same map jam, was very cool. It's a castle-y structure inside of a volcano-y cave.
It's what I would continue to use for all of my testing and prototyping.
What about a nice shade of blue?
I got the notion that I should see how to handle a situation in which there would be multiple teams. So the first thing I needed was a variation on a theme.
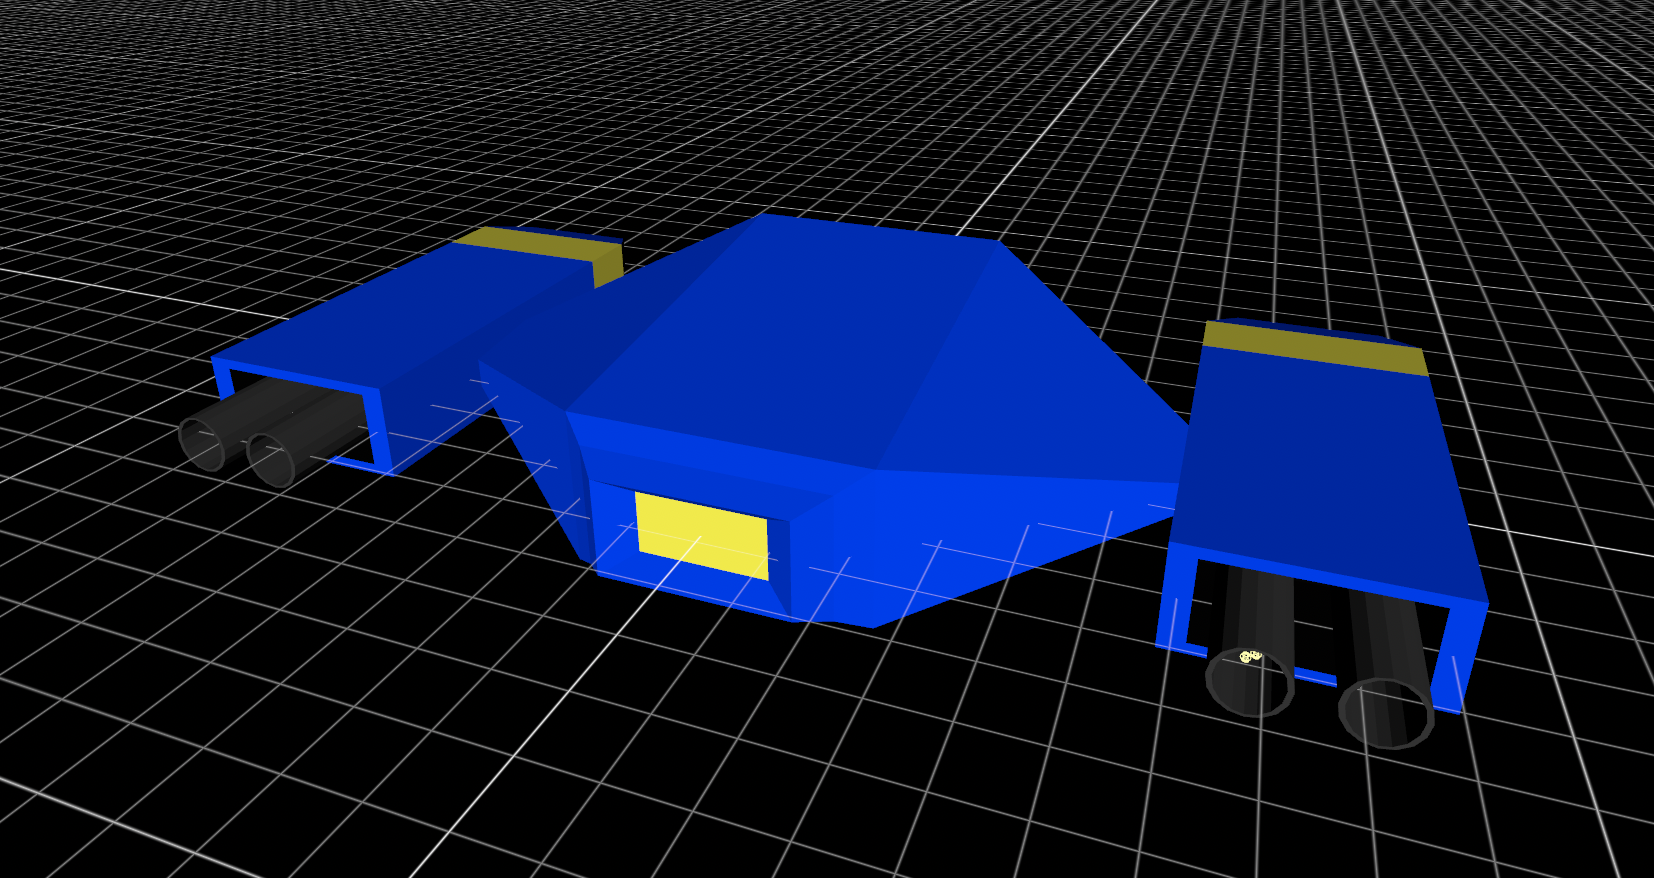
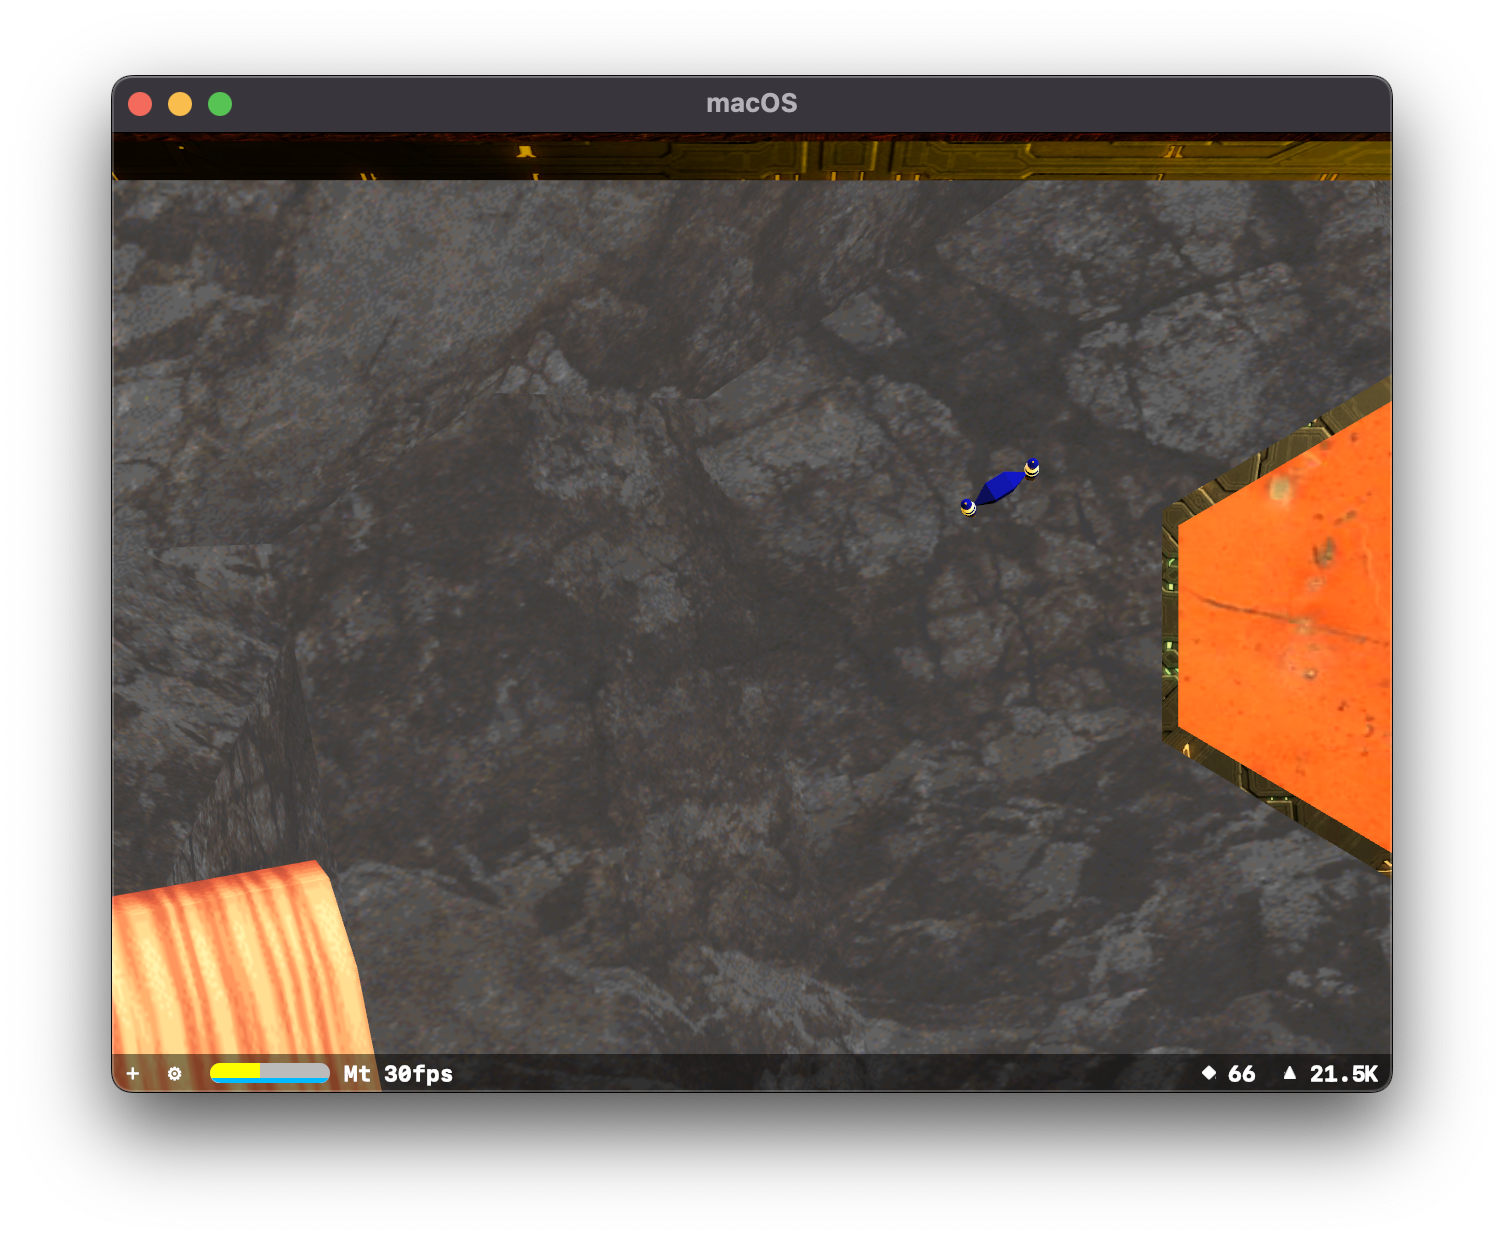
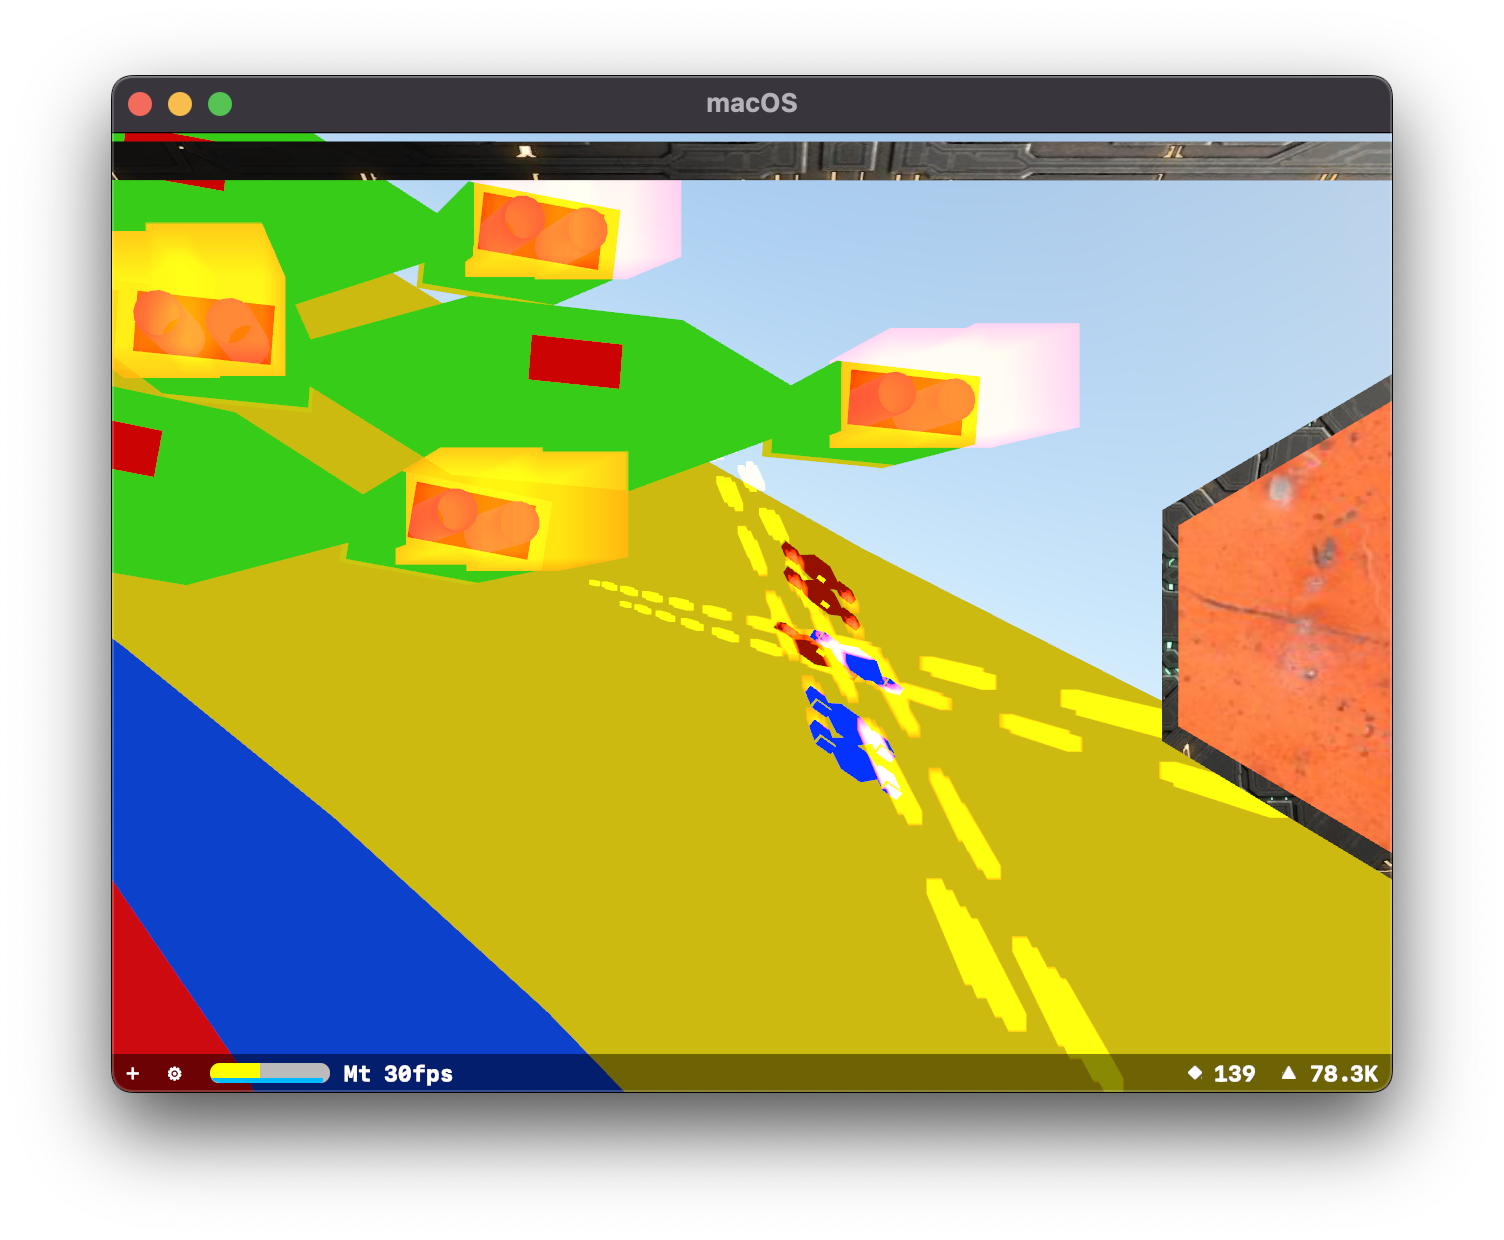
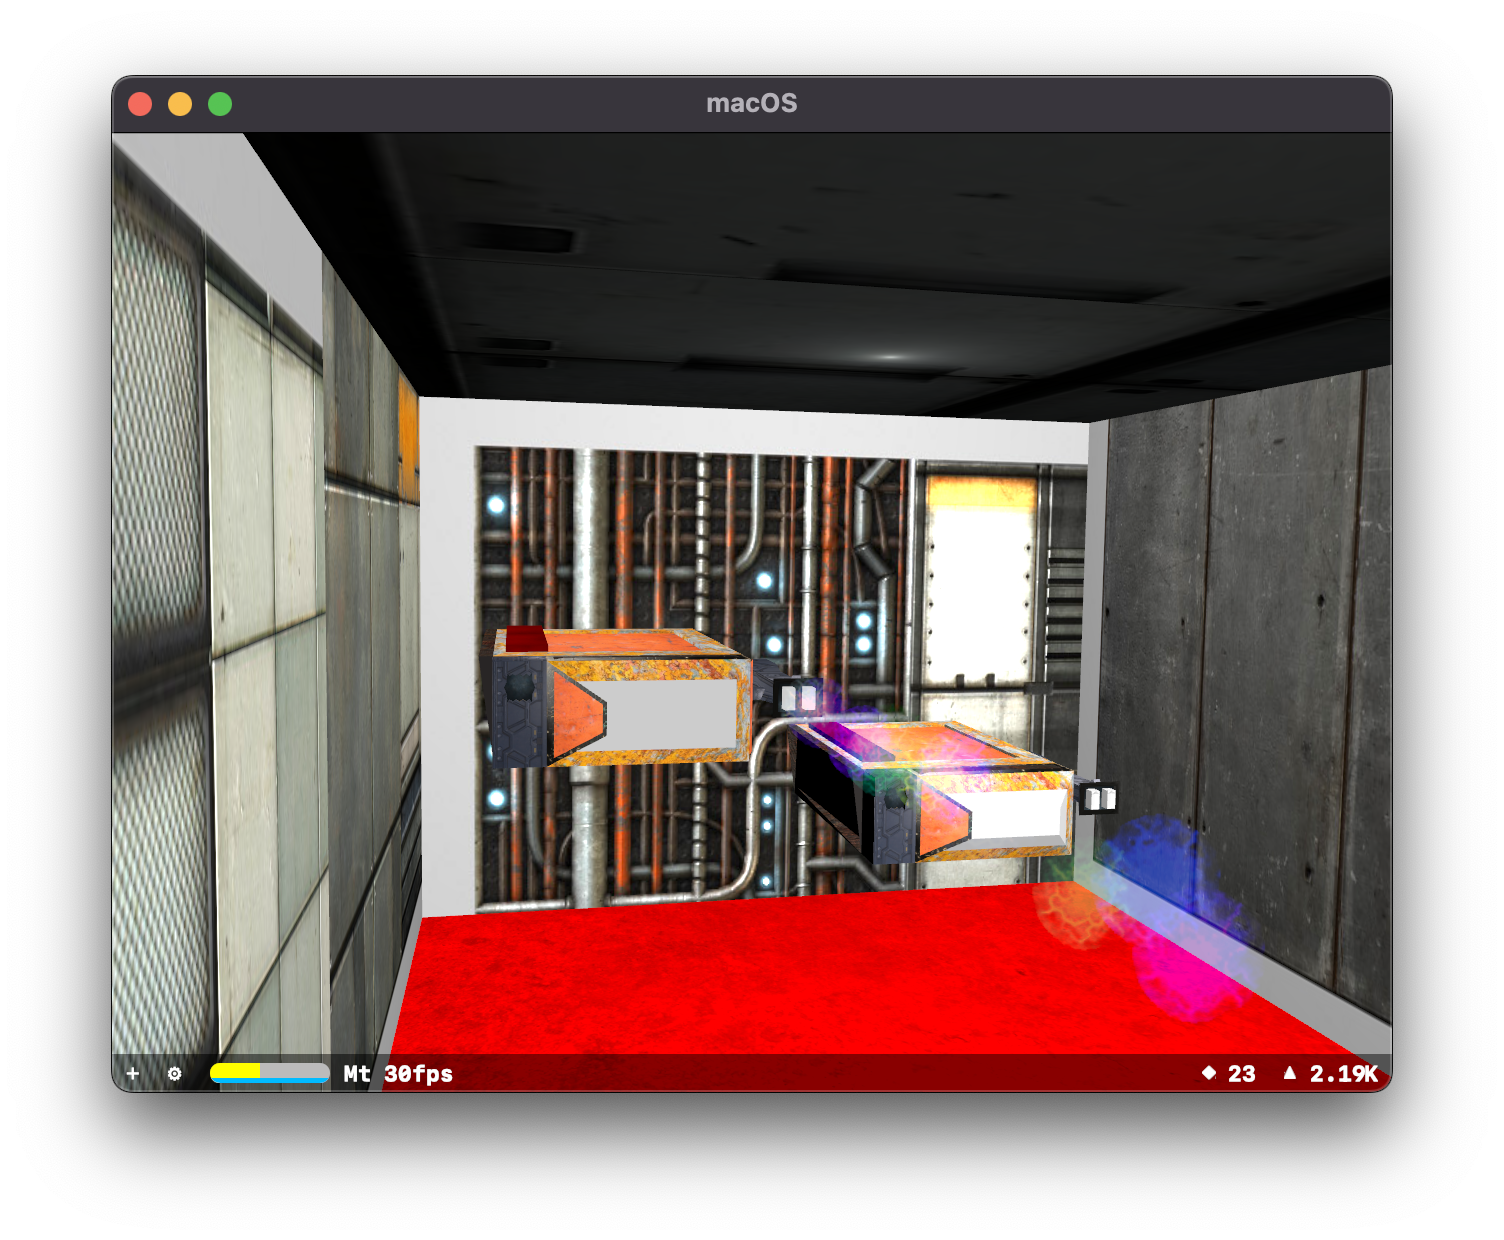
I opted to just change the "body colour" and the "eye colour" of the models. So I ended up with a blue/yellow, red/yellow, and the original green/red combos.

I ran into an issue pretty quickly though, and which took me quite a while to figure out a solution to. I was originally removing/deleting any object that "died". A little showy explosion effect and then removed from the scene. This caused issues with the particles they had interacted with, and the targeting system. This would often also result in a crash due to attempting to perform an operation on a null object.
I tried to mark things as deleted and clean them up in a future iteration of the game processing loop. This didn't work as it typically wasn't just the current update that was at issue. Then I finally just marked them as "deleted", stopped processing them, and hide their models.
This is one of the things that is generally handled by a game engine, and I couldn't implement a great solution at the time.


Problem 2, spacing
The weapons on the Marten model are just attached to the side. They point directly forward. This wasn't an issue when they were attacking me, as the player ship was a very large rectangle. However, if they were now attacking a model that was the same shape as them, they would fire past the central body.
The solution to this was a bit easier, since I had created each "pod" as it's own object. I'd just have them rotate to face whatever it is they are firing at.

Once they could rotate their weapon pods, it worked quite well.

The large map I had created for this had 4 sections, so I added the player as an additional team.
I had successfully created some enemies that would seek out and attack the player (or another entity on a different team). Next up, putting this all into a single player level.
Have I talked to you about Quake?
I'm not entirely certain when I was introduced to Doom or Wolfenstein 3D. Long after their respective releases, no doubt. Quake) though, I got to experience when it was new. It was impressive as heck. Then people started making modifications for it. Grappling hooks appeared early on, there were versions that had rudimentary vehicles. What a delight. The people who created some of the initial QuakeC mods ended up being pretty prominent game developers.
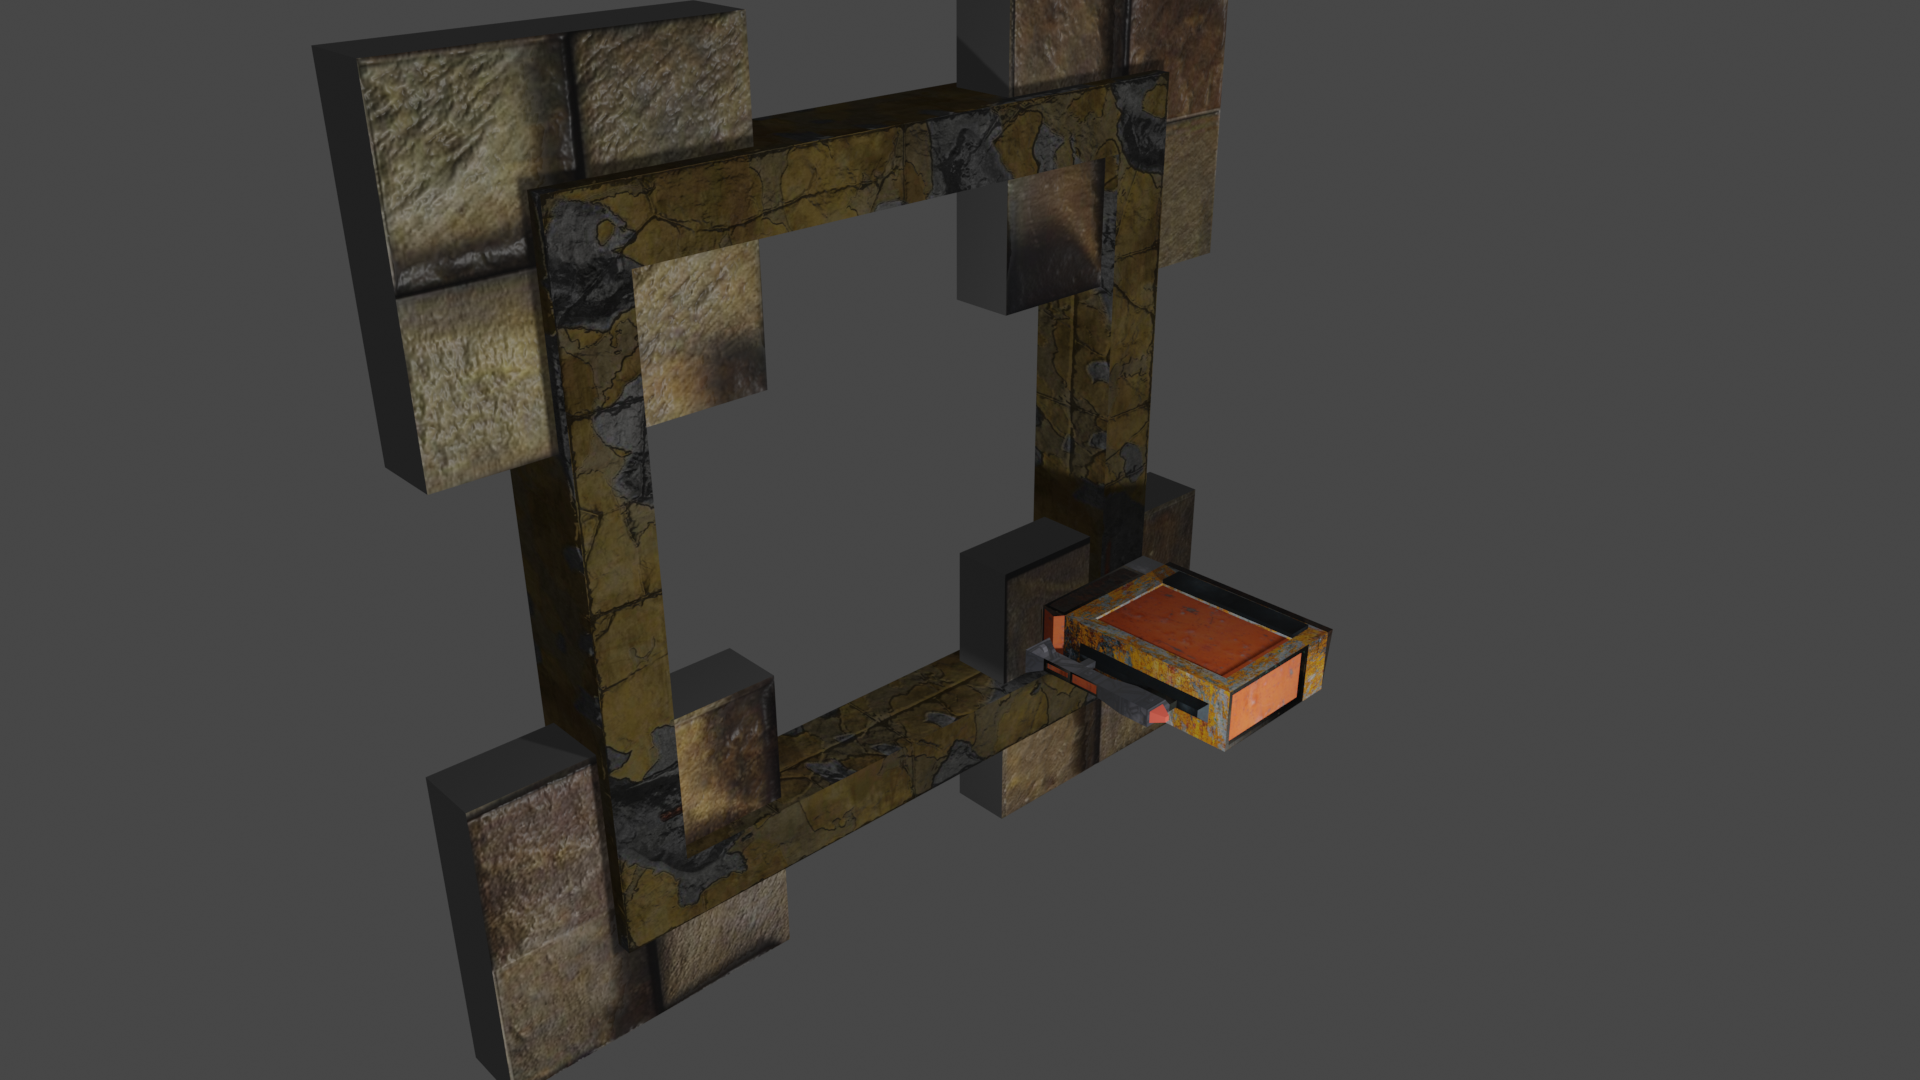
At any rate, I found a Quake BSP import plugin for Blender and that unlocked some exciting new possibilities:
 “Eternal Dismemberment Complex” by Kevin Shanahan aka Tyrann
Quake levels had a theme alright. Classically the palette of Quake has been described as "brown-ish". Still it beats the stuff I could create at the moment.
There's no lighting implementation at the moment so everything gets the same degree of light.
Particles
The next thing I wanted to sort out in my project was a way to have weapons. I figured why not make use of the particle system in SceneKit for this end:
A particle system can perform limited collision detection and resolution with geometries in the scene. If a moving particle intersects a geometry attached to one of the SCNNode objects in this array, SceneKit resolves the collision, either by removing the particle from the scene or allowing it to bounce off or slide along the geometry’s surface.
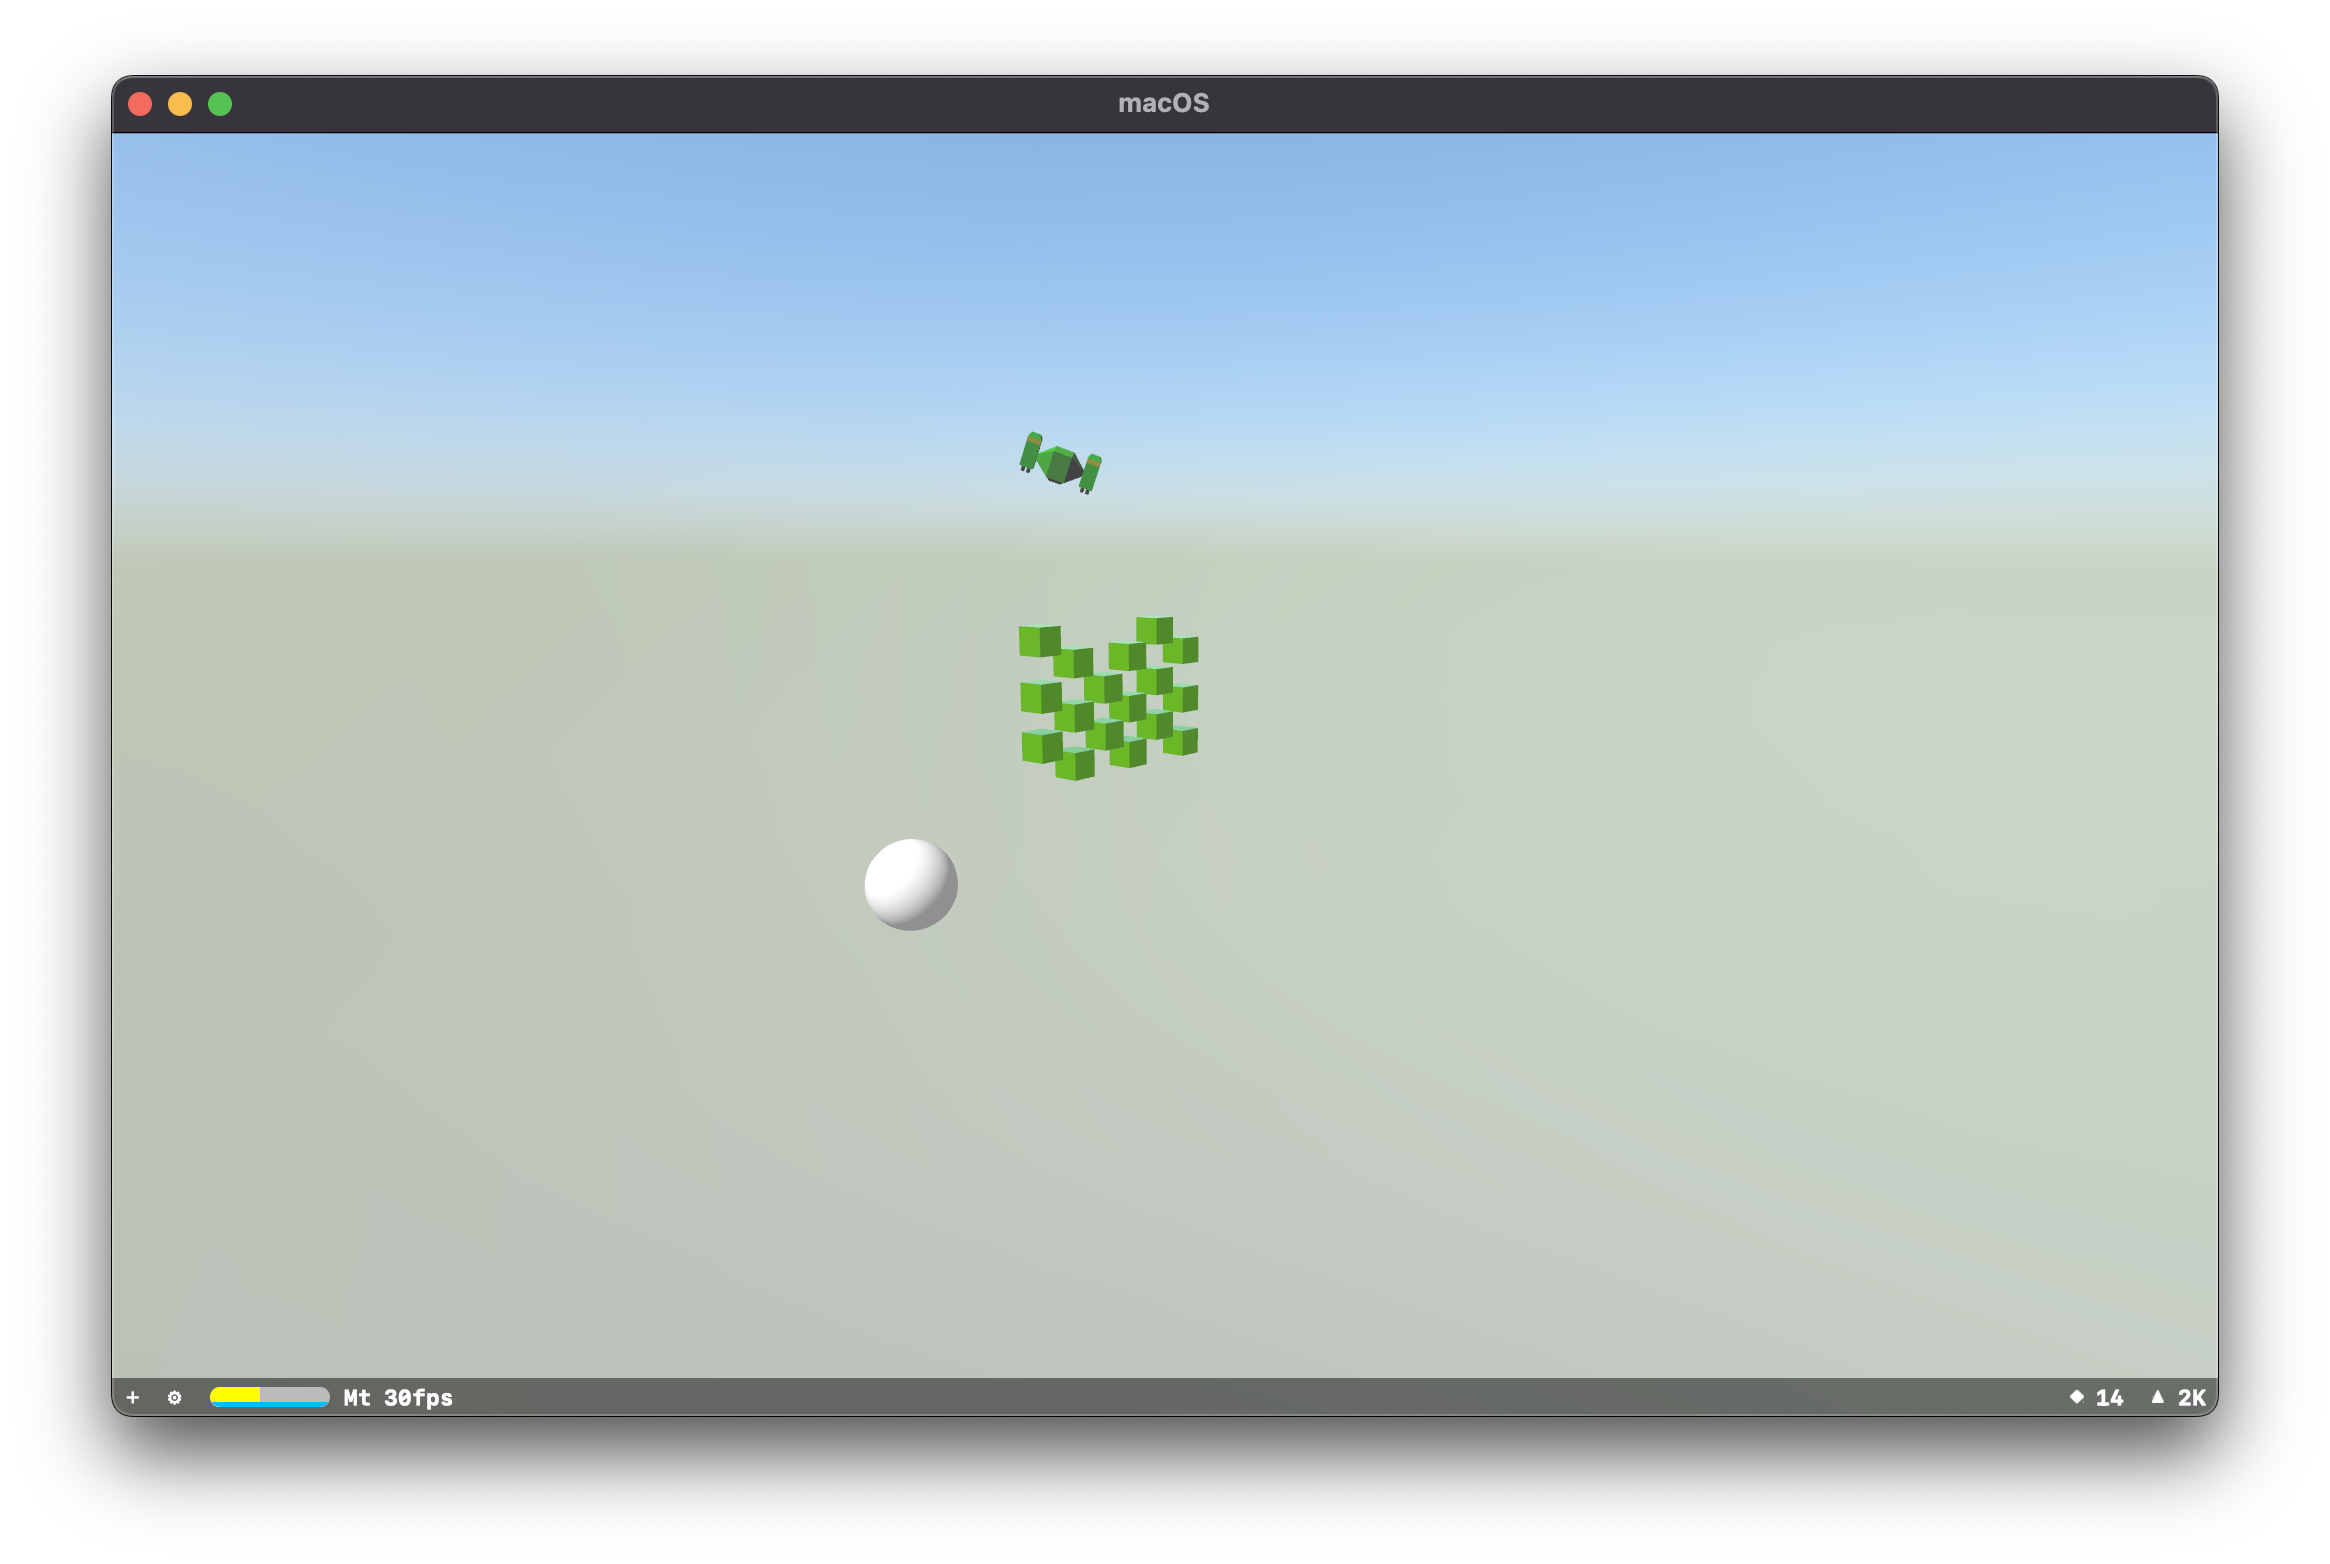
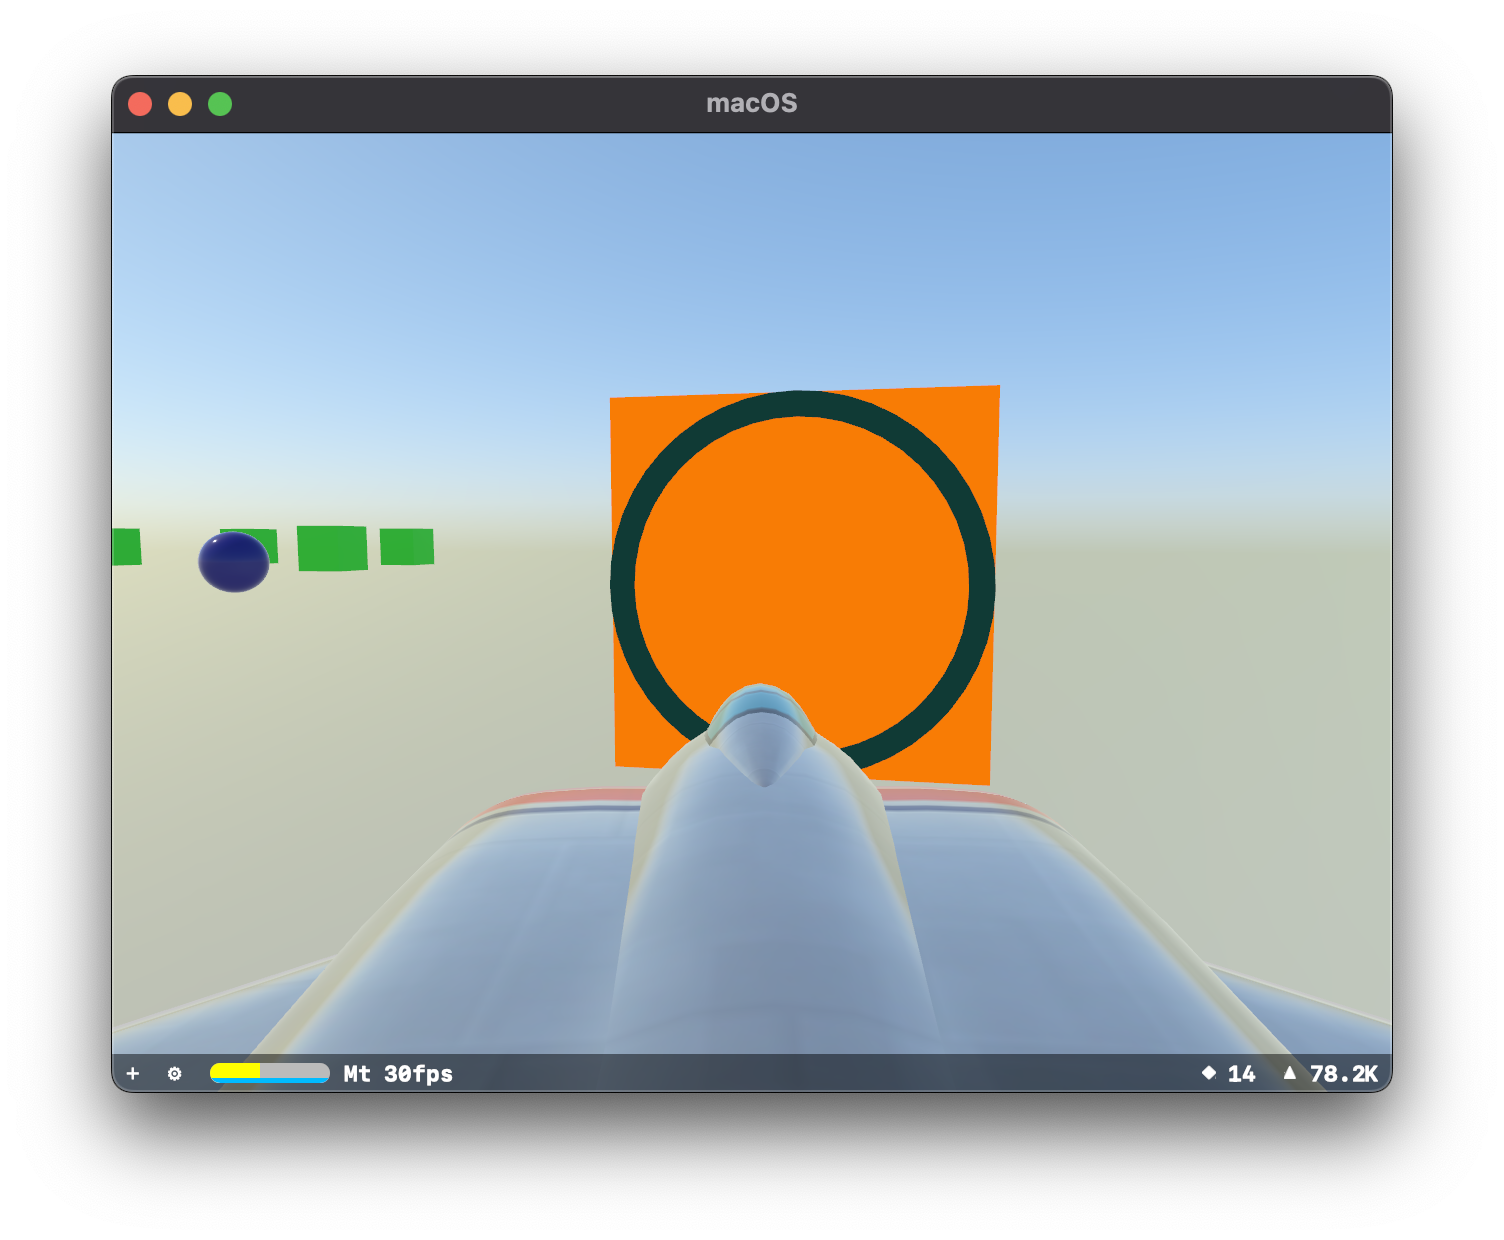
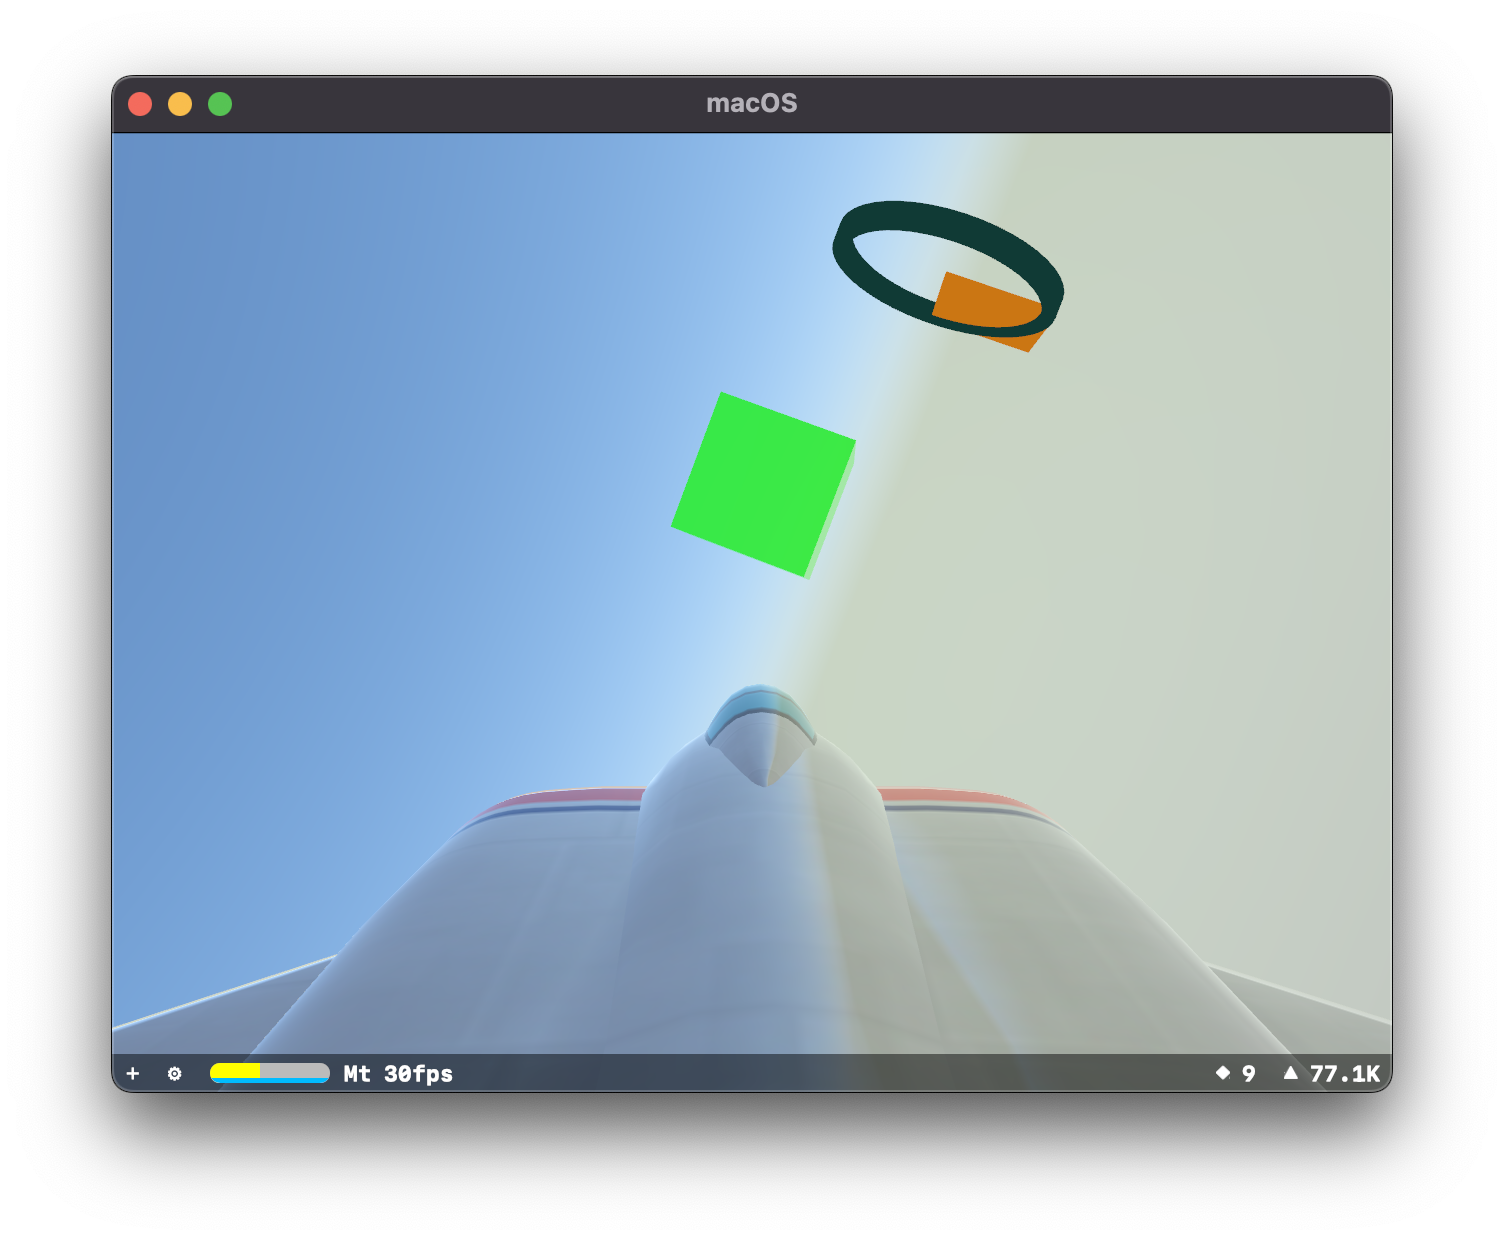
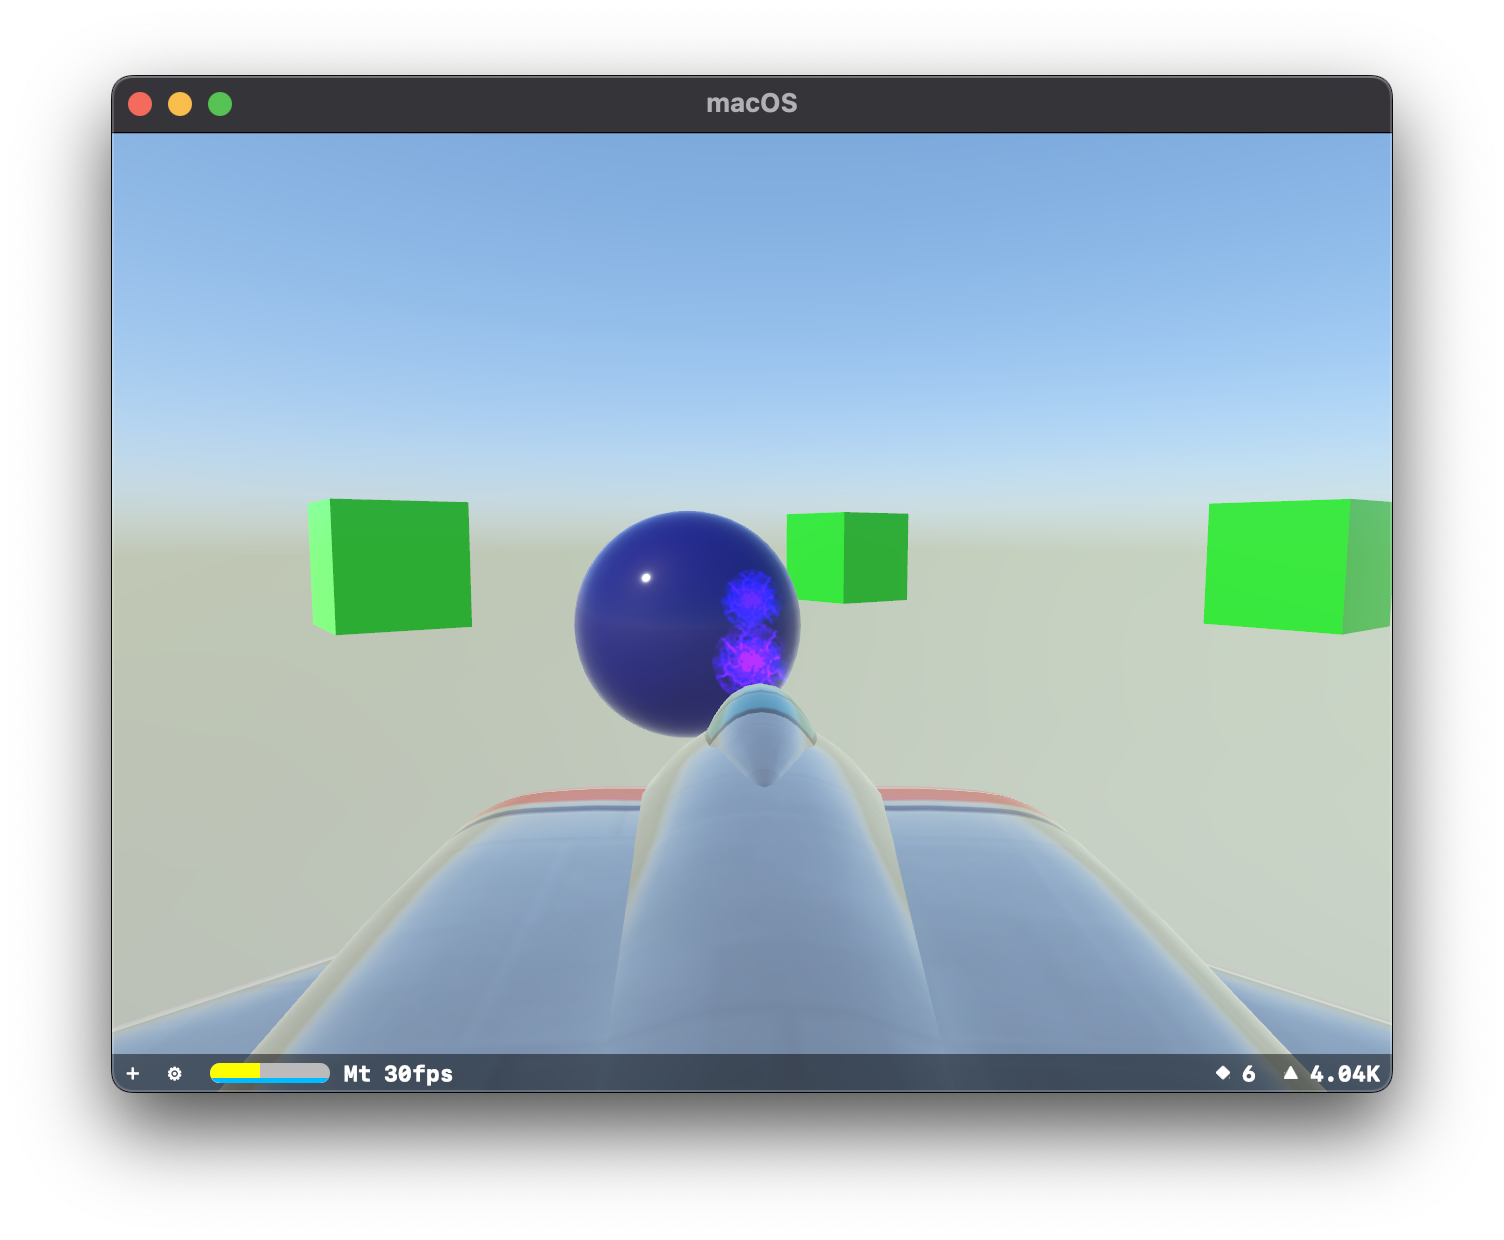
So I setup a simple scene to work with:
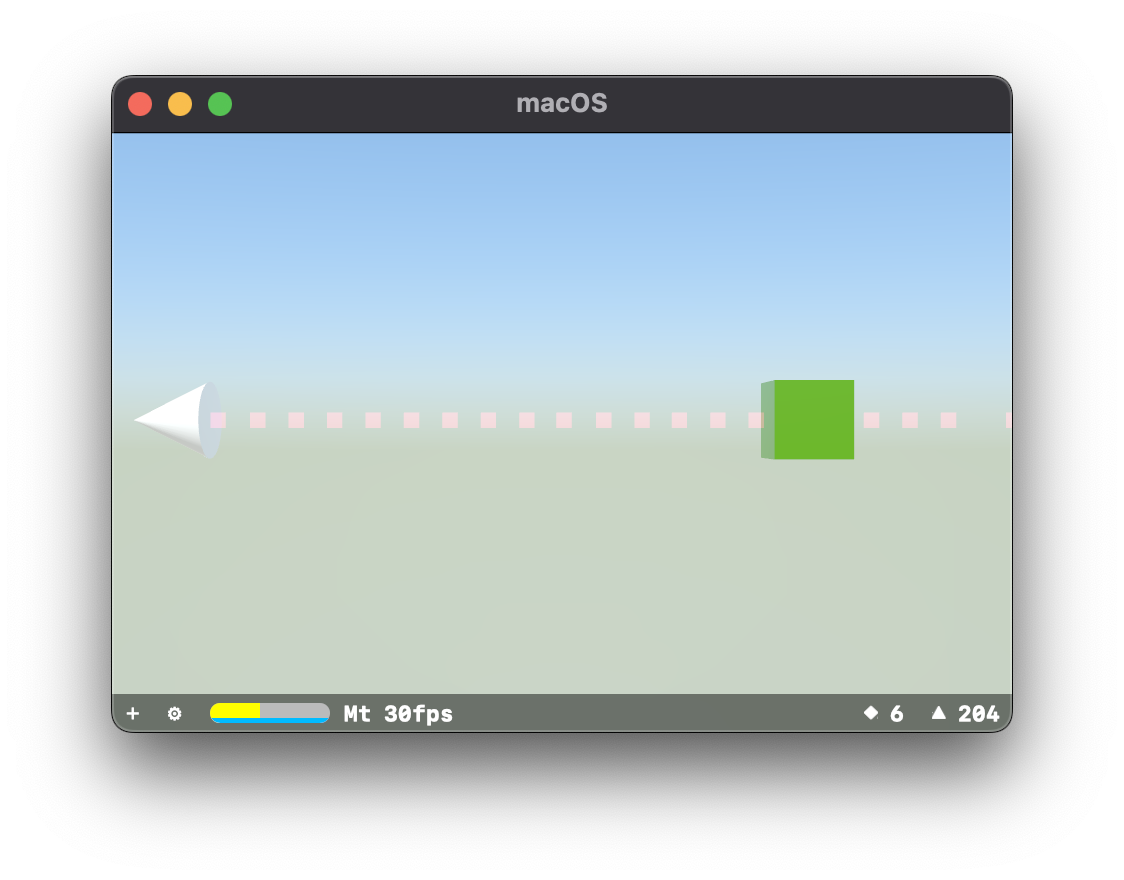
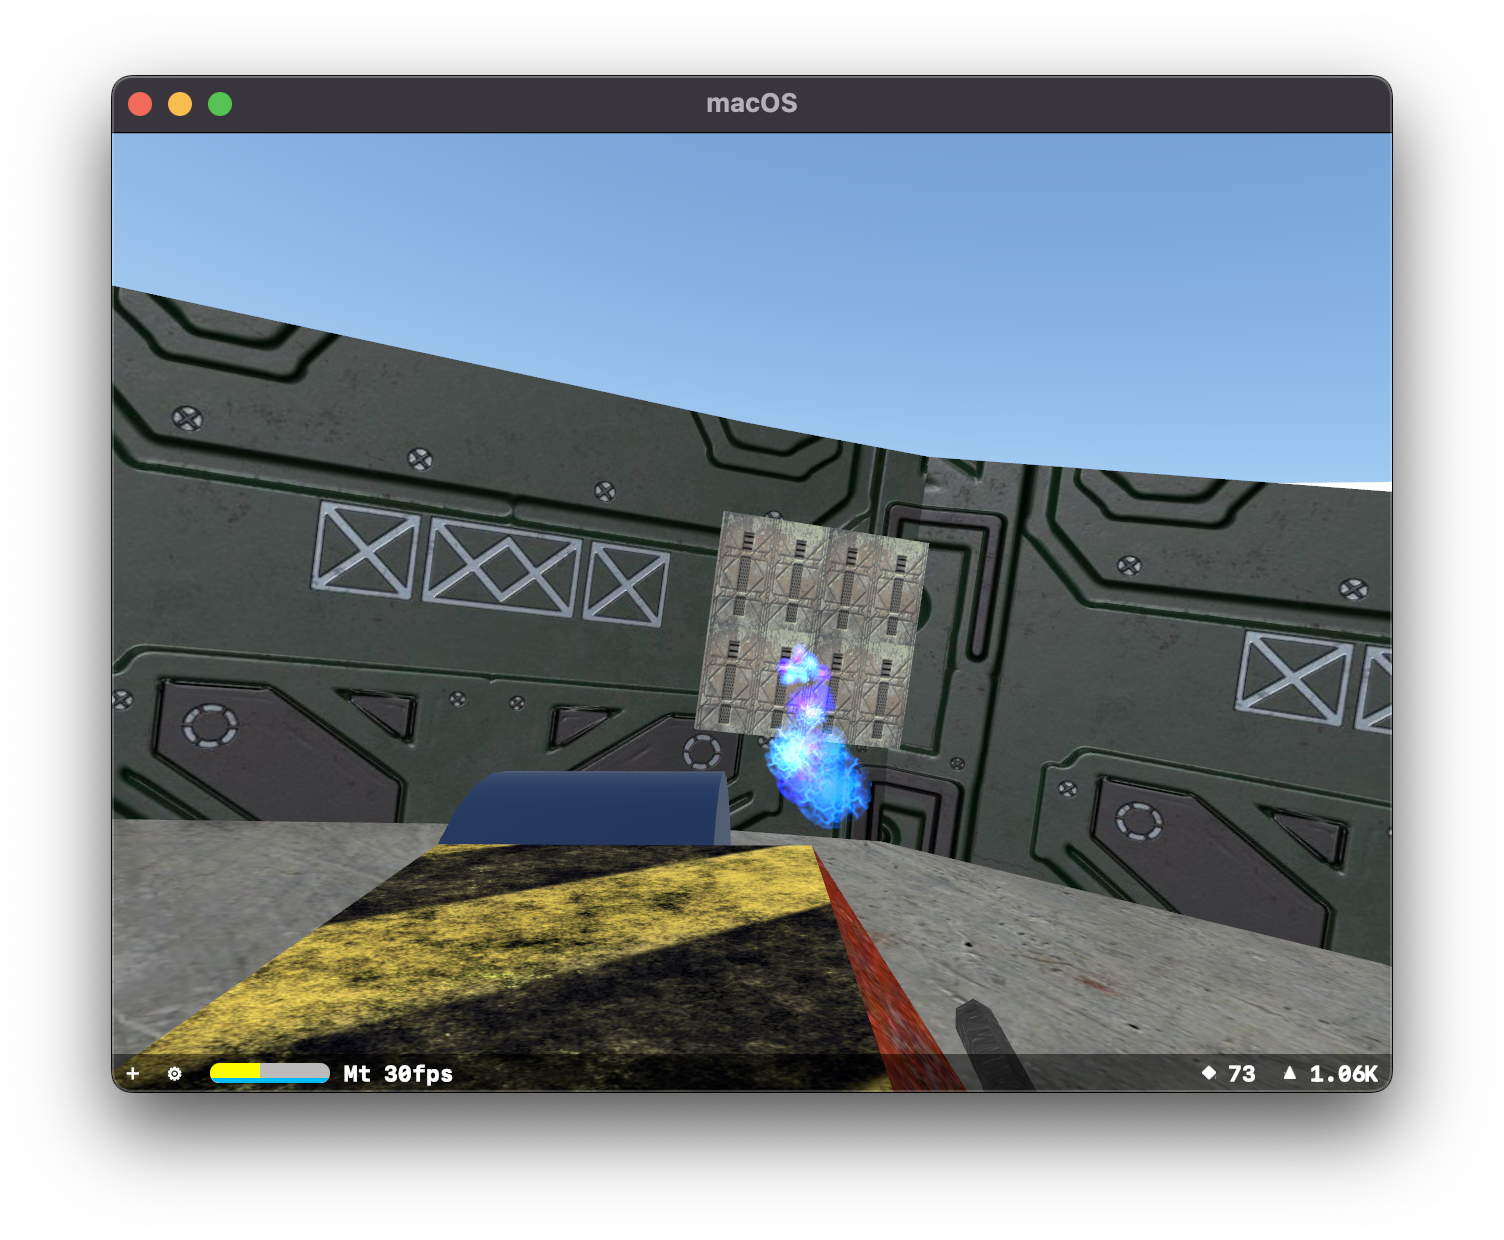
So I want those particles to stop at the green cube.

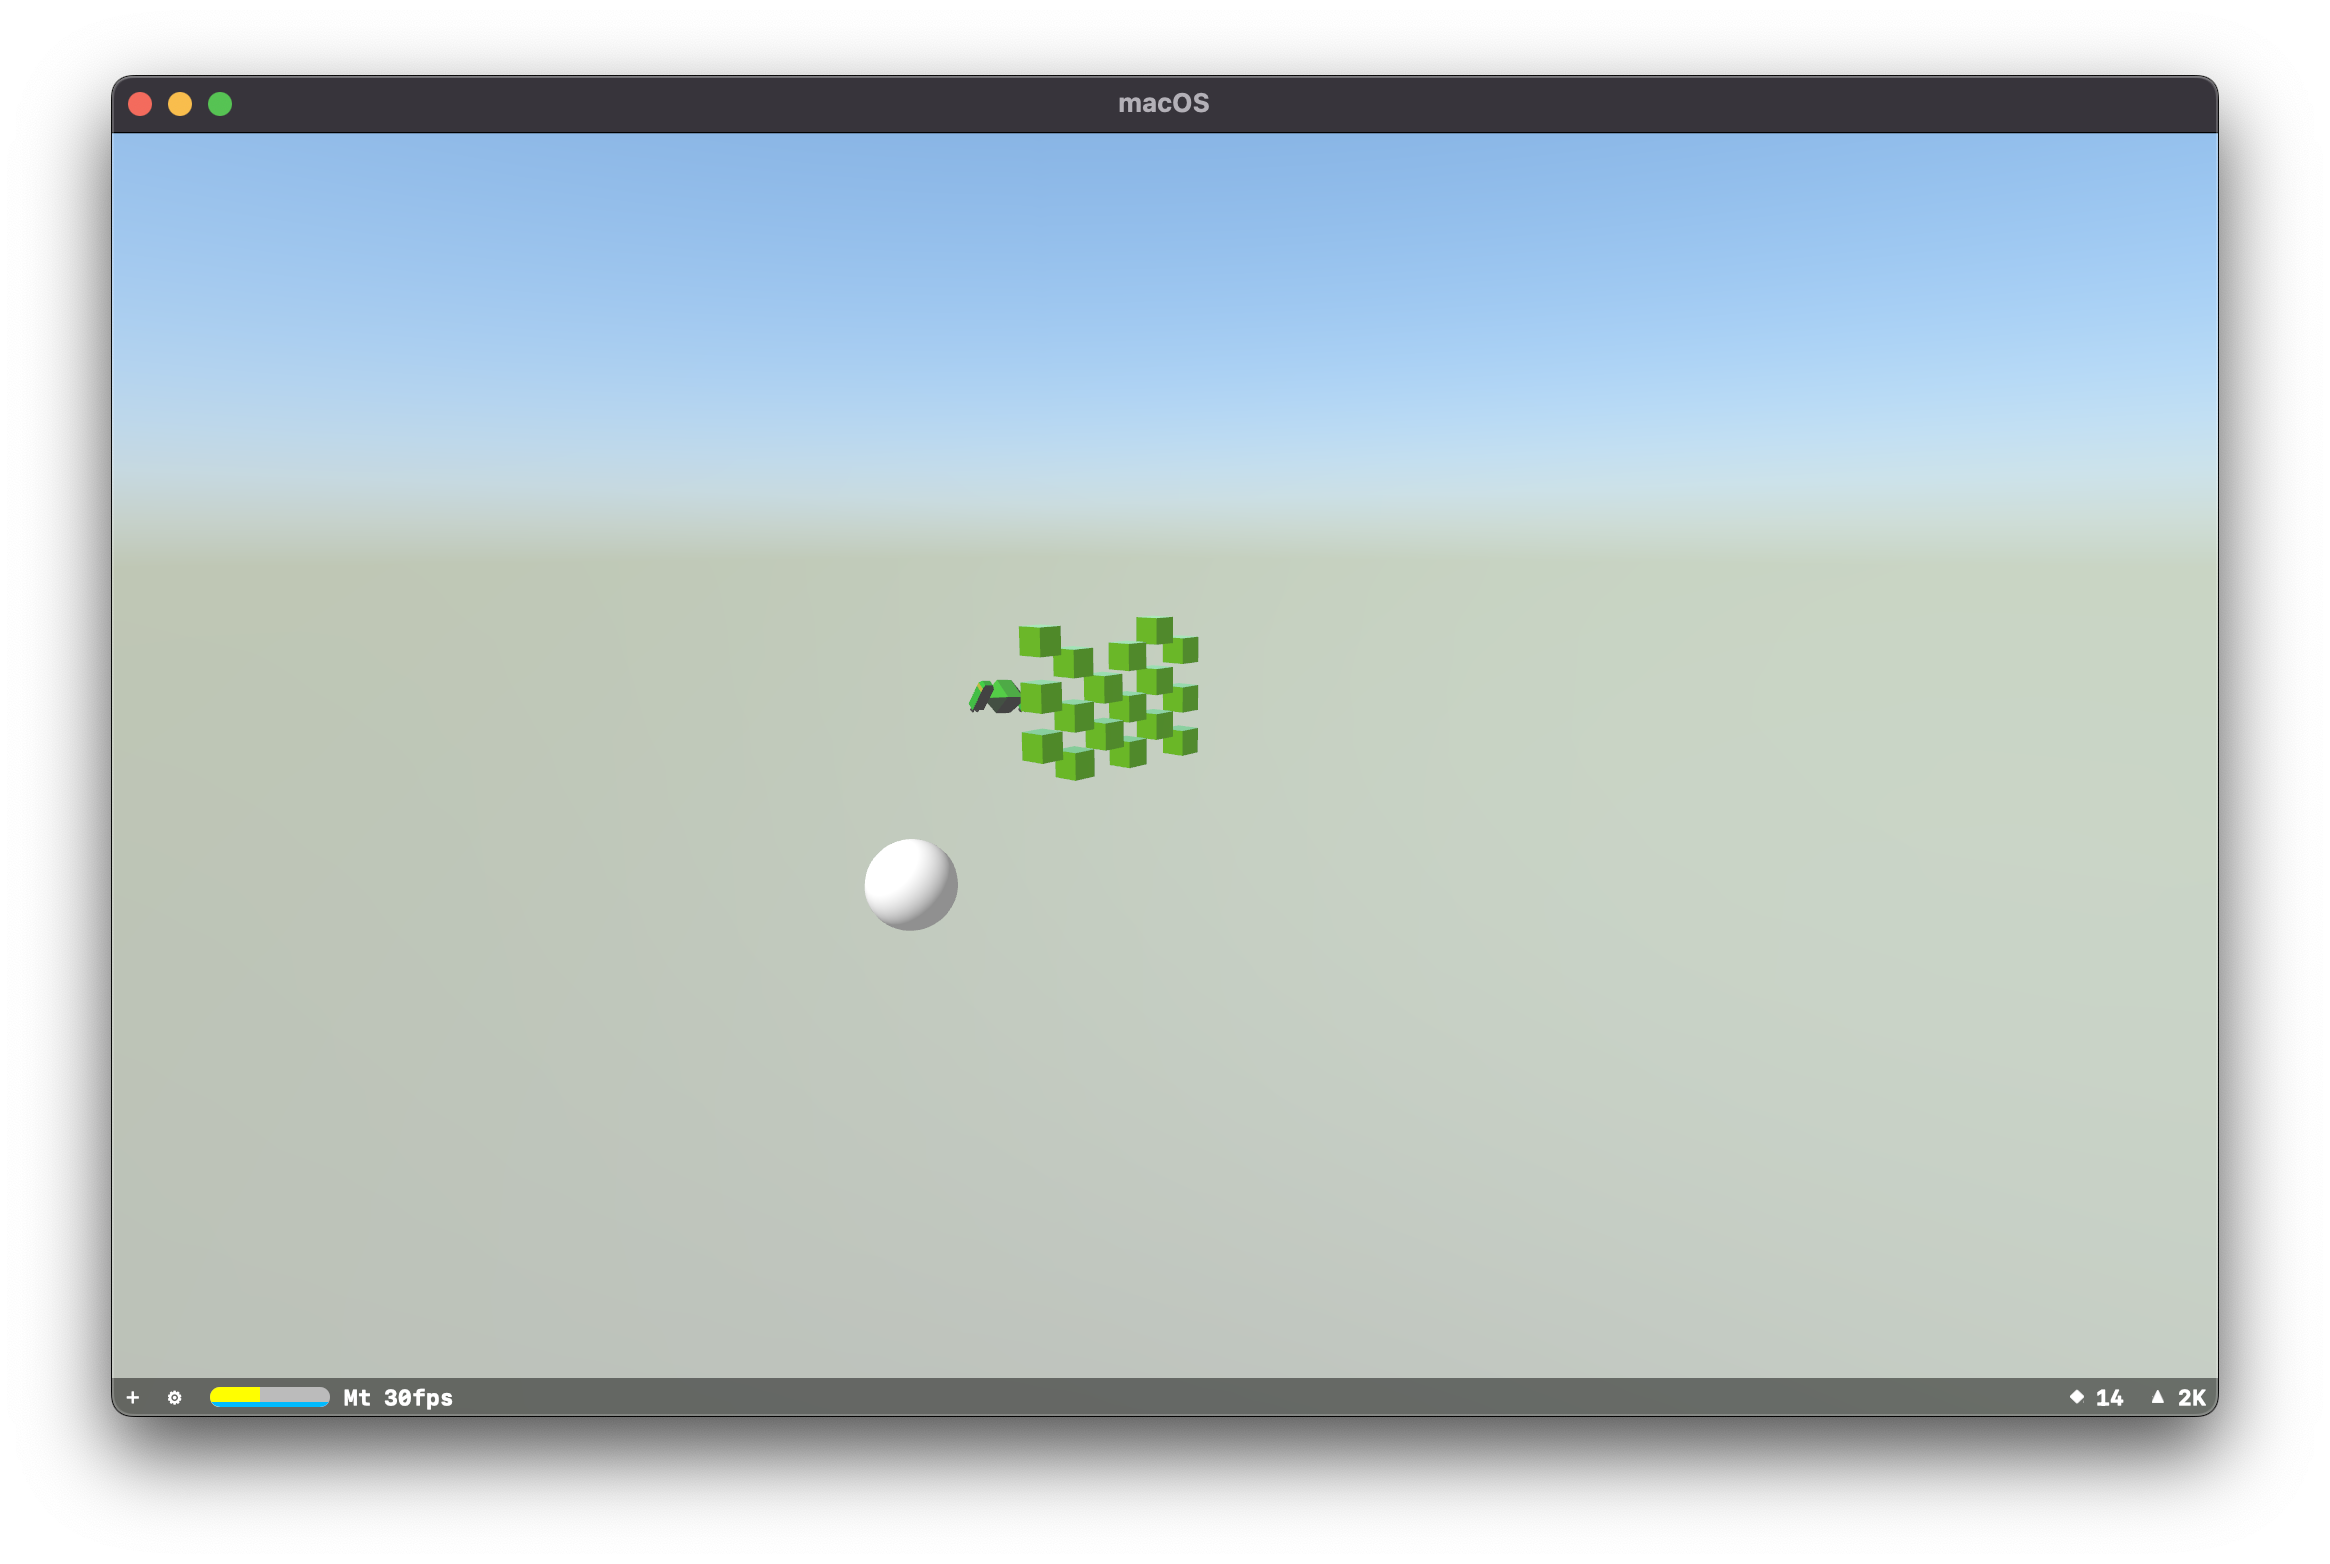
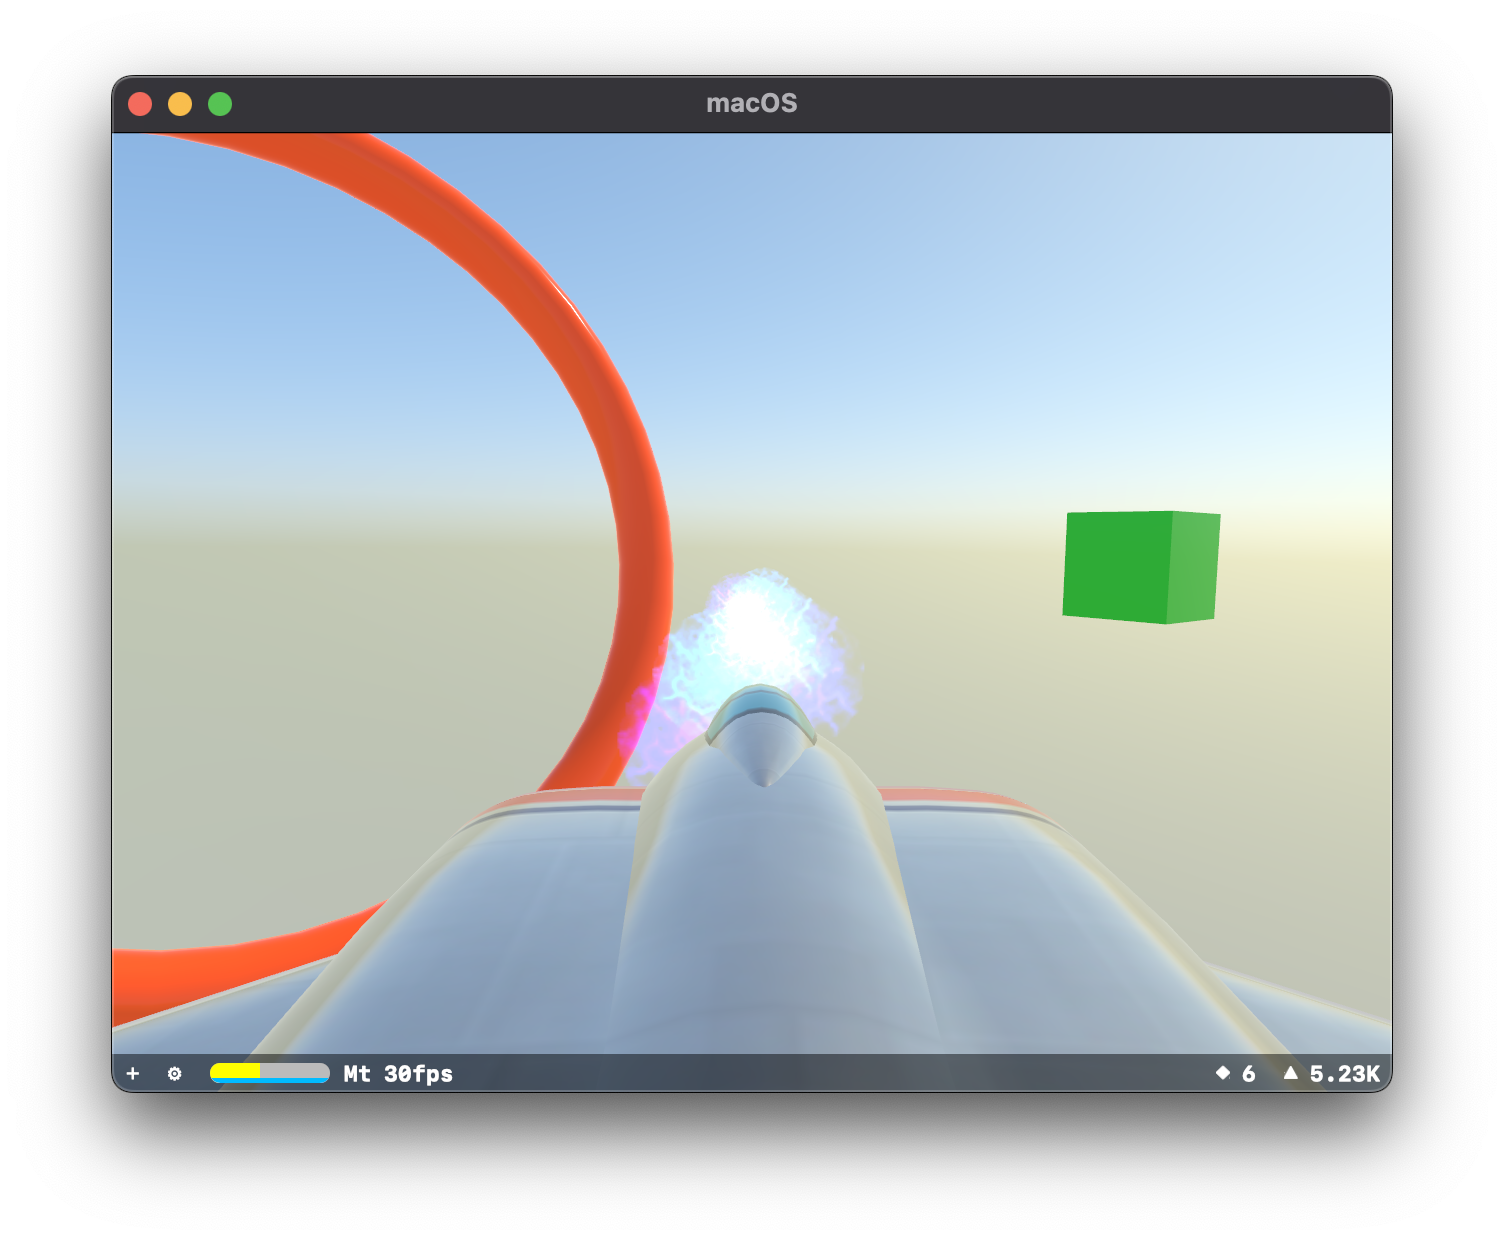
Now I need to be informed that they have collided with the cube.
Haha. Neat. (The cube “explodes” after getting hit by 10 particles.)
Truly we're cooking with particles here.
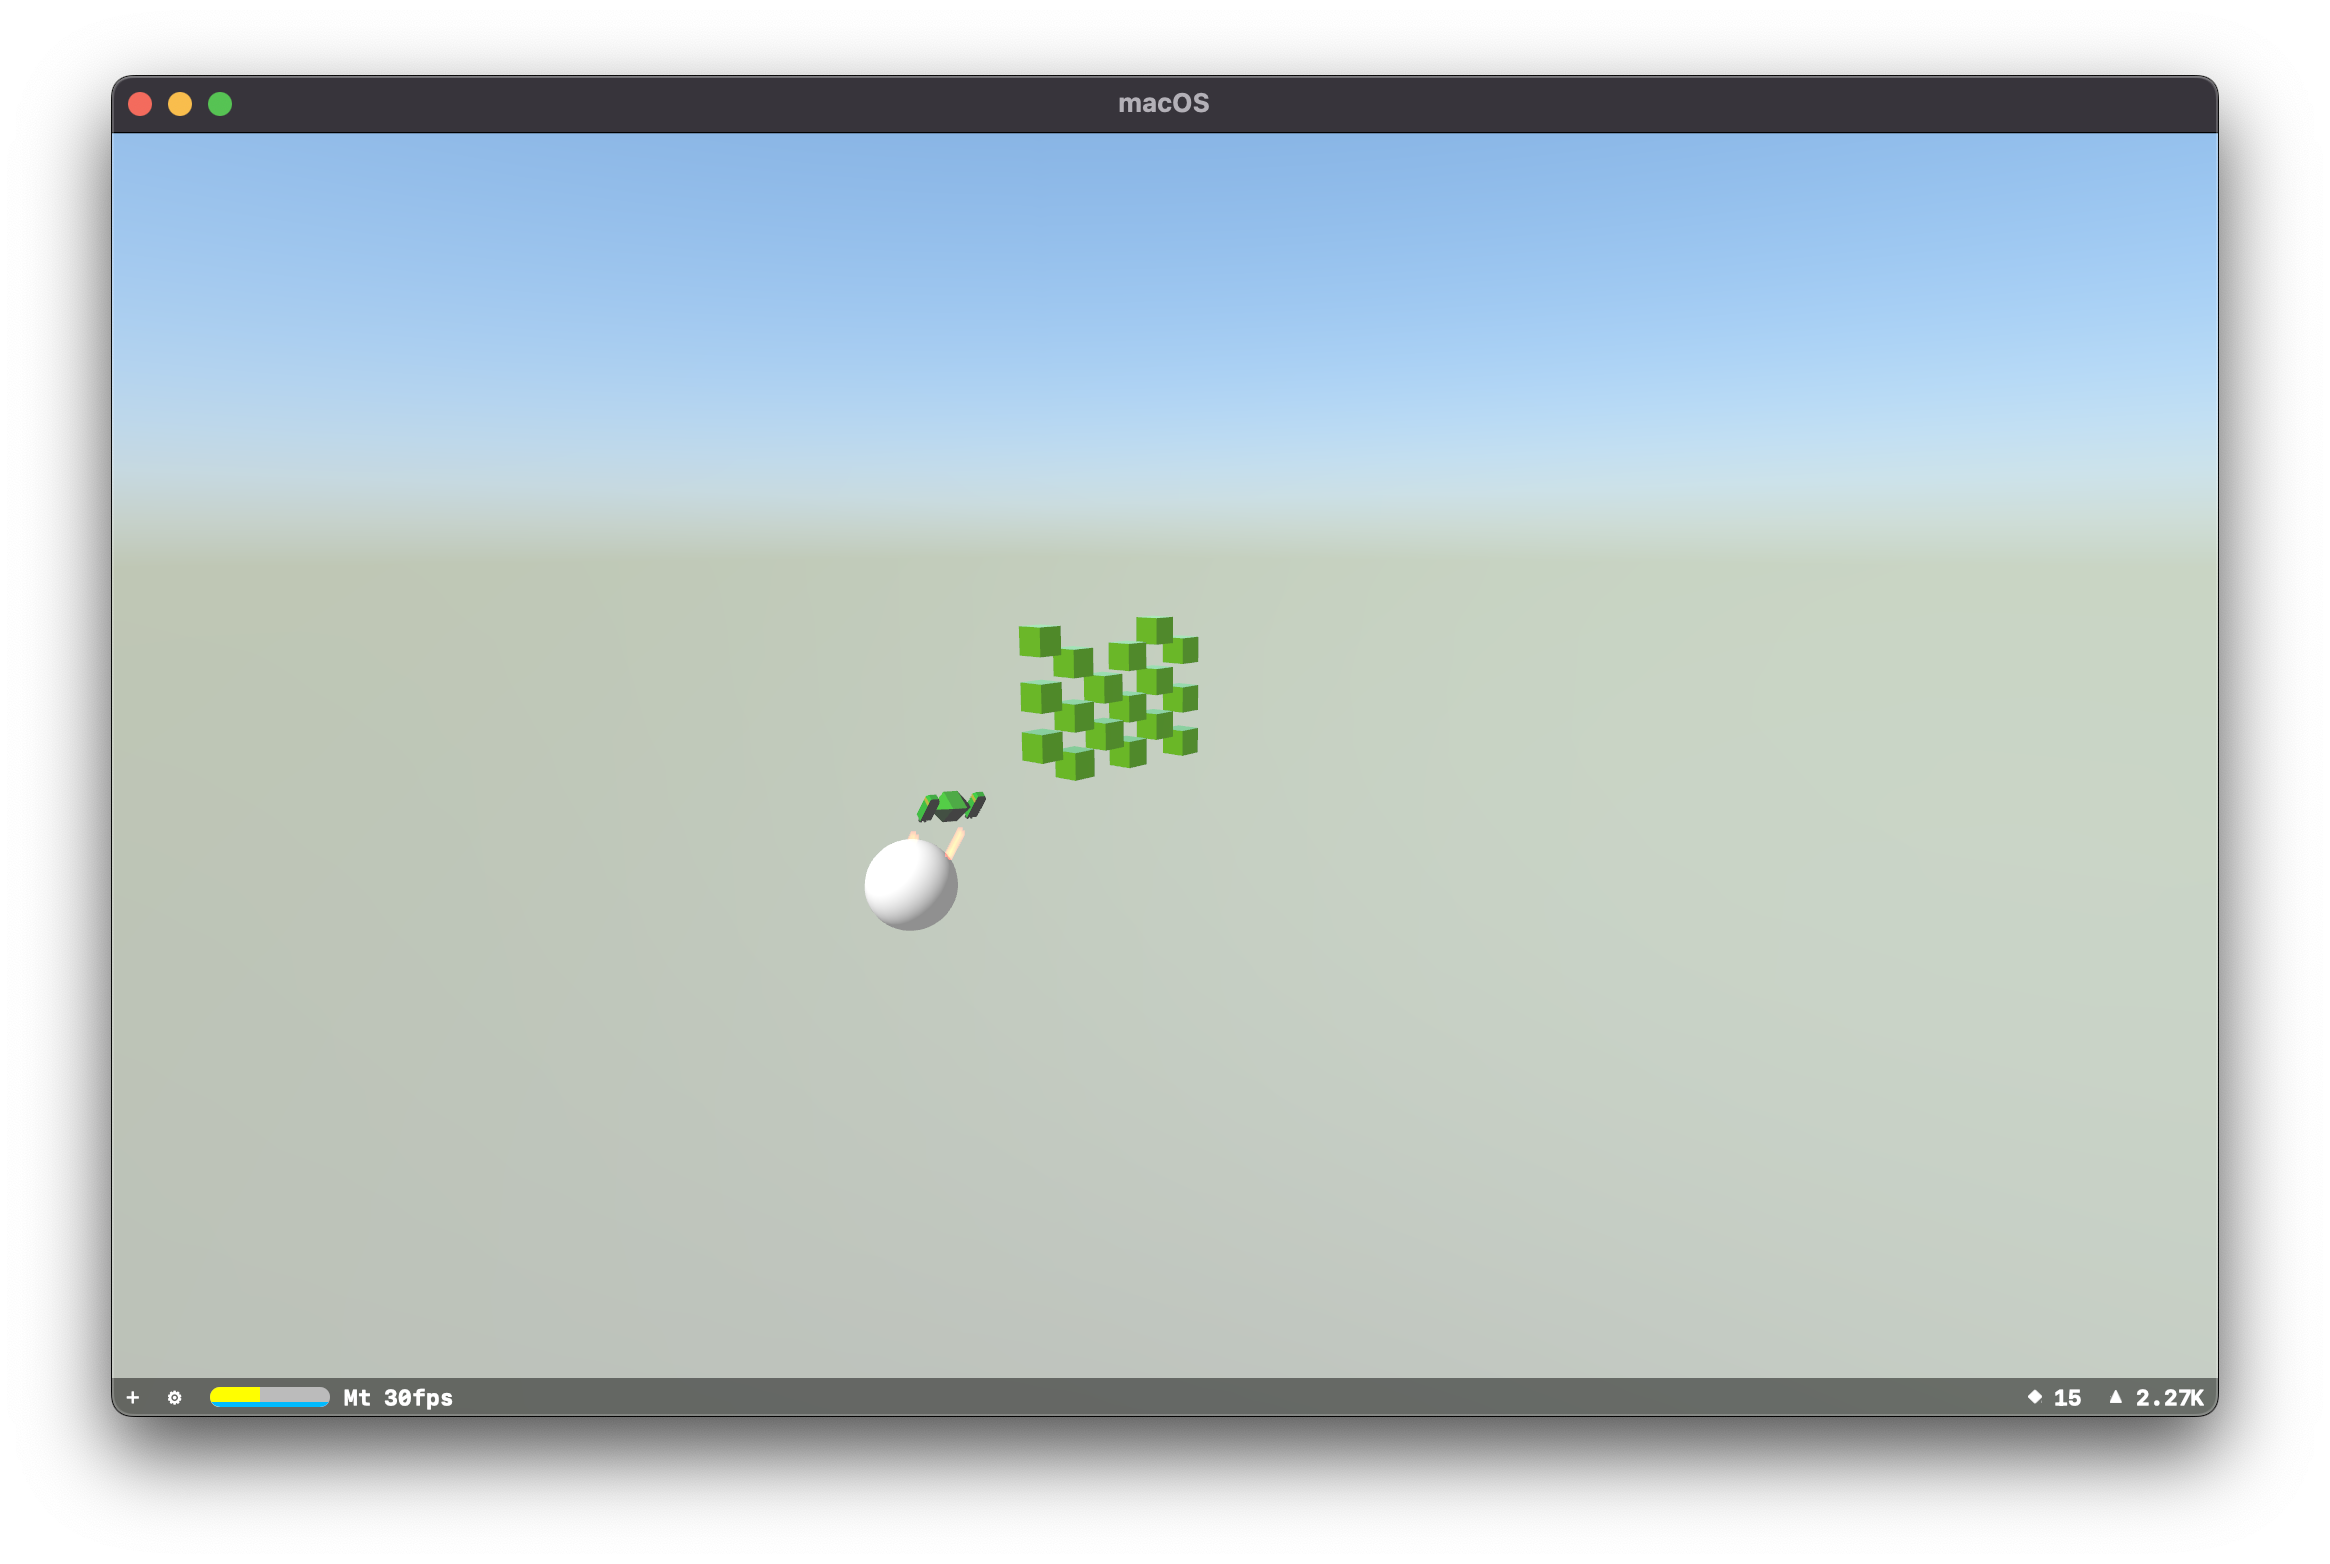
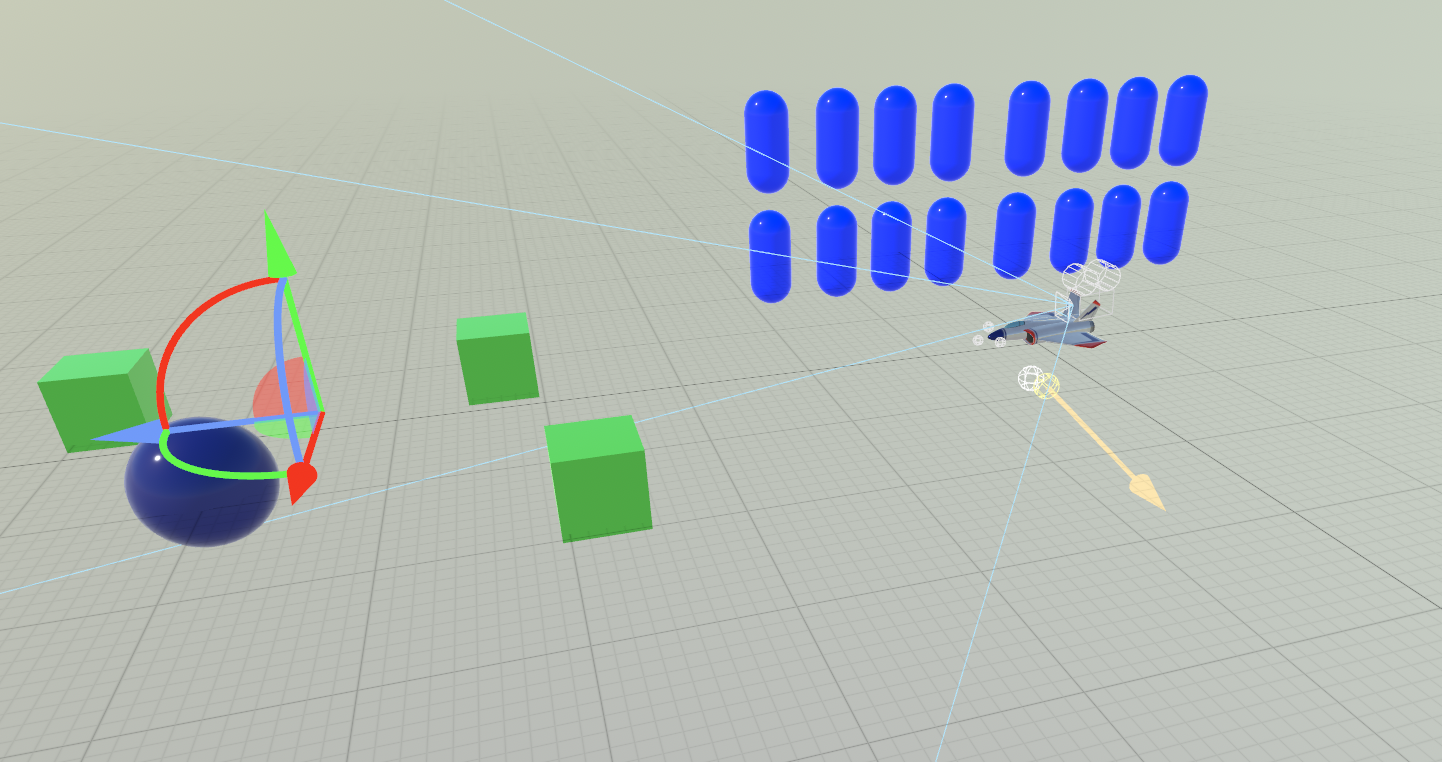
Next up, try it with the model I have created:
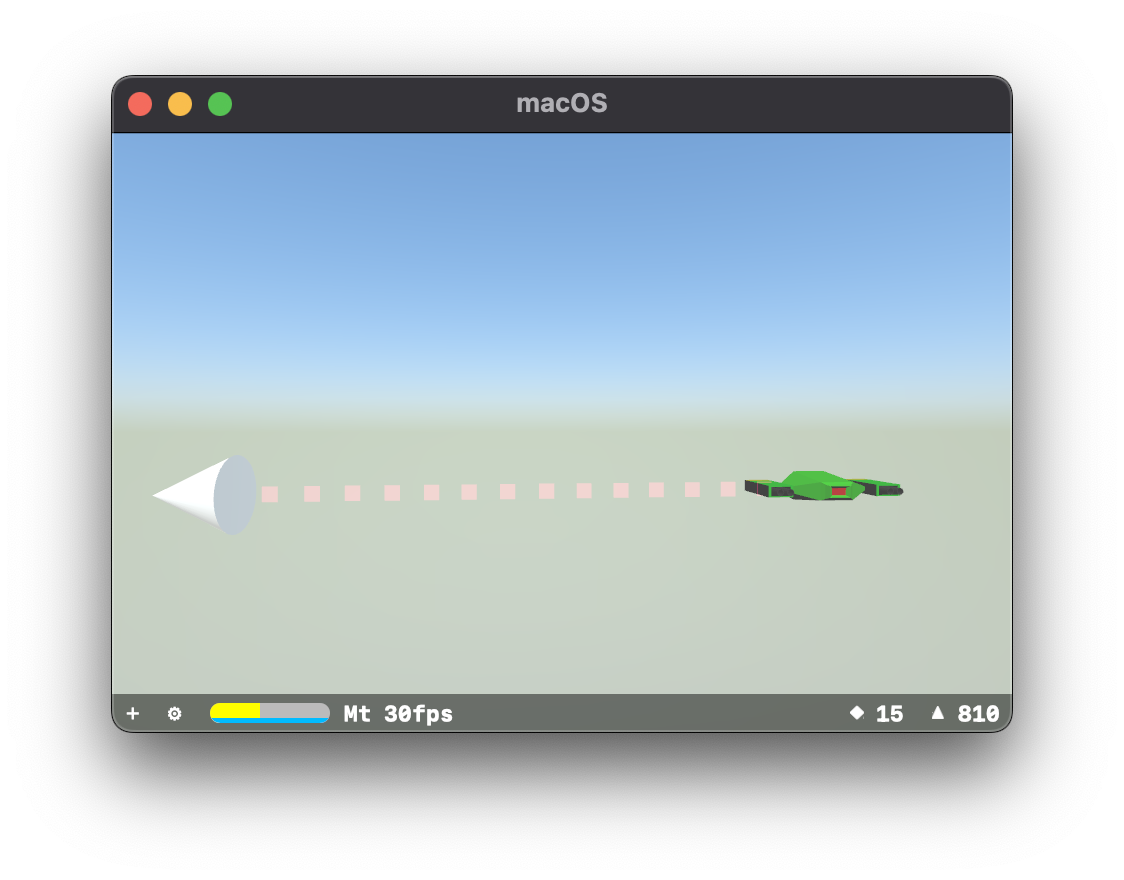
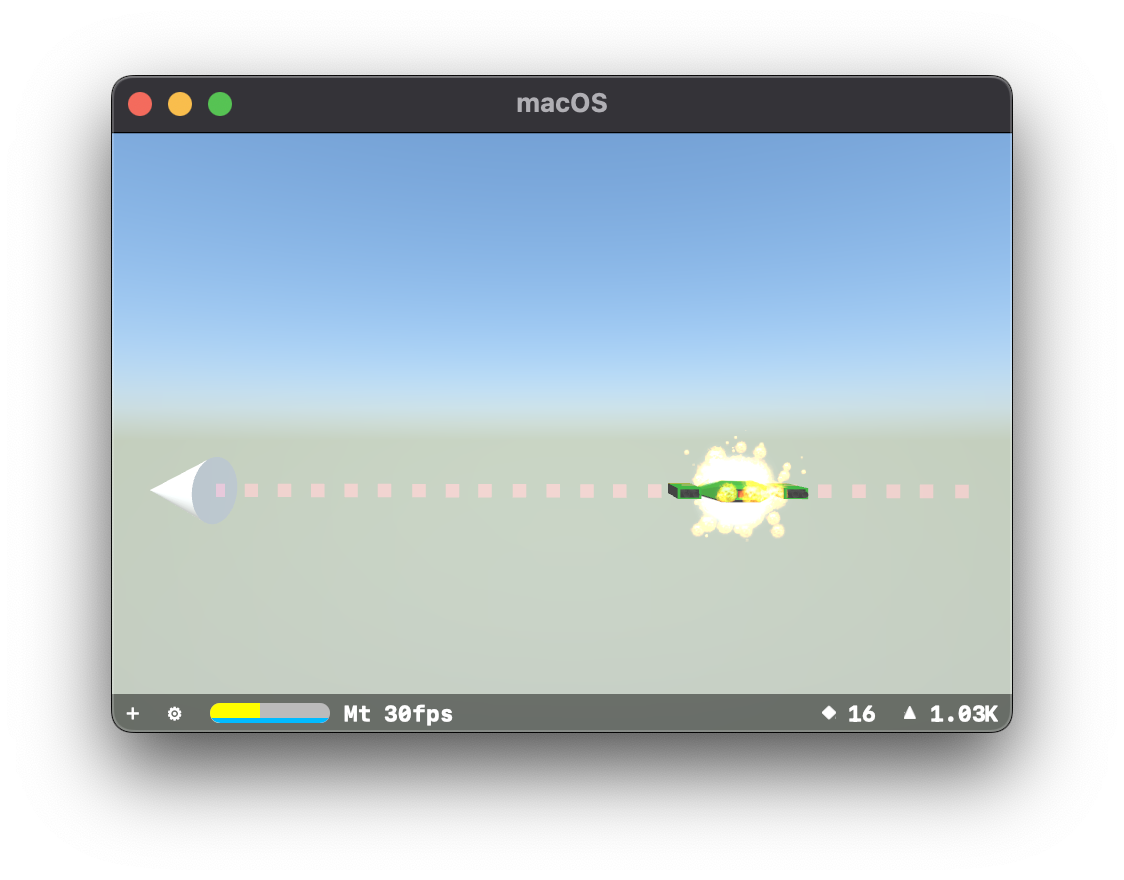
Let's make it complicated
I had working particle collision and detection, but when you're only dealing with a single object it's very easy to know which object was collided with. In what I was imagining you'd have multiple enemies at any given time. So it was key to figure out which object was getting hit.
I am only informed of where the collision happened, so my first solution was to just iterate through all the objects that could be hit, and see if that position was within their bounds. That worked well enough:
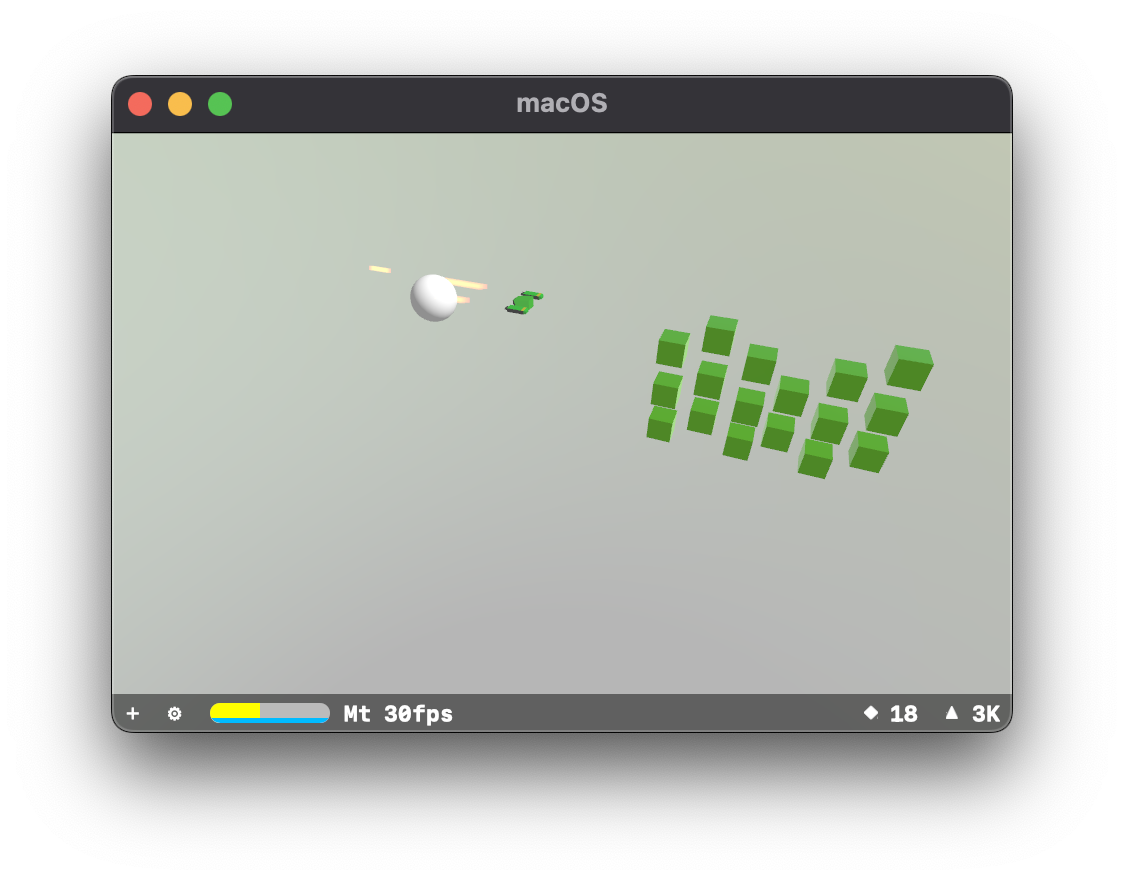
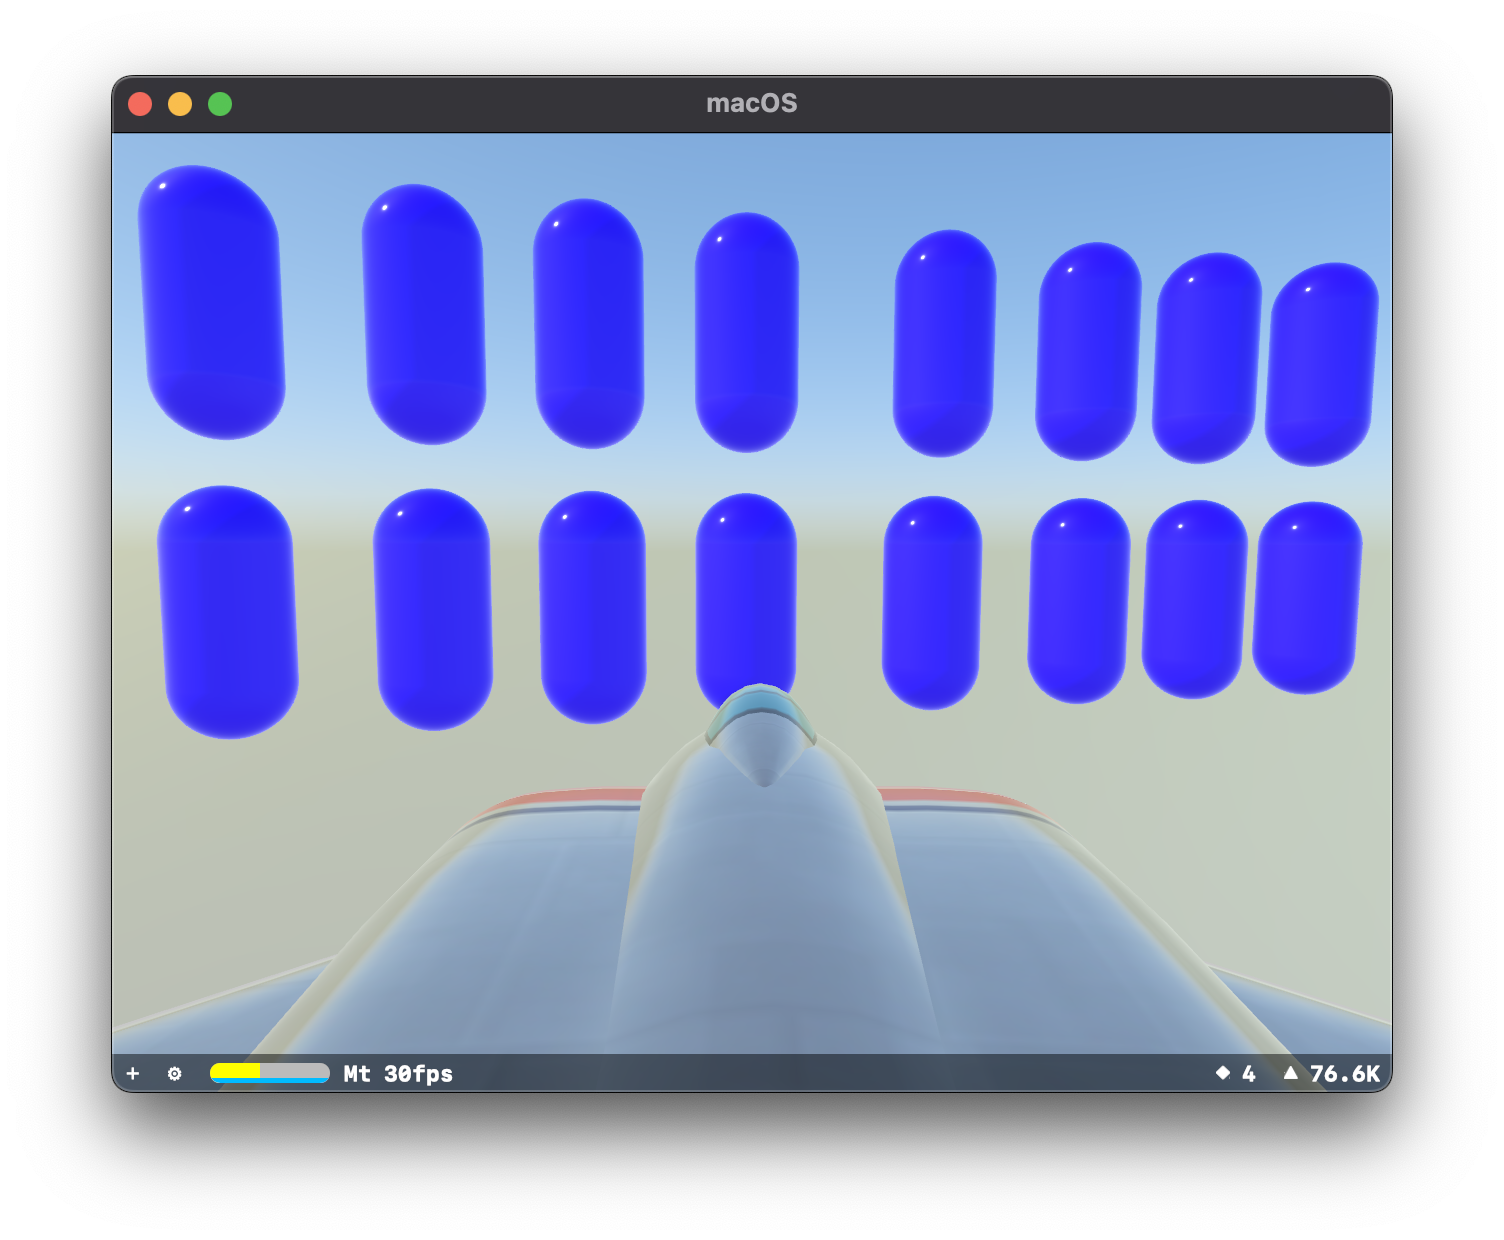
Then I considered how it would work in reverse. I added a target for my enemies to shoot at:
Neat.
Spin, Spin, Sugar
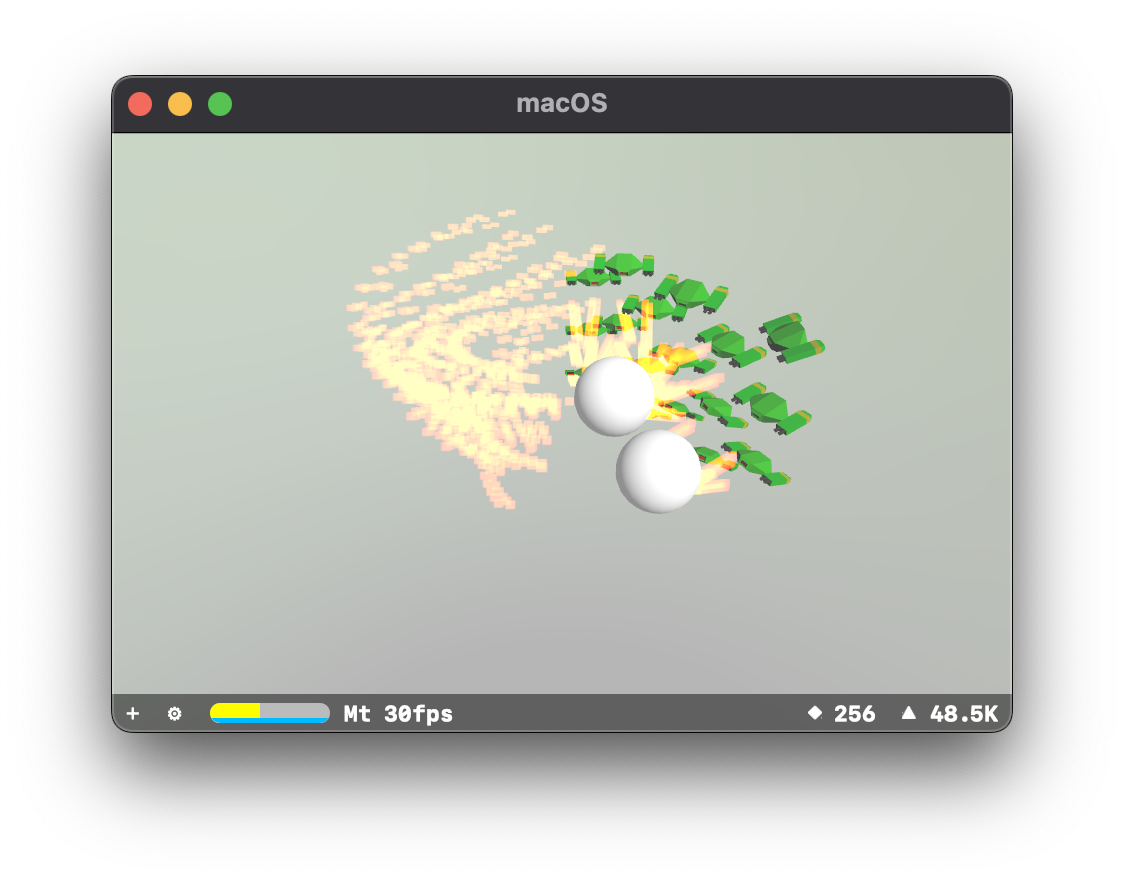
Things were working great with just one target, but adding a second target caused some problems:
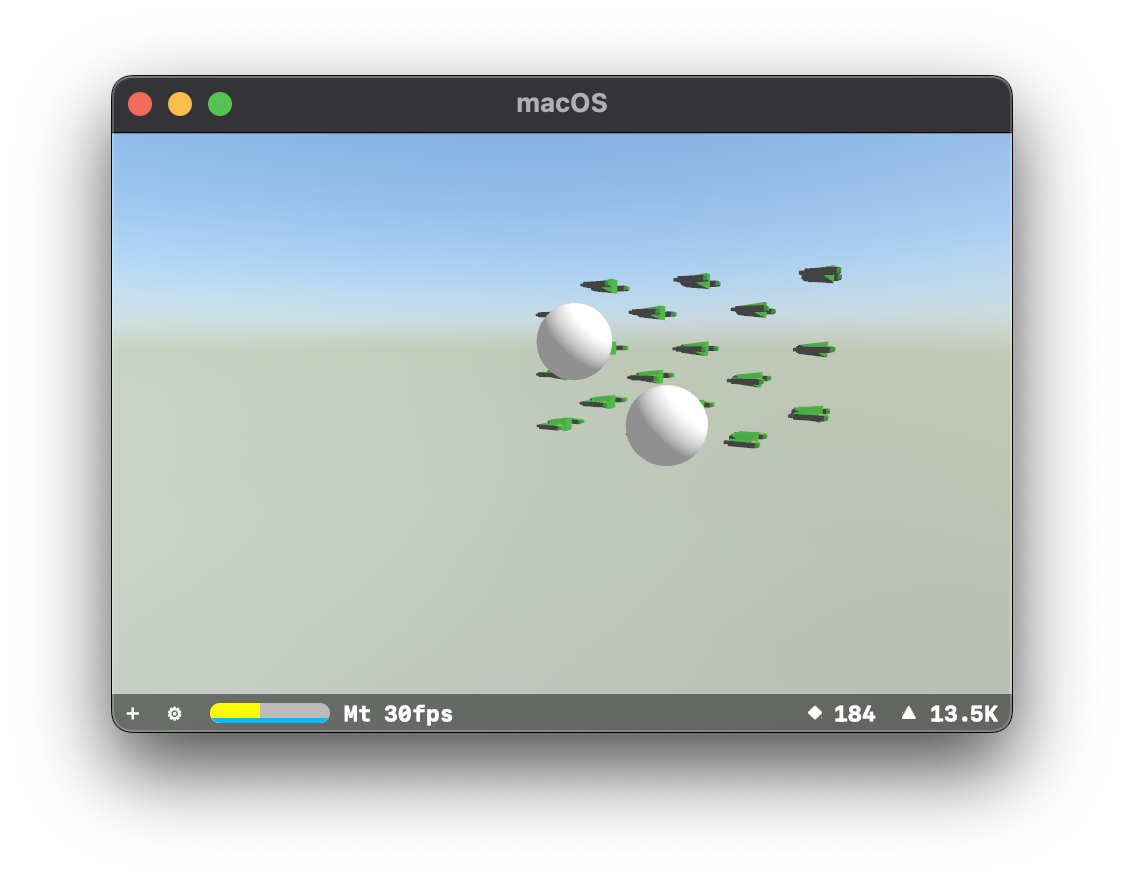
They should be attacking the closest target, but it's not working. I had to spend some time figuring out how to make sure that the model was correctly rotated to face the target.
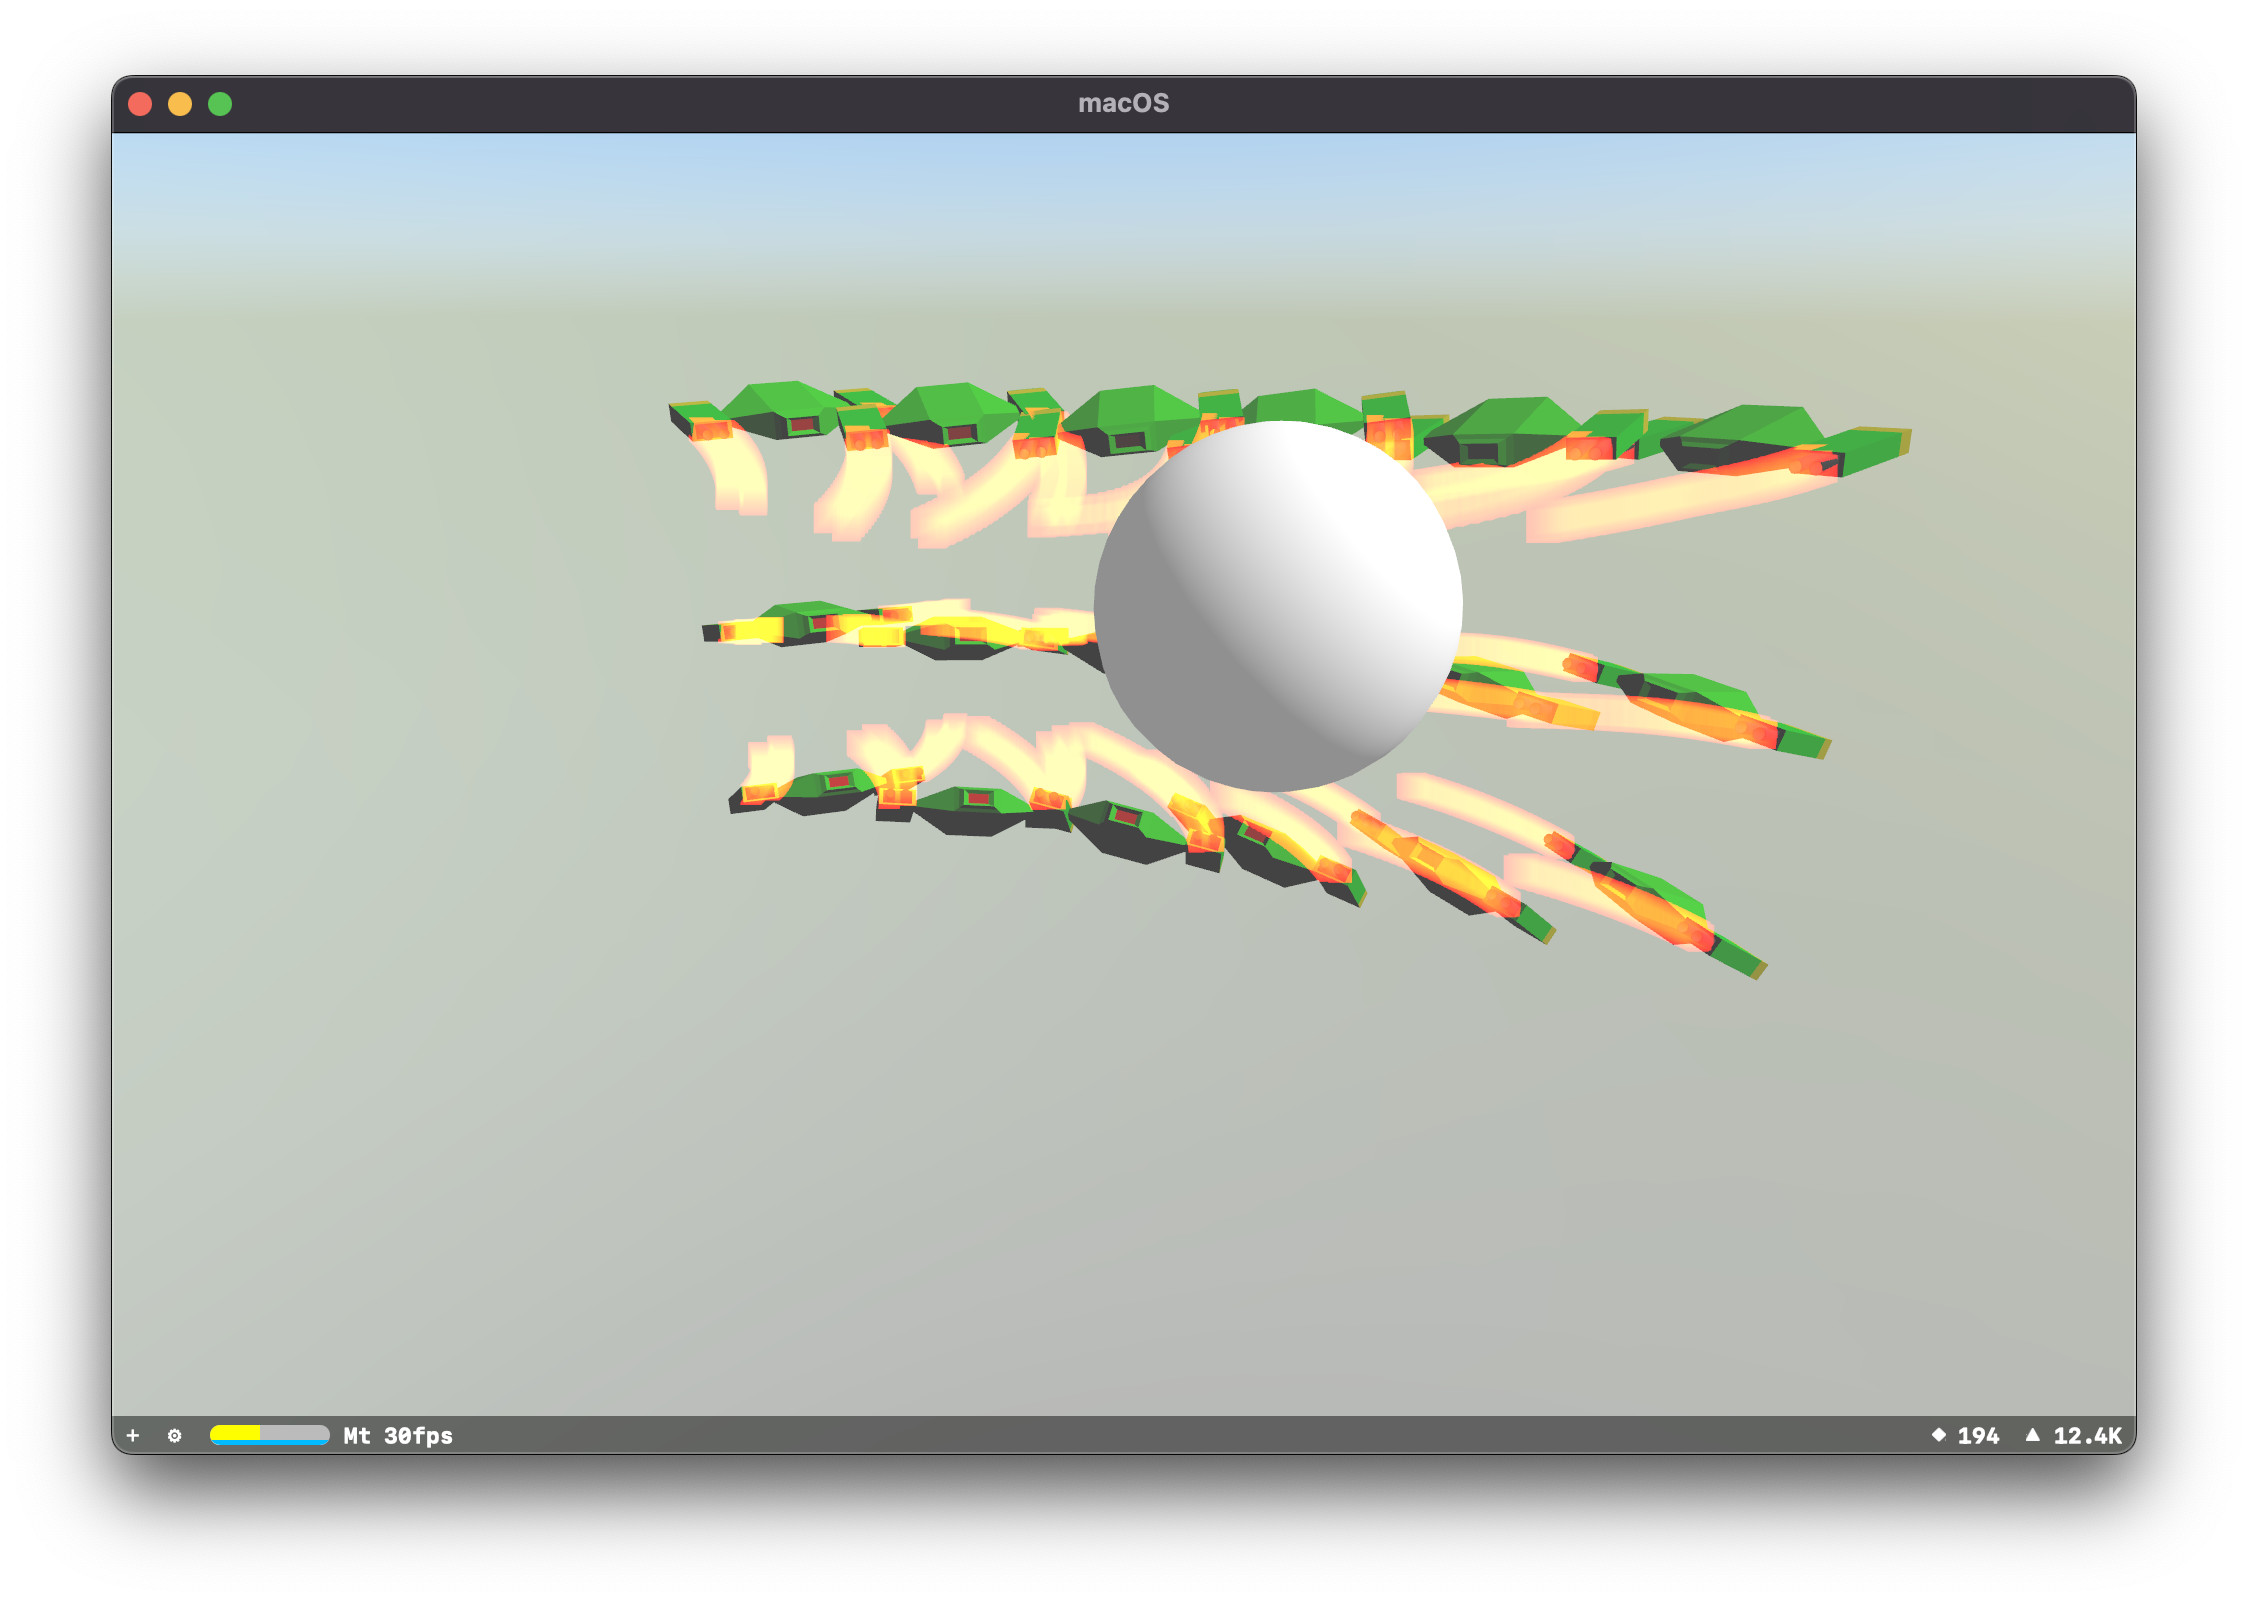
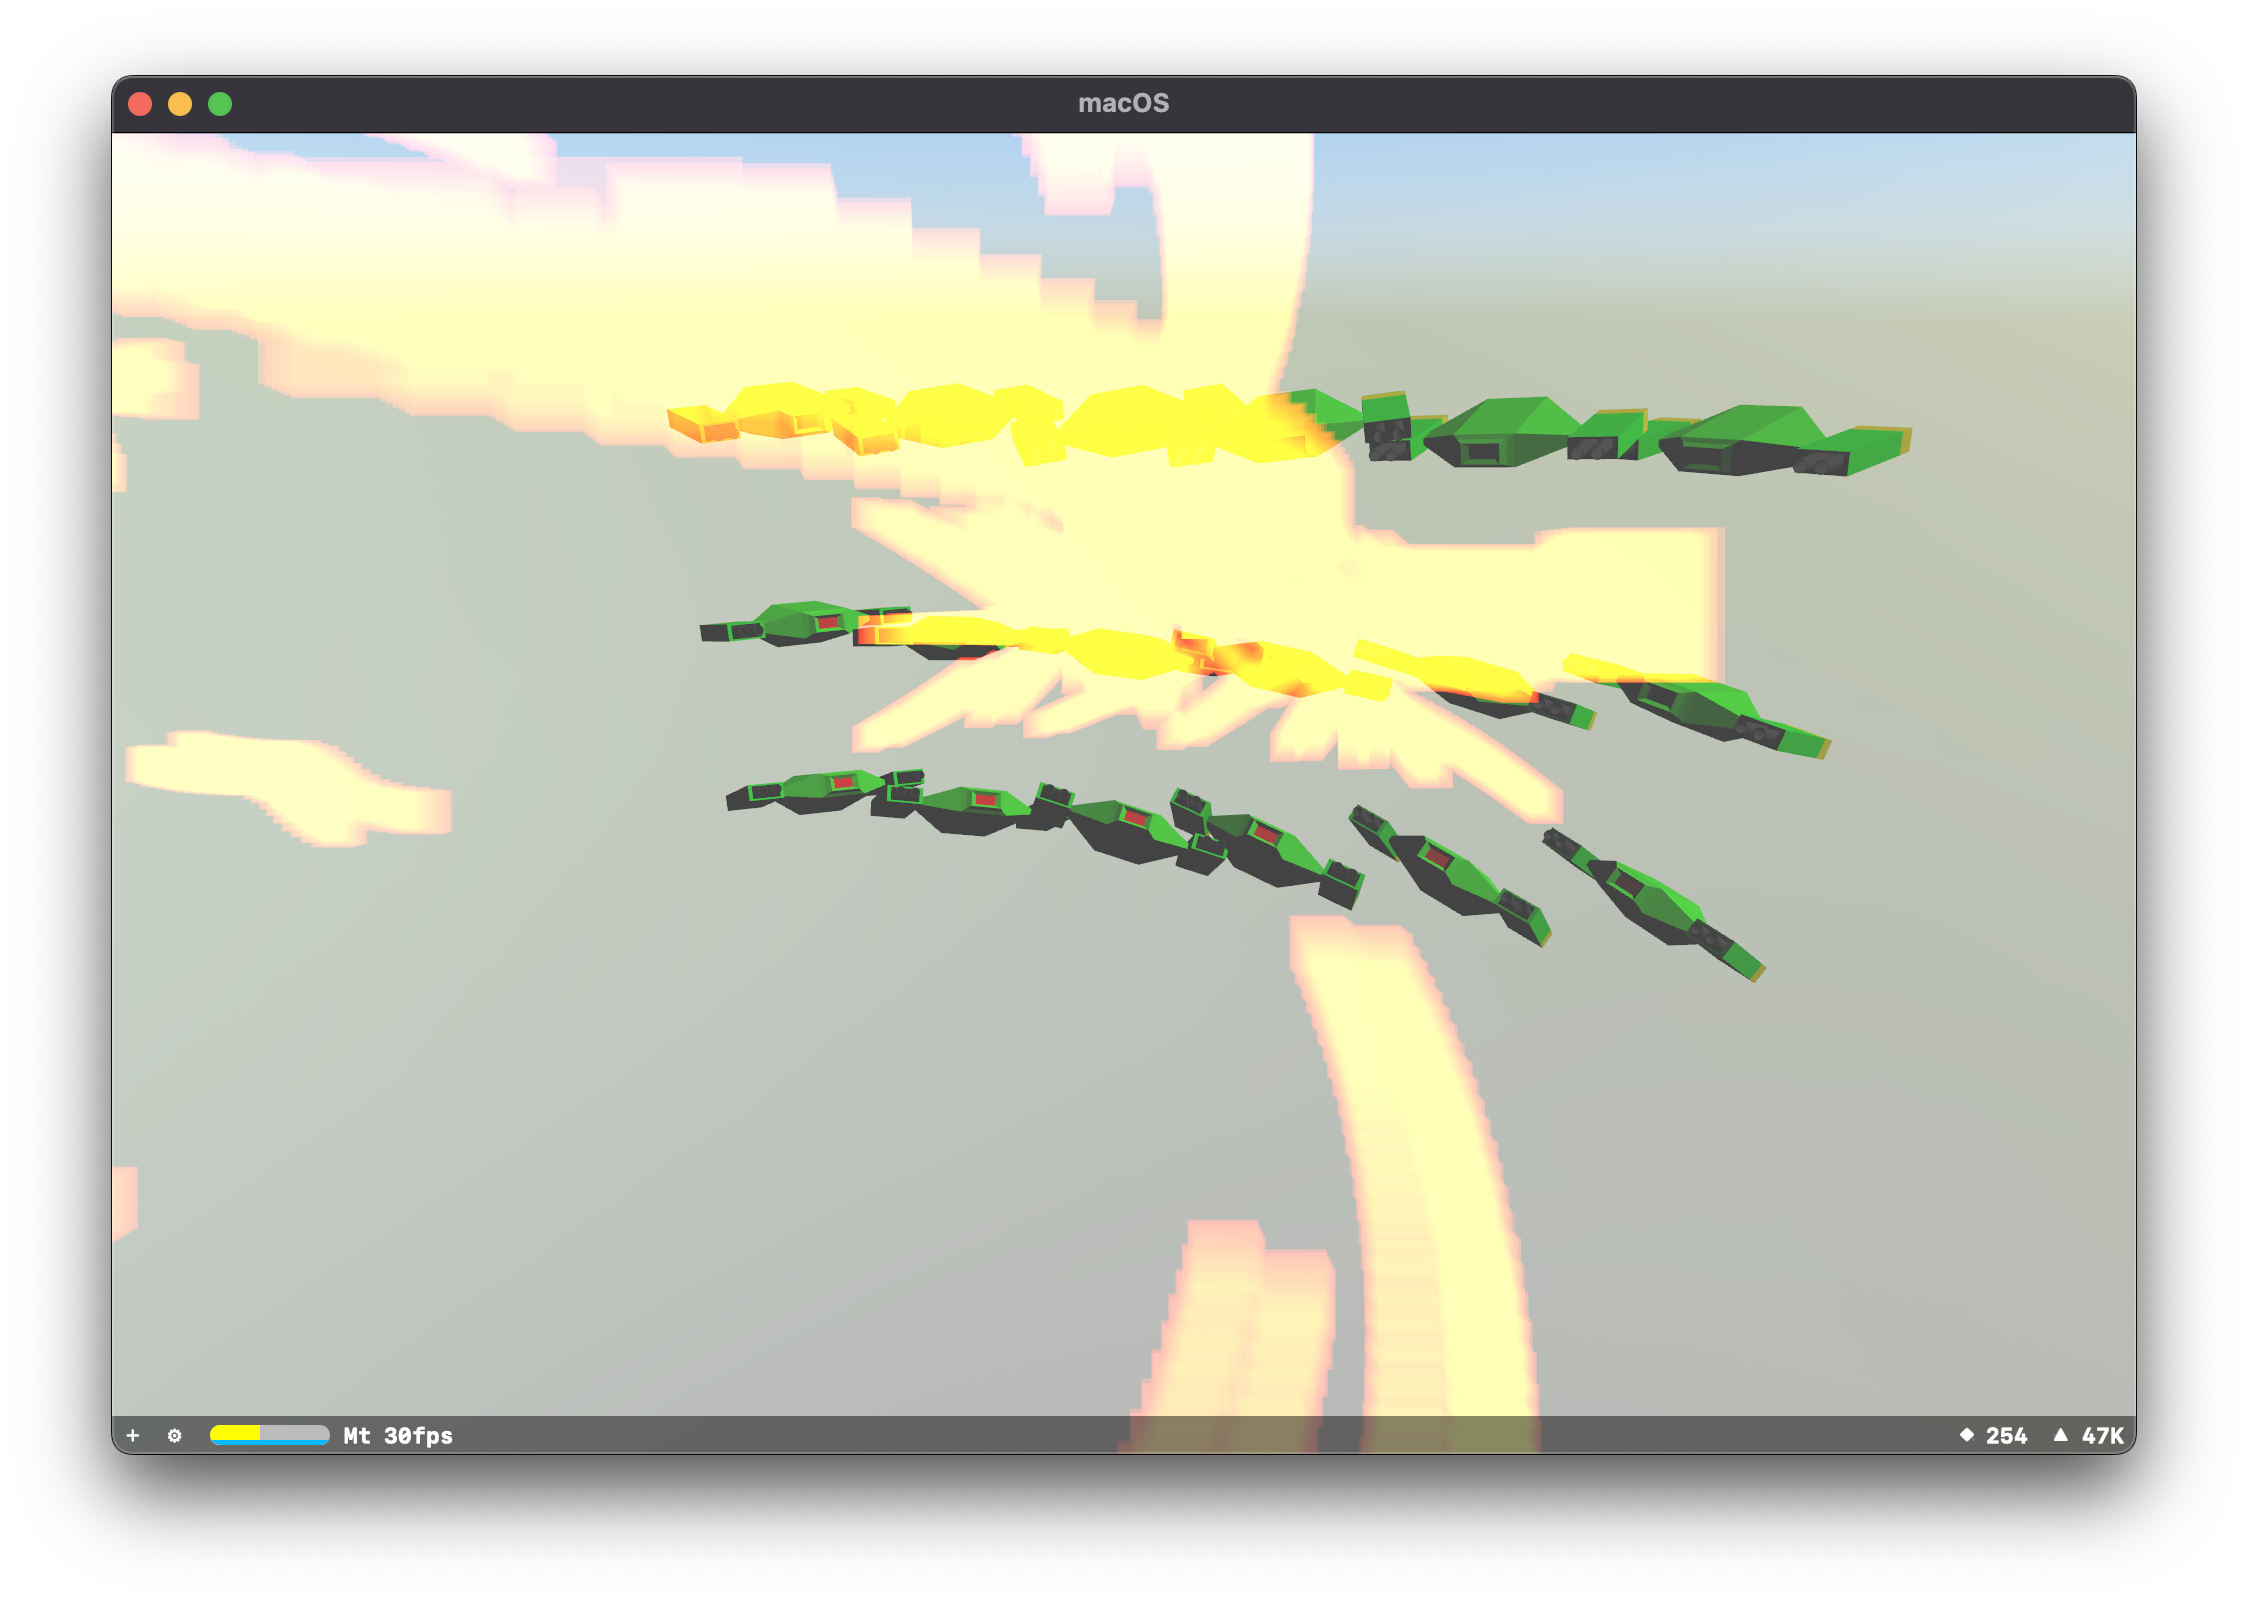
Much later, after figuring out the dot product I was able to have a Marten accelerate towards a target, reach a specified range, stop immediately, and start shooting:
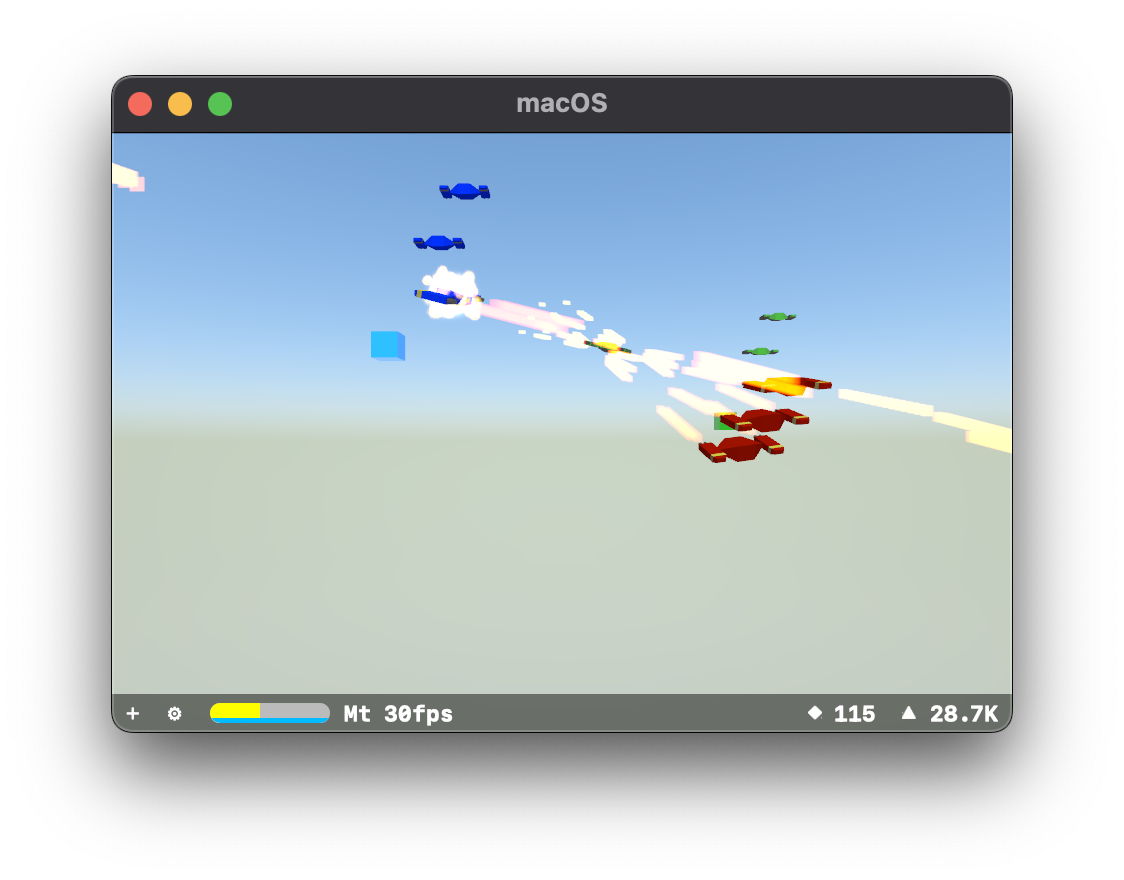
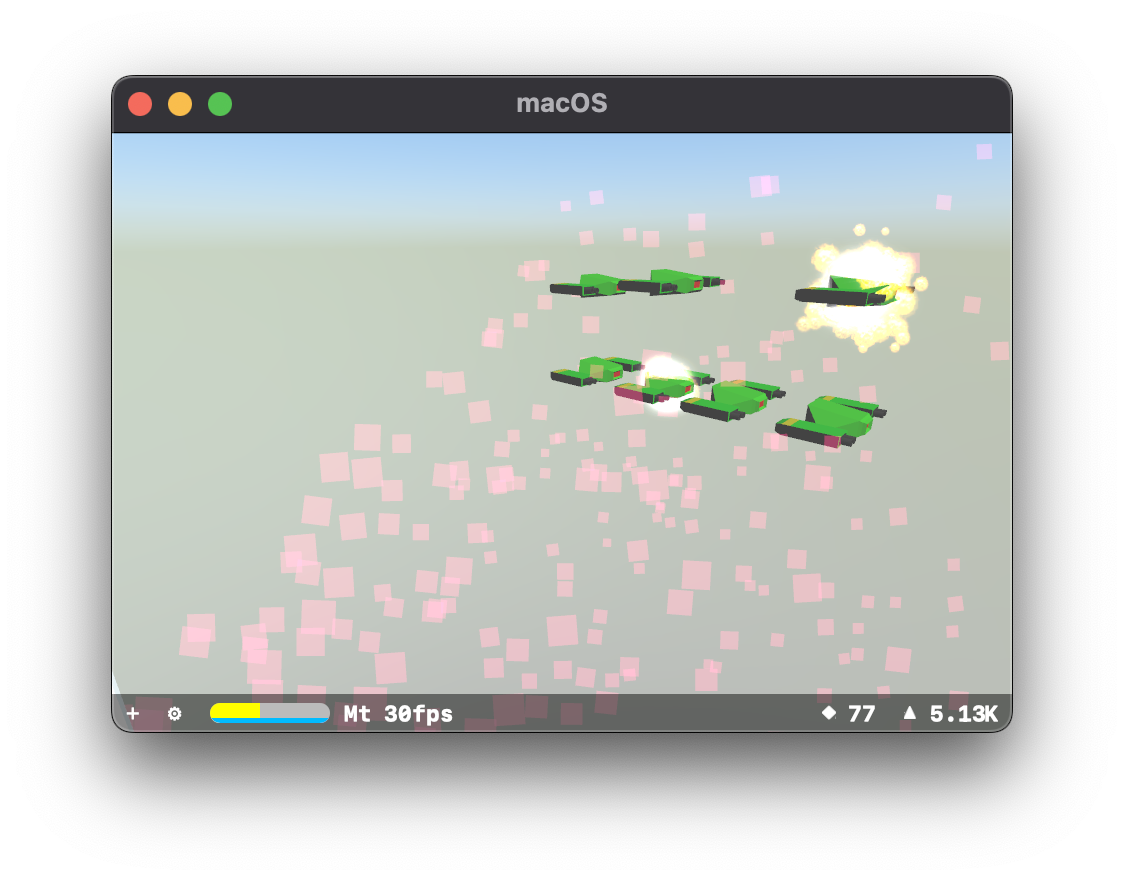
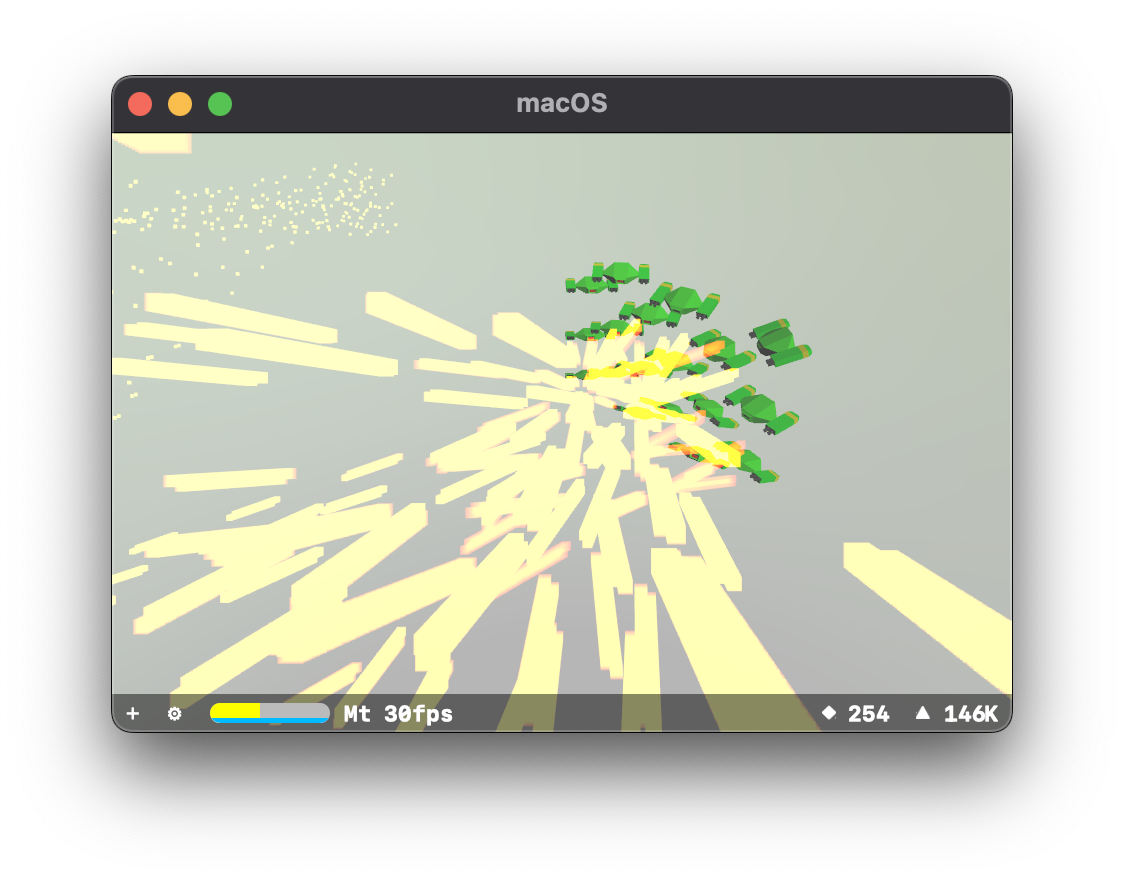
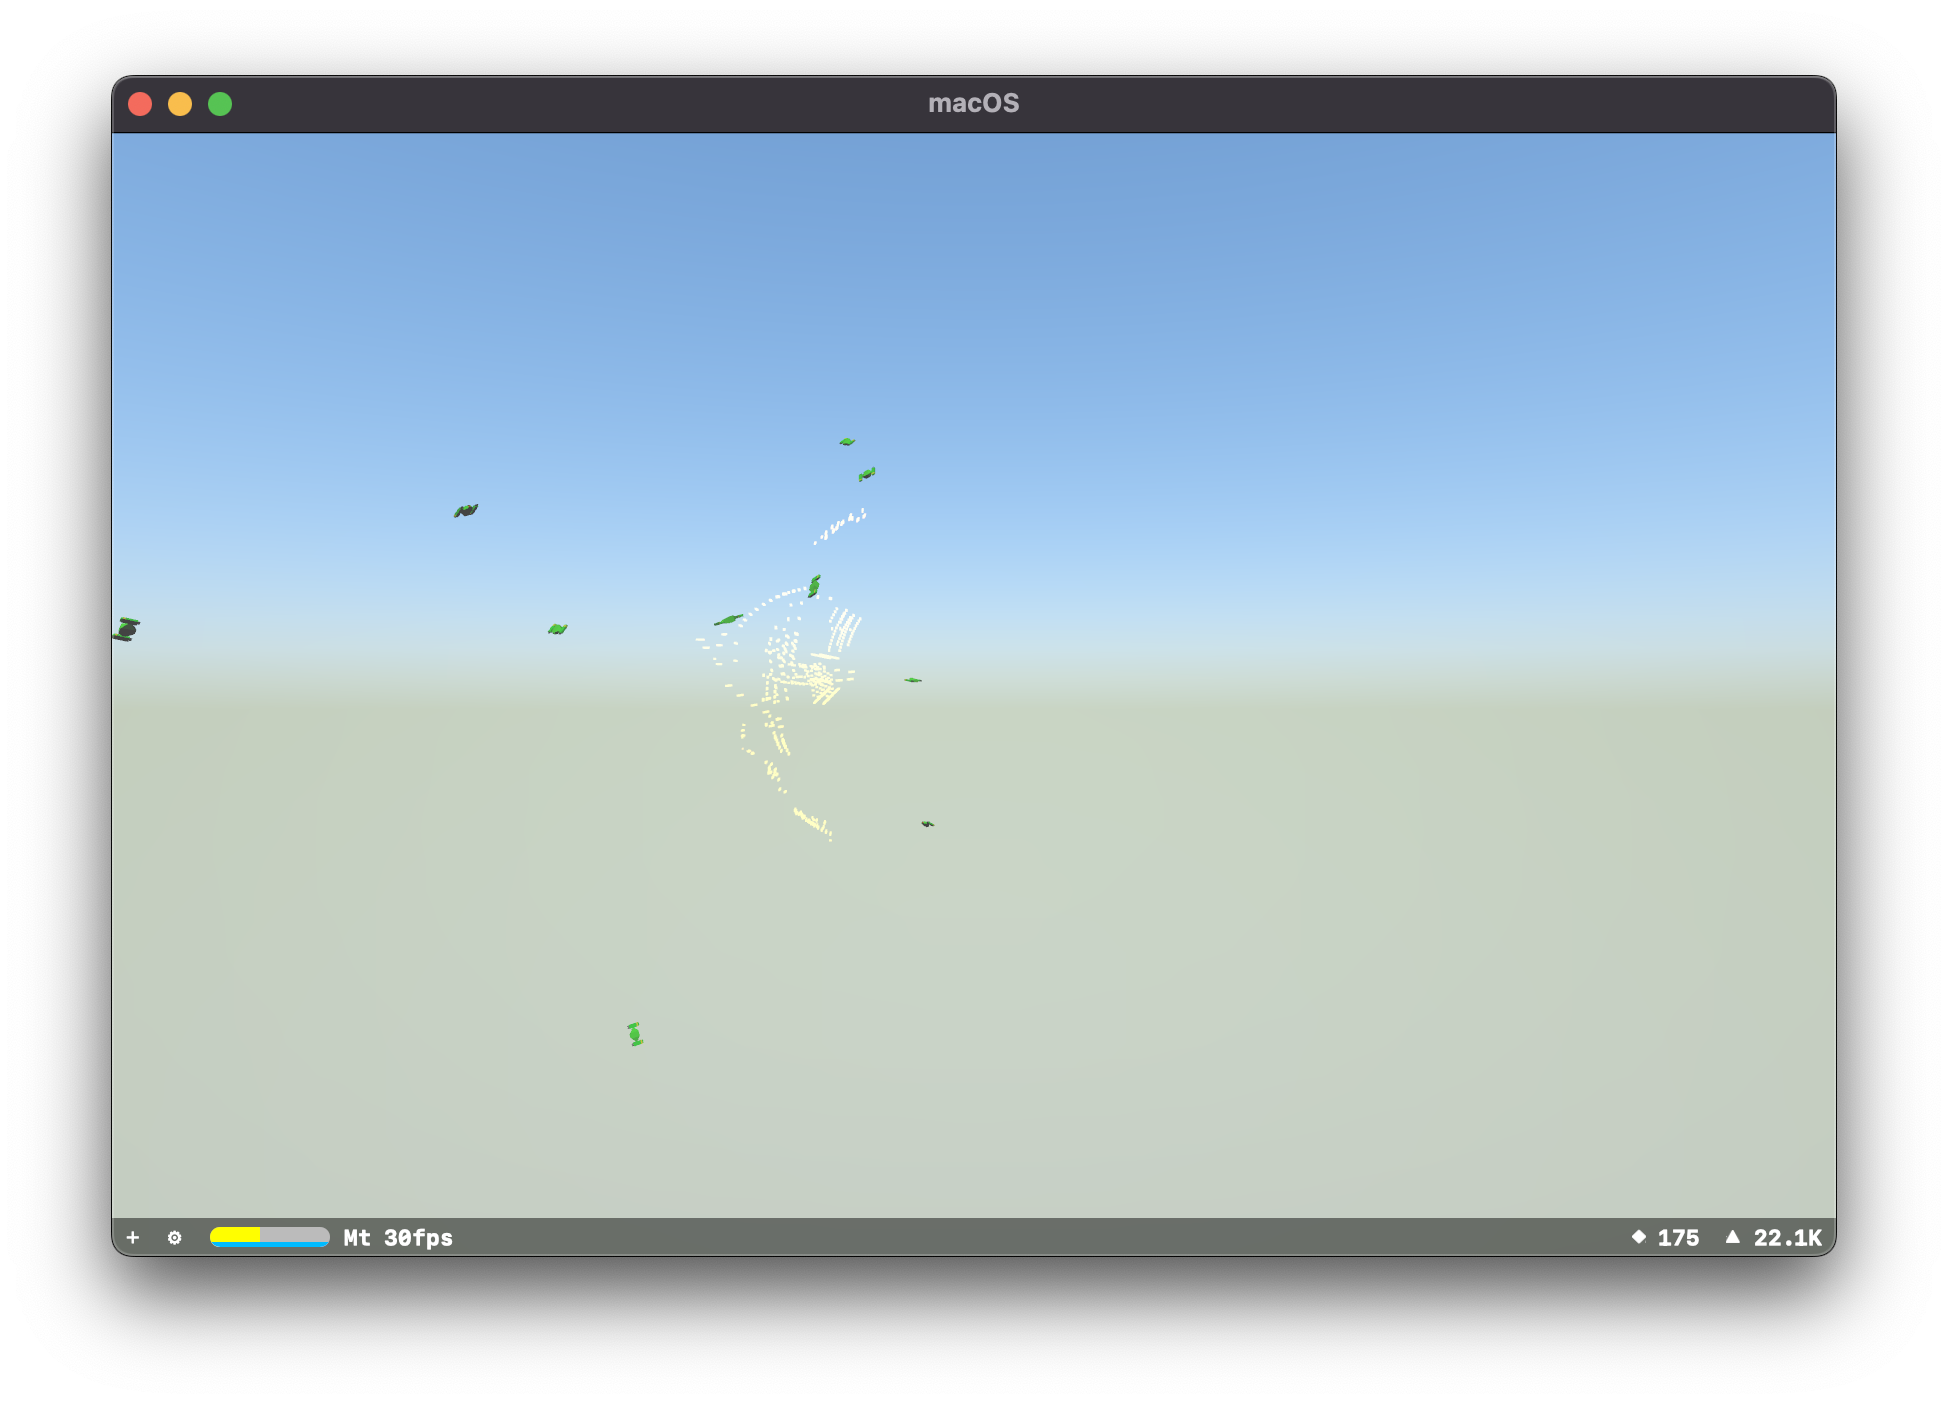
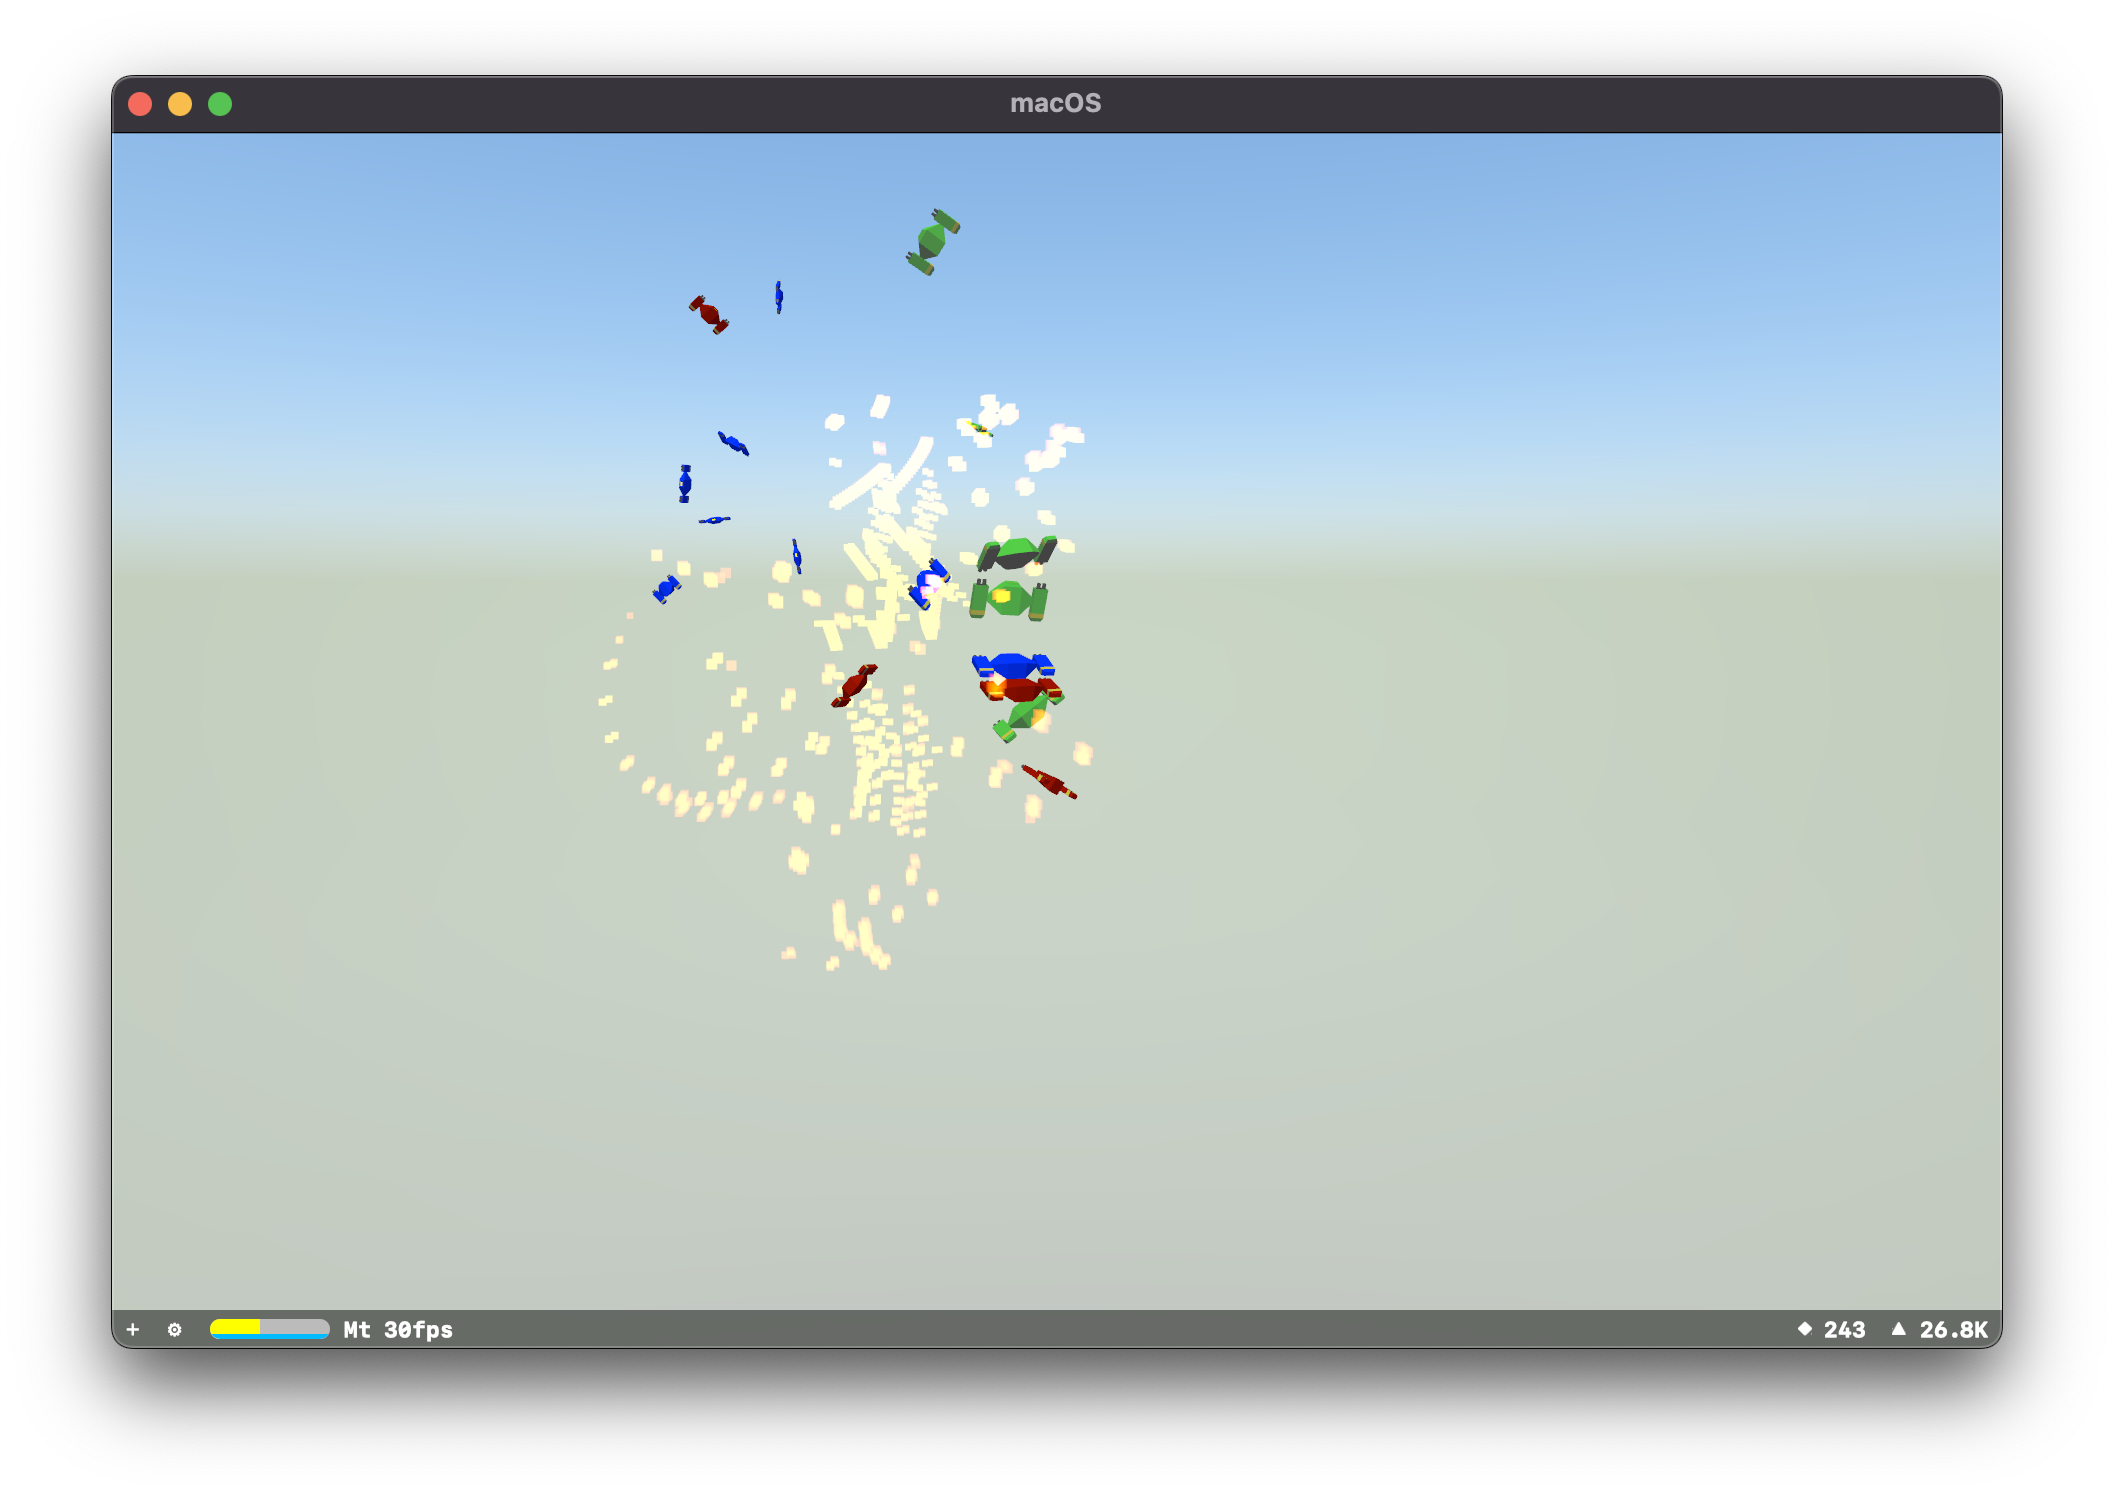
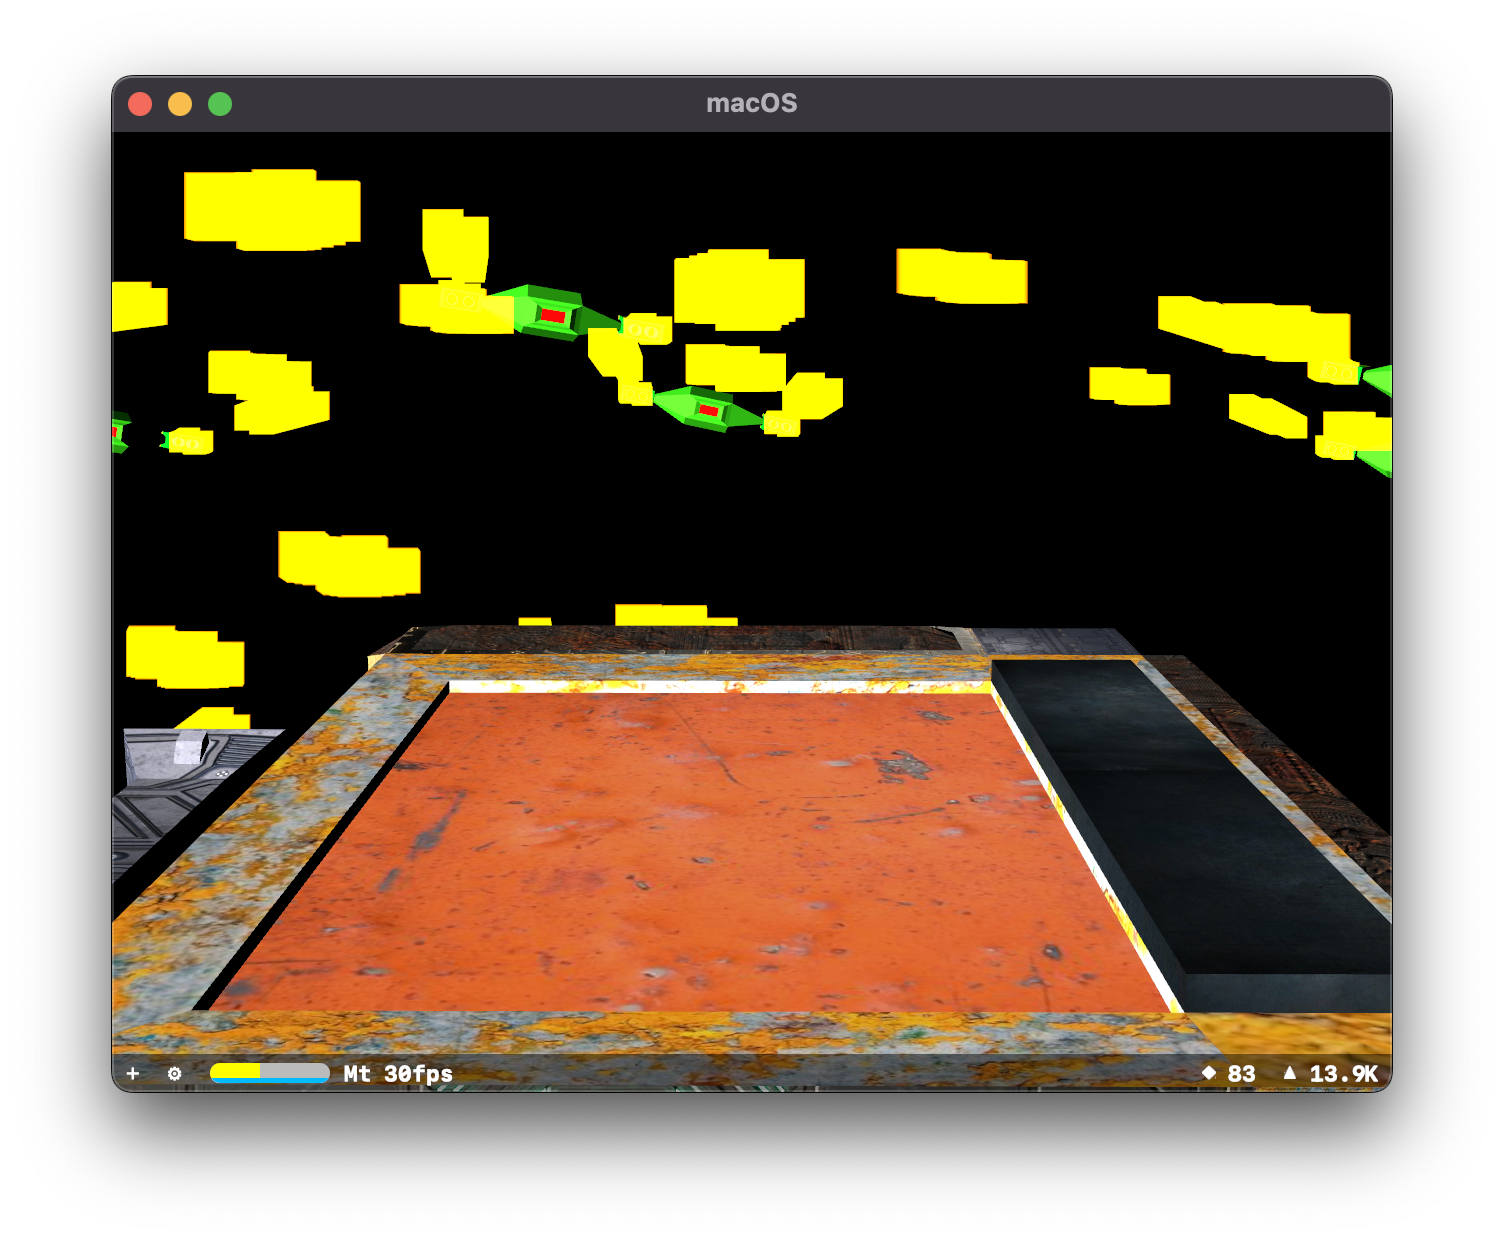
Adding things back in, I get a scene with multiple Martens rotating, moving, and firing:
It's a bit chaotic, but I like it.
States
The way I was trying to organize the behaviour of my enemies was into states, specifically I had
- RotationState
- PursuitState
- AttackState
So initially the Marten would be in the RotationState, turn to face the target. Then it would transition into the PursuitState which would cause it to accelerate towards the target, until it reached a specific distance, and then transition into the attack state.
Rotation:
Pursuit:
Attacking:
Adding this back in allows the multiple version to work, and since they have a physics body they collide with each other:

Teams, Red, Blue, Green
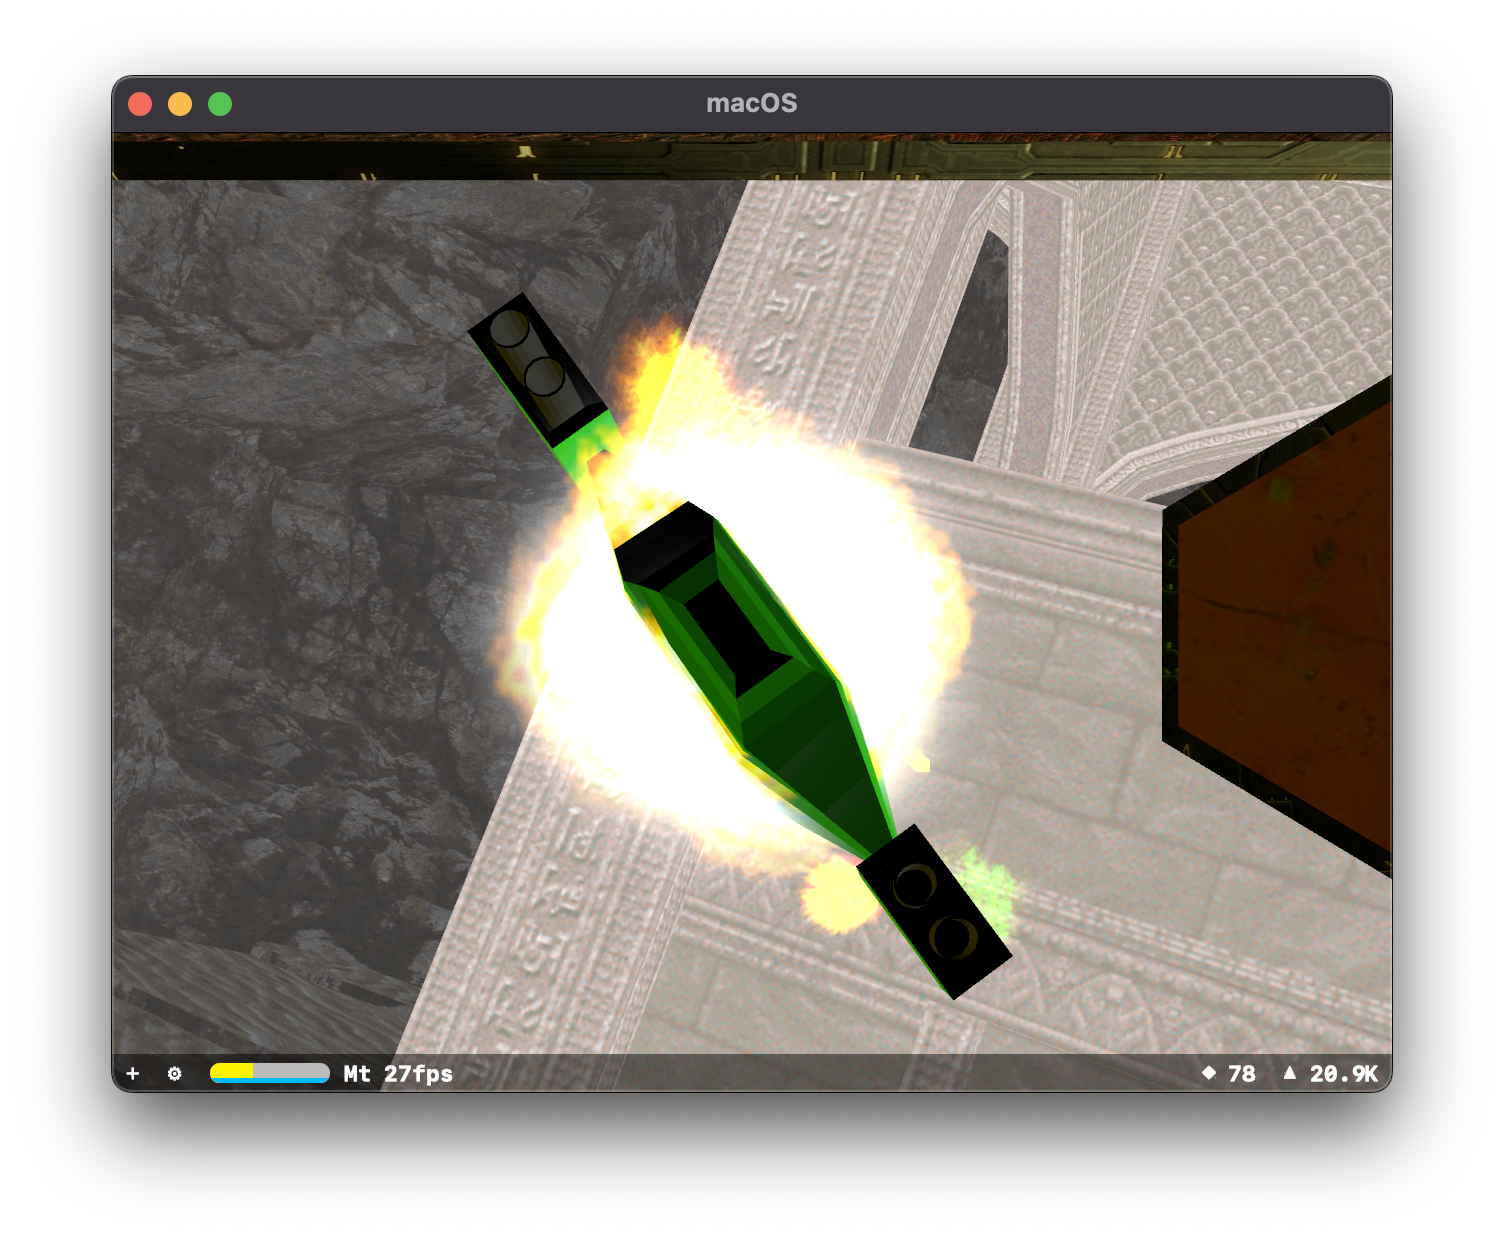
One easy way of re-using assets is to give them different colour schemes. Perhaps the green versions are the standard version, and red would be for an elite or stronger version. So I wanted to see if there was an easy way to add some colours:

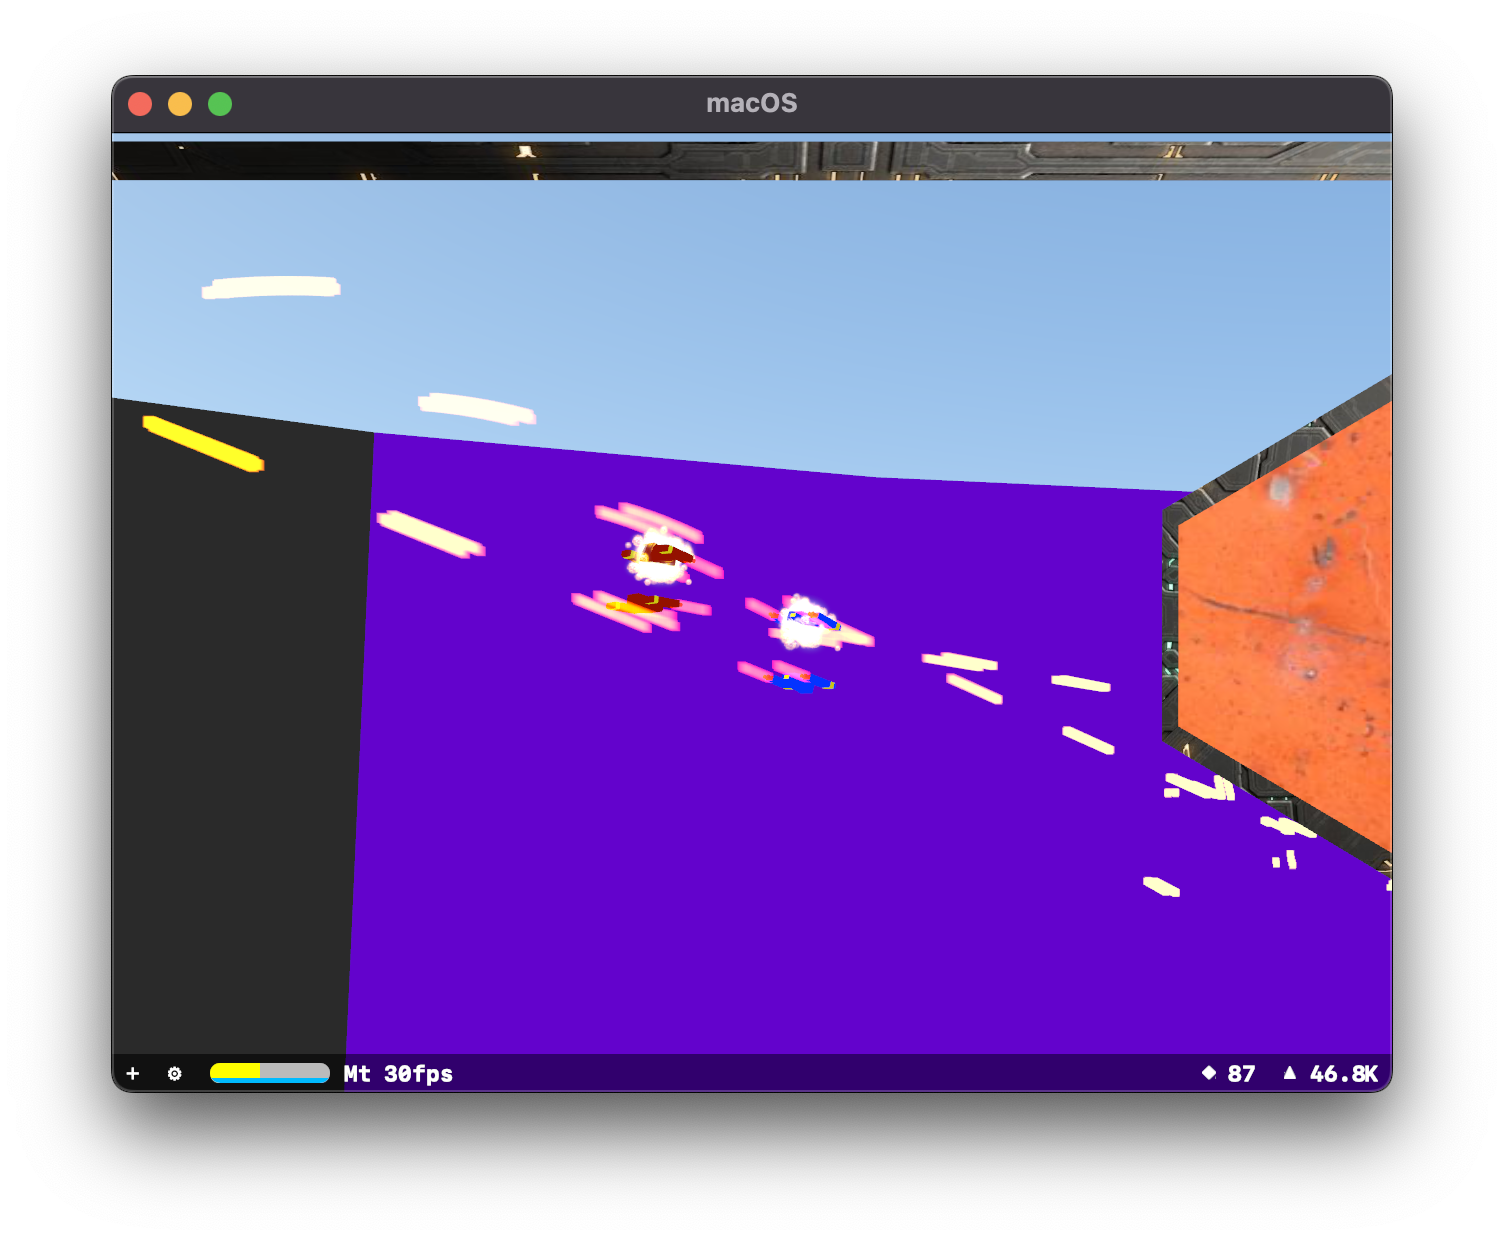
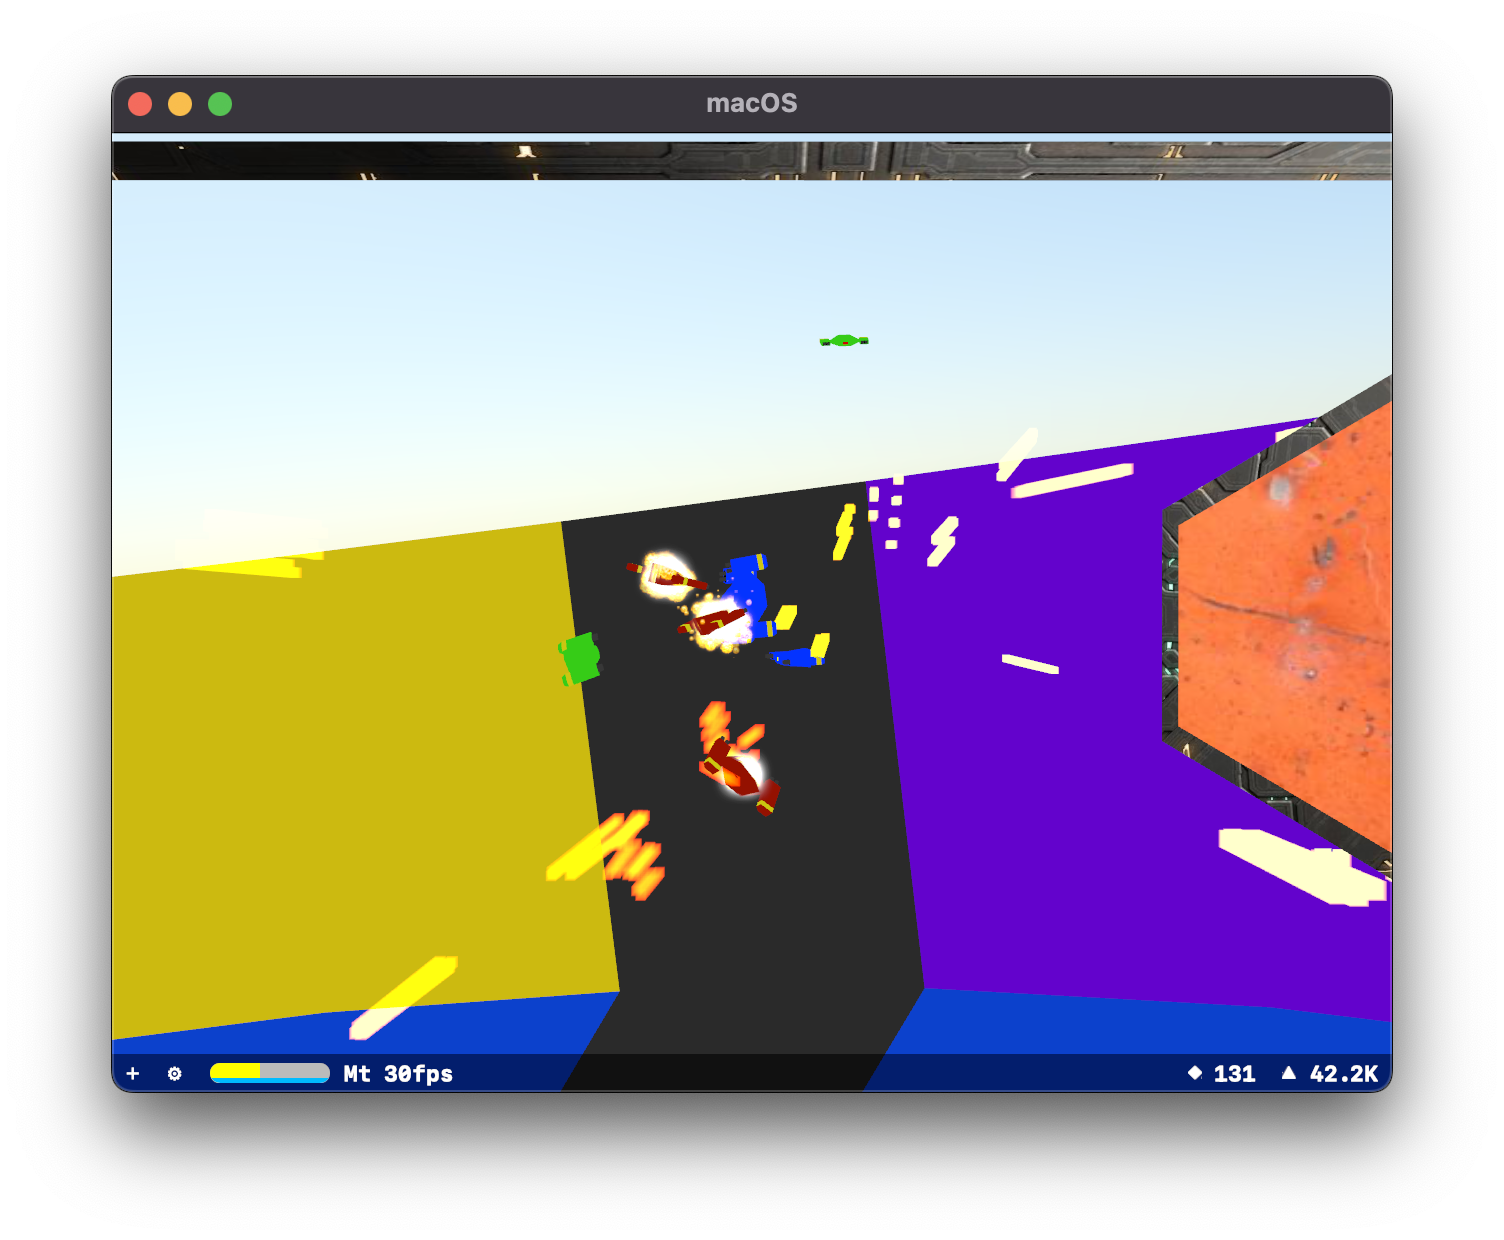
This allowed me to try out a version with different coloured versions:
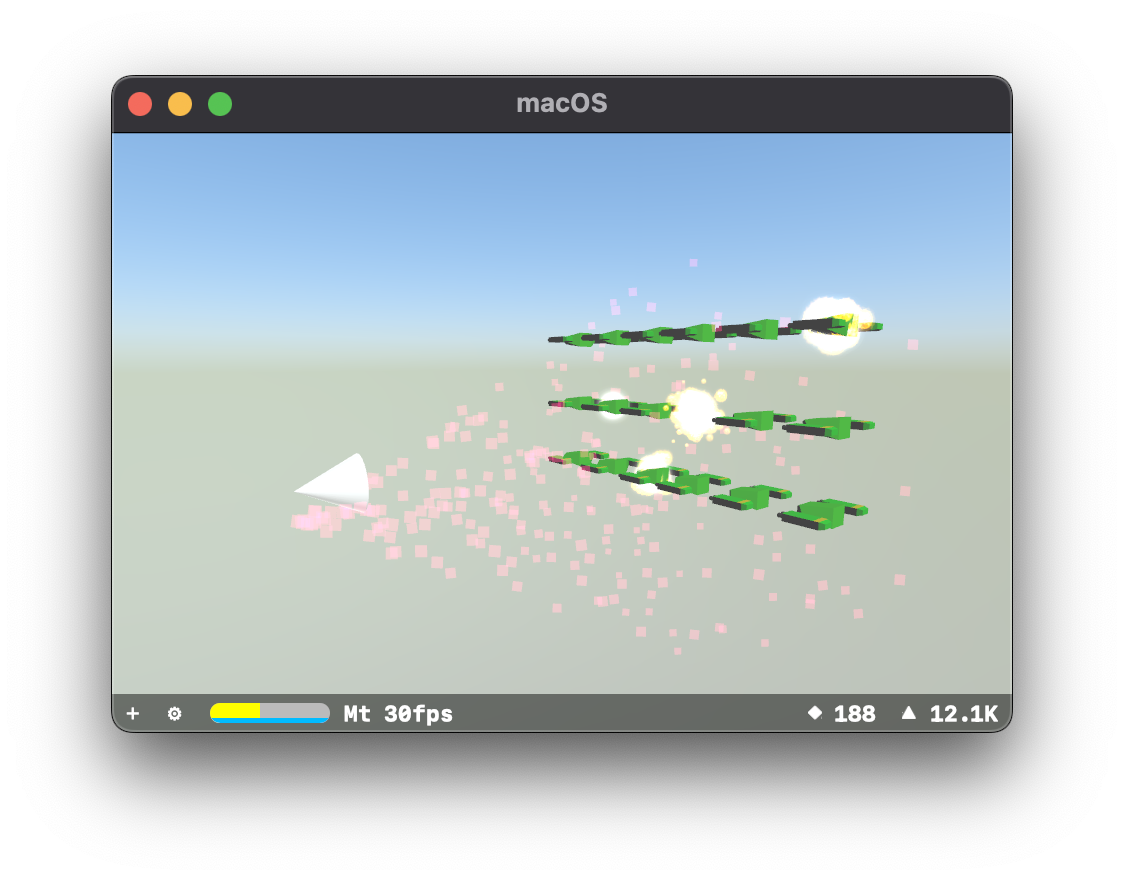
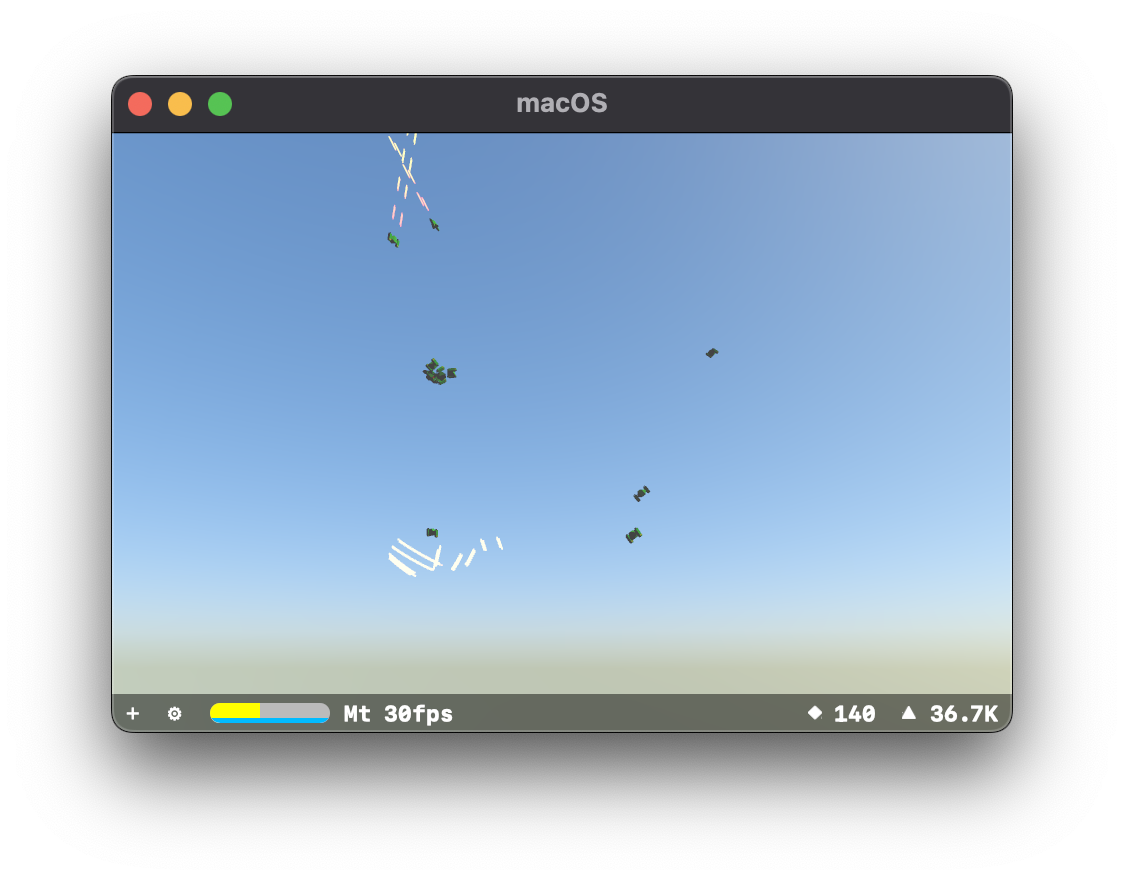
Then I organized them into teams, and had them attempt to engage each other:
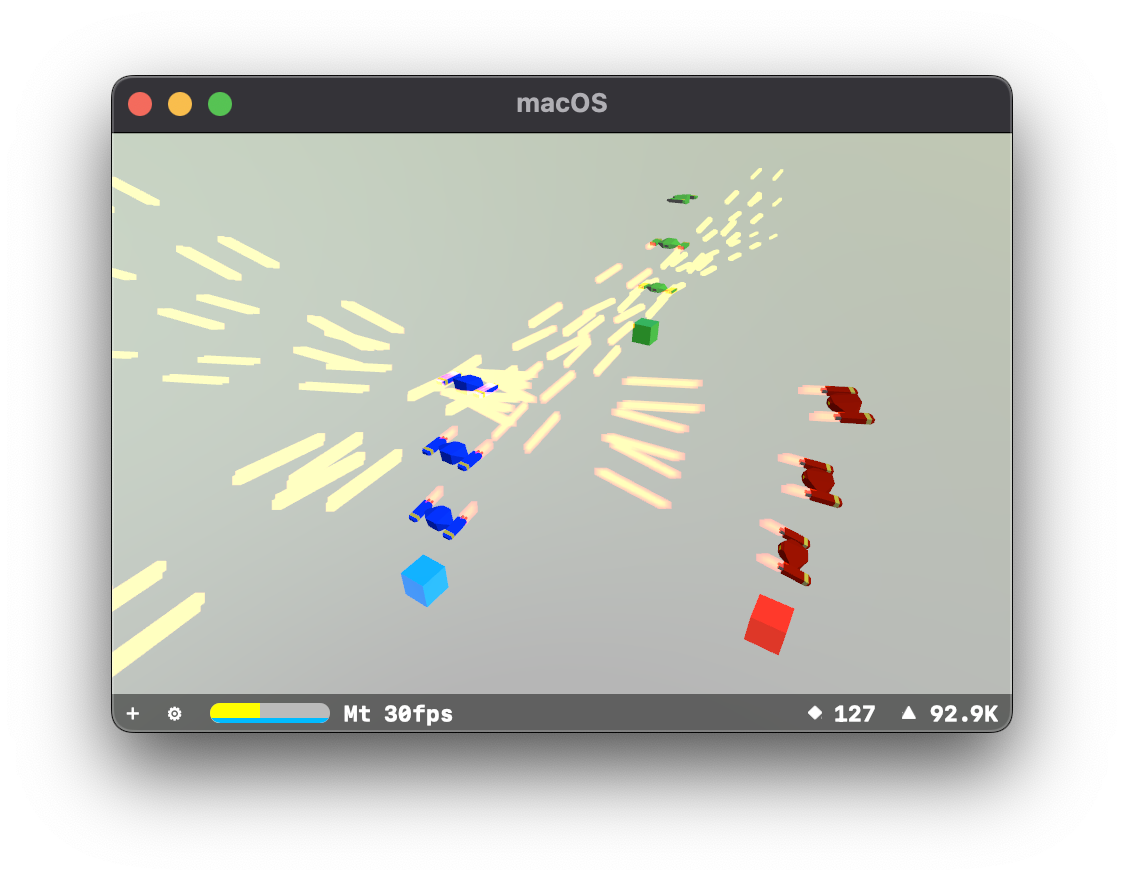


I was quite pleased with how this was working. It was time to finally get back to my original project instead of my simple test case:
It worked and it didn't cause everything to immediately explode. Great. Next up a new map design.
Friends, Foes, Frenemies
Having conquered "doors", I decided to move on to a new problem. Enemies.
Love them, hate them, know that they're always plotting your demise.

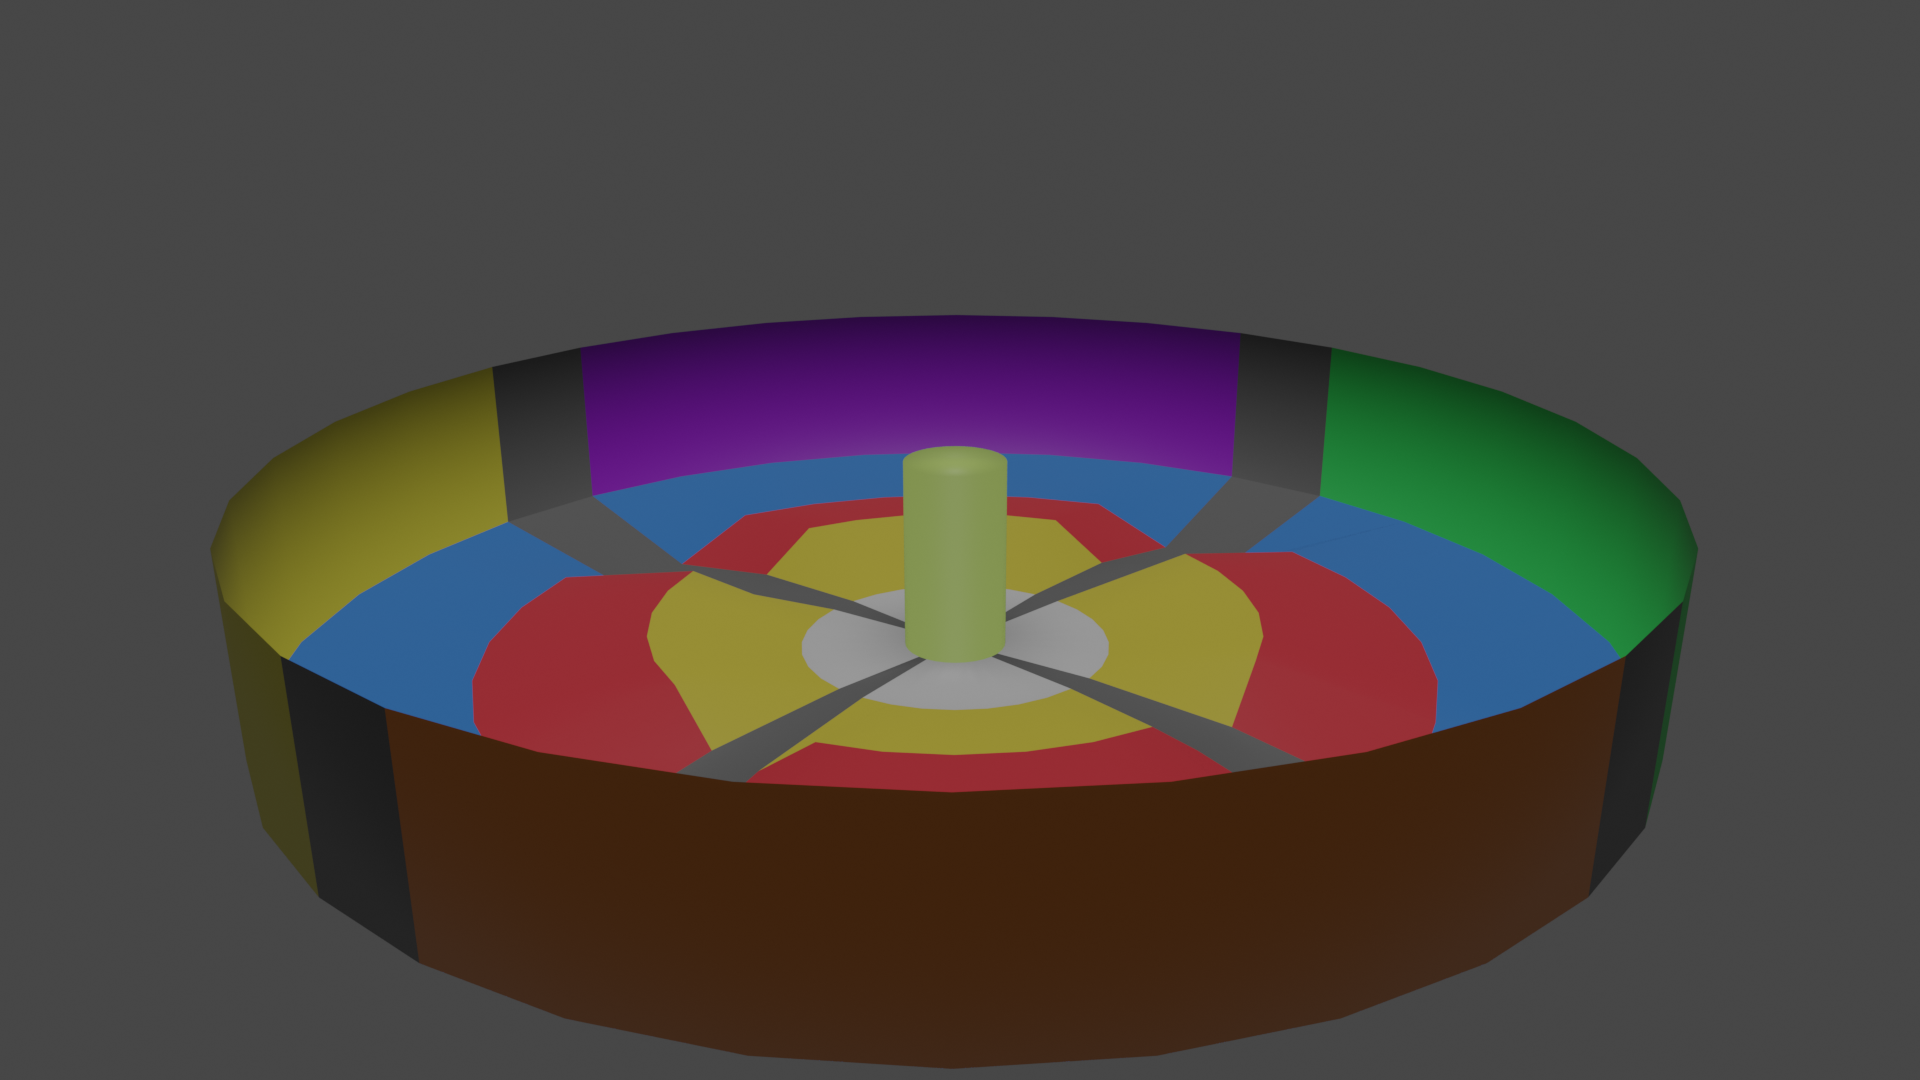
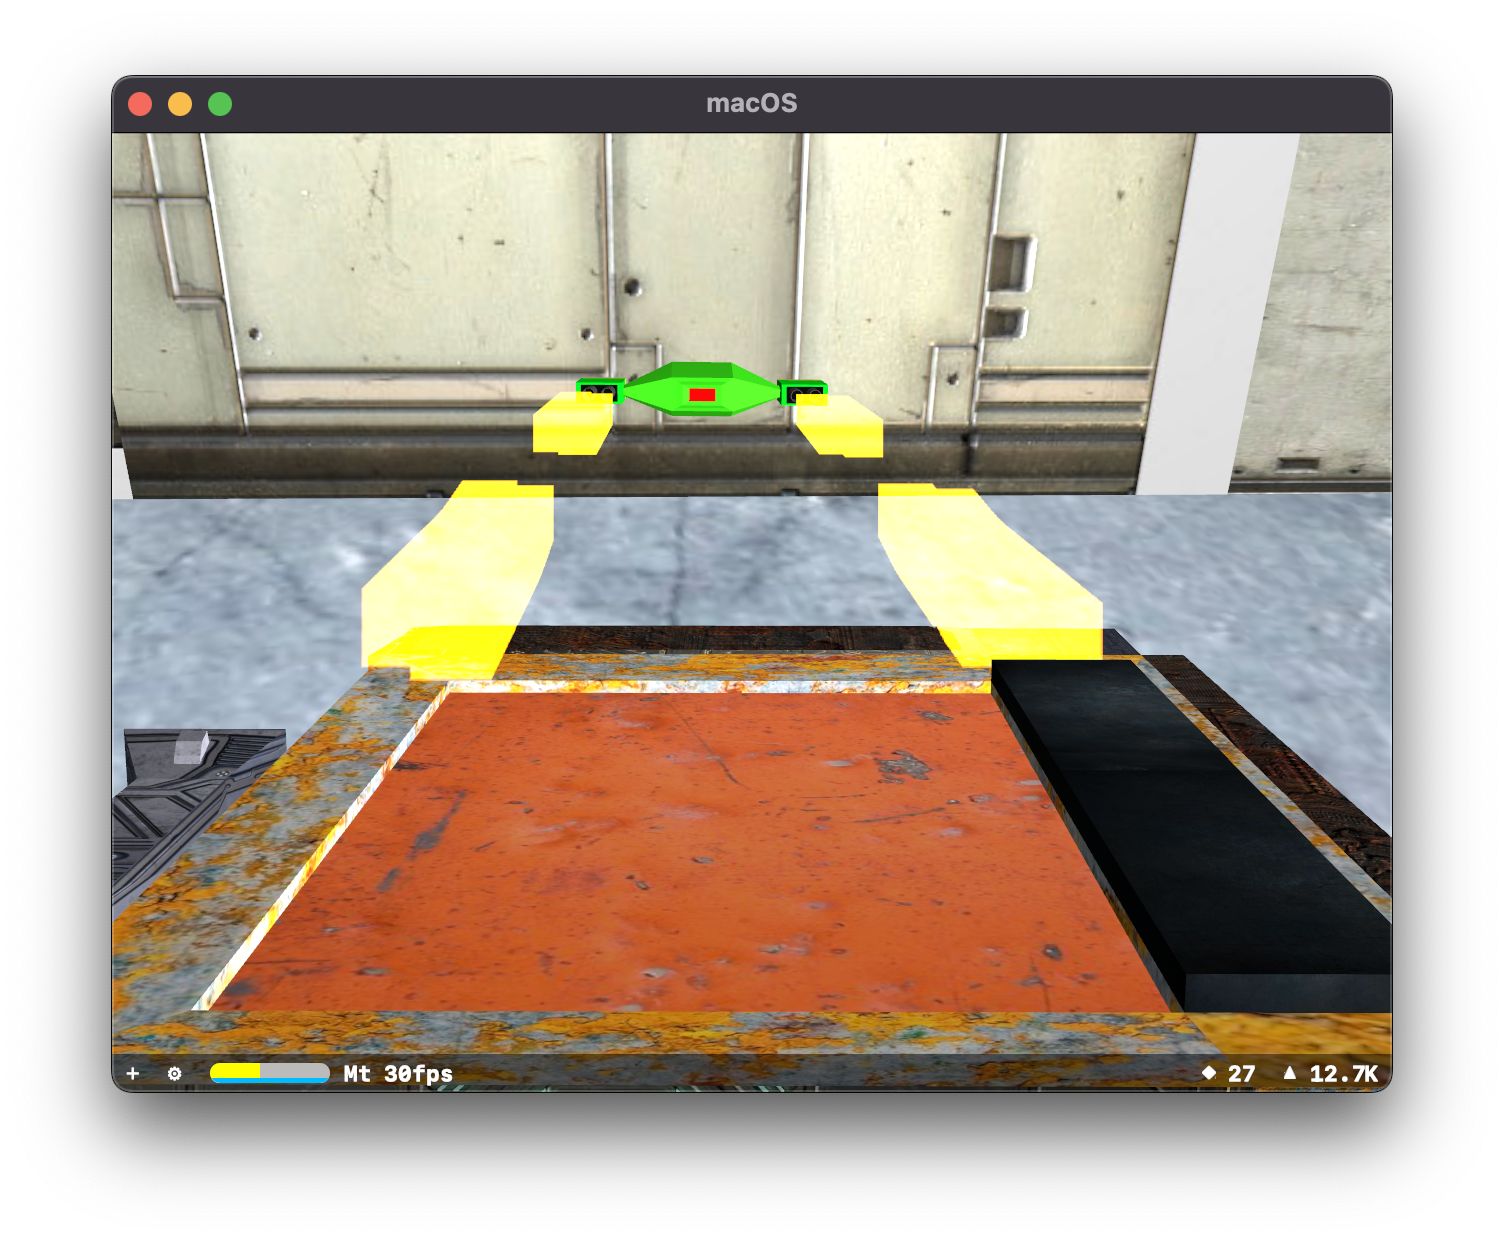
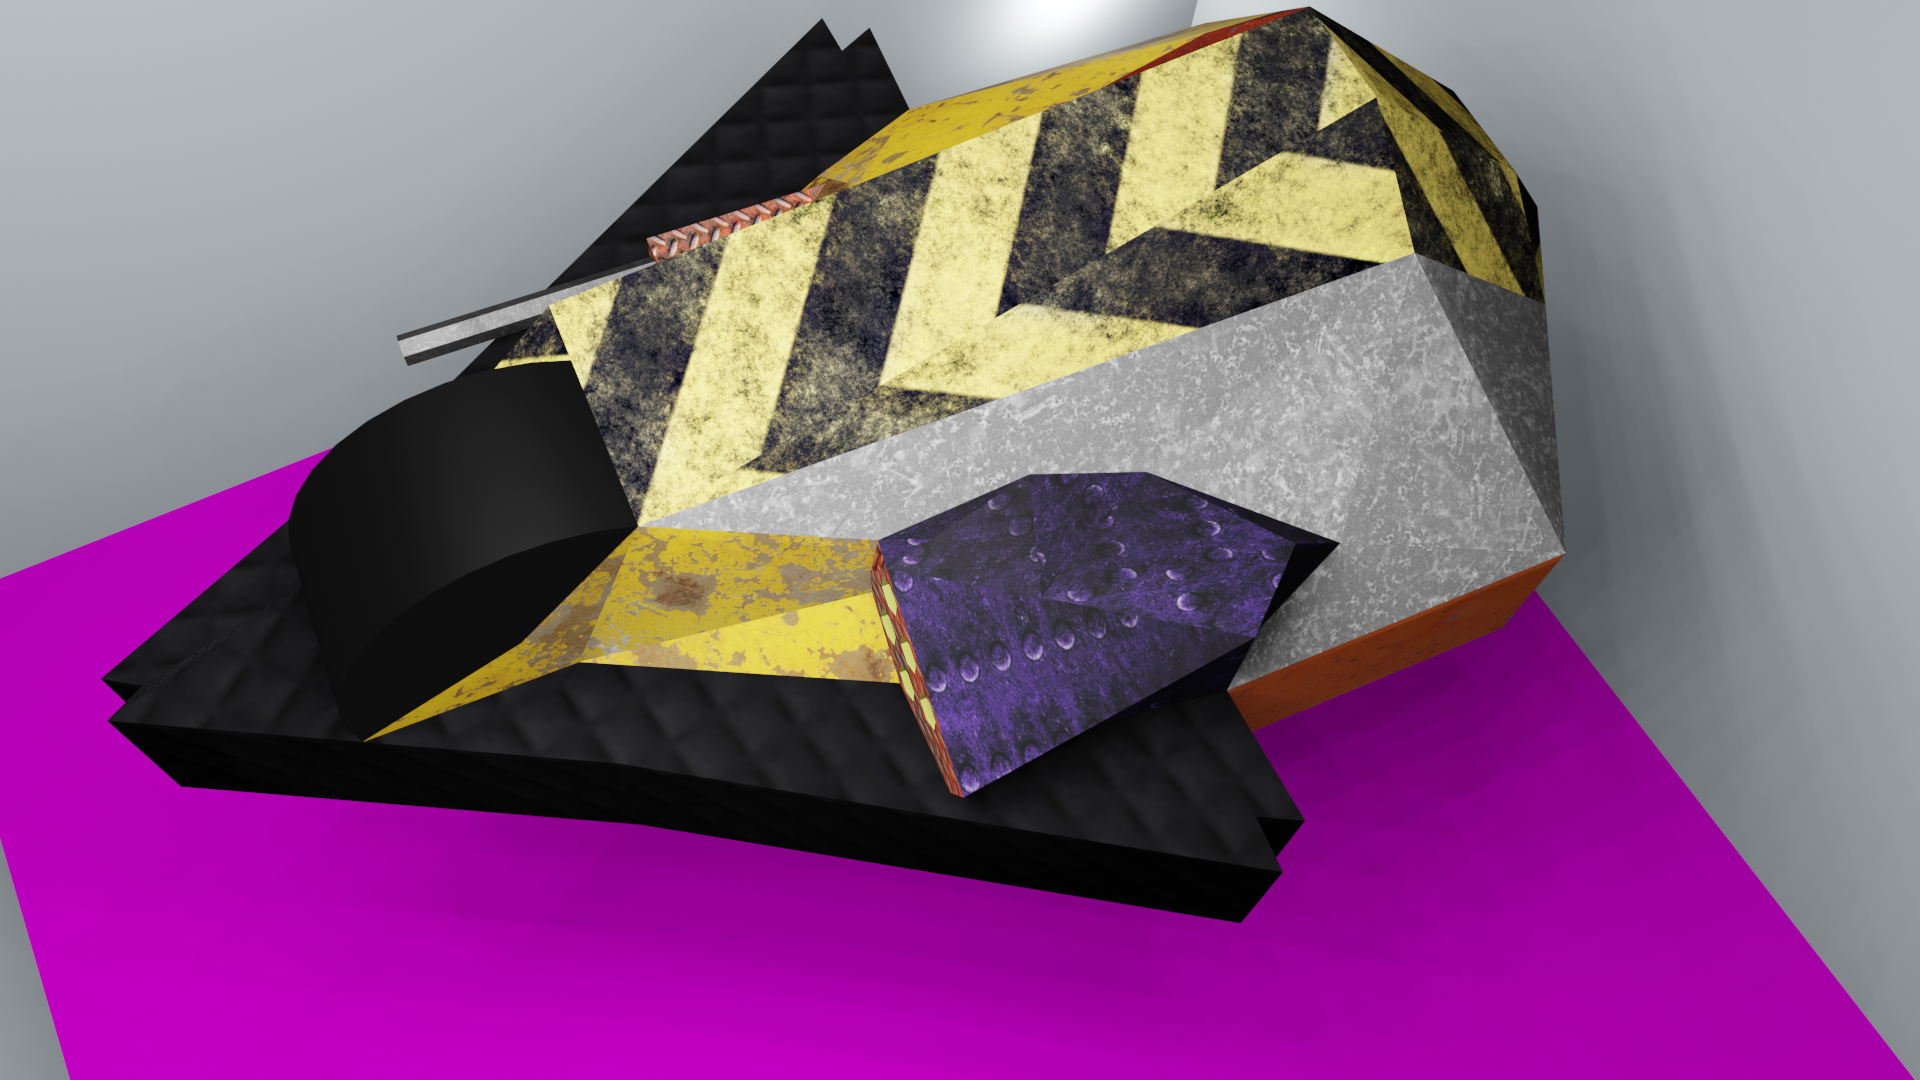
The lack of depth in this is a bit tricky, but the yellow portion is the fixed base. The red section can rotate freely allowing left/right directions. The green which would also be the business end of the weapon, can swivel up and down. A 2-axis pan/tilt system.
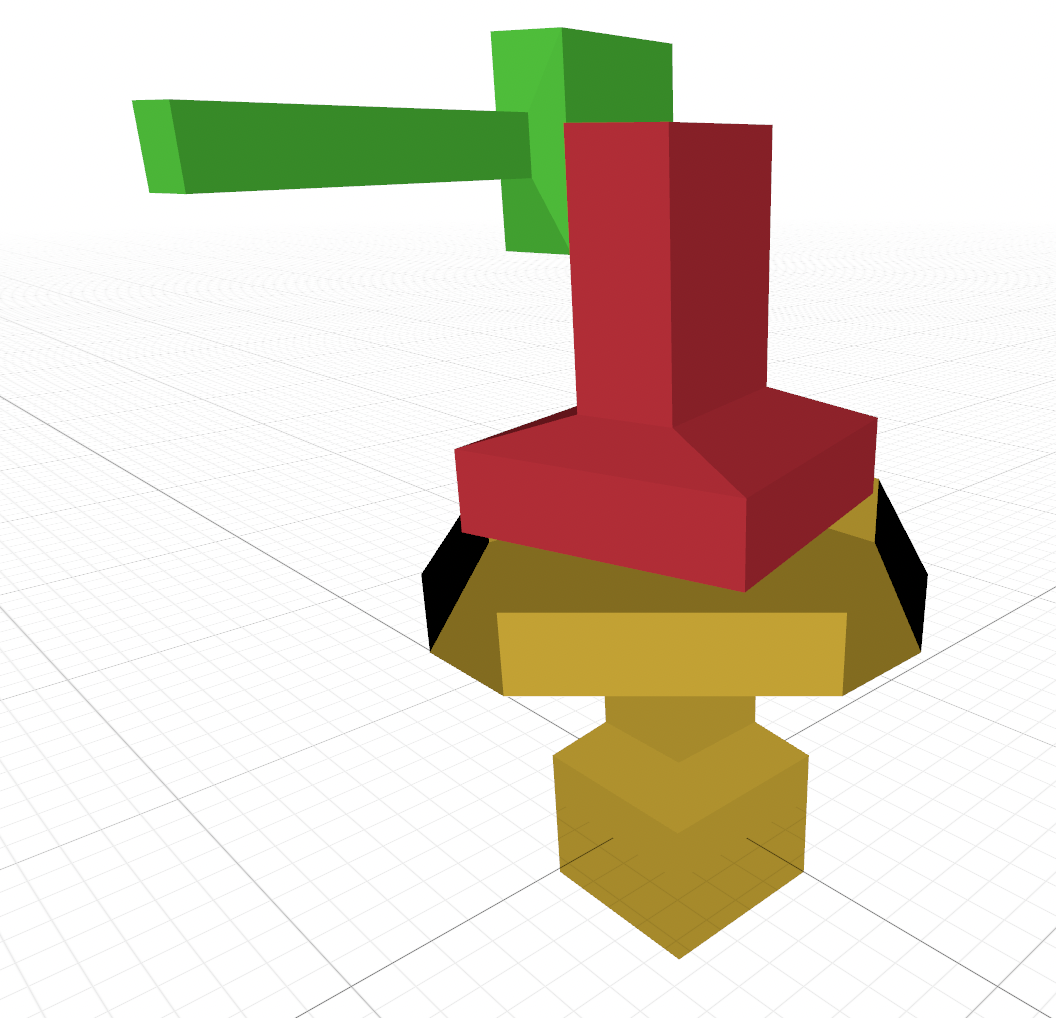
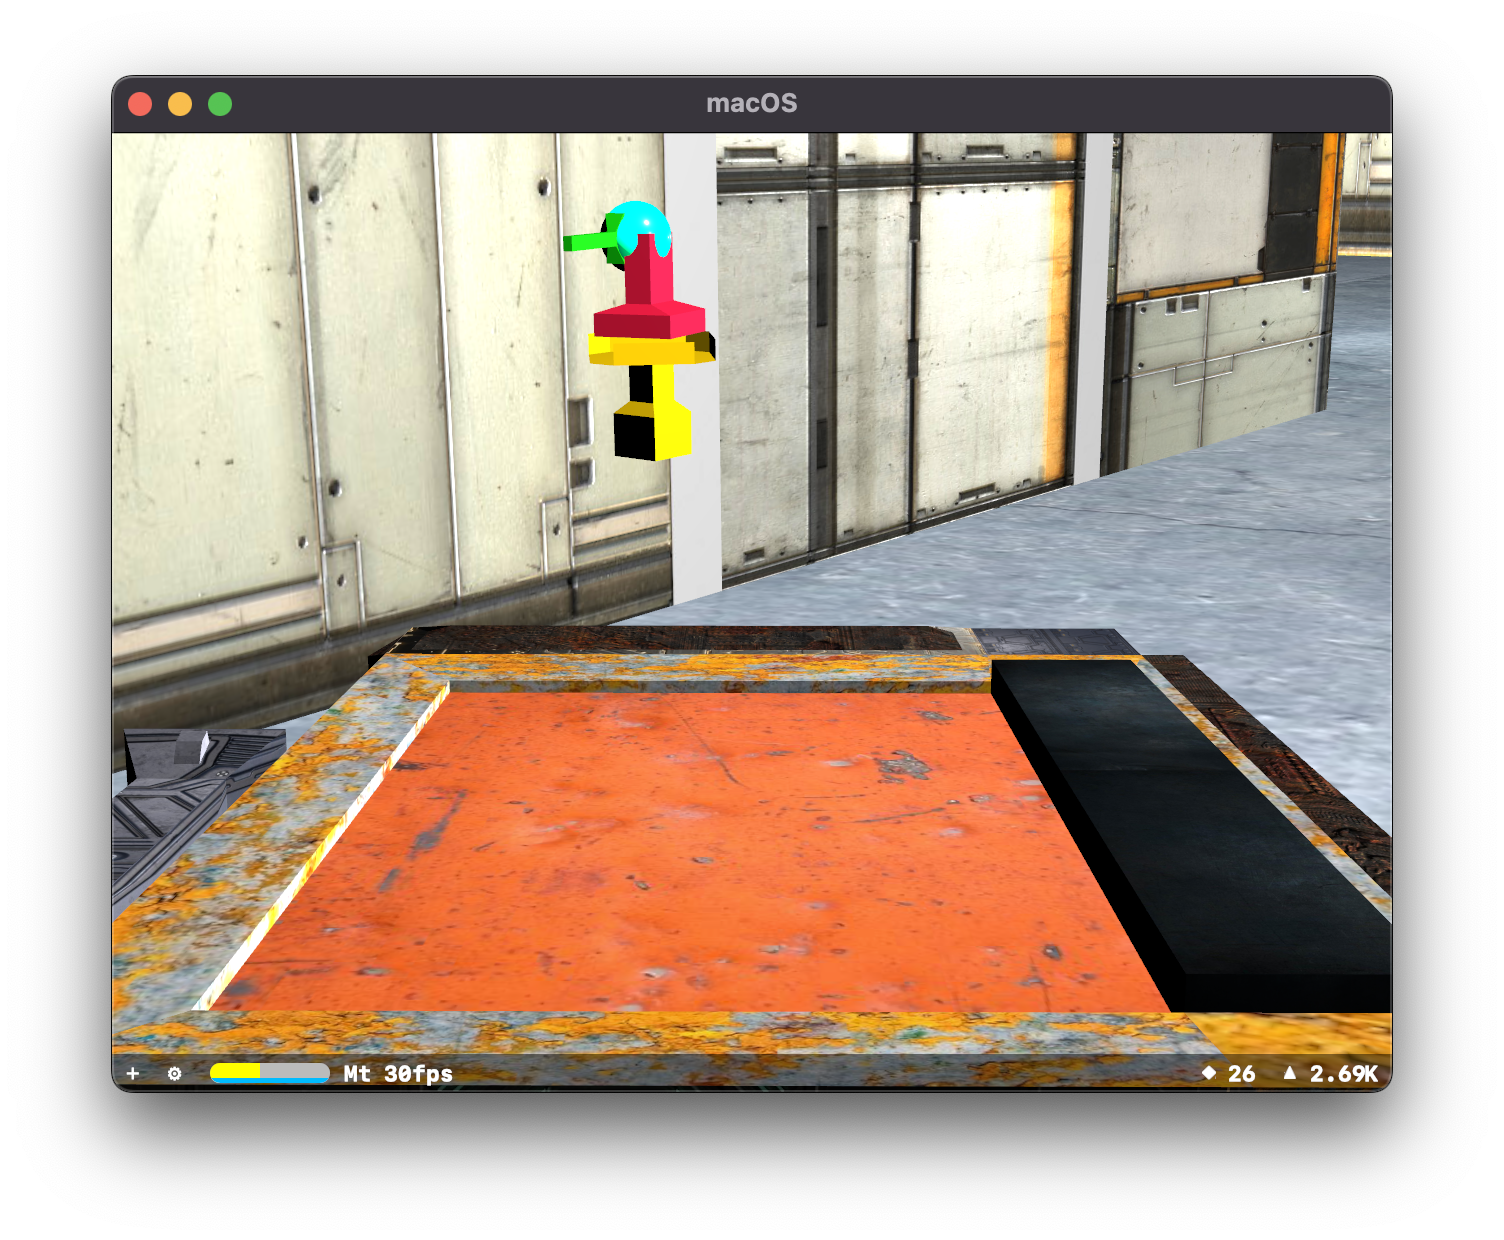
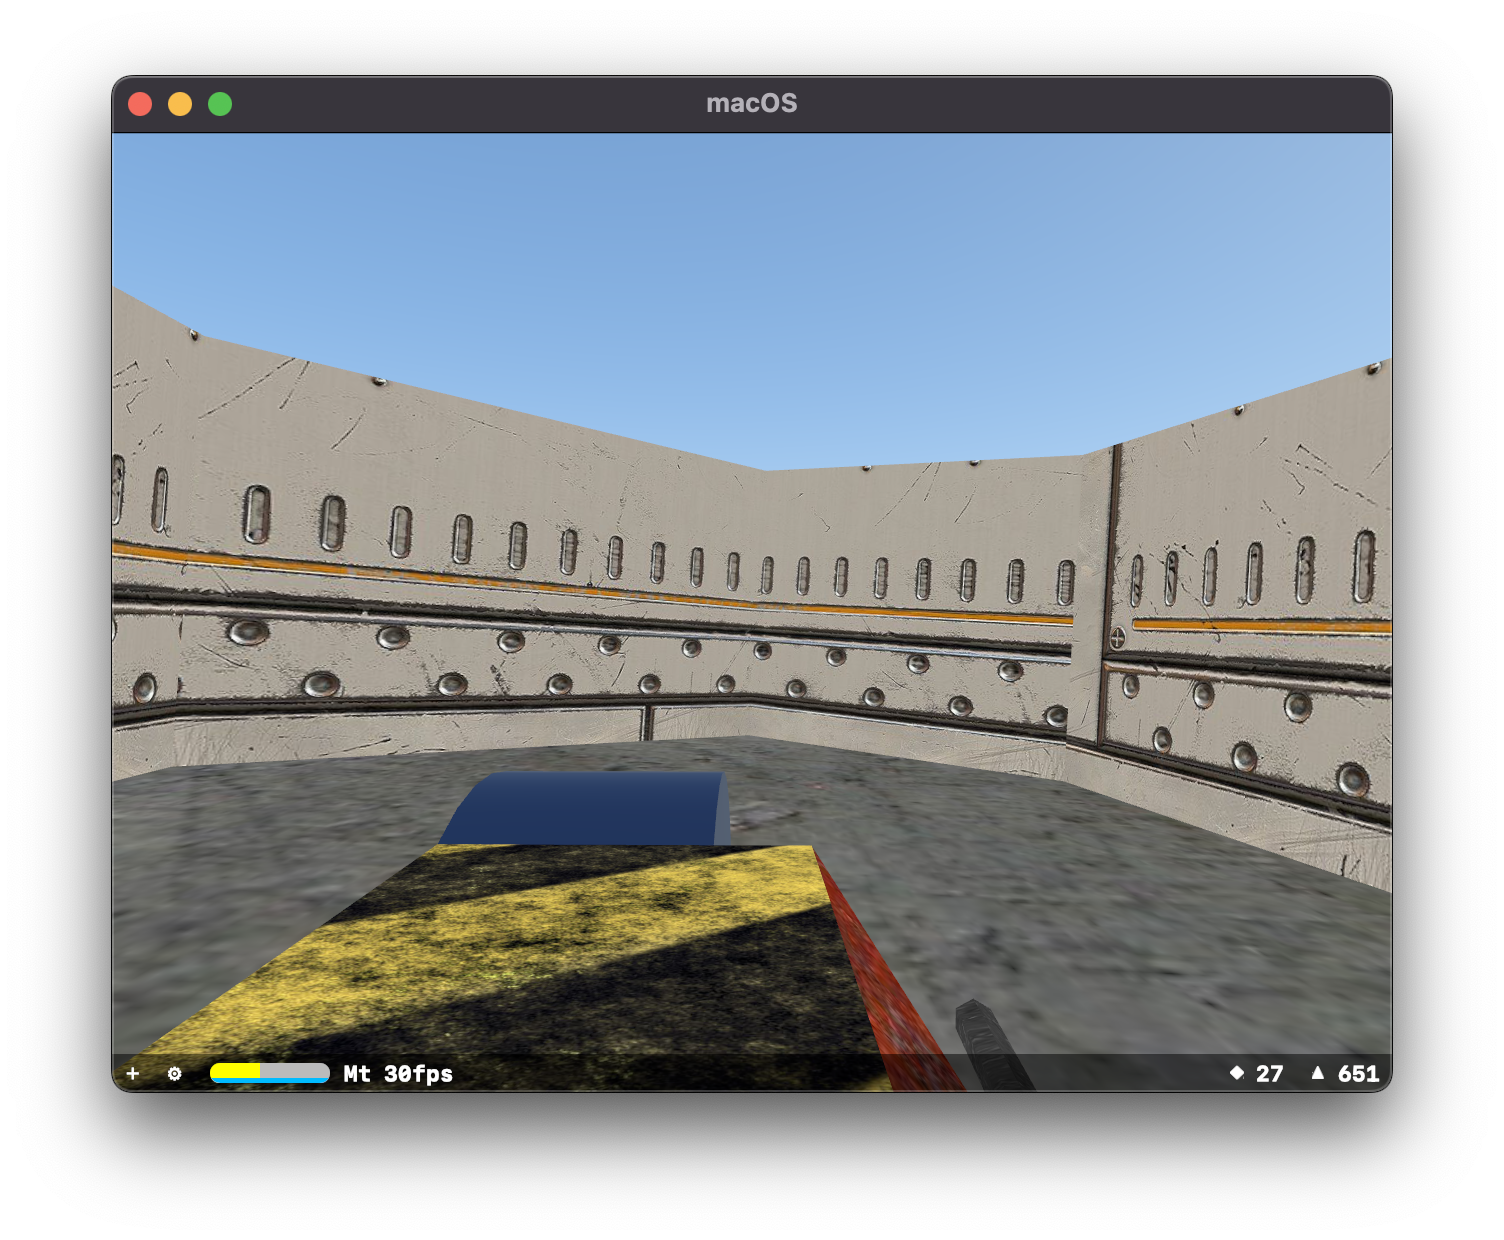
You can see the small-ish turret in the game scene. I need to fix the normals on the yellow base so they are properly pointing outwards. The blue/teal sphere was part of my initial solution. I was going to apply a constraint to the it that it was always looking at the player's ship. Then I could just take each individual rotation and apply it to either green or red, so that I didn't need do to the math myself.
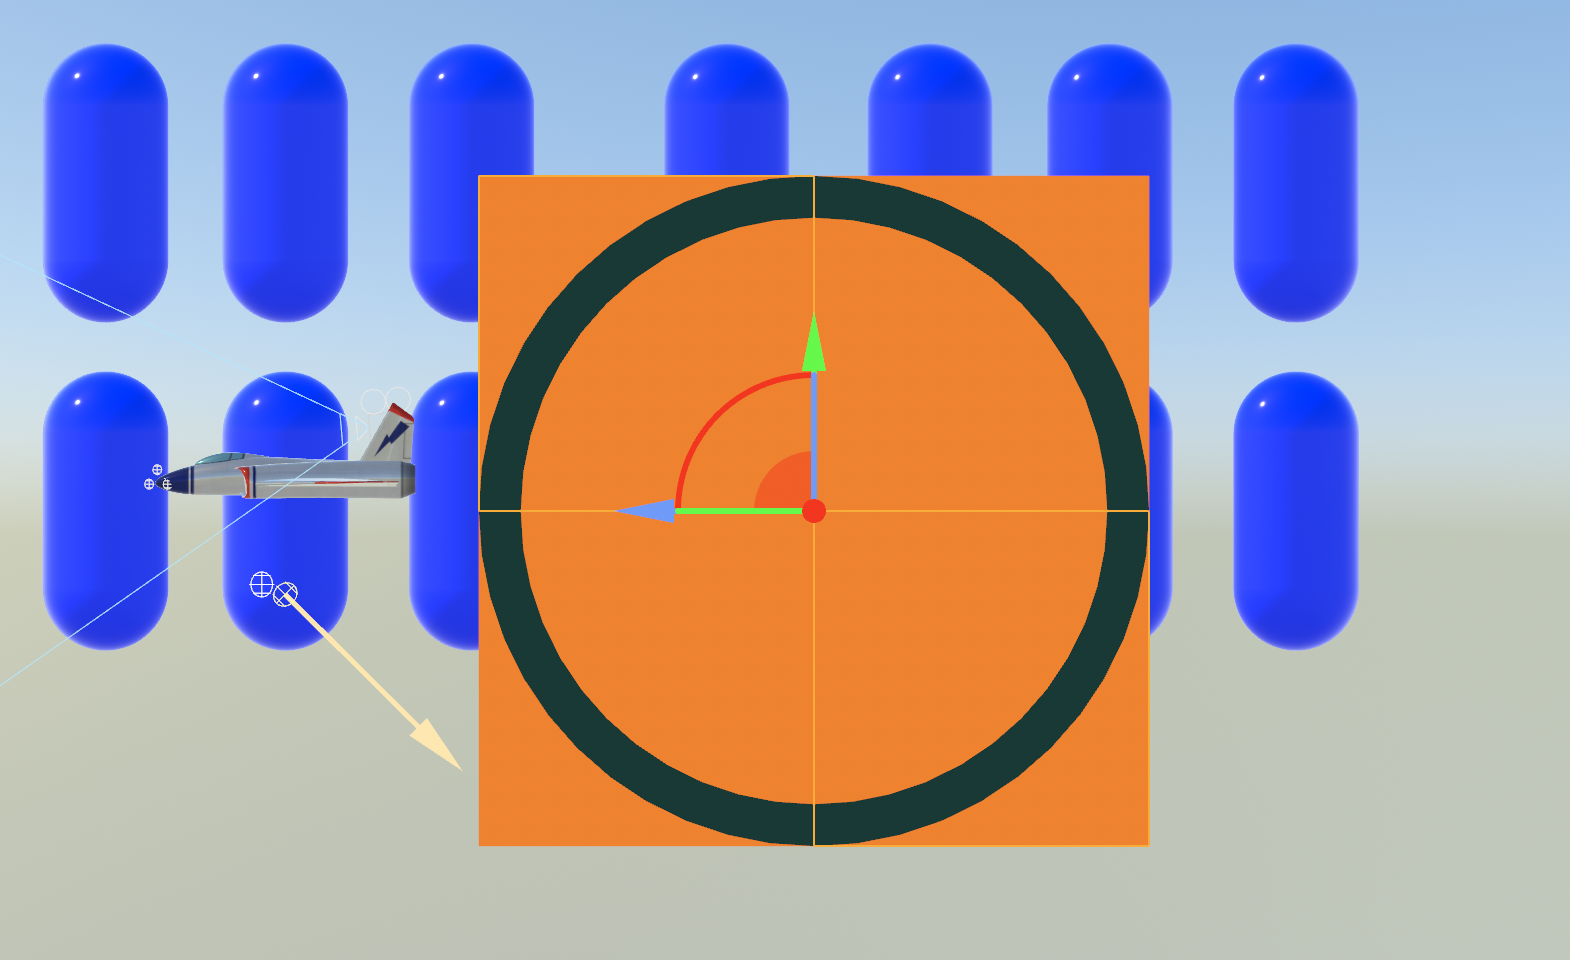
That didn't work out so great, so I had to figure out the math:
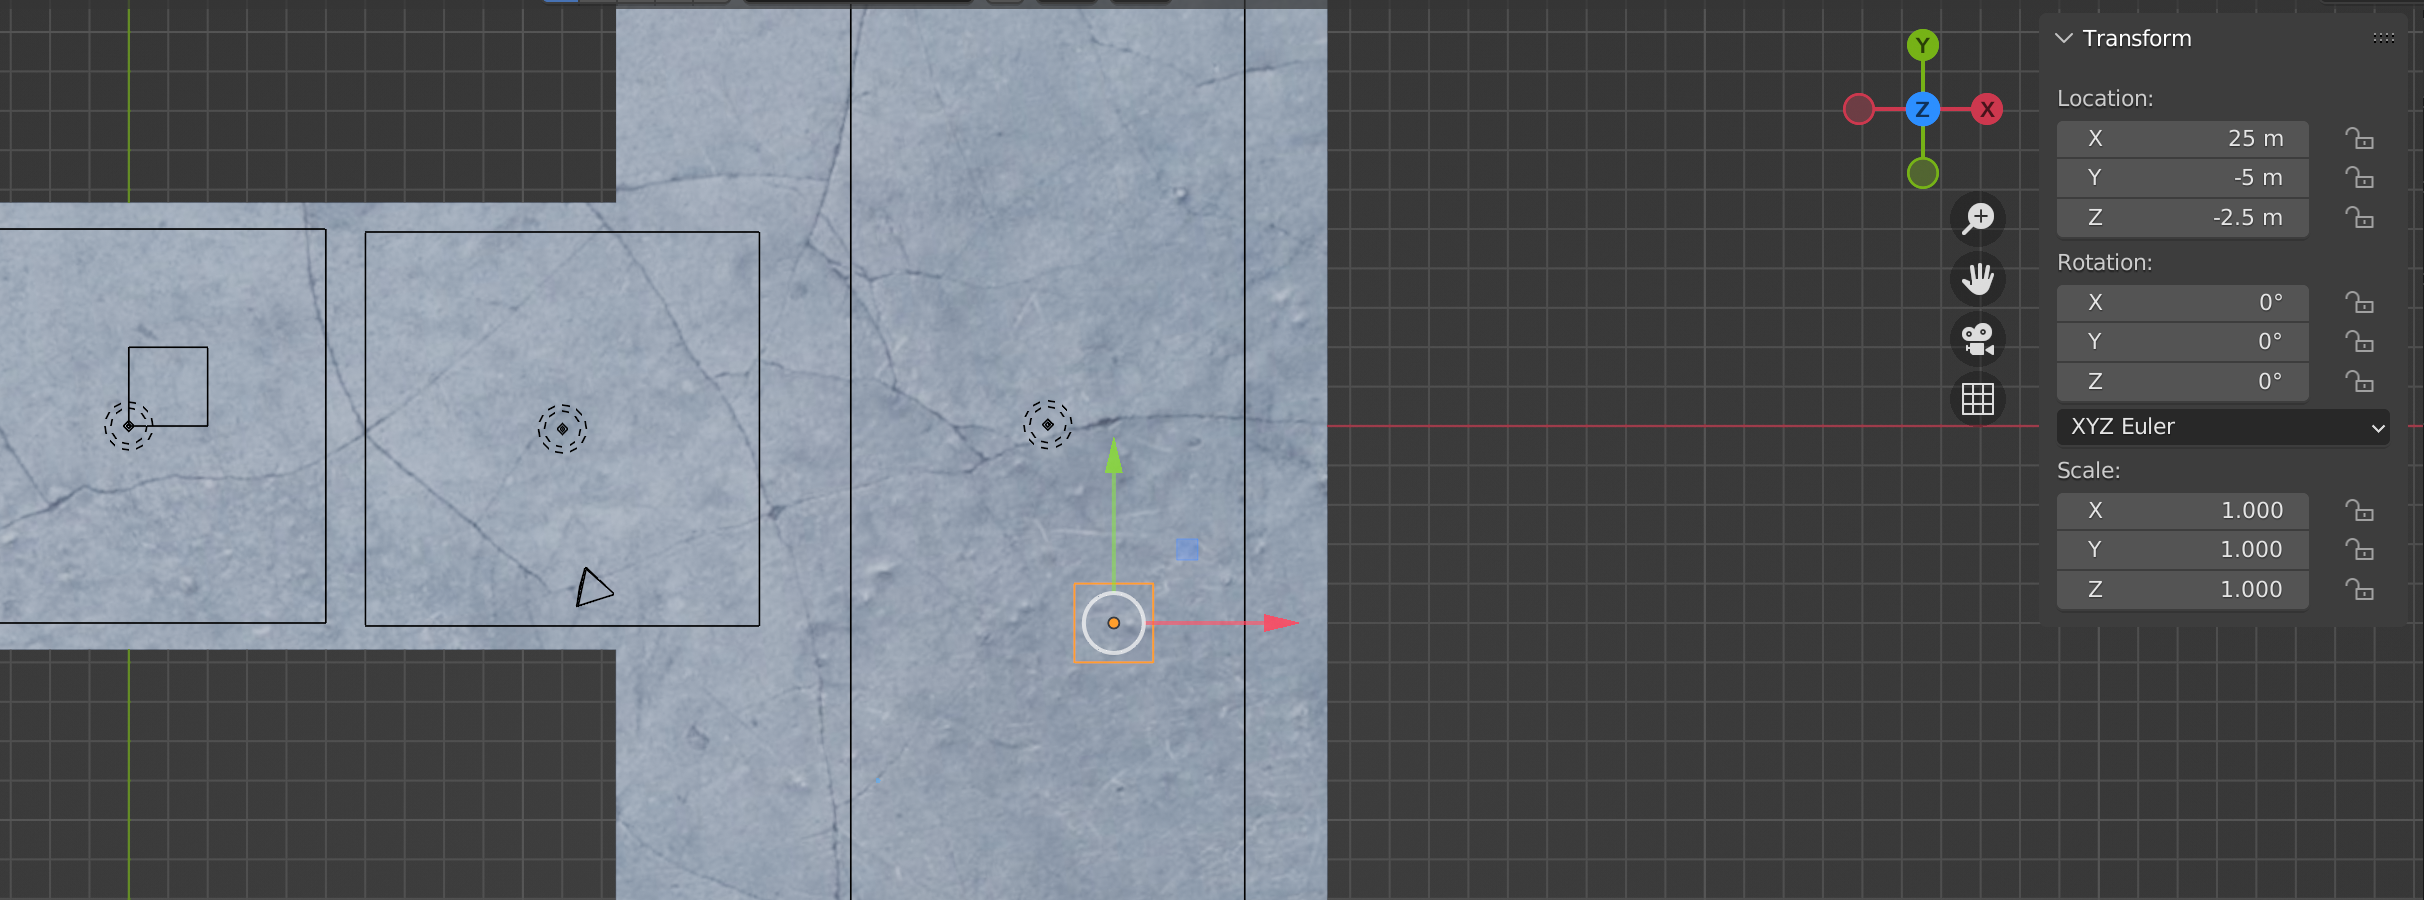
That’s the top down perspective of my Level Zero. I need to at all points figure out what the angle is between the selected object (my turret) and the ship which is located at (1,1,0). This view is directly on top so you do not have any indication about the Z axis which is the height.
I need to figure out what angle I need to rotate so the red section is facing the ship. Trigonometry to the rescue. Then I do the same thing to figure out the relative height difference for the green section.
α = arctan((turret.y - ship.y ) / (turret.x - ship.x))
Great. Then for my green object I care about the X and Z axis as I need to know how far, and what the height is.
α = arctan((turret.z - ship.z ) / (turret.x - ship.x))
I have to take in to account things like scale and rotation, but there are things designed to do that for me. Let me give this a go.
![]() Left is the turret aimed at a space where the ship was. Right is after it has been told to point at the ship.
Left is the turret aimed at a space where the ship was. Right is after it has been told to point at the ship.
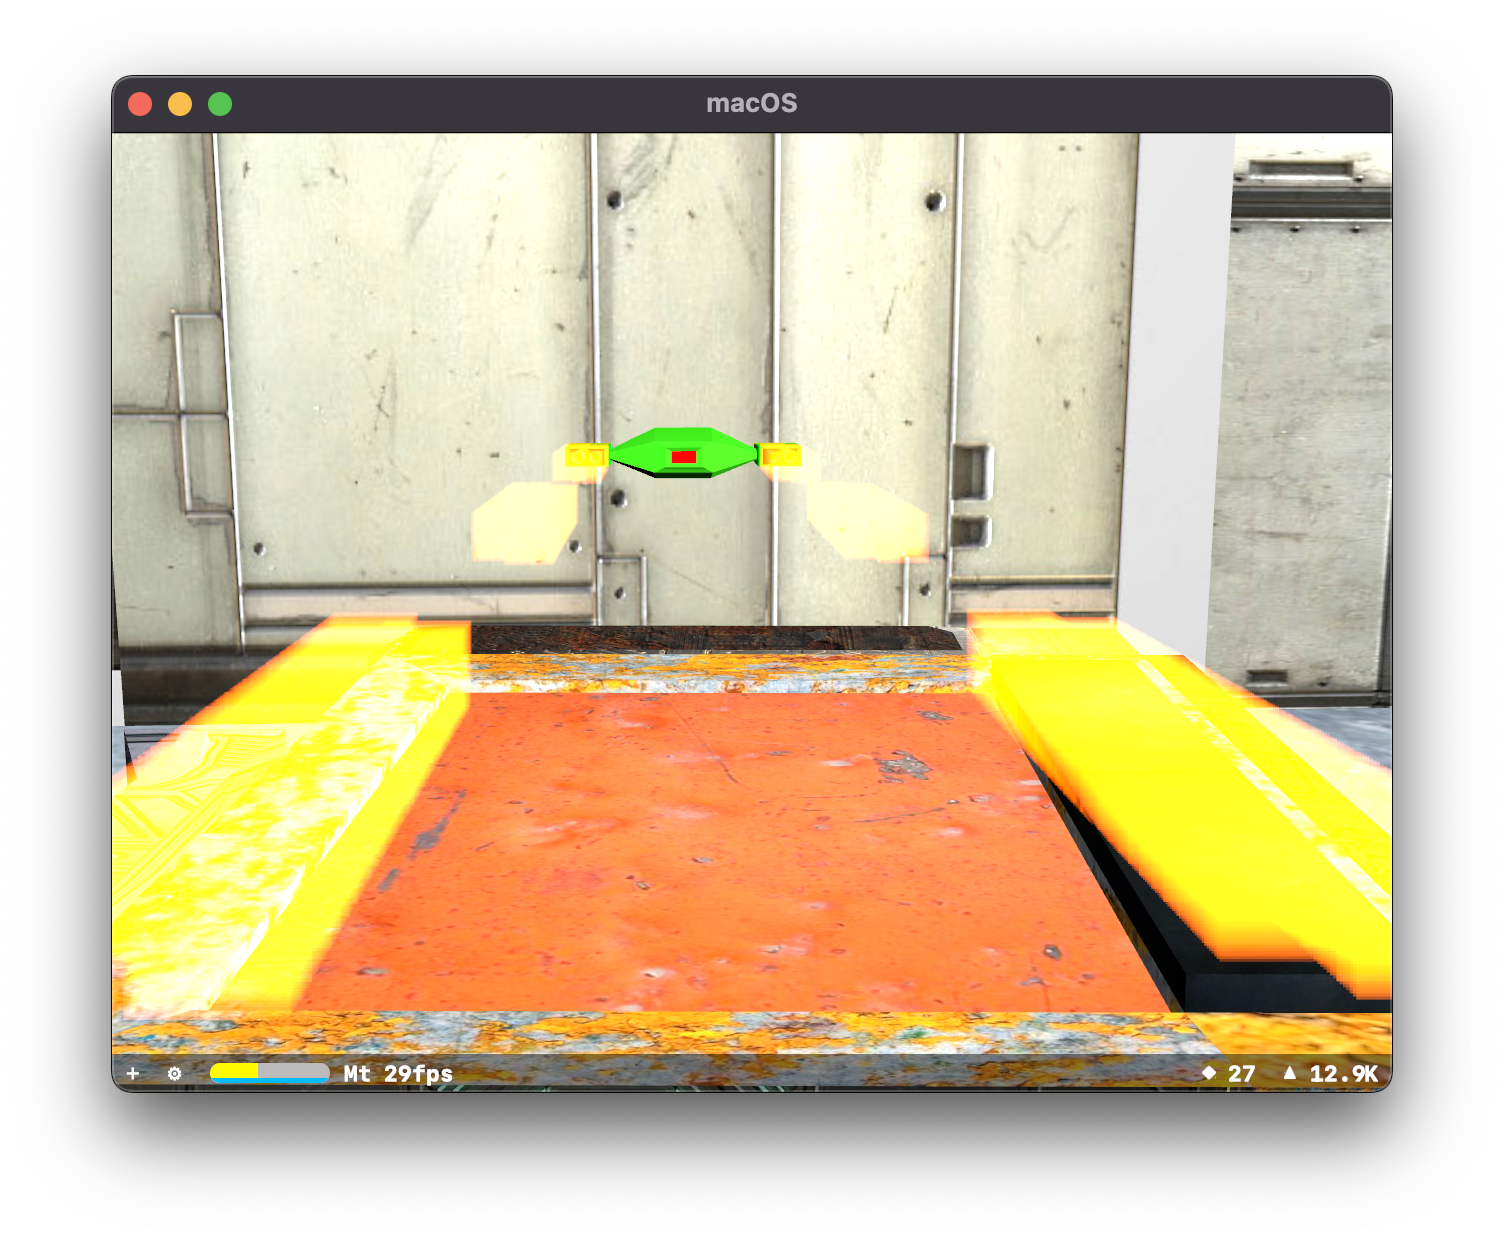
I can animate it as well and it looks pretty cool.
Bones
I spent a decent amount of time trying to figure out how I wanted the turret to work, maybe I'd give it legs so it could scuttle about. After spending some time looking into how you'd get animations working in SceneKit and exporting those from Blender, I decided to move on.
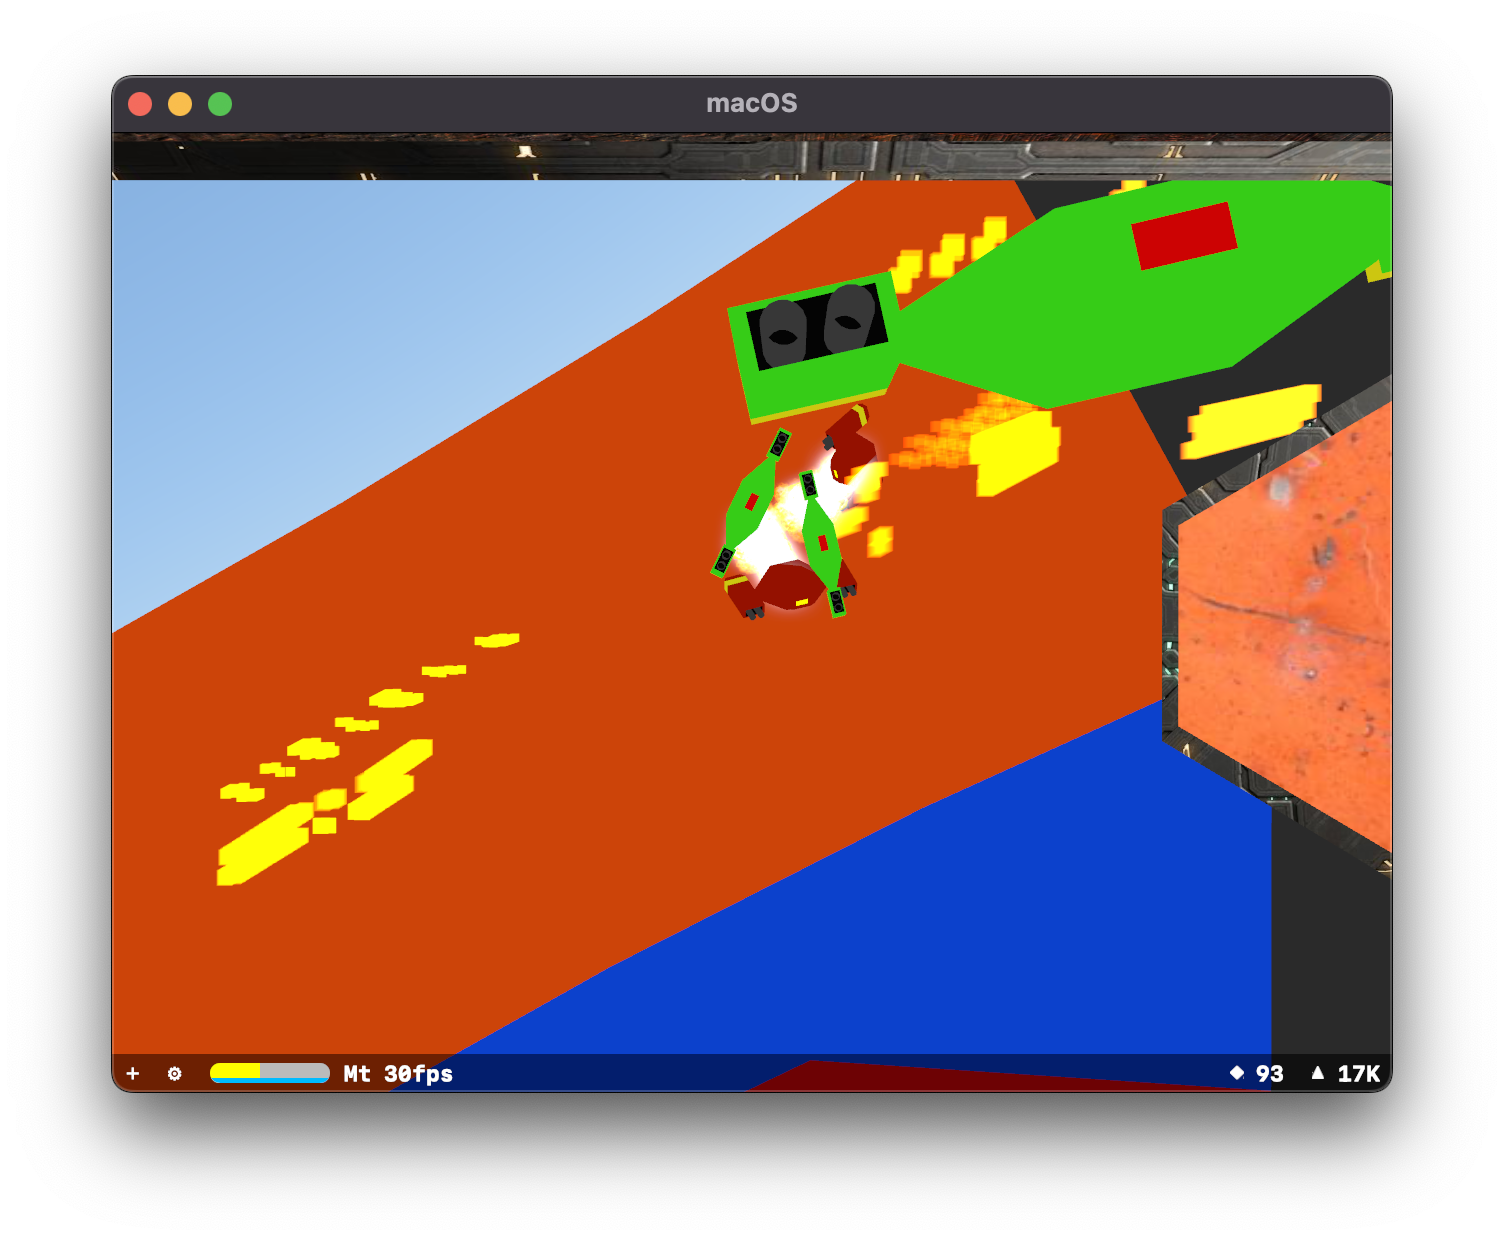
I returned to what Descent has for enemies:
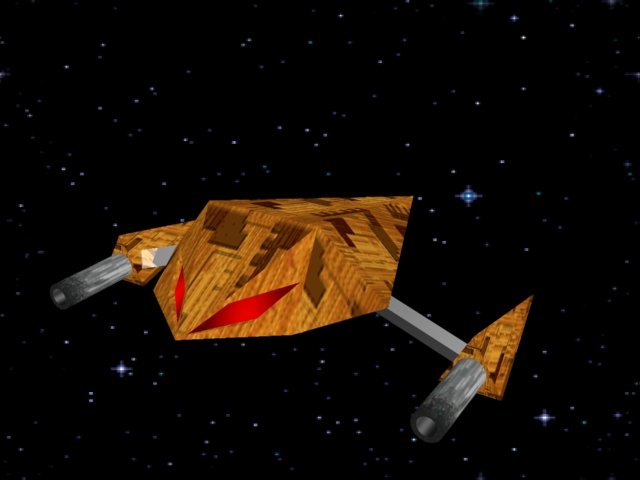
That’s a model of an enemy from one of the Descents.
It doesn’t have articulated moving animations, it just floats and shoots at you.
I thought the turret route would be easy, but adding legs was probably not the way to go.
Naming
I decided that I was going to name all my enemies after Mustelids, your weasels, badgers, otters, ferrets, minks, wolverines, and martens.
 Behold the Marten, it’s just a boxy thing with guns, but sometimes the classics are best.
I might have to scale it up, but it shows up. There’s just two on the map right now. I think once I can get them to orient towards me, which might be really easy since I just need to turn the entire model not worry about discrete components. I did leave the “weapon pods” their own nodes so I could in theory tilt them up/down and to the left/right if I thought that would make things look better. Actually the small size will help with that, because they almost always can just fire directly forward if they’re smaller visually.

![]()
I wrote at the time:
It’s very cool to see them slowly rotate to face me based on the animation duration and when it updates. I can at this point figure out how I want the firing animation to look like, and because they’re facing the ship I can have them fire “forward” and I get to go home early.
Light, as a weapon
The other thing you need to be an effective enemy, ostensibly on an asteroid mine, is a powerful laser weapon.
SceneKit has particles that I made into an effect:
Which allowed me to add them to the Marten:
Applied to the Marten already in the level:
And I made the laser more additive and added some orange tones:
The one thing I quickly identified was that having four weapon barrels was a tremendous mistake on my part. I should've kept it at two.
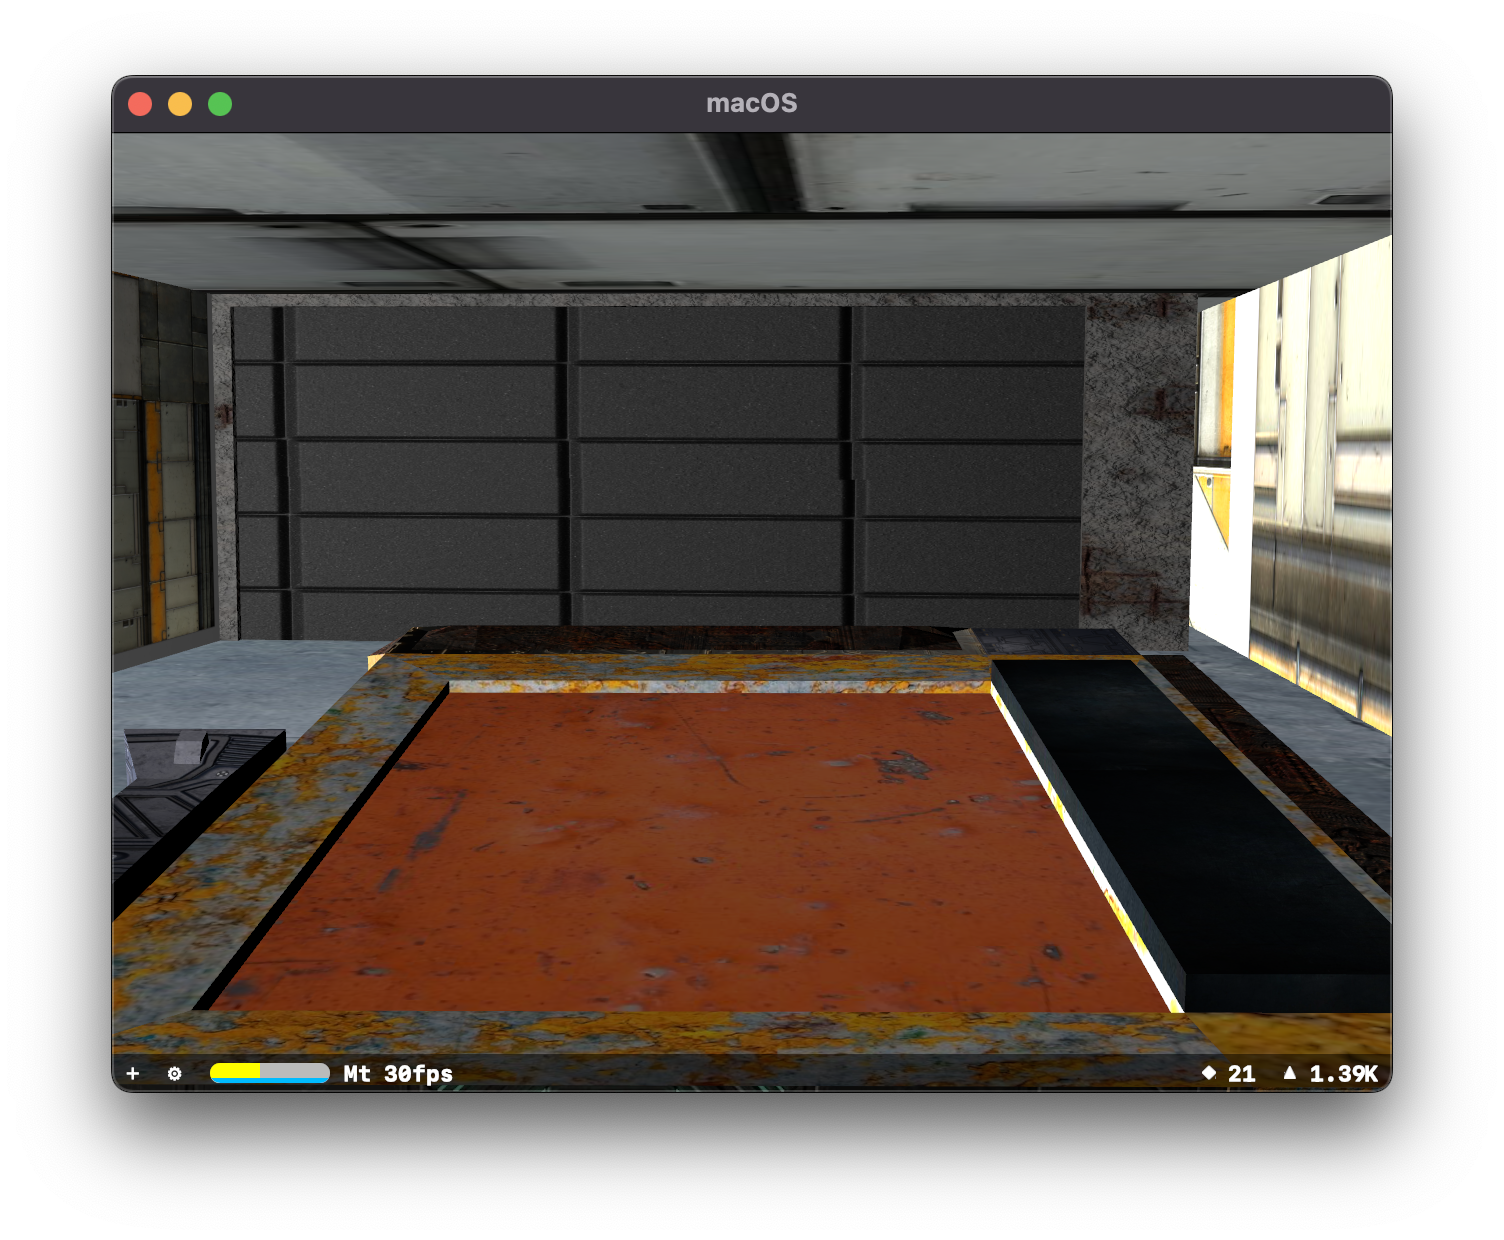
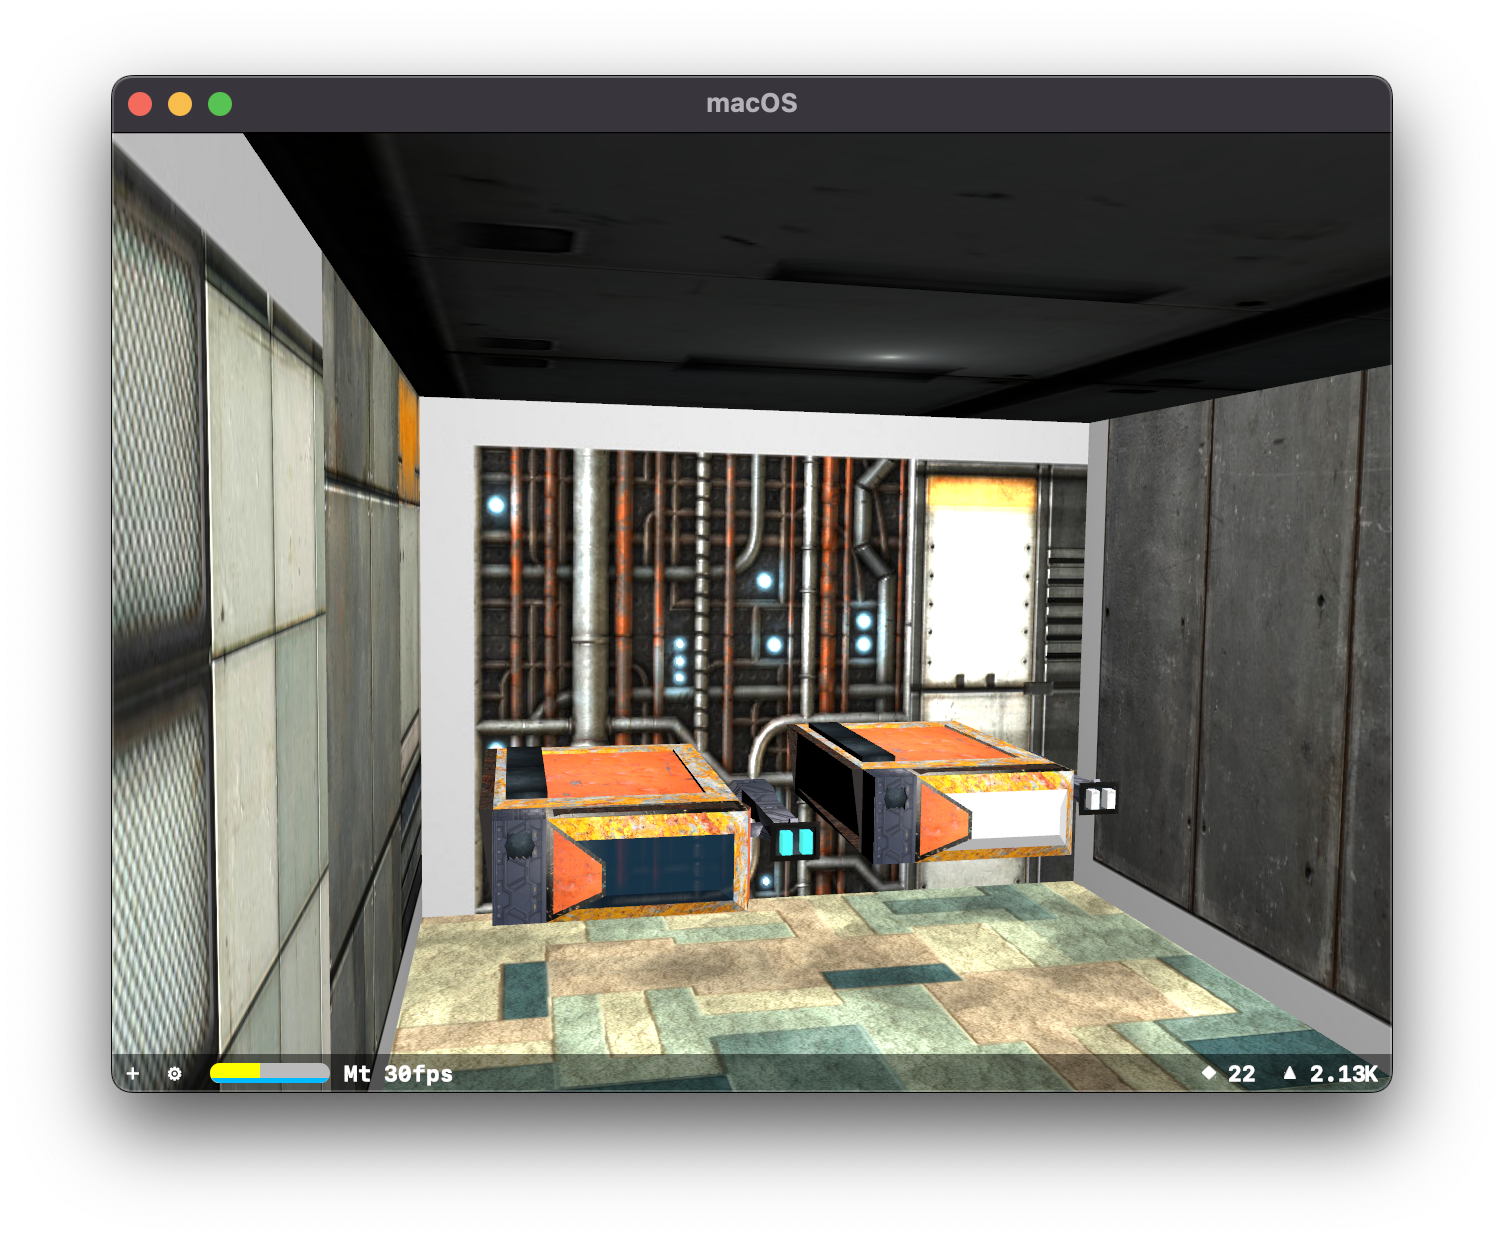
Door Installation Professionals
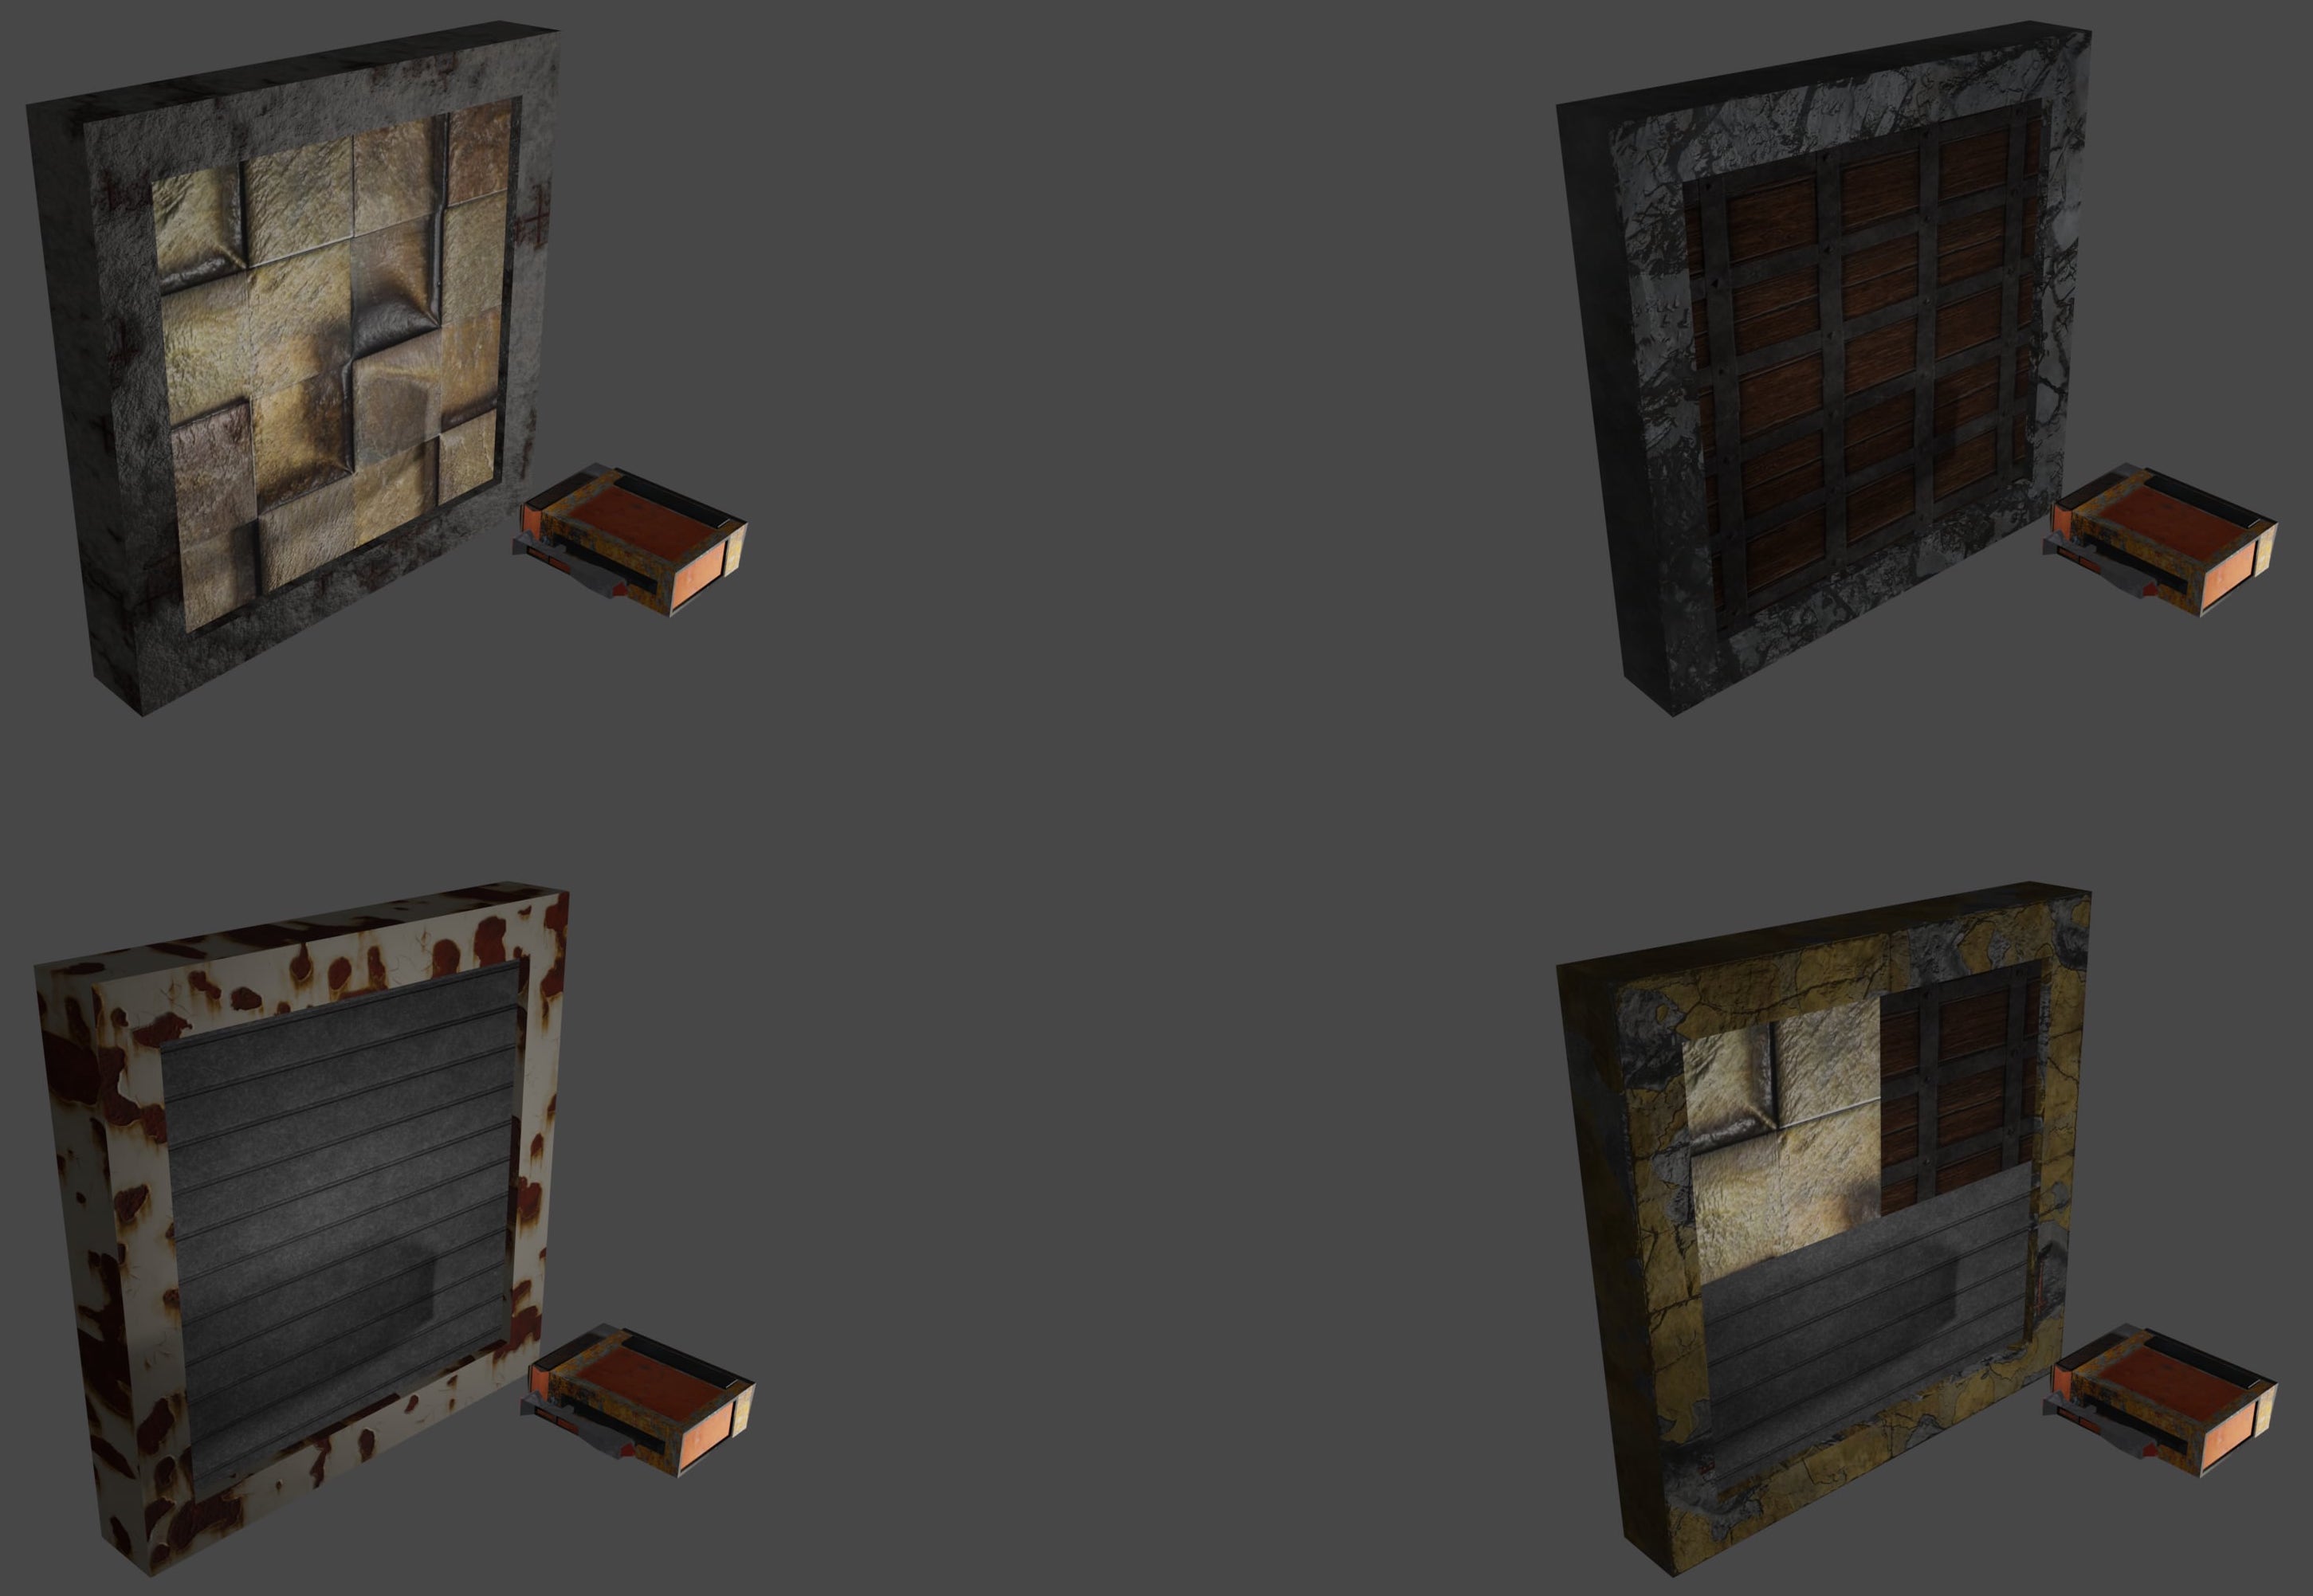
I created some new materials for both the door frame and the door segment materials.
I wasn't sure of the best way to add the doors into my level. I could add them individually to the level as part of the level geometry so the level was complete, or I could add nodes that would be spawned/replaced with doors.
I opted to go with door spawning:
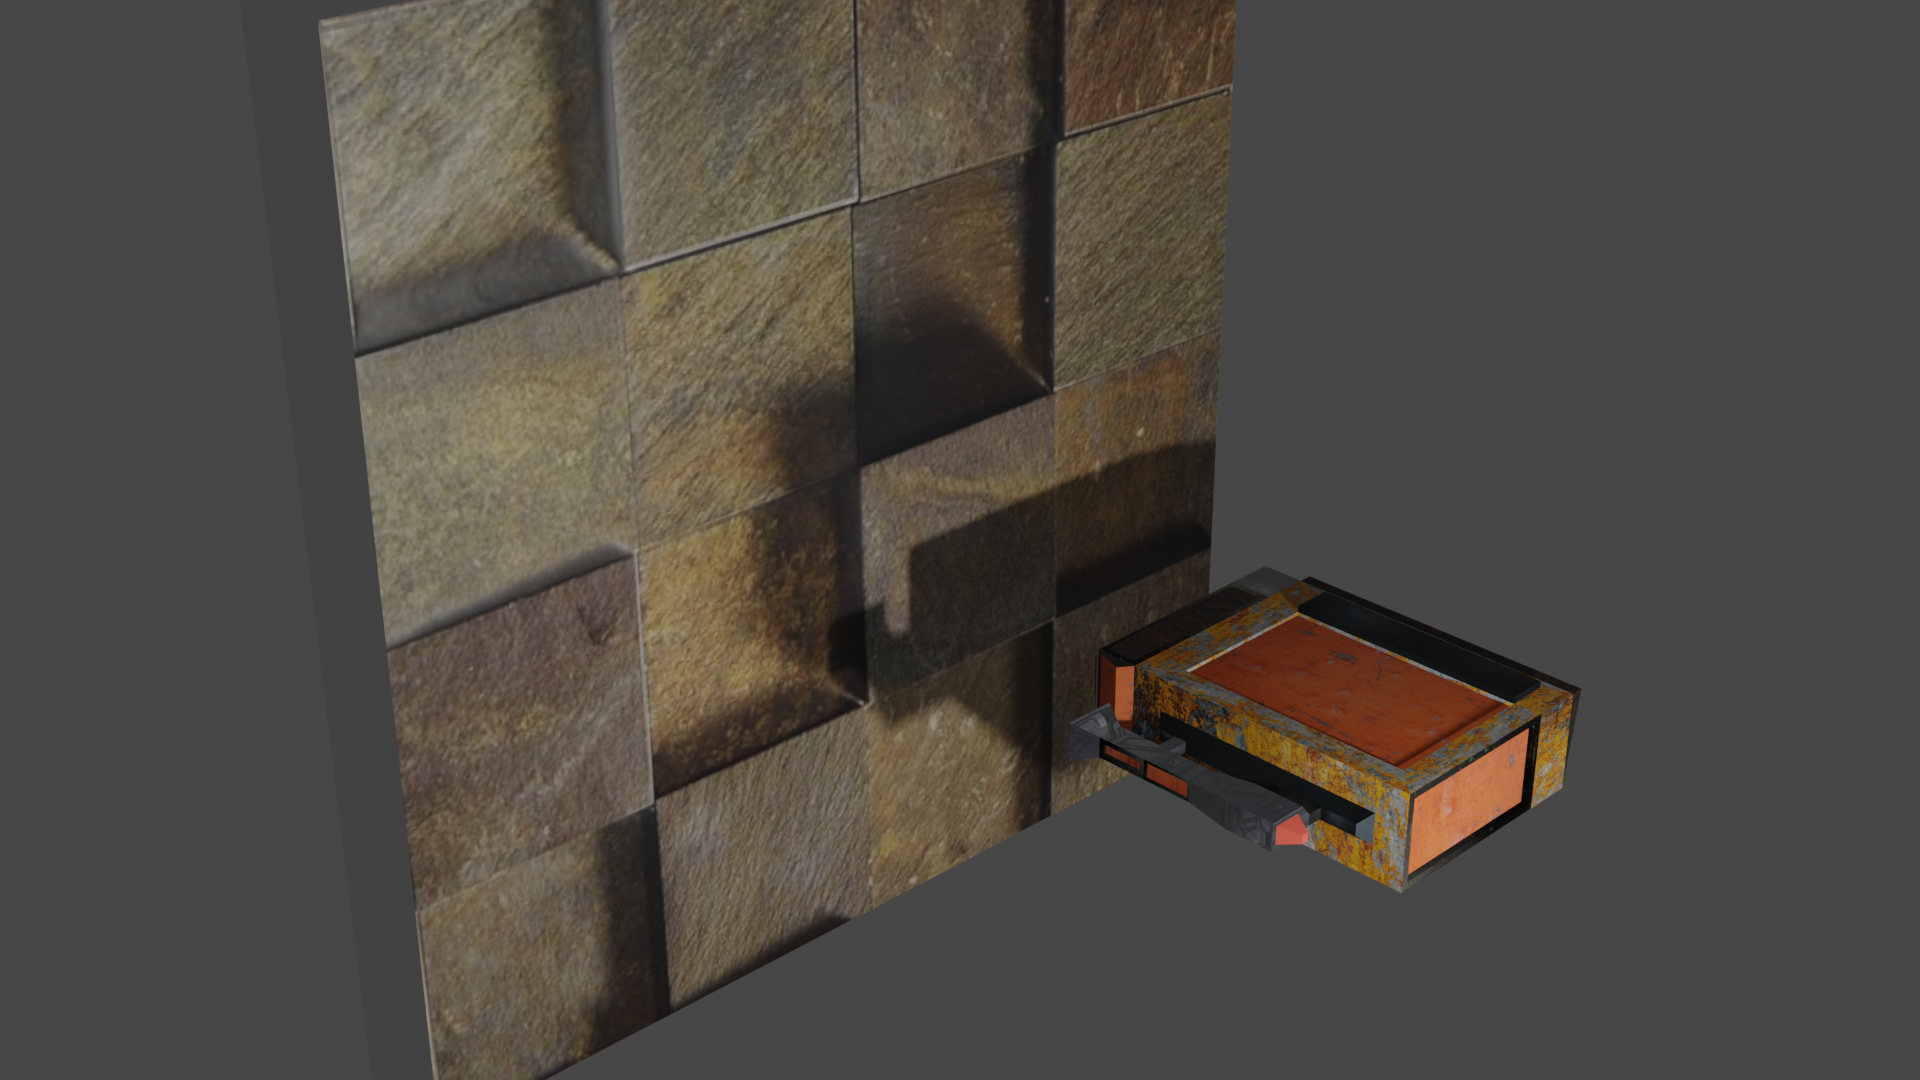
Just need to apply some scaling to get it to fit the entire corridor.
The object I was using to represent the door in my level was a 1x1x1 cube, but the door I have created is not 1x1x1 in dimensions. So I adjusted the placeholder object so it would scale properly:
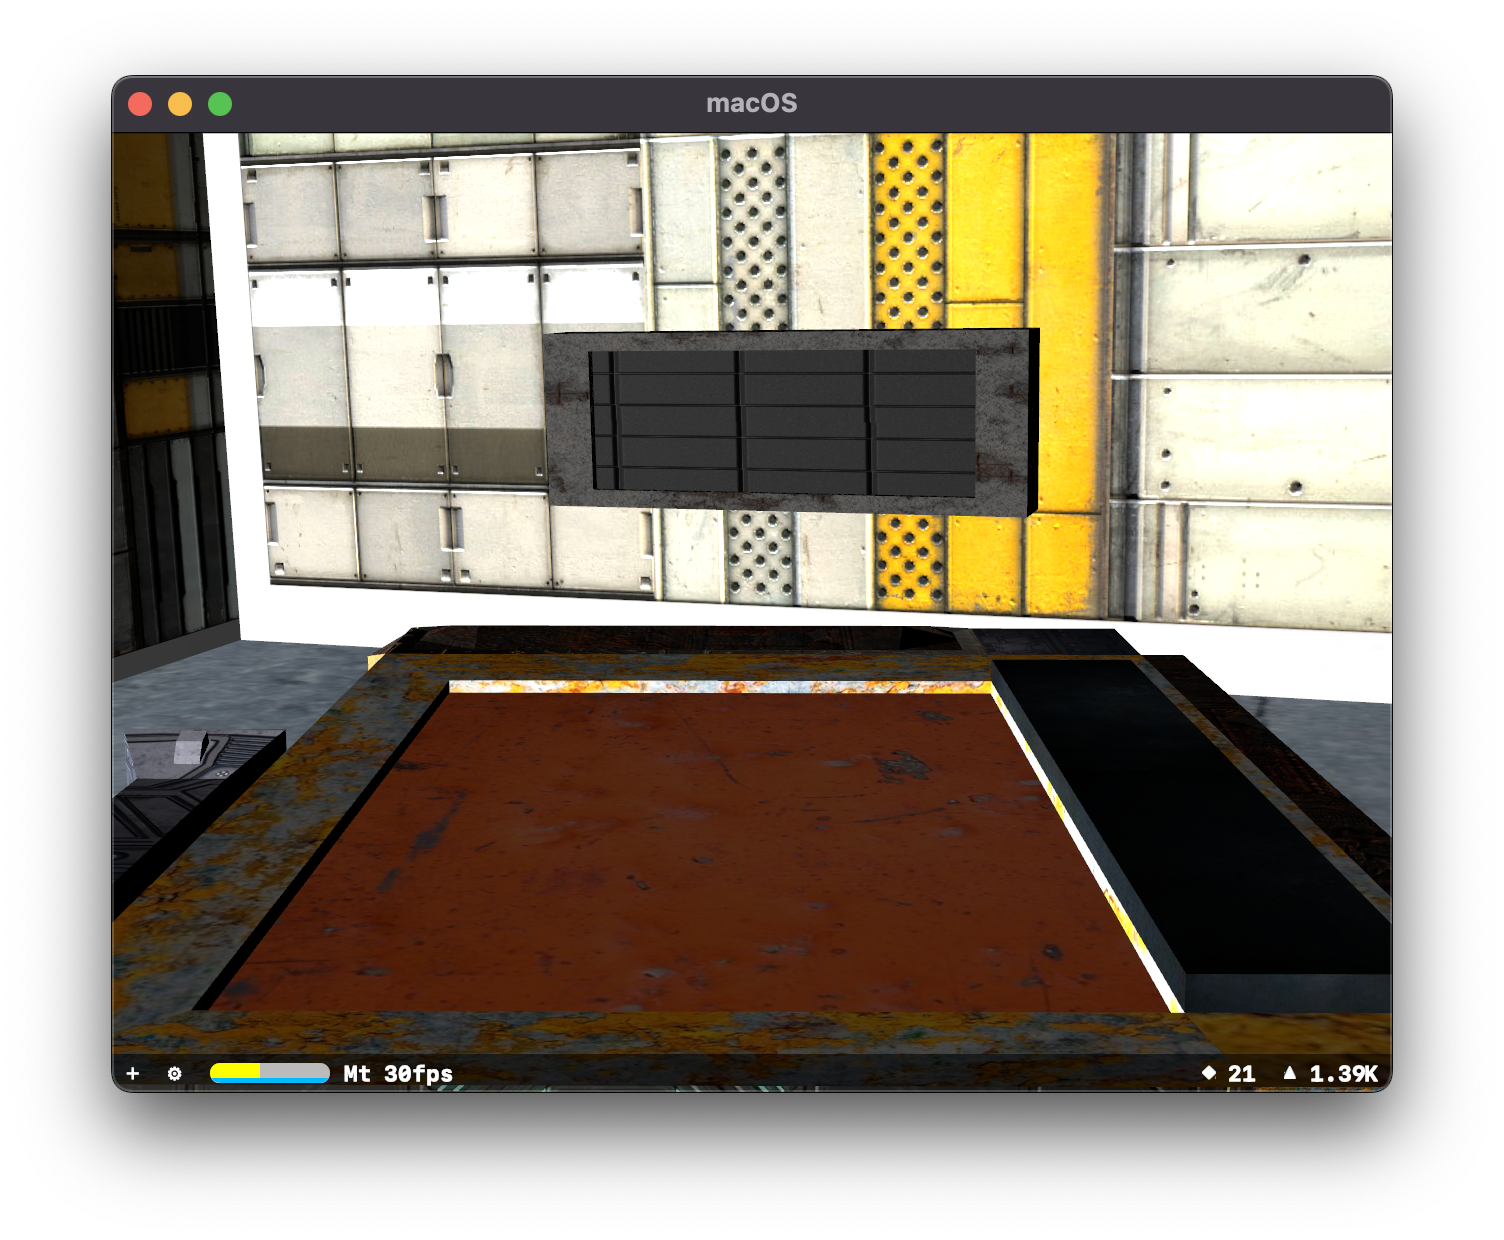
Not exactly what I was hoping for, but fixable.
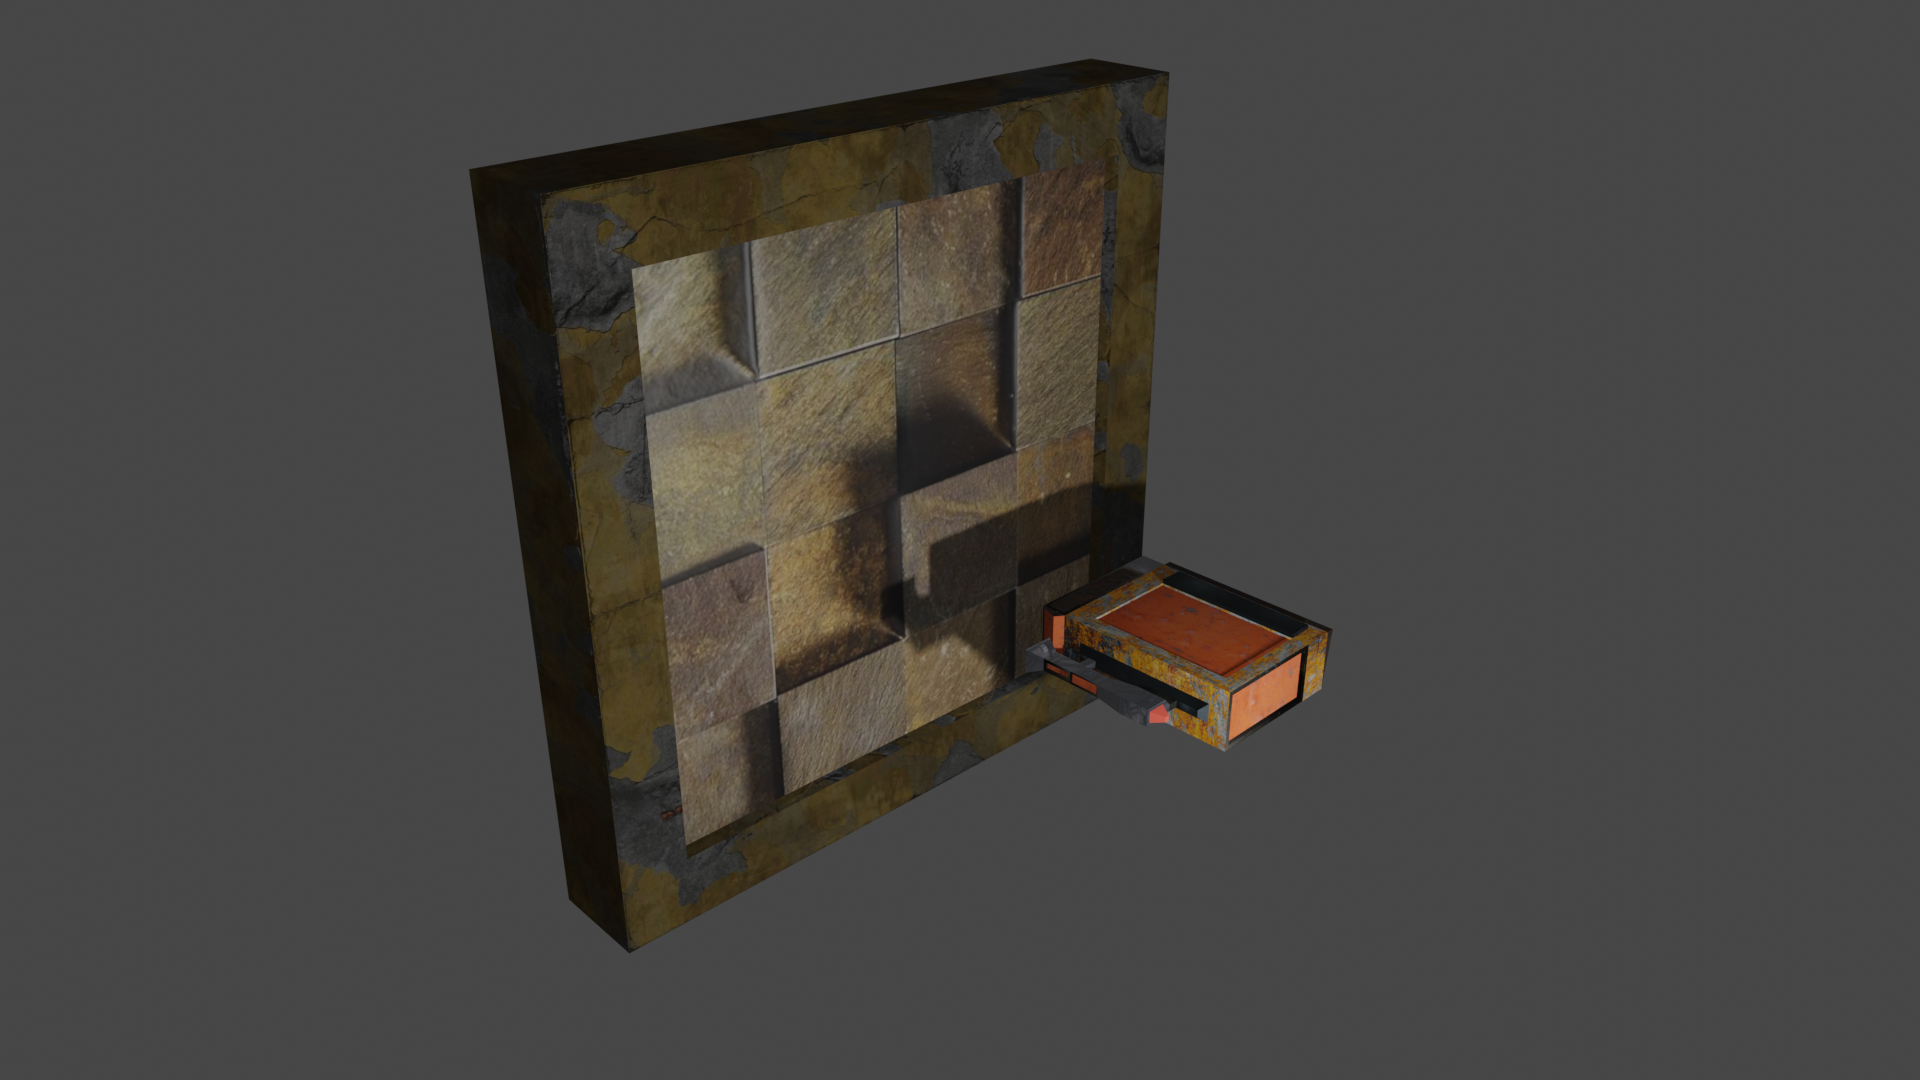
The other problem I was attempting to solve was how to store Door metadata. I am still treating Blender as a level editor, so why not make it the place where these things are defined.
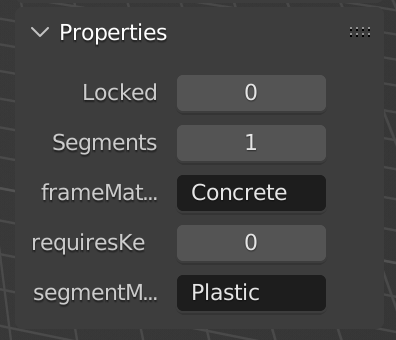
This allows me to configure everything in Blender, and then it will be read by my game to configure things like the door frame material, if it's locked, requires a key, or how many segments it has.
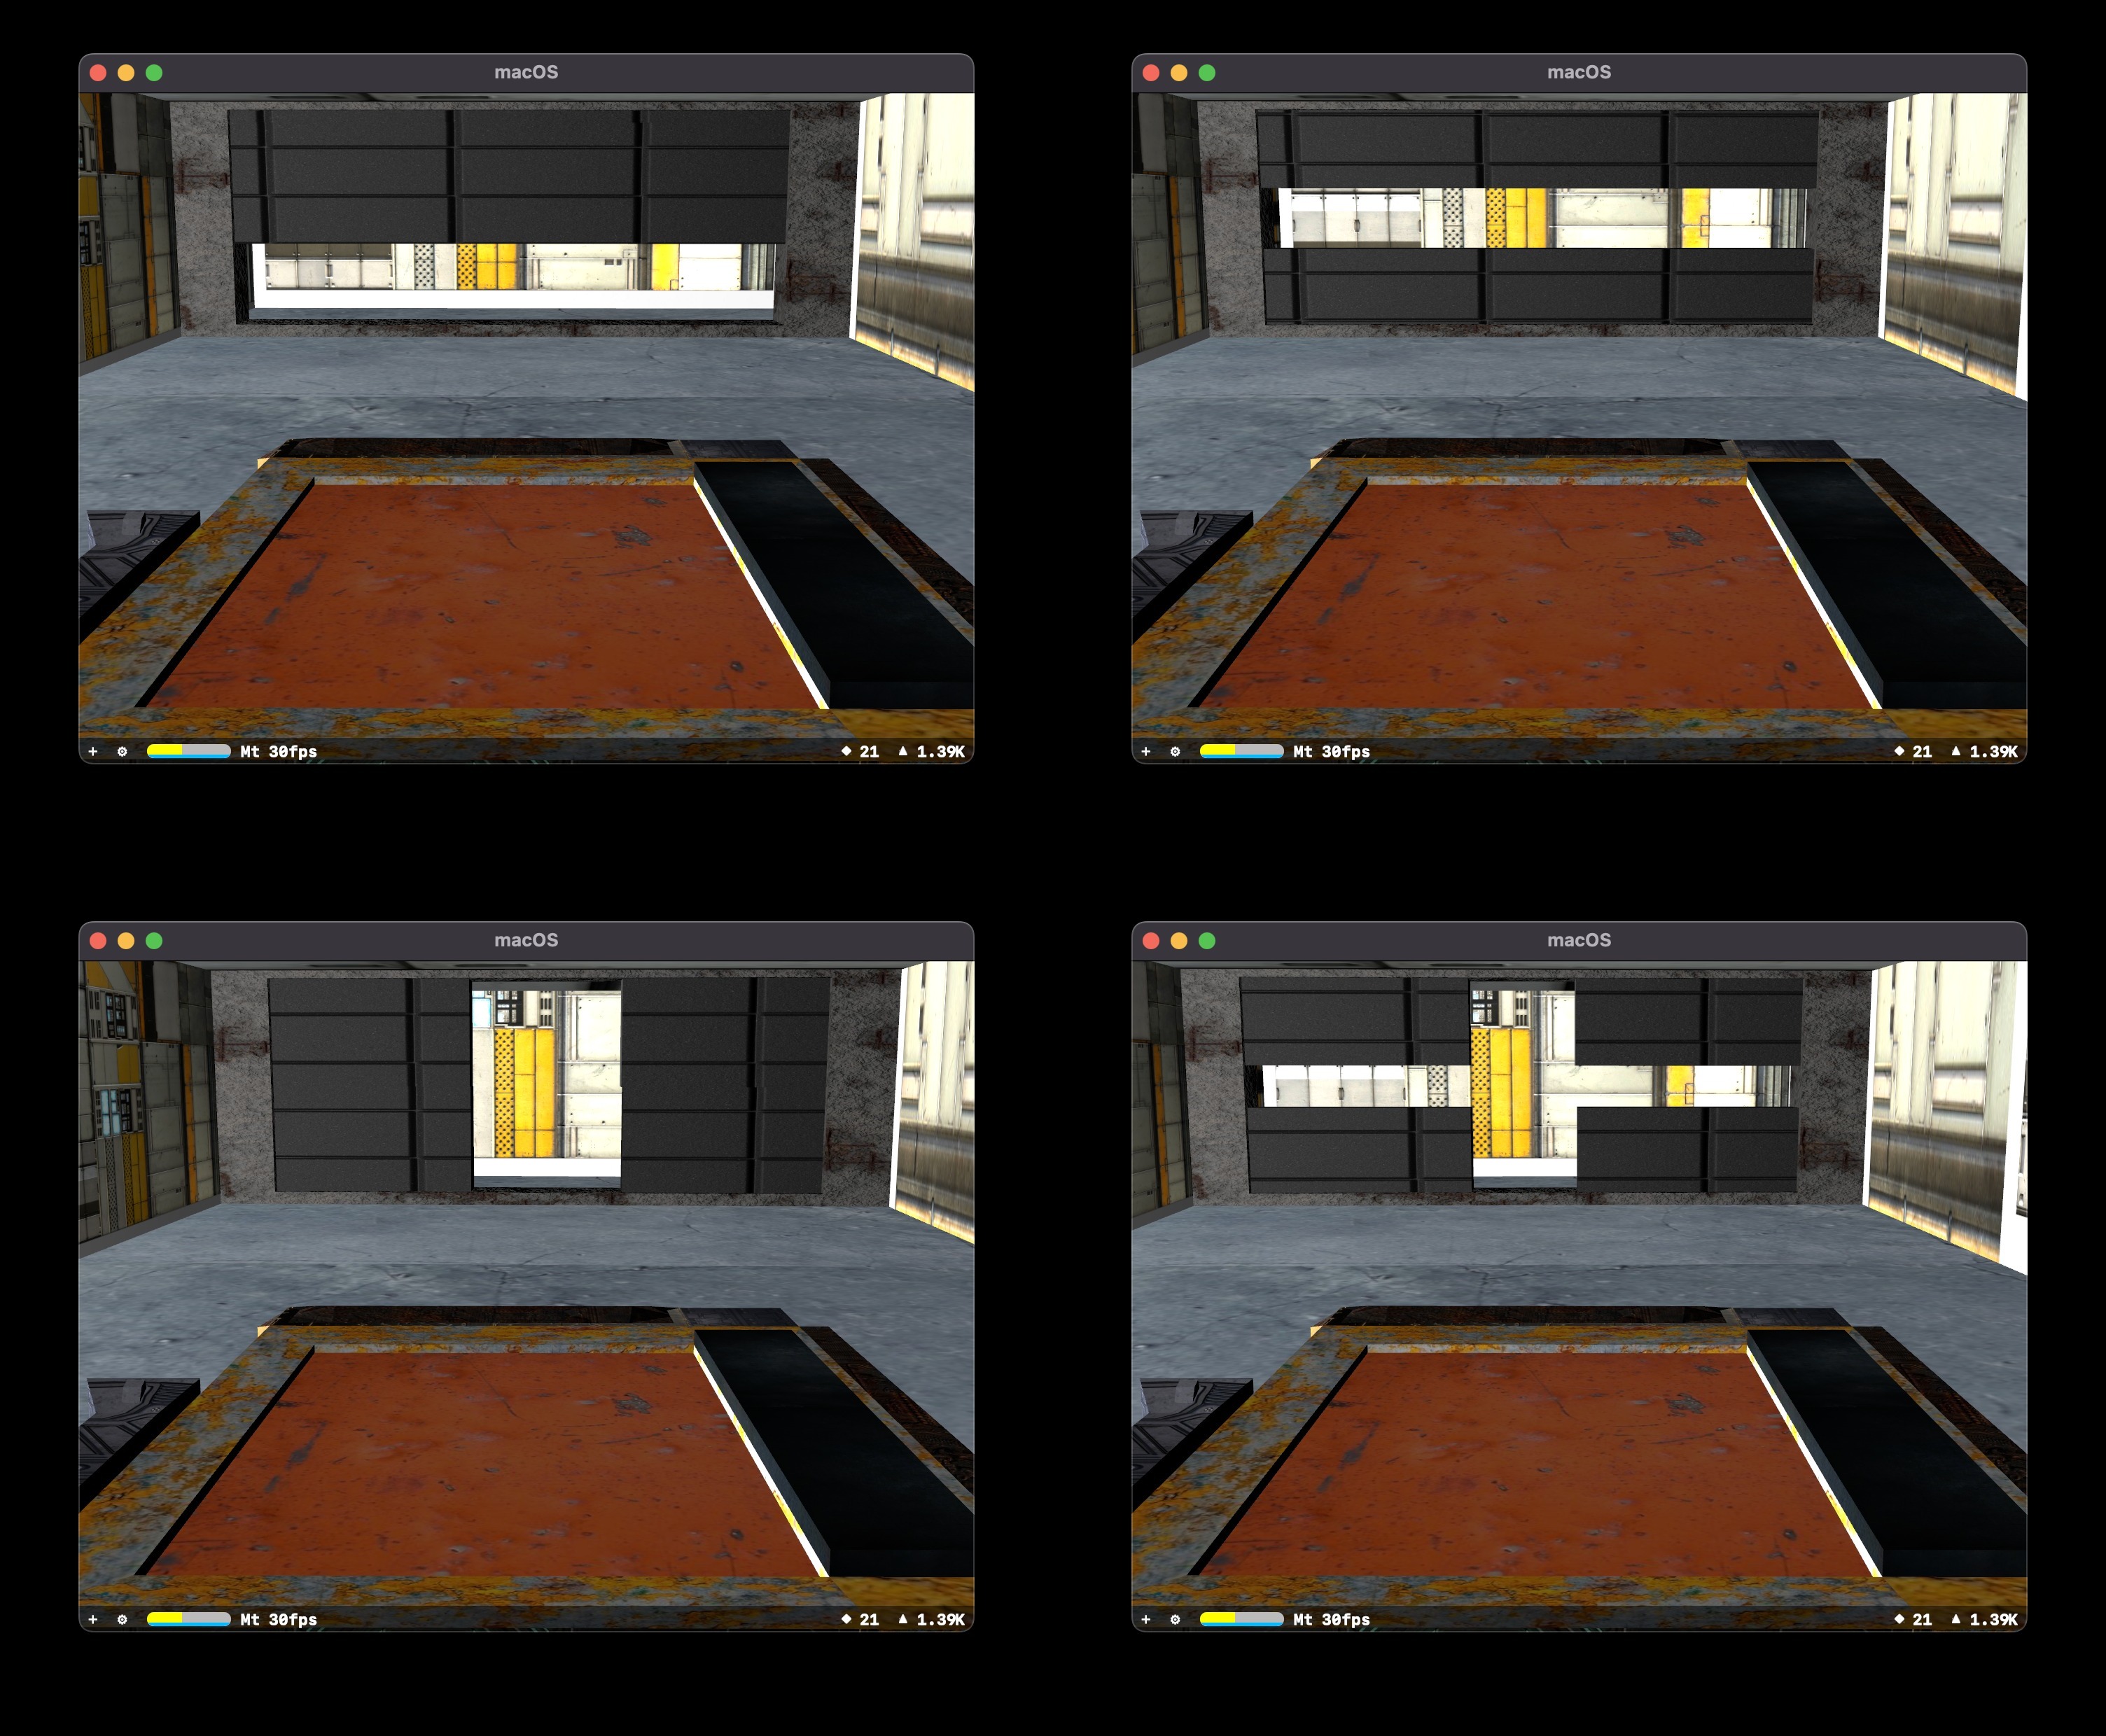
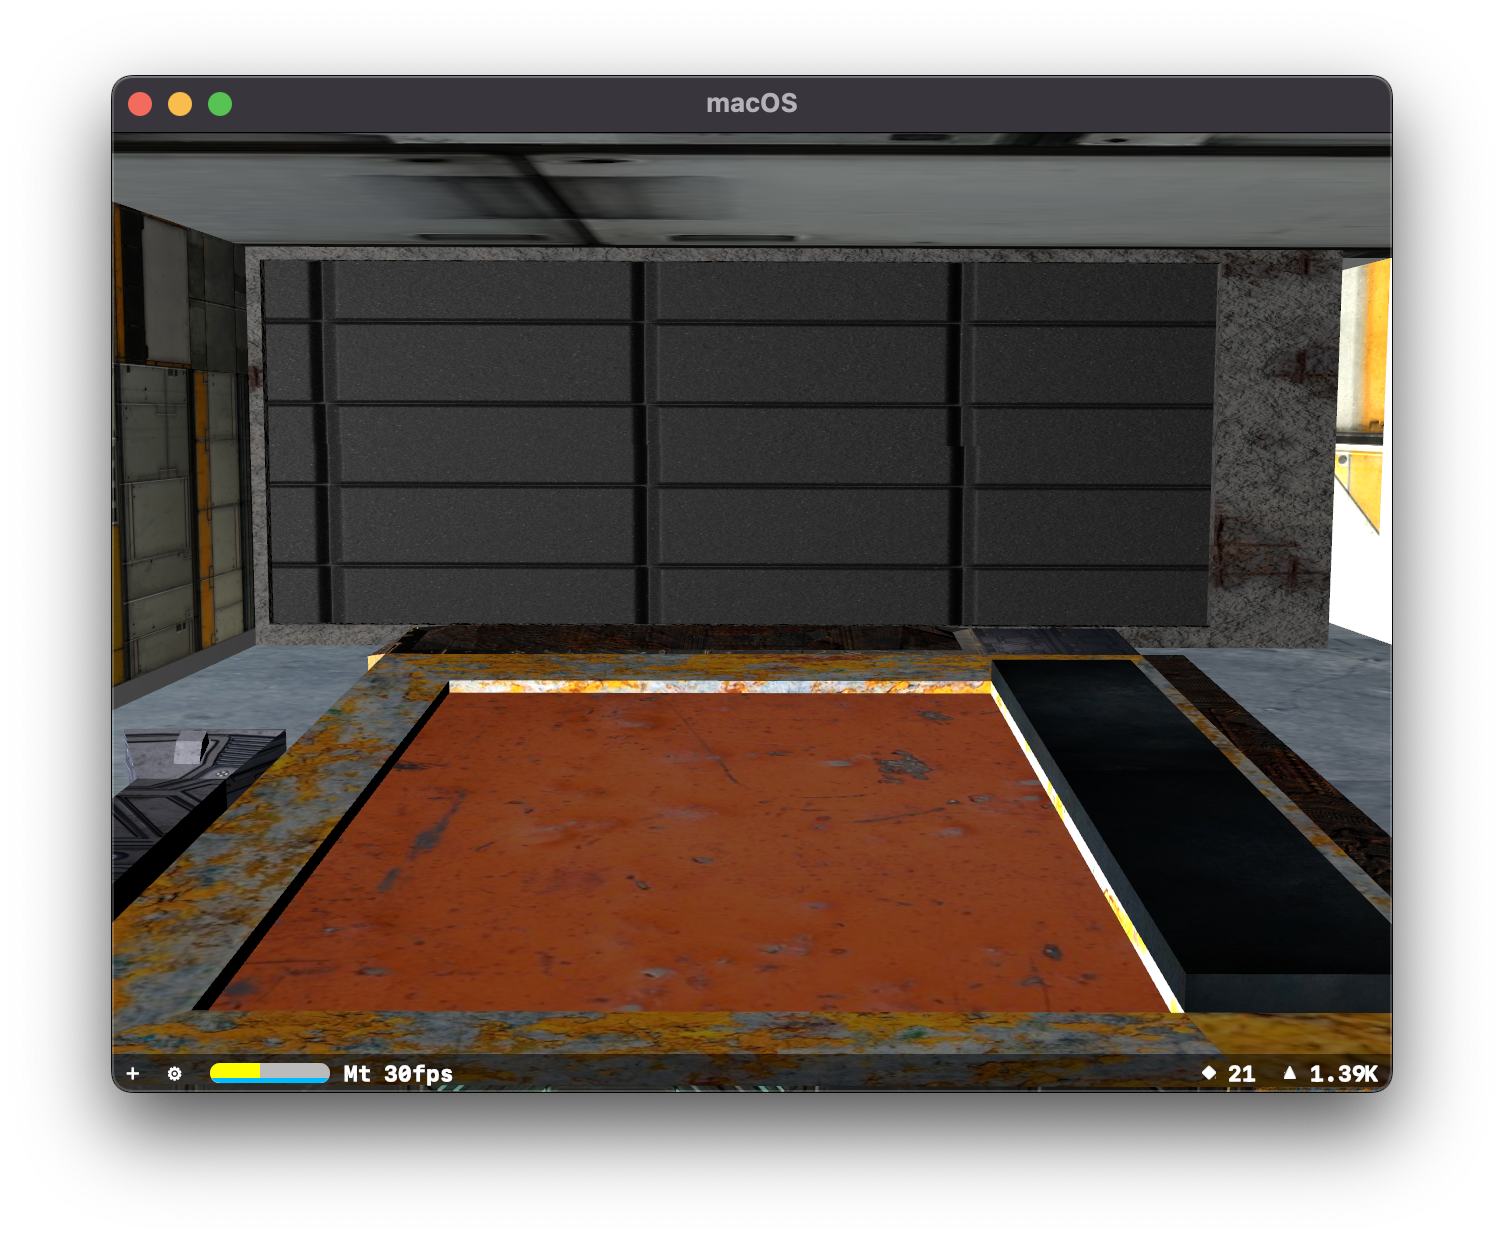
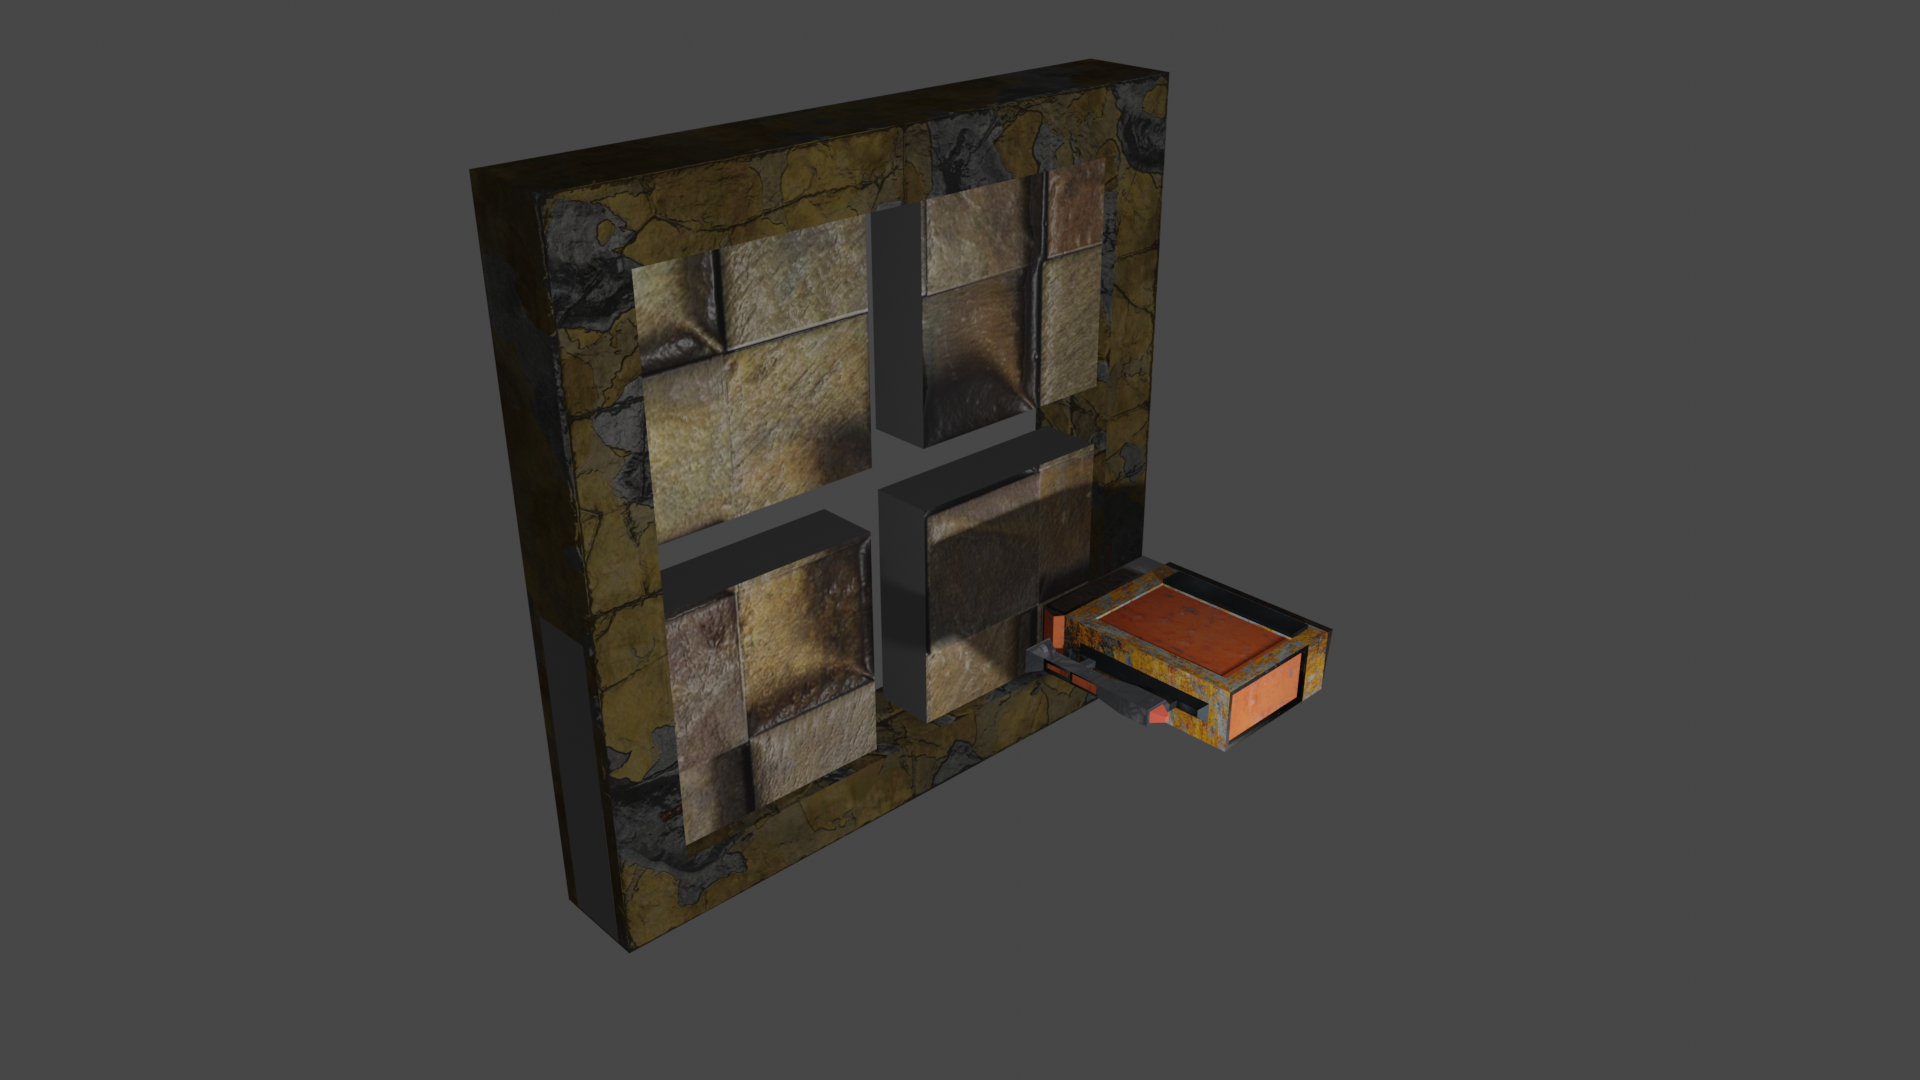
A door with "3 segments" is just a 2 segment door that opens horizontally, whereas the one with 2 segment is the one that opens vertically. I worked on readjusting the segment materials and updated my game so that it would randomly select a door frame material and a segment material.

I also attempted to indicate that if a door requires a specific key, by adding a colour to the material:
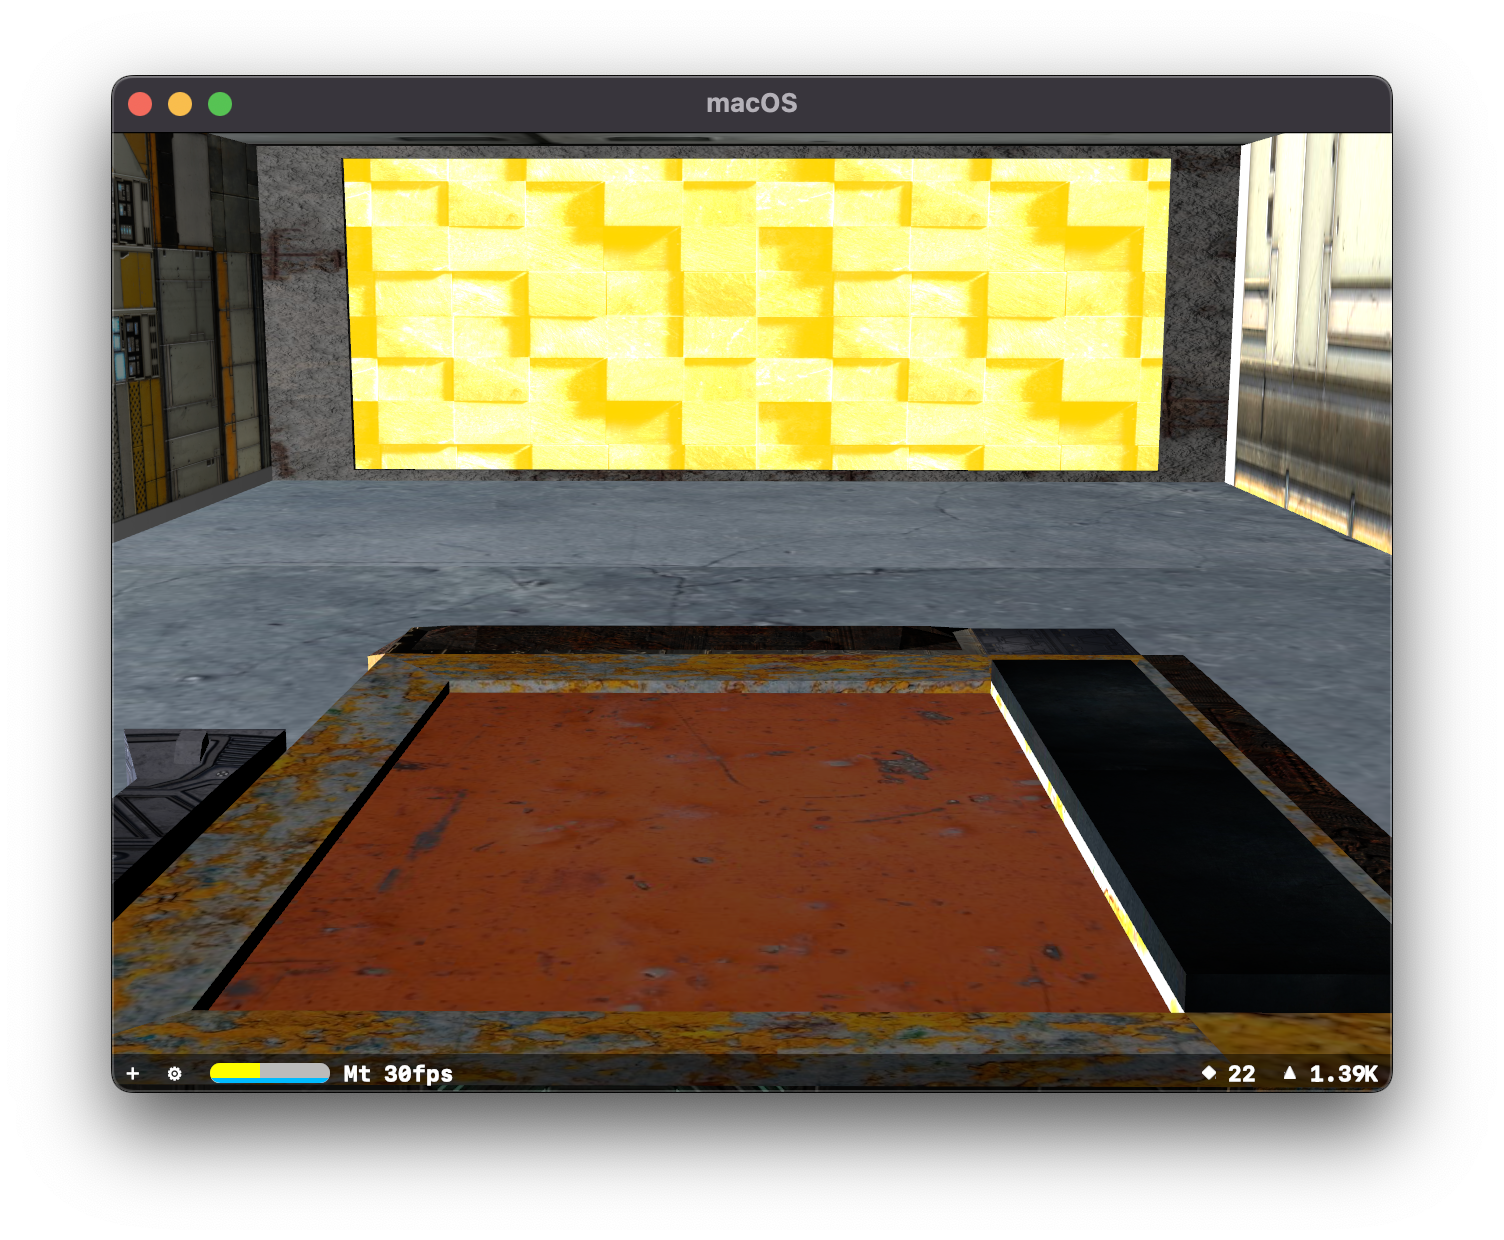
It doesn't look great, but I figured I would solve it later. The other issue I wanted to address was how you opened the door, previously you had to collide with the door for it to open. I added an additional area before/after the door that allows the door to open before you intersect with it.
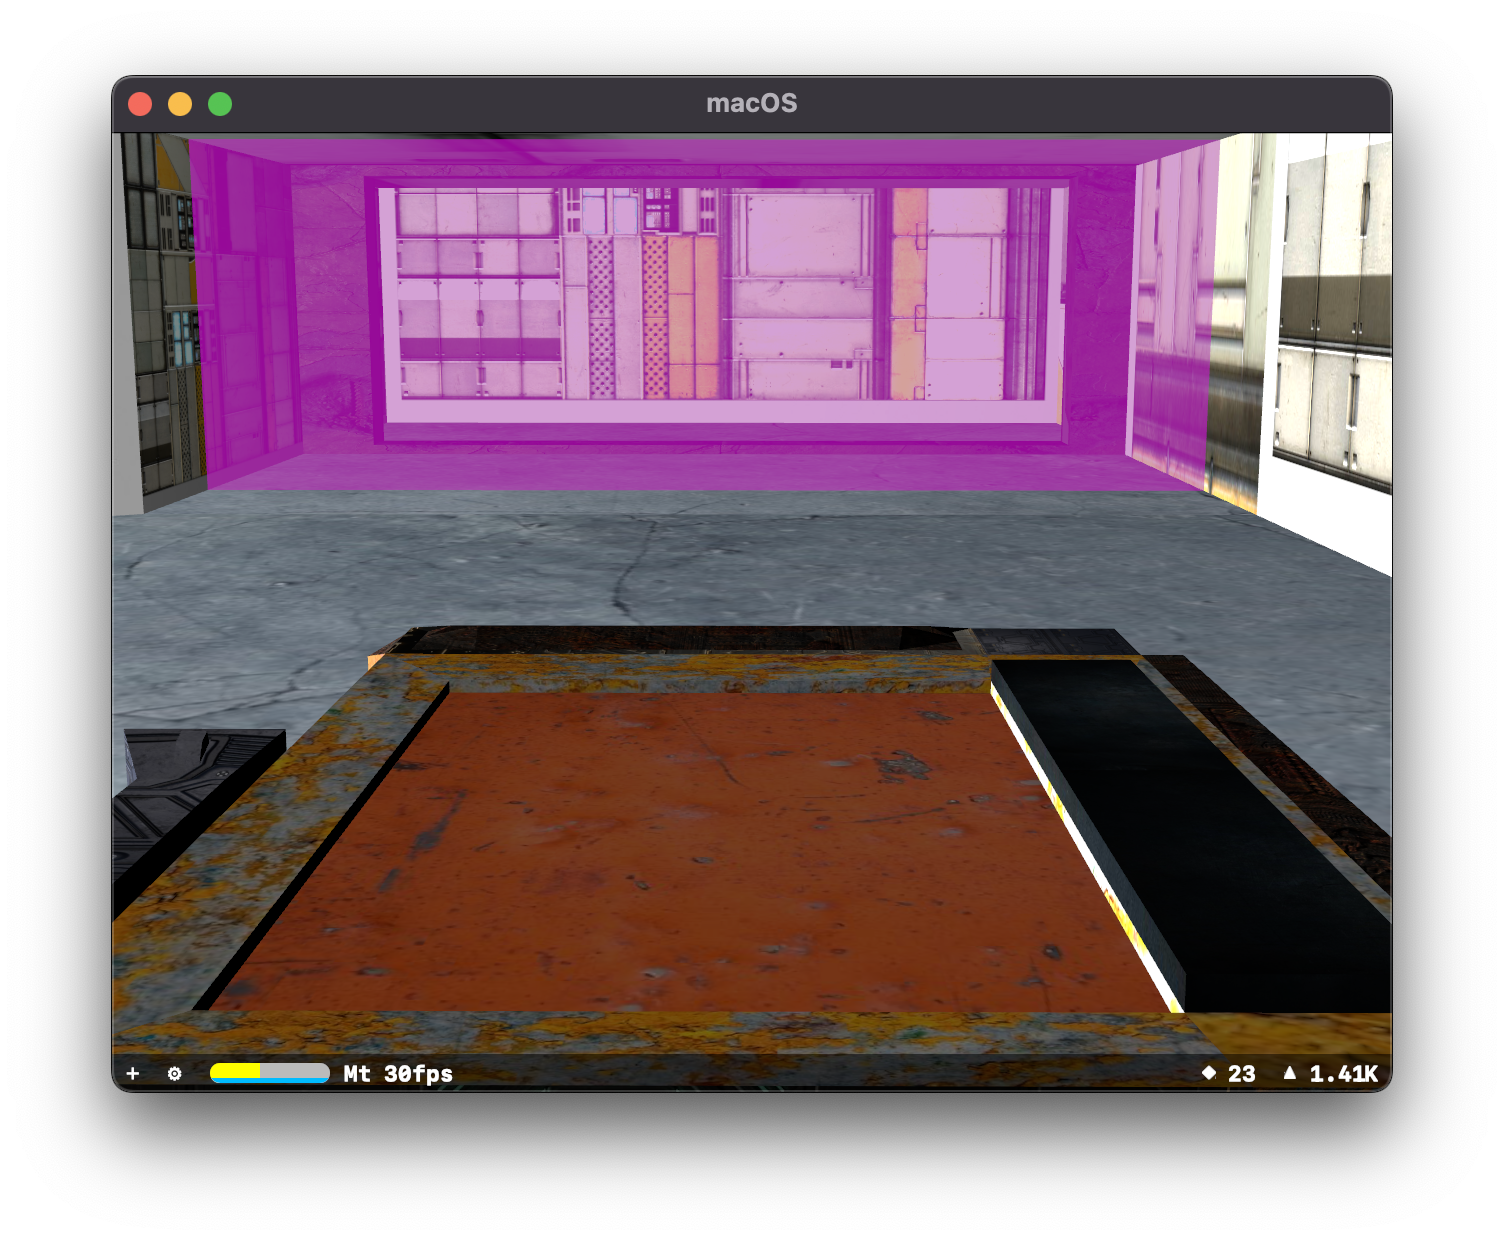
Just entering the purple zone will open the door.
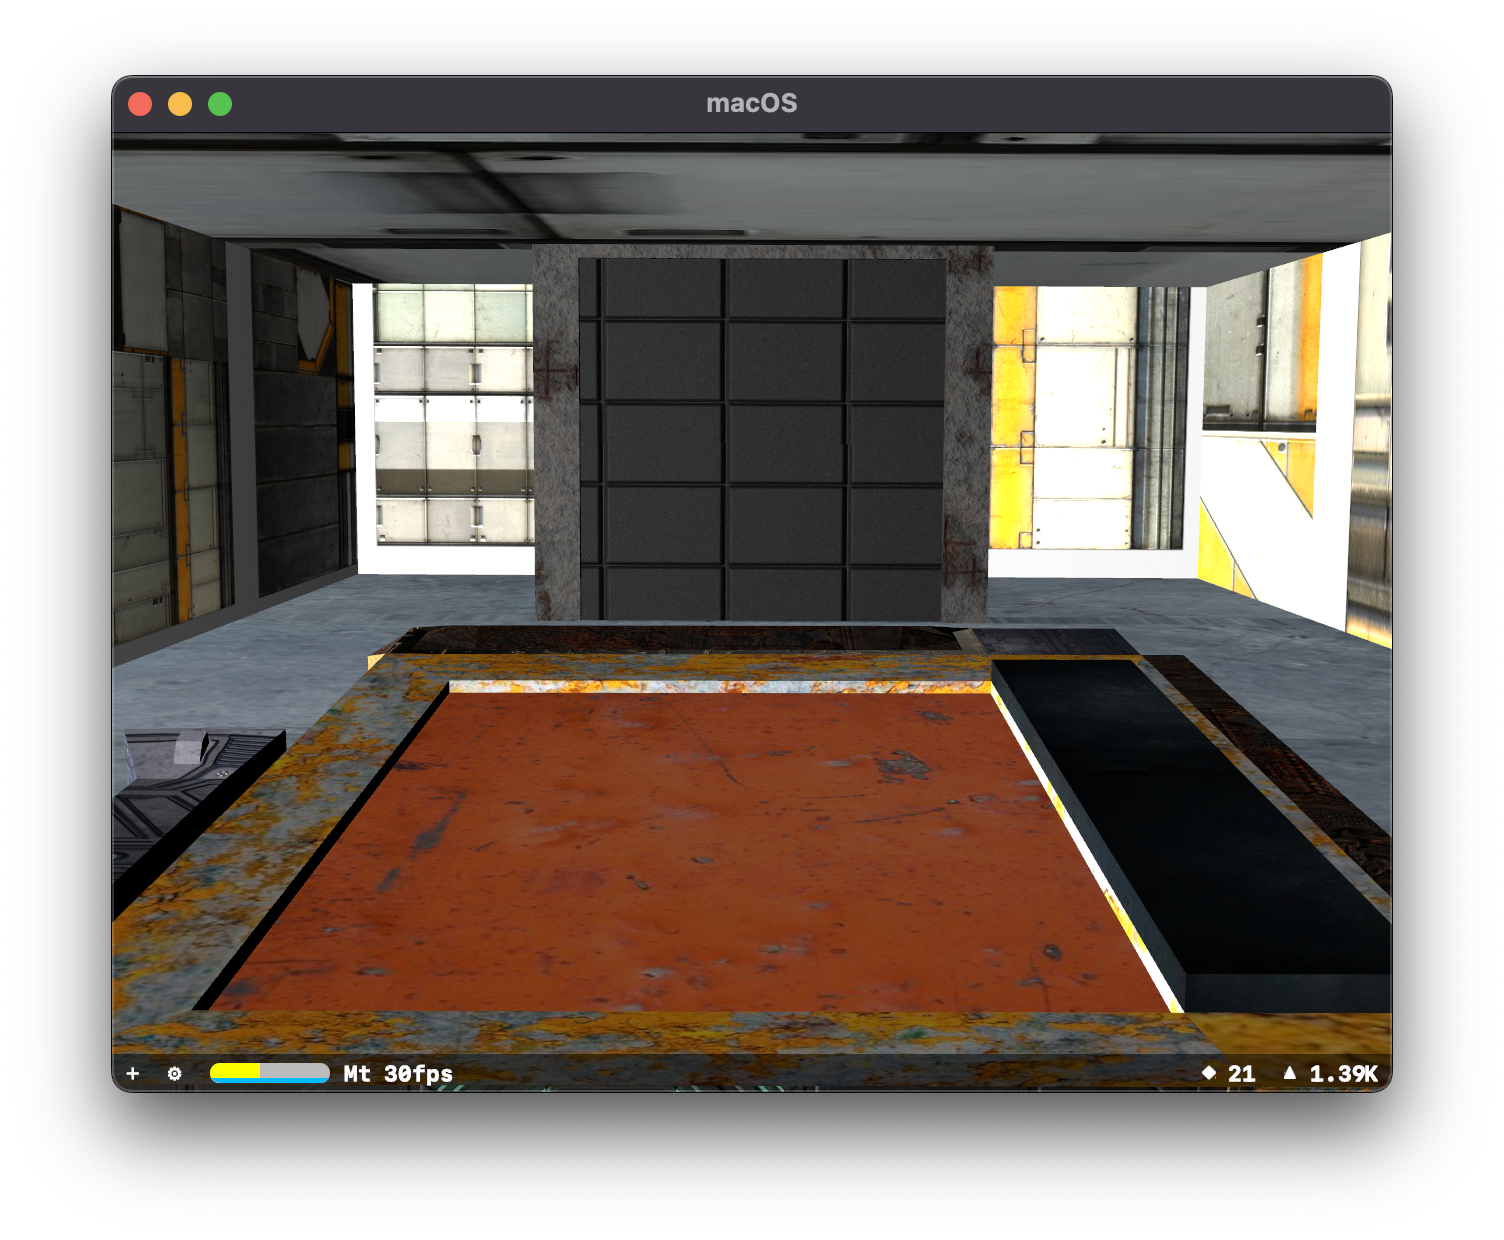
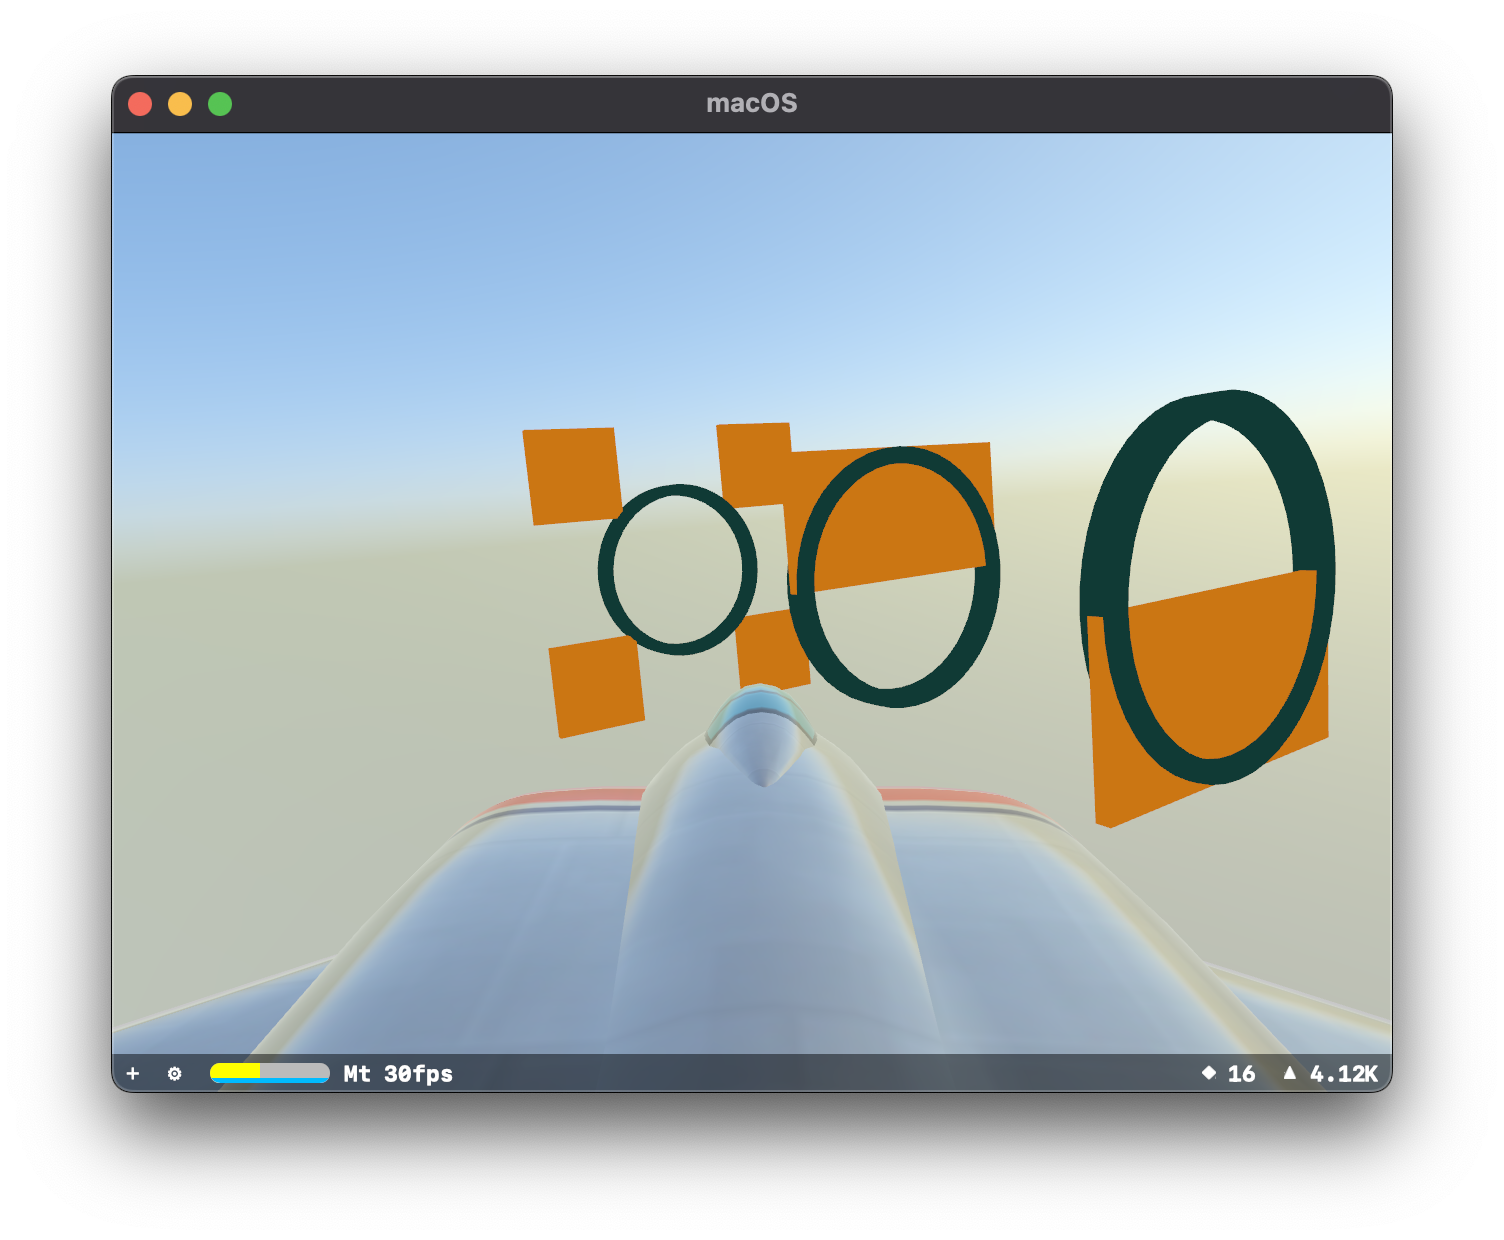
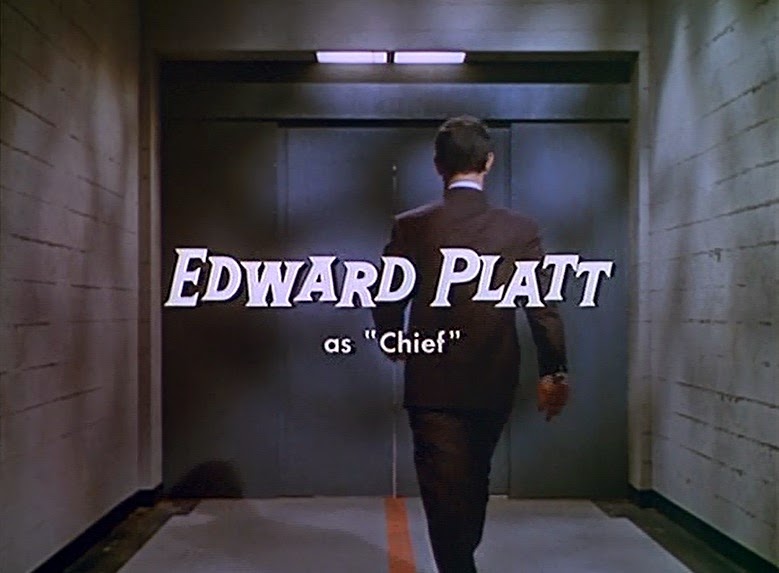
Having doors that open properly and have random material selection allowed me to create a hallway of doors:
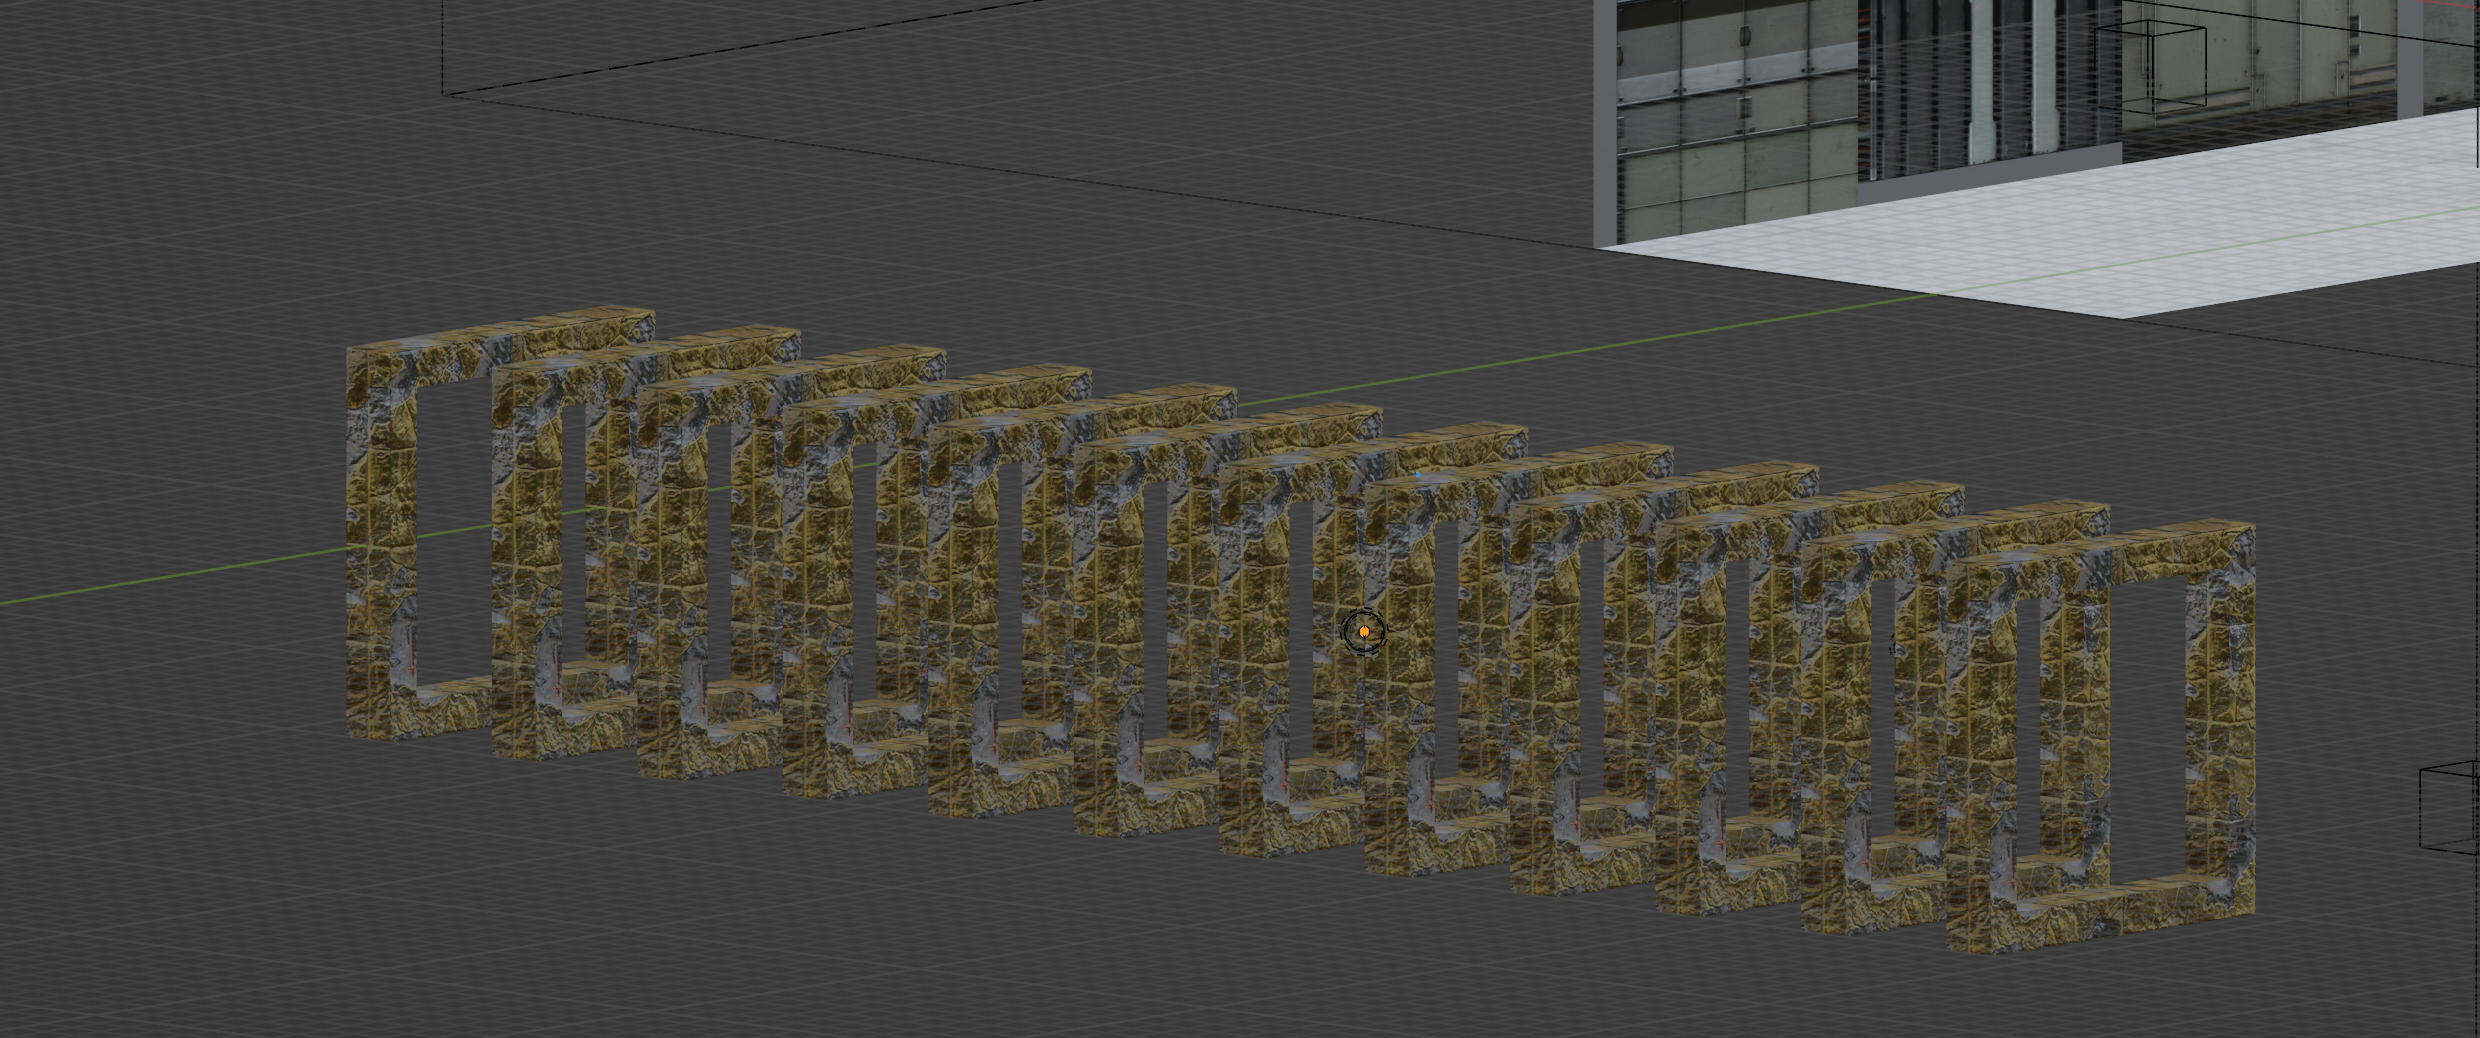
Which looks like this:
My own version of the Get Smart intro.
Heart in a Blender
After my success with the concept of doors, I decided to embark on creating a level in which to have potentially many doors.
Gotta say, the darkness gives it a bit of a vibe.
I also added a way to create/instantiate the Ship from another scene entirely. This lets me attempt to keep things separate, any changes I make to the ship do not require me to update the level, or vice-versa. Previously the Ship object was embedded inside of the level. Unclear as to why the floor is so eye searingly red.
I also added some additional cameras on the ship, including one on the inside.
Floor textured replaced.
Looks like the carpet of a Dentist’s waiting room, but I think we can all agree: not red.
Great, now what I need is to make an elaborate door.
I was quite impressed with how proper textures with depth maps looked in Blender. My plan is to slice the door into 4 segments, so that I can move them independently to create different door effects.
I added a door frame!
That's one way the door can open, but the same idea will be used for hanger and "super market entrance" doors.
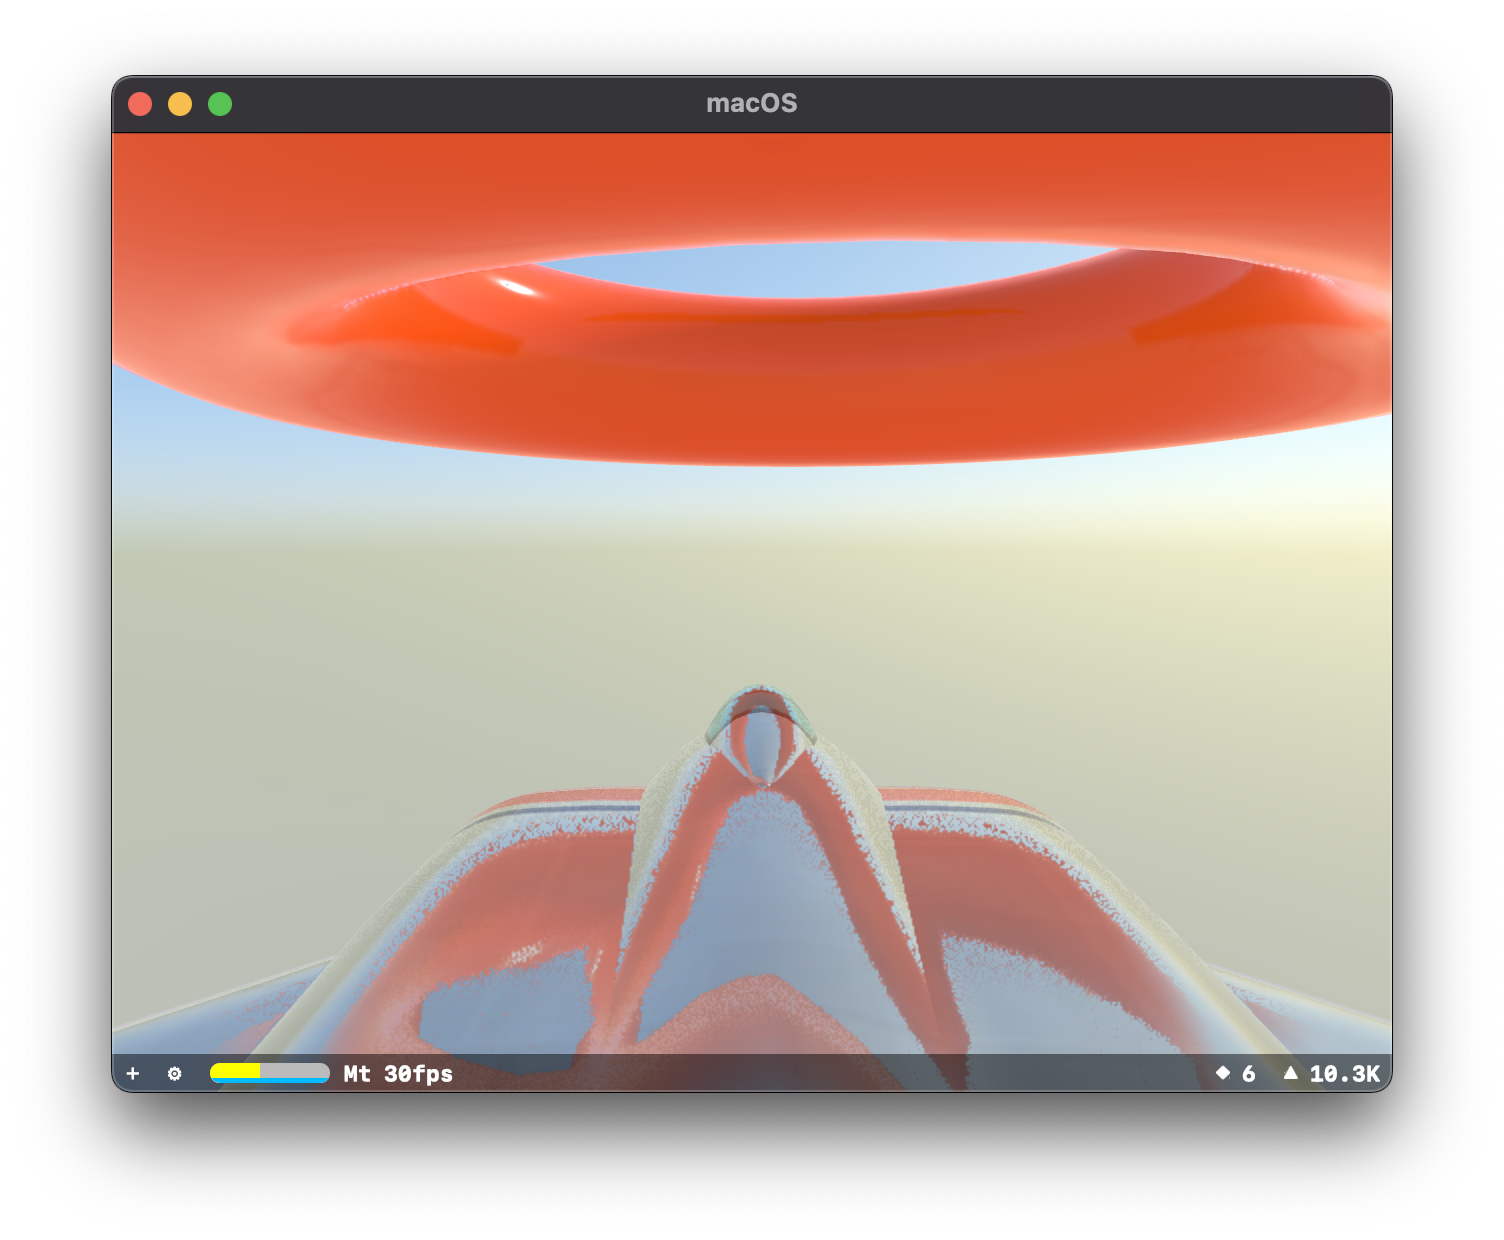
Semi Permeable Membranes
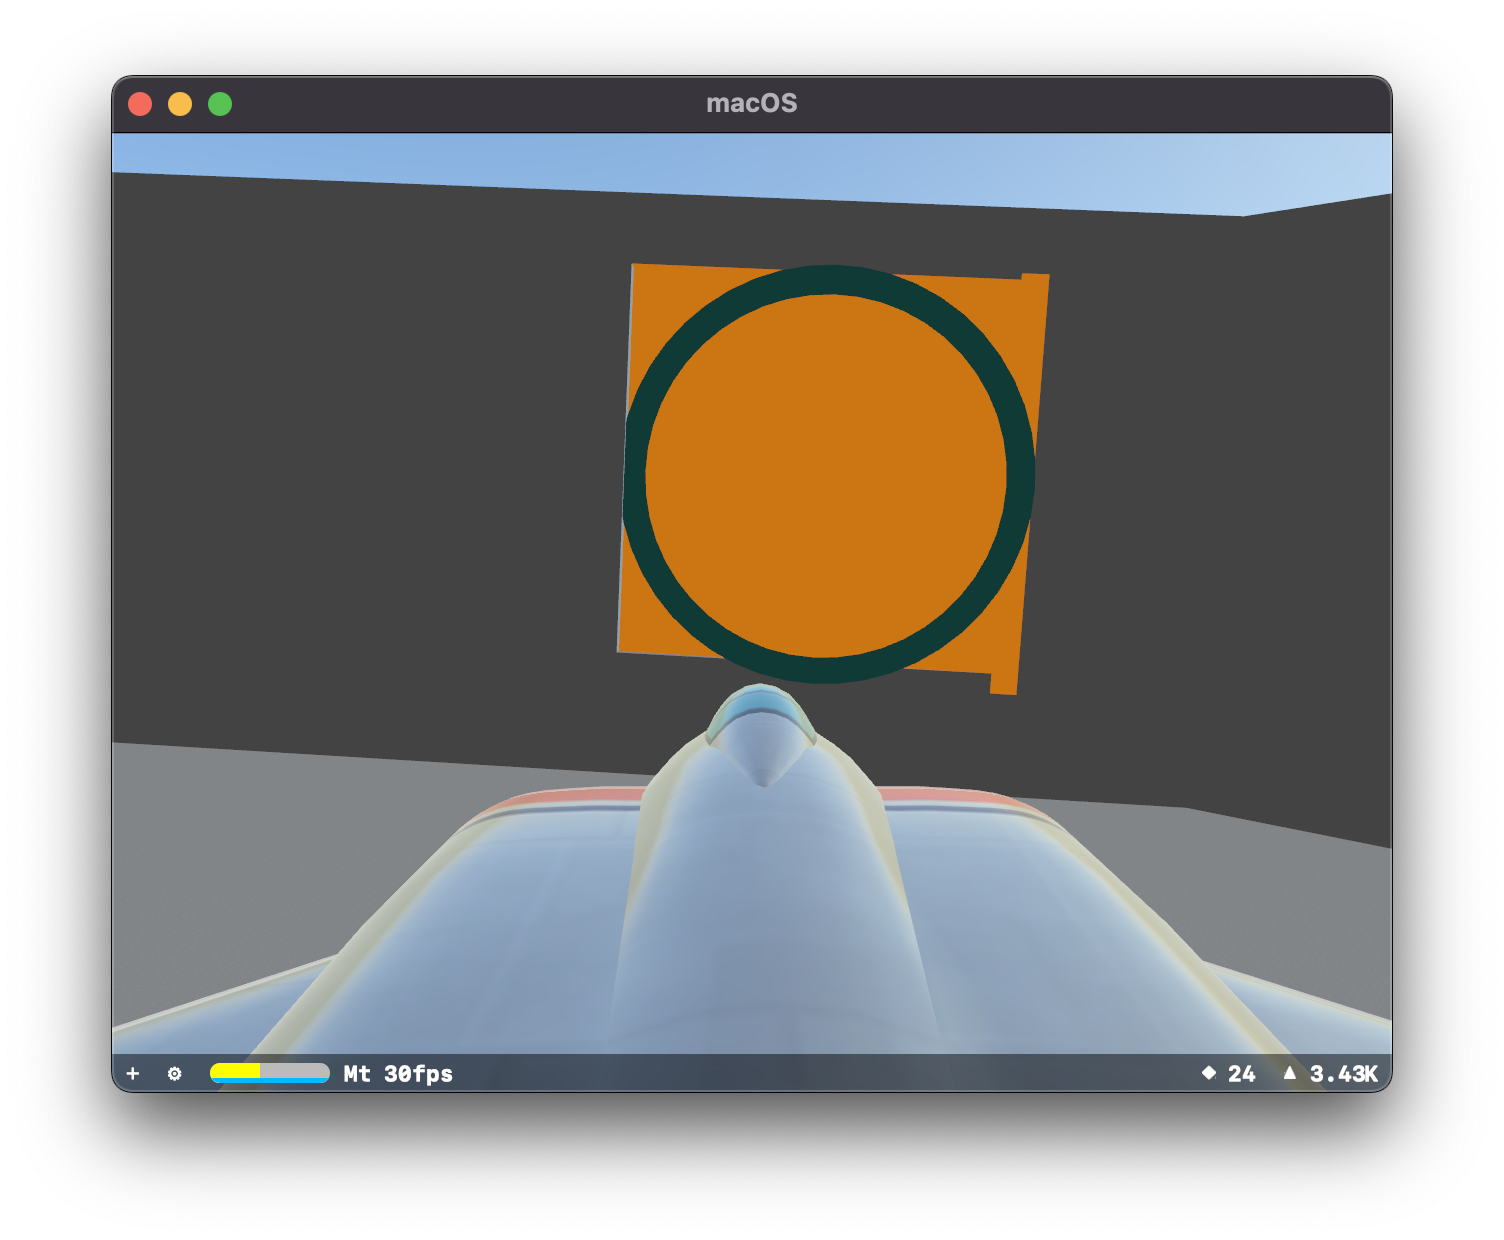
You know what you need to separate two areas with? Doors.
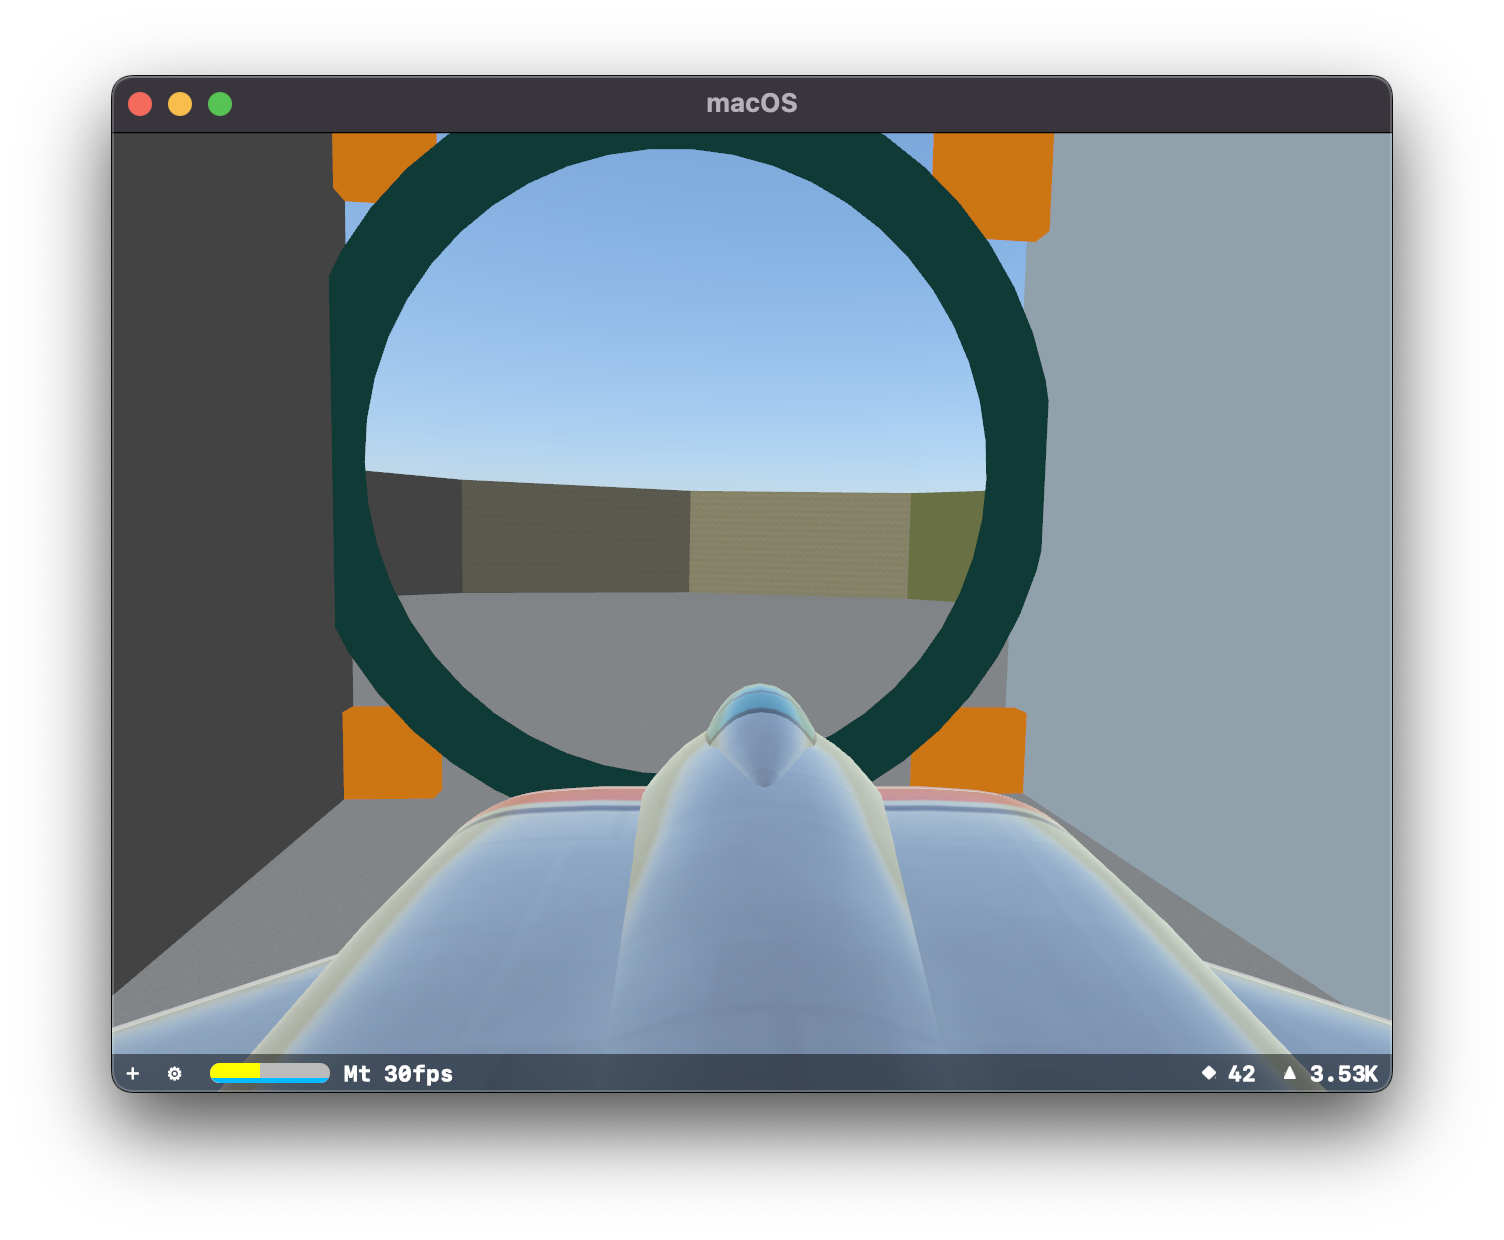
I created 4 rectangular boxes to represent the door itself, and a torus to act as the frame. The reason I created 4 of them was so that I could move each independently. Early games would just move the door upwards, like a garage door. I could do that by moving all 4 boxes up. Or I could open from the middle by having the top 2 boxes go up, and the bottom 2 go down.

I was surprised at how quickly this came together, and it works in reverse to close. I added some extra doors, and since my weapon removes things from the scene, I demolished some door segments:
Attempting to navigate this just with keyboard controls was getting a bit tedious, so I added in mouse aiming, which doesn't really look much different from the perspective of a screenshot.
Also, since I had some doors why not add some walls to the place:
Also since I was having to deal with creating a level, why not replace the rather nice default SceneKit model with something that better suited the place:
I had somewhat also figured out how textures worked, so I decided to spruce up everything:
Up next is refining these concepts into more sophisticated versions. I was very excited to see what I could do with the doors.
Adventures in Particle Generation
I'm actually going to skip over a chunk of time I spent trying to figure out controls and physics interactions. Skip to implementing some sort of weapon system.
It's actually pretty easy to add a Particle System in SceneKit:

They didn't actually do anything other than stream forward, but you have to start somewhere. I figured I'd want to make them look more like "Plasma Balls" since that's what I assume you'd fire as a particle.
Excellent. One issue I found is that by adding the Particle System to the model itself, meant that the particles were generated in the centre of the model and therefore had to travel through the front half of the model before becoming visible. Created an invisible node and placed it in front of the "nose" and it works like one would expect.
The next problem was how to handle interactions between the weapon and the things you'd be shooting at. My first solution was to just determine if there was any object between my weapon and a distance x in front of it.
I added some targets to my testing scene. I was attempting to keep to a colour scene. Anything blue I figured you should be able to shoot.
And after firing the weapon a couple of times:
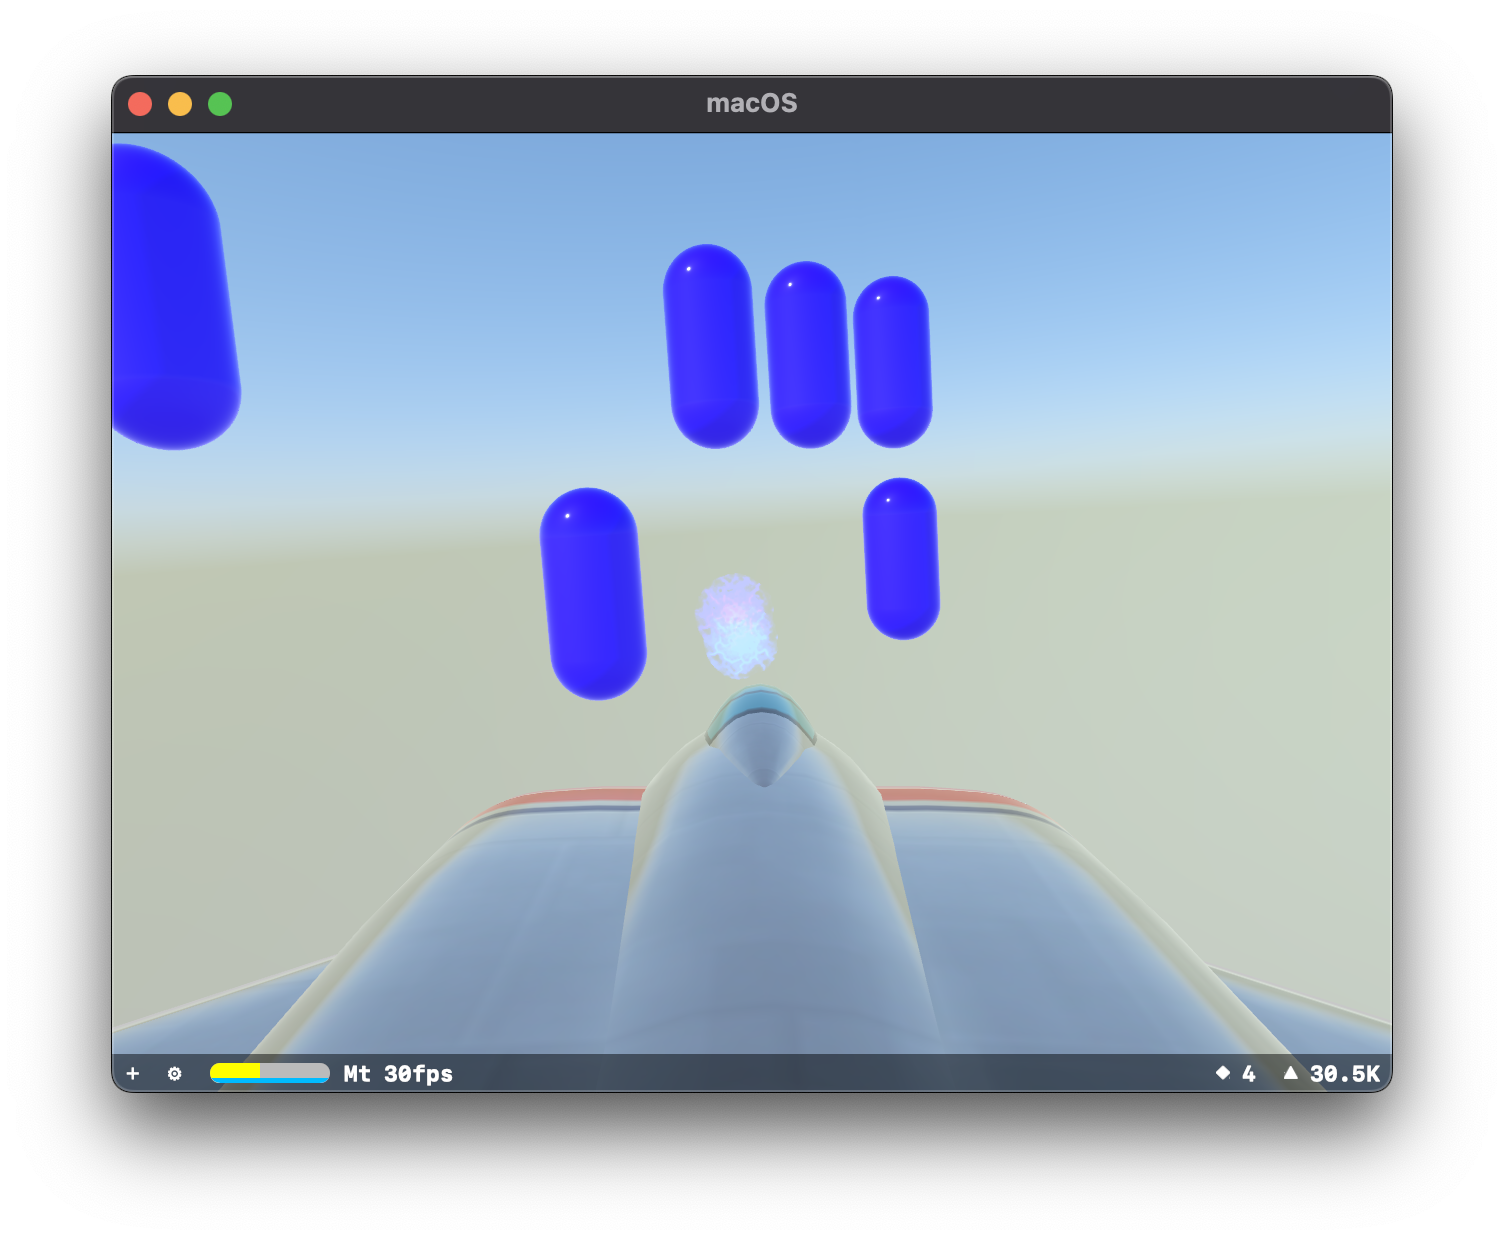
One thing that caused me some issues here was that as soon as you fired it calculcated what in the path, and removed it from the scene. It worked for the time being, which was enough to move on with.
Well well well, if it isn't E1M1
I spent much time trying to figure out how my controls should work, and how they'd work in my project.
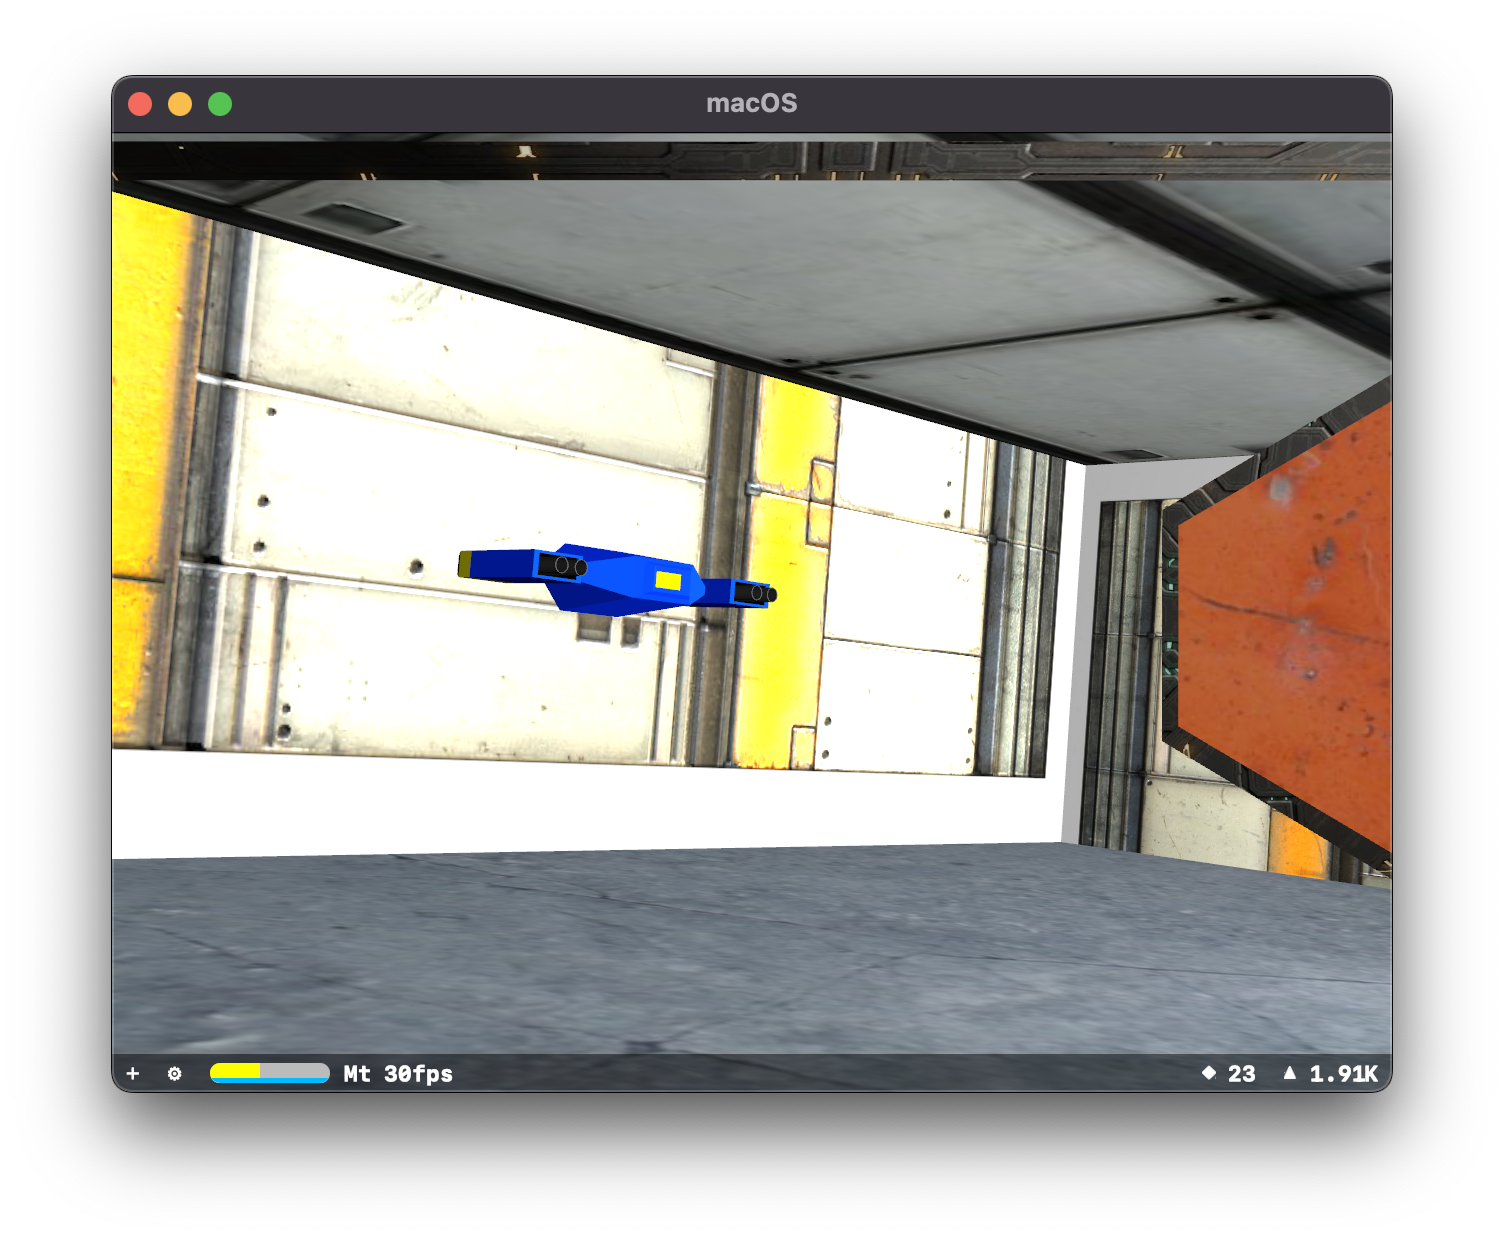
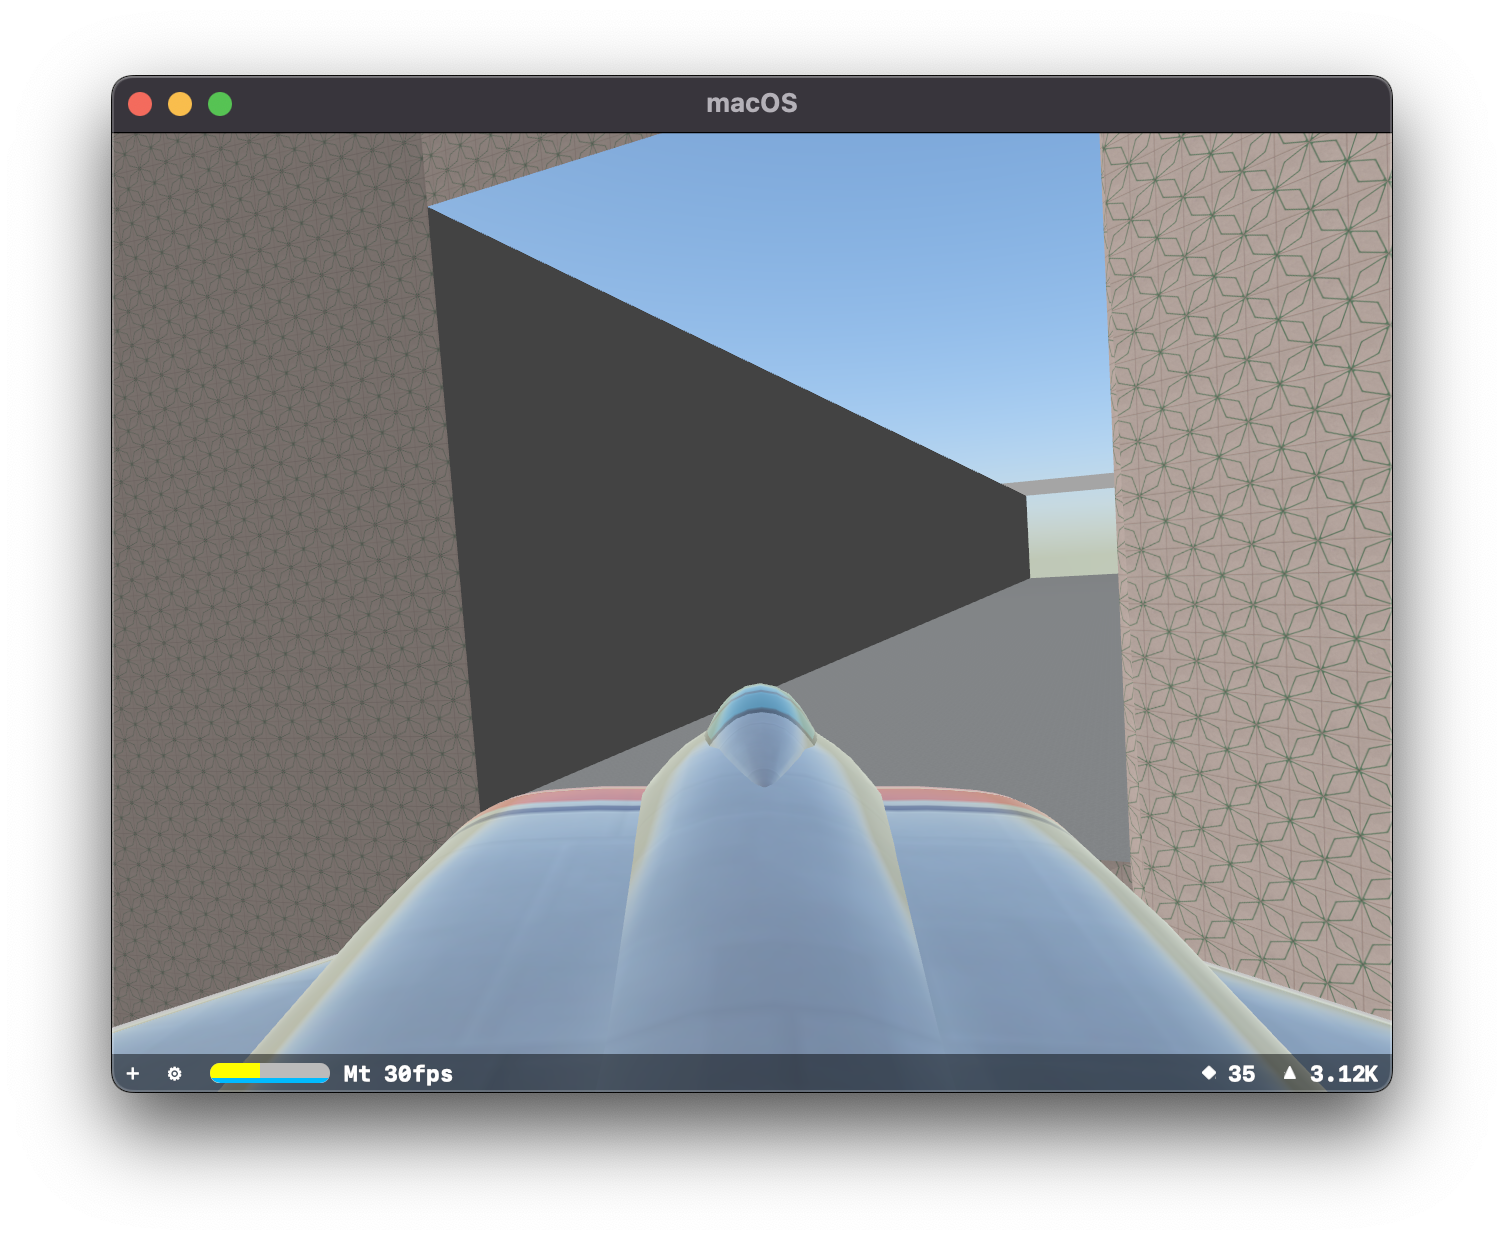
Ultimately this allowed me to take the default SceneKit Jet Model and bring it to an old familiar haunt, Quake's E1M1:
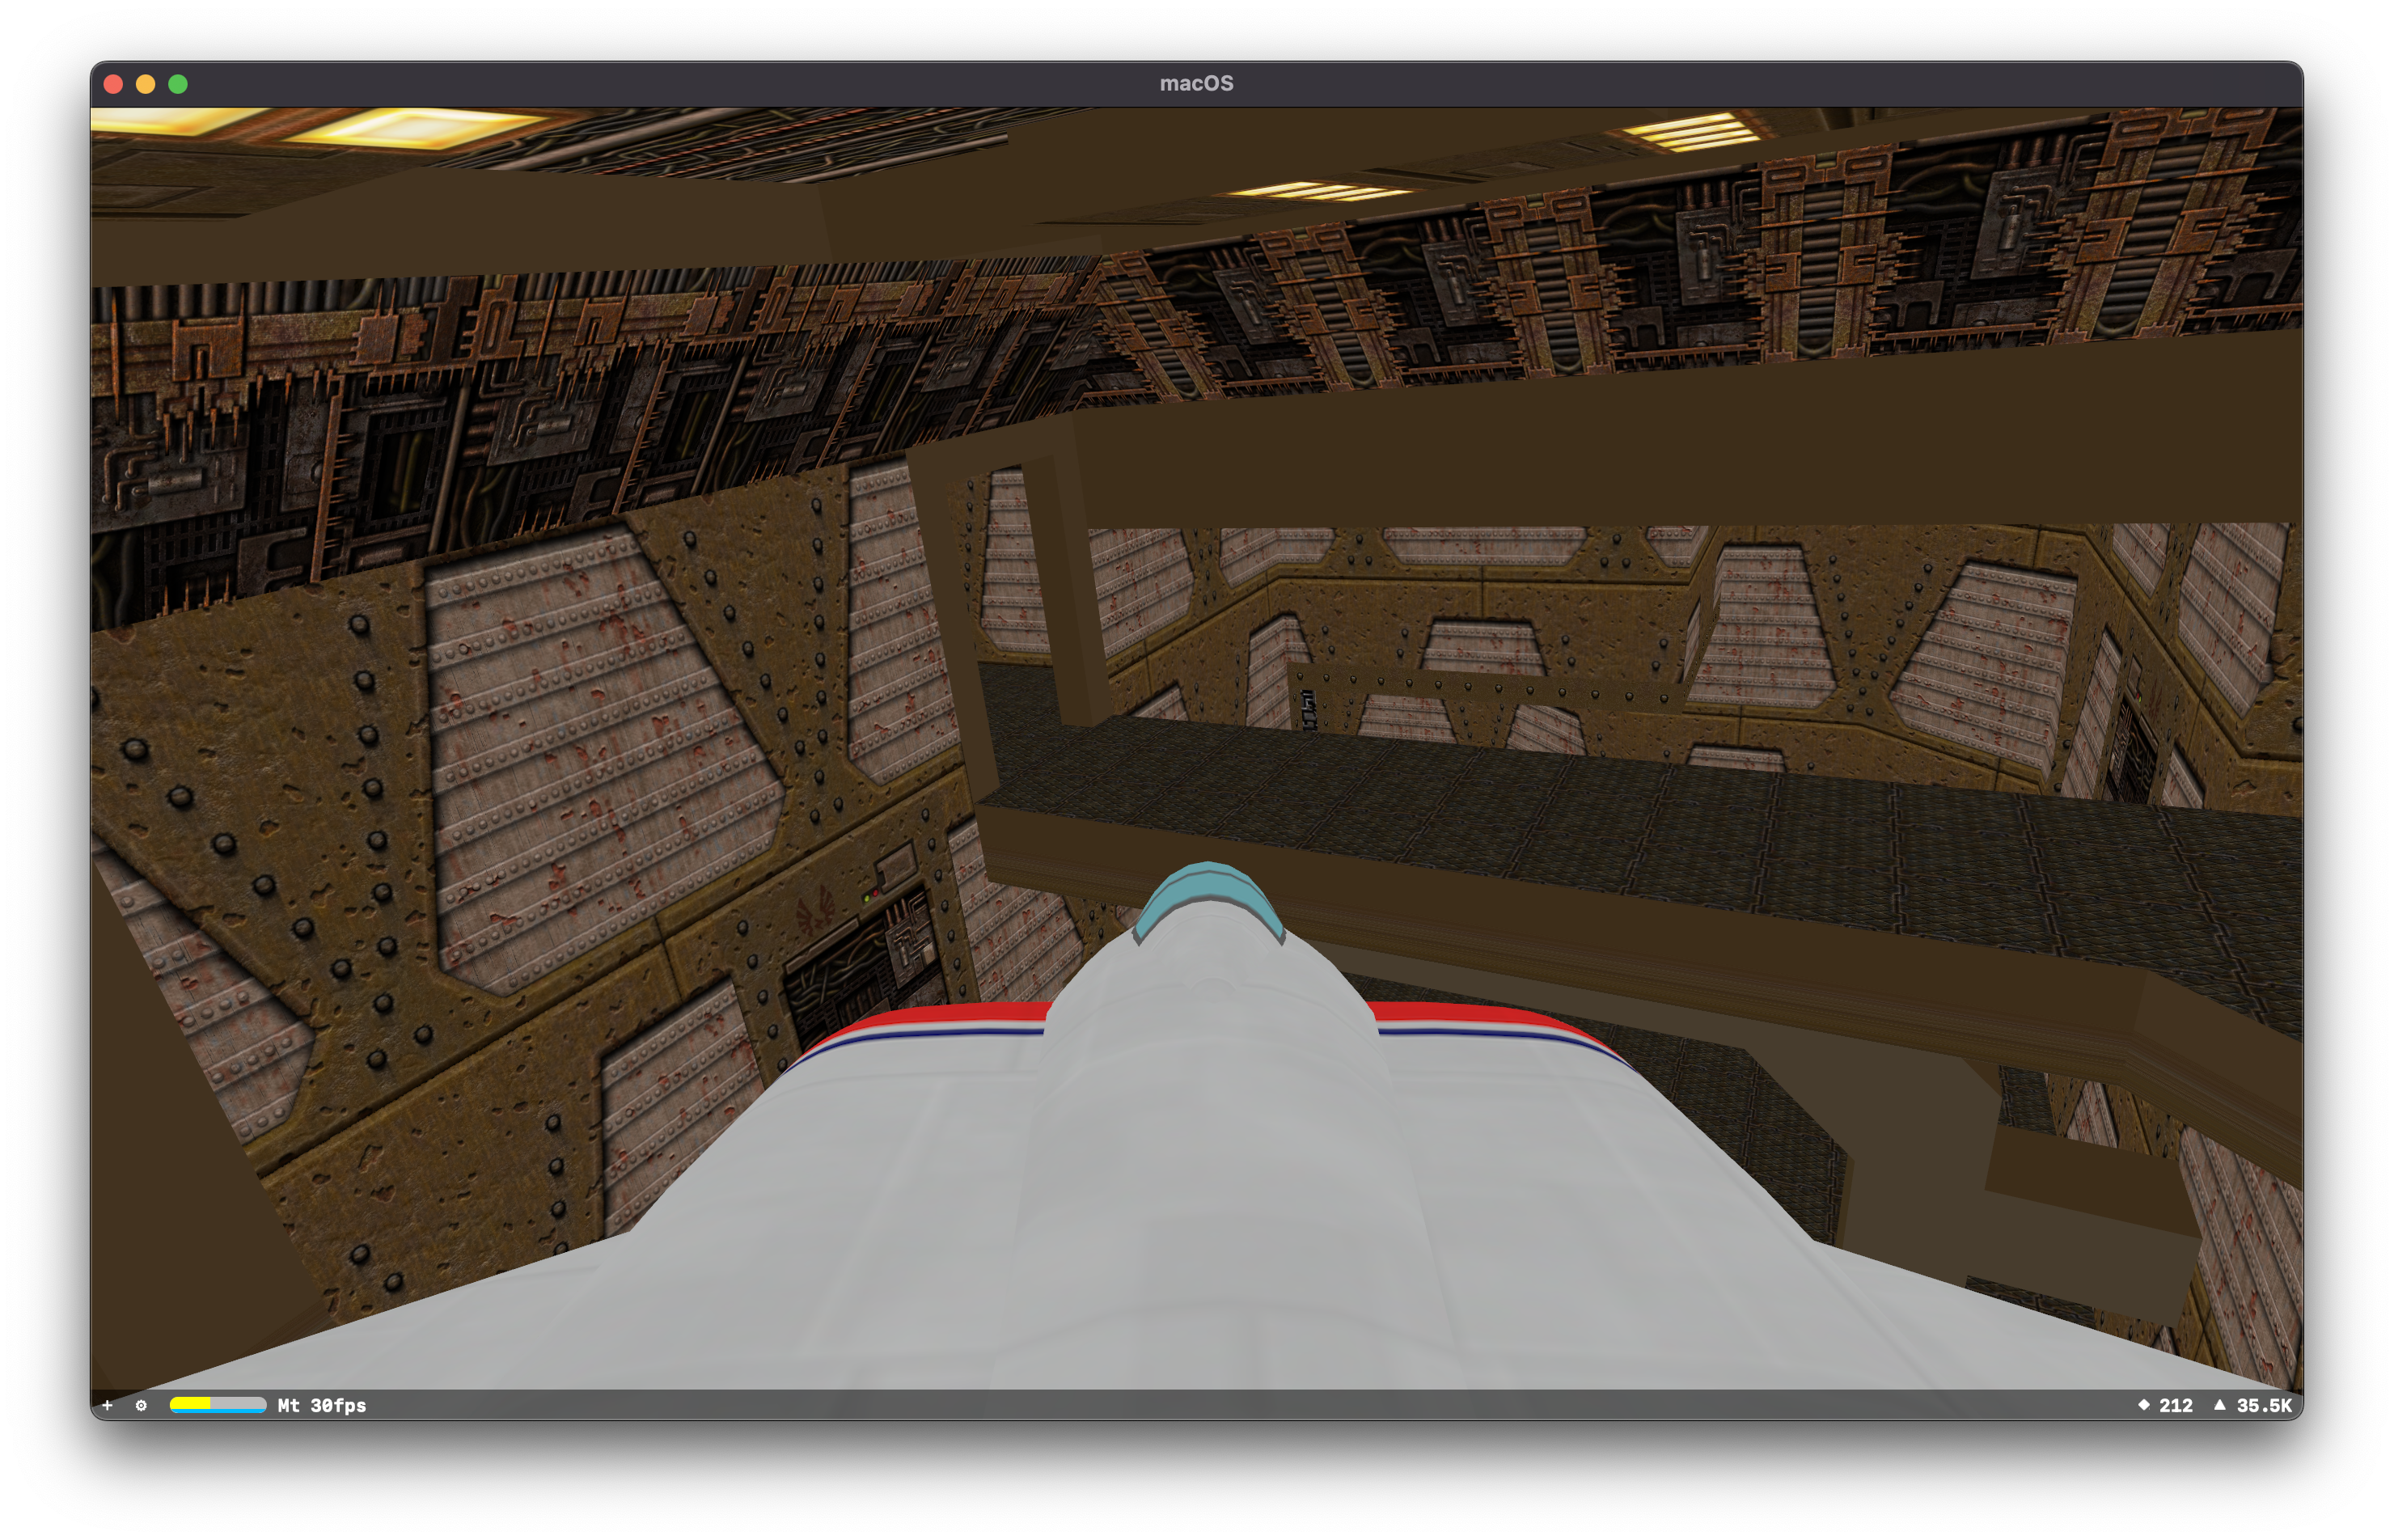
The controls were a bit disjointed, and would sometimes cause the model to spin wildly, but I could still fly around the level. Which was very neat. I've spent a lot of time inside of that level, for one reason or another, so it was exciting to go back and see it. In a fresh new globally illuminated way.
I also marvelled at the ease at which you get real-time reflections: